とりあえずここではFirstVRのSDKを手元にダウンロードしていて、ちょっとは触ったことがあるものとしてまず話を始めます。
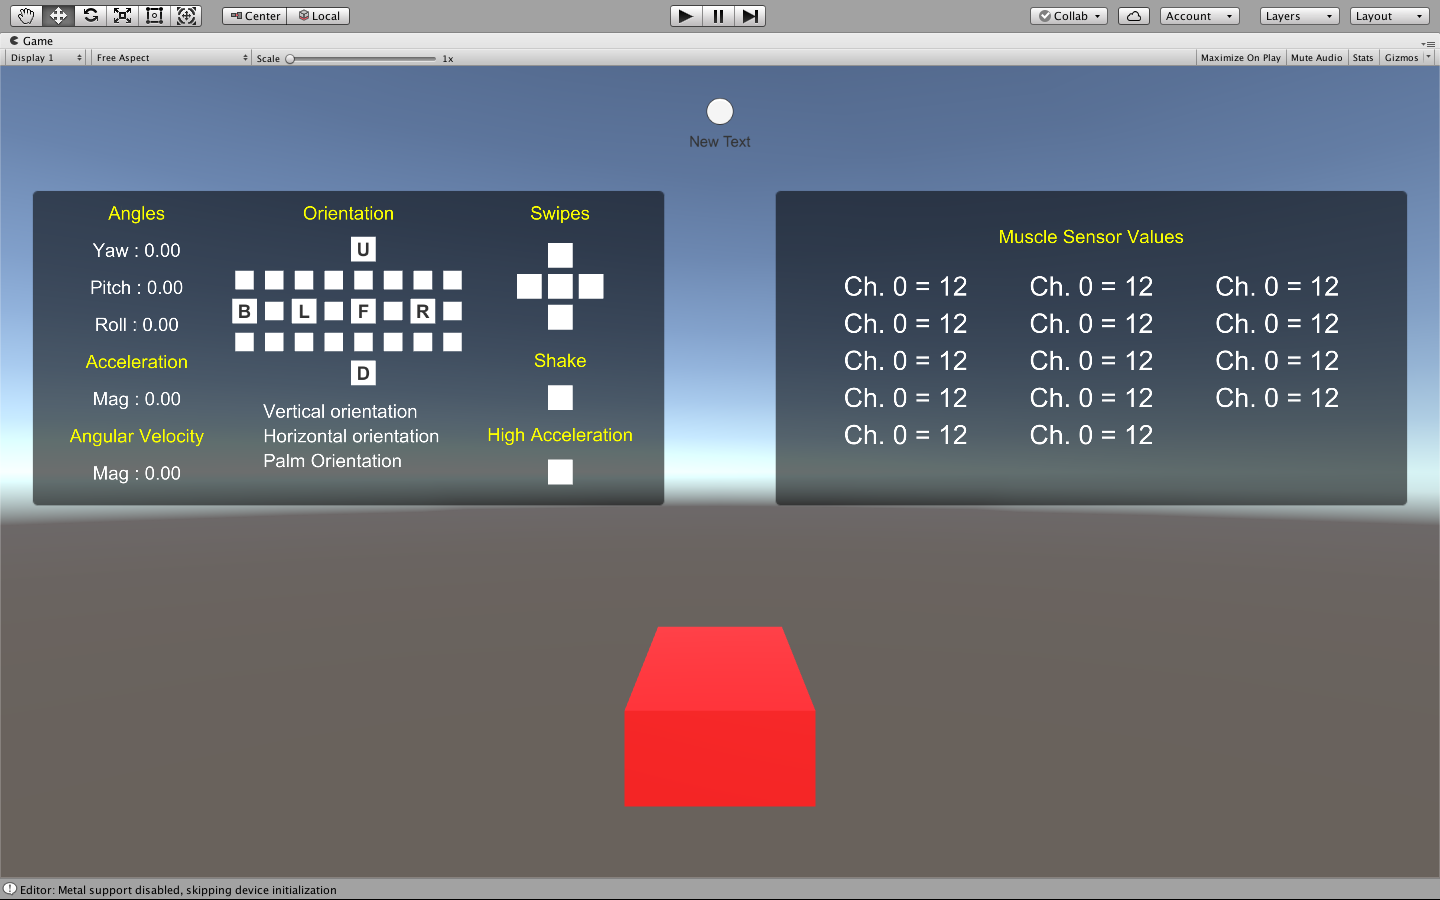
以下でSDKに含まれるOutputViewerシーンにジェスチャ識別をくみこみながら説明をしていきます。このシーンです。
組み込む手順としては以下の5ステップが必要です。
1、ジェスチャ識別器を保持するためのゲームオブジェクトを作成する
2、CalibTestCtrl.csを1で作成したゲームオブジェクトにアタッチする
3、CalibTestCtrl.csの必要のない部分をコメントアウトする
4、ジェスチャの登録に関連したボタンを3つ作成する
5、ボタンとジェスチャ登録に関連する関数を紐付ける
まず1と2に関しては適当に空のオブジェクトを作成してCalibTestCtrl.csをアタッチすれば大丈夫です。
問題はここからです。CalibTestCtrl.csはCalibrationSampleシーン特有のスクリプトになっているので以下の必要のない部分はコメントアウトする必要があります。(まあ本当は全部一から書けばいい話なんですがいったんこの記事では動かすことをまず最優先にします。別の記事でCalibTestCtrlを使わない方法も書こうかと思っています。)
画像とテキストの部分をコメントアウトすると以下のような感じになります。
using System.Collections;
using System.Collections.Generic;
using UnityEngine;
using UnityEngine.UI;
using System.Linq;
using FVRlib;
/// <summary>
/// This example shows how to create, calibrate and test a custom gesture.
/// </summary>
public class CalibTestCtrl : MonoBehaviour {

	// FVR
	FVRConnection fvr;
	FVRGesture gesture;

	//Control variables
	int samplesPerSecond = 0;
	int roundLength = 0;
	int tCalibRounds = 0;
	int ntCalibRounds = 0;

	// Texts
	/*public Text samplesPerSecondTxt;
	public Text roundLengthTxt;
	public Text tCalibRoundsTxt;
	public Text ntCalibRoundsTxt;*/

	// Images
	/*public Image targetImg;
	public Image nonTargetImg;
	public Image testImg;*/

	//Buttons
	public Button targetBtn;
	public Button nonTargetBtn;
	public Button resetBtn;
	public Button[] varBtns;

	void Start () {
		/// When using the FVRContainer prefab, the FVRConnection won't be destroyed on load allowing you to keep your calibrated gestures and centering data.
		/// Since the FVRConnection comes from a previous scene, you can't drag and drop it into a public variable when you are making the scene.
		/// So when the new scene gets loaded you will need to find the FVRConnection instance in order to use it.
		fvr = FindObjectOfType (typeof(FVRConnection)) as FVRConnection;

		// Create a new custom gesture
		gesture = fvr.gestureManager.RegisterCustomGesture ("gestureName");

		// Display the default settings
		samplesPerSecond = fvr.gestureManager.calibrationSamplesPerSecond;
		roundLength = (int)fvr.gestureManager.calibrationRoundLength;
		//UpdateTexts ();

		// Button control
		targetBtn.interactable = false;
	}

	void Update () {
		/// Custom gestures like all other FVR gestures, have a triggered and a held flag. which can be used for events.
		/// In this example, to test the gesture, we simply check if the gesture is being held and change the color of an image accordingly
		if (gesture.held) {
			//testImg.color = Color.green;
		} else {
			//testImg.color = Color.white;
		}
	}

	/// <summary>
	/// You can change the amount of samples that are to be taken every second of the calibration round, and fed into the svm.
	/// This value should always be higher than 1 and is limited by processing speeds.
	/// Recomended values are 10~20
	/// </summary>
	public void ChangeSPS(int dir){
		samplesPerSecond += 1 * dir;
		samplesPerSecond = samplesPerSecond < 1 ? 1 : samplesPerSecond;
		fvr.gestureManager.calibrationSamplesPerSecond = samplesPerSecond;
		//UpdateTexts ();
	}
	/// <summary>
	/// You can change the length of the calibration round.
	/// This length should always be higher than 0 and making it too long might affect the results in a negative way.
	/// Recomended values are 1~3
	/// </summary>
	public void ChangeRL(int dir){
		roundLength += 1 * dir;
		roundLength = roundLength < 1 ? 1 : roundLength;
		fvr.gestureManager.calibrationRoundLength = (float)roundLength;
		//UpdateTexts ();
	}

	public void SetTargetPress(){
		StartCoroutine (Calibrate (true));
	}

	public void SetNonTargetPress(){
		StartCoroutine (Calibrate (false));
	}

	// Reset the calibration data and start all over again
	public void ResetCalibrationPress(){
		fvr.gestureManager.ResetPatternData (gesture);
		tCalibRounds = 0;
		ntCalibRounds = 0;
		//UpdateTexts ();
		targetBtn.interactable = false;
		nonTargetBtn.GetComponentInChildren<Text> ().text = "Set\nDummy";
		foreach (Button b in varBtns) {
			b.interactable = true;
		}
	}

	// Updates the display texts
	/*void UpdateTexts(){
		tCalibRoundsTxt.text = tCalibRounds.ToString ();
		ntCalibRoundsTxt.text = ntCalibRounds.ToString ();
		samplesPerSecondTxt.text = samplesPerSecond.ToString ();
		roundLengthTxt.text = roundLength.ToString ();
	}*/

	/// <summary>
	/// Calibrate the gesture with target or non-target values.
	/// Calibration requires time, and it's best to let the user know what's going on, so this process is best done in a coroutine.
	/// </summary>
	IEnumerator Calibrate(bool target){
		if (target) {
			// Setting target values
			fvr.gestureManager.SetTargetData (gesture);
			tCalibRounds++;
		} else {
			// Setting non-target values
			fvr.gestureManager.SetNonTargetData (gesture);
			/// The first time we set a target or non-target value, the round length and samples per second are ignored and the SVM takes only one value with dummy data then
			/// the dummy data is replaced with real data.
			/// After the first round the FVRGesture.calibrated flag is set to true and you are ready to start calibrating with real data
			if (gesture.calibrated) {
				ntCalibRounds++;
			}else{
				nonTargetBtn.GetComponentInChildren<Text> ().text = "Set\nNonTarget";
				foreach (Button b in varBtns) {
					b.interactable = false;
				}
			}
		}
		// We dont wan't multiple coroutines taking the same data so it's good to block the user from starting a new one before this round is done
		targetBtn.interactable = false;
		nonTargetBtn.interactable = false;
		resetBtn.interactable = false;
		float t = 0;
		while (gesture.registering) {
			/// While the target or non-target data is being set, the FVRGesture.registering flag will be set to true.
			/// A count down or a image fill loading bar is a good way to let the user know your app is doing something.
			/// Once the porcess is done, the FVRGesture.registering flag will be set to false, and we will exit this while loop.
			t += Time.deltaTime;
			/*if(target)
				targetImg.fillAmount = t / (float)roundLength;
			else
				nonTargetImg.fillAmount = t / (float)roundLength;*/
			yield return null;
		}
		/*UpdateTexts ();
		targetImg.fillAmount = 0;
		nonTargetImg.fillAmount =0;*/
		// After the process is done you can enable whatever buttons you need to proceed with the calibration or move on with your app.
		targetBtn.interactable = true;
		nonTargetBtn.interactable = true;
		resetBtn.interactable = true;
	}
}
そしたらシーンビューに戻って1で作成したゲームオブジェクトを選択しCalibTestCtrlの部分を見ます。(ここで赤枠の部分が以下の画像と違う場合はコメントアウトのし忘れかコメントアウトした後のファイルの保存し忘れなので注意してください。)
この3つのボタンに今度はボタンを作って紐付けます。
・ターゲットのジェスチャを登録するボタン
・ターゲットではないジェスチャを登録するボタン
・識別器をリセットするボタン
その後各ボタンをクリックしてクリックした際に呼び出される関数も同様に紐付けます。
Targetジェスチャの登録ボタン ― SetTargetPress関数
NonTargetジェスチャの登録 ― SetNonTargetPress関数
Resetボタン ― ResetCalibrationPress関数
ボタンと関数の紐付けは以下の手順で行います。
まずプラスボタンを押し、
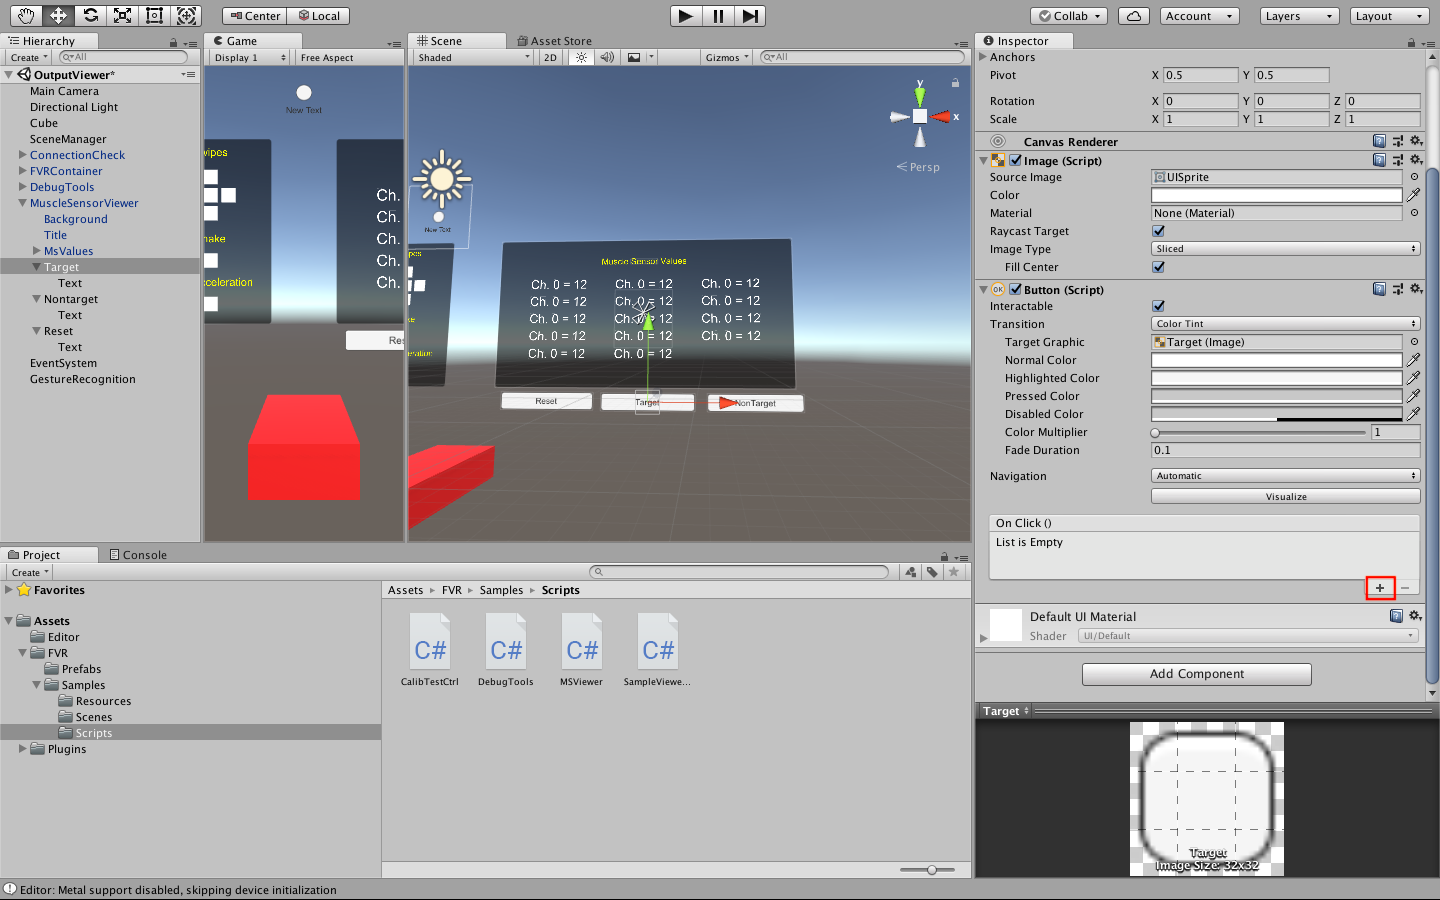
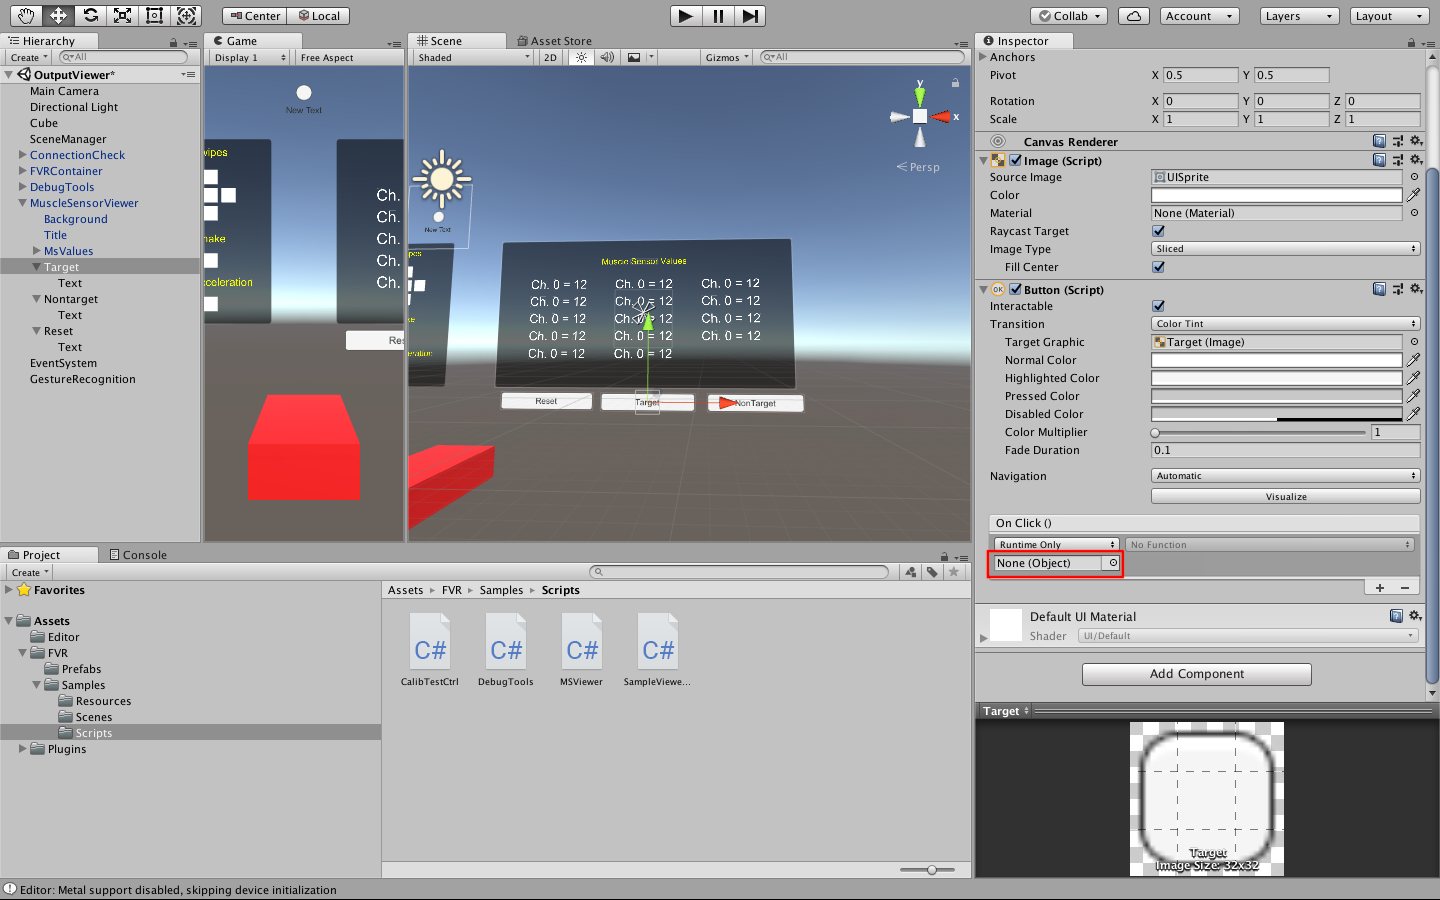
手順1で作成したゲームオブジェクトを画像の部分にドラッグ&ドロップし、
関数を選択します。
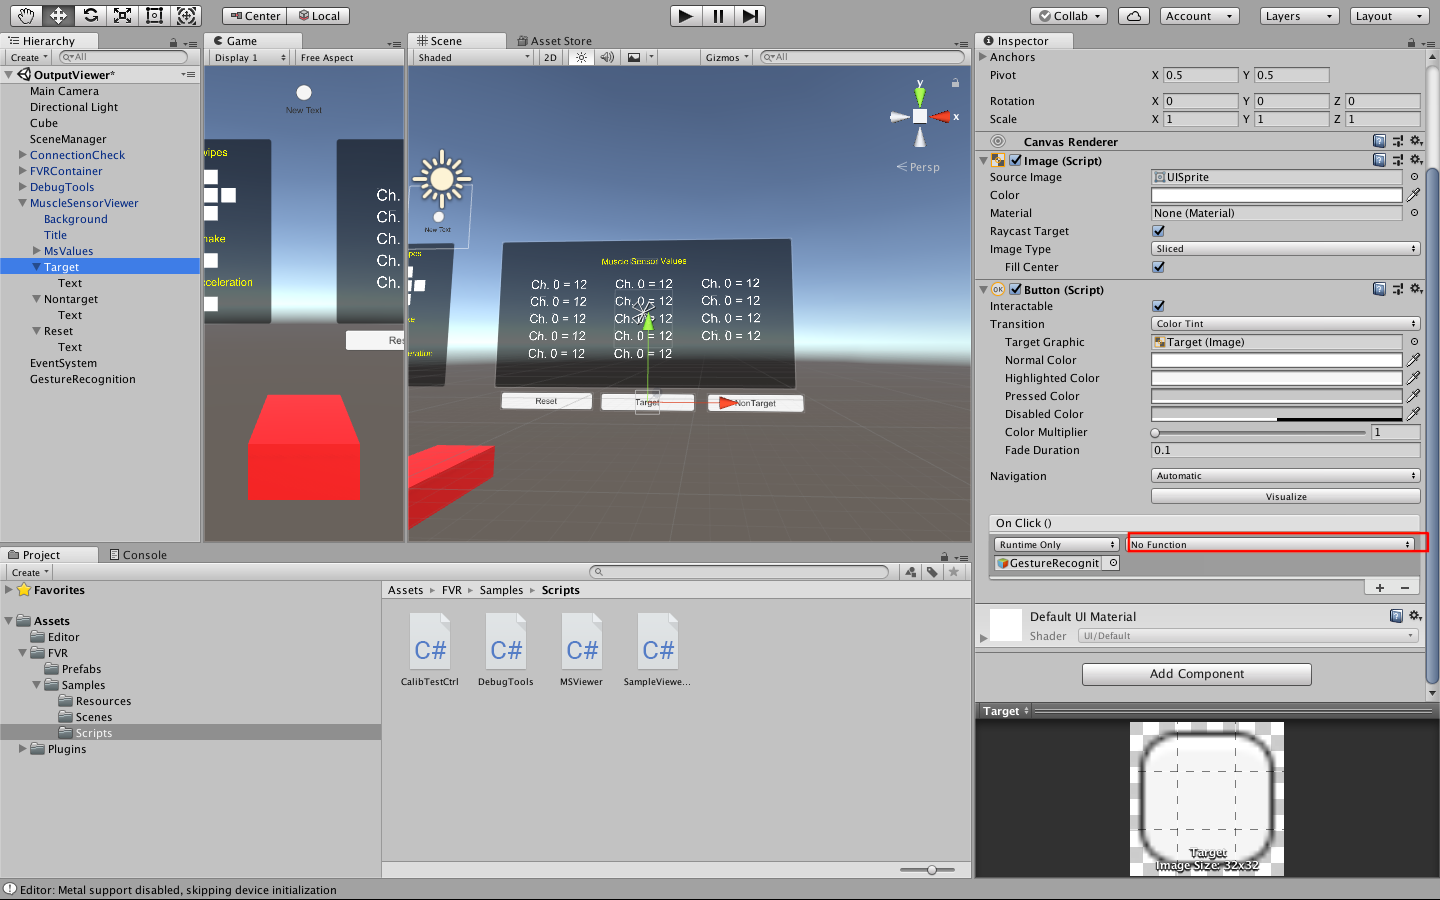
これをTargetジェスチャの登録ボタン、NonTargetGestureの登録ボタン、Resetボタンに対して行うことでジェスチャの識別が可能になります。
そして、CalibTestCtrl.csのgesture変数のプロパティであるheldがtrueかfalseであるかでジェスチャの判定が可能になります。
以上でわかりにくかった部分もあるかと思いますがこれで一通りジェスチャの識別が可能になります。