前提
・Flutter の導入は完了済み
・Integration Test やったことない
やること
公式でサンプルがあるのでそれをみて進めていきます!
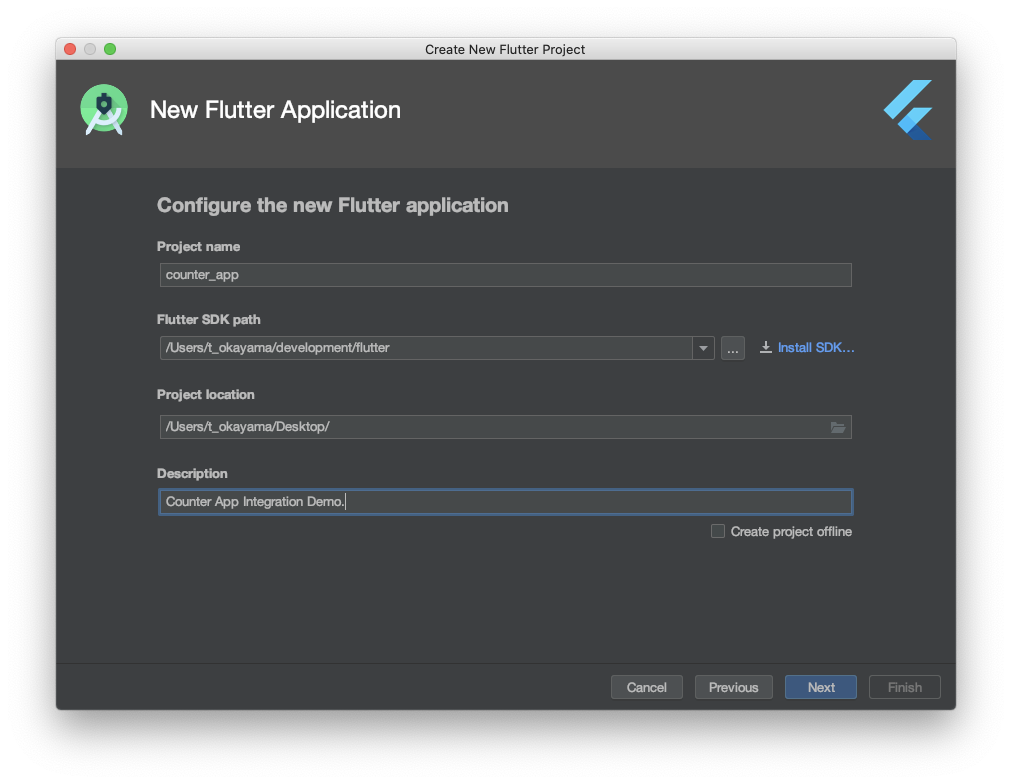
- テストのためのアプリ作成
- dependency に flutter_driver を追加
- テストファイルを作成
- テストのための app ファイルを記述
- テストを記述
- テストを実行
1. テストのためのアプリ作成

counter_app/lib/main.dart
import 'package:flutter/material.dart';

void main() => runApp(MyApp());

class MyApp extends StatelessWidget {
  @override
  Widget build(BuildContext context) {
    return MaterialApp(
      title: 'Counter App',
      home: MyHomePage(title: 'Counter App Home Page'),
    );
  }
}

class MyHomePage extends StatefulWidget {
  MyHomePage({Key key, this.title}) : super(key: key);

  final String title;

  @override
  _MyHomePageState createState() => _MyHomePageState();
}

class _MyHomePageState extends State<MyHomePage> {
  int _counter = 0;

  void _incrementCounter() {
    setState(() {
      _counter++;
    });
  }

  @override
  Widget build(BuildContext context) {
    return Scaffold(
      appBar: AppBar(
        title: Text(widget.title),
      ),
      body: Center(
        child: Column(
          mainAxisAlignment: MainAxisAlignment.center,
          children: <Widget>[
            Text(
              'You have pushed the button this many times:',
            ),
            Text(
              '$_counter',
              // Provide a Key to this specific Text widget. This allows
              // identifing the widget from inside the test suite,
              // and reading the text.
              key: Key('counter'),
              style: Theme.of(context).textTheme.display1,
            ),
          ],
        ),
      ),
      floatingActionButton: FloatingActionButton(
        // Provide a Key to this button. This allows finding this
        // specific button inside the test suite, and tapping it.
        key: Key('increment'),
        onPressed: _incrementCounter,
        tooltip: 'Increment',
        child: Icon(Icons.add),
      ),
    );
  }
}
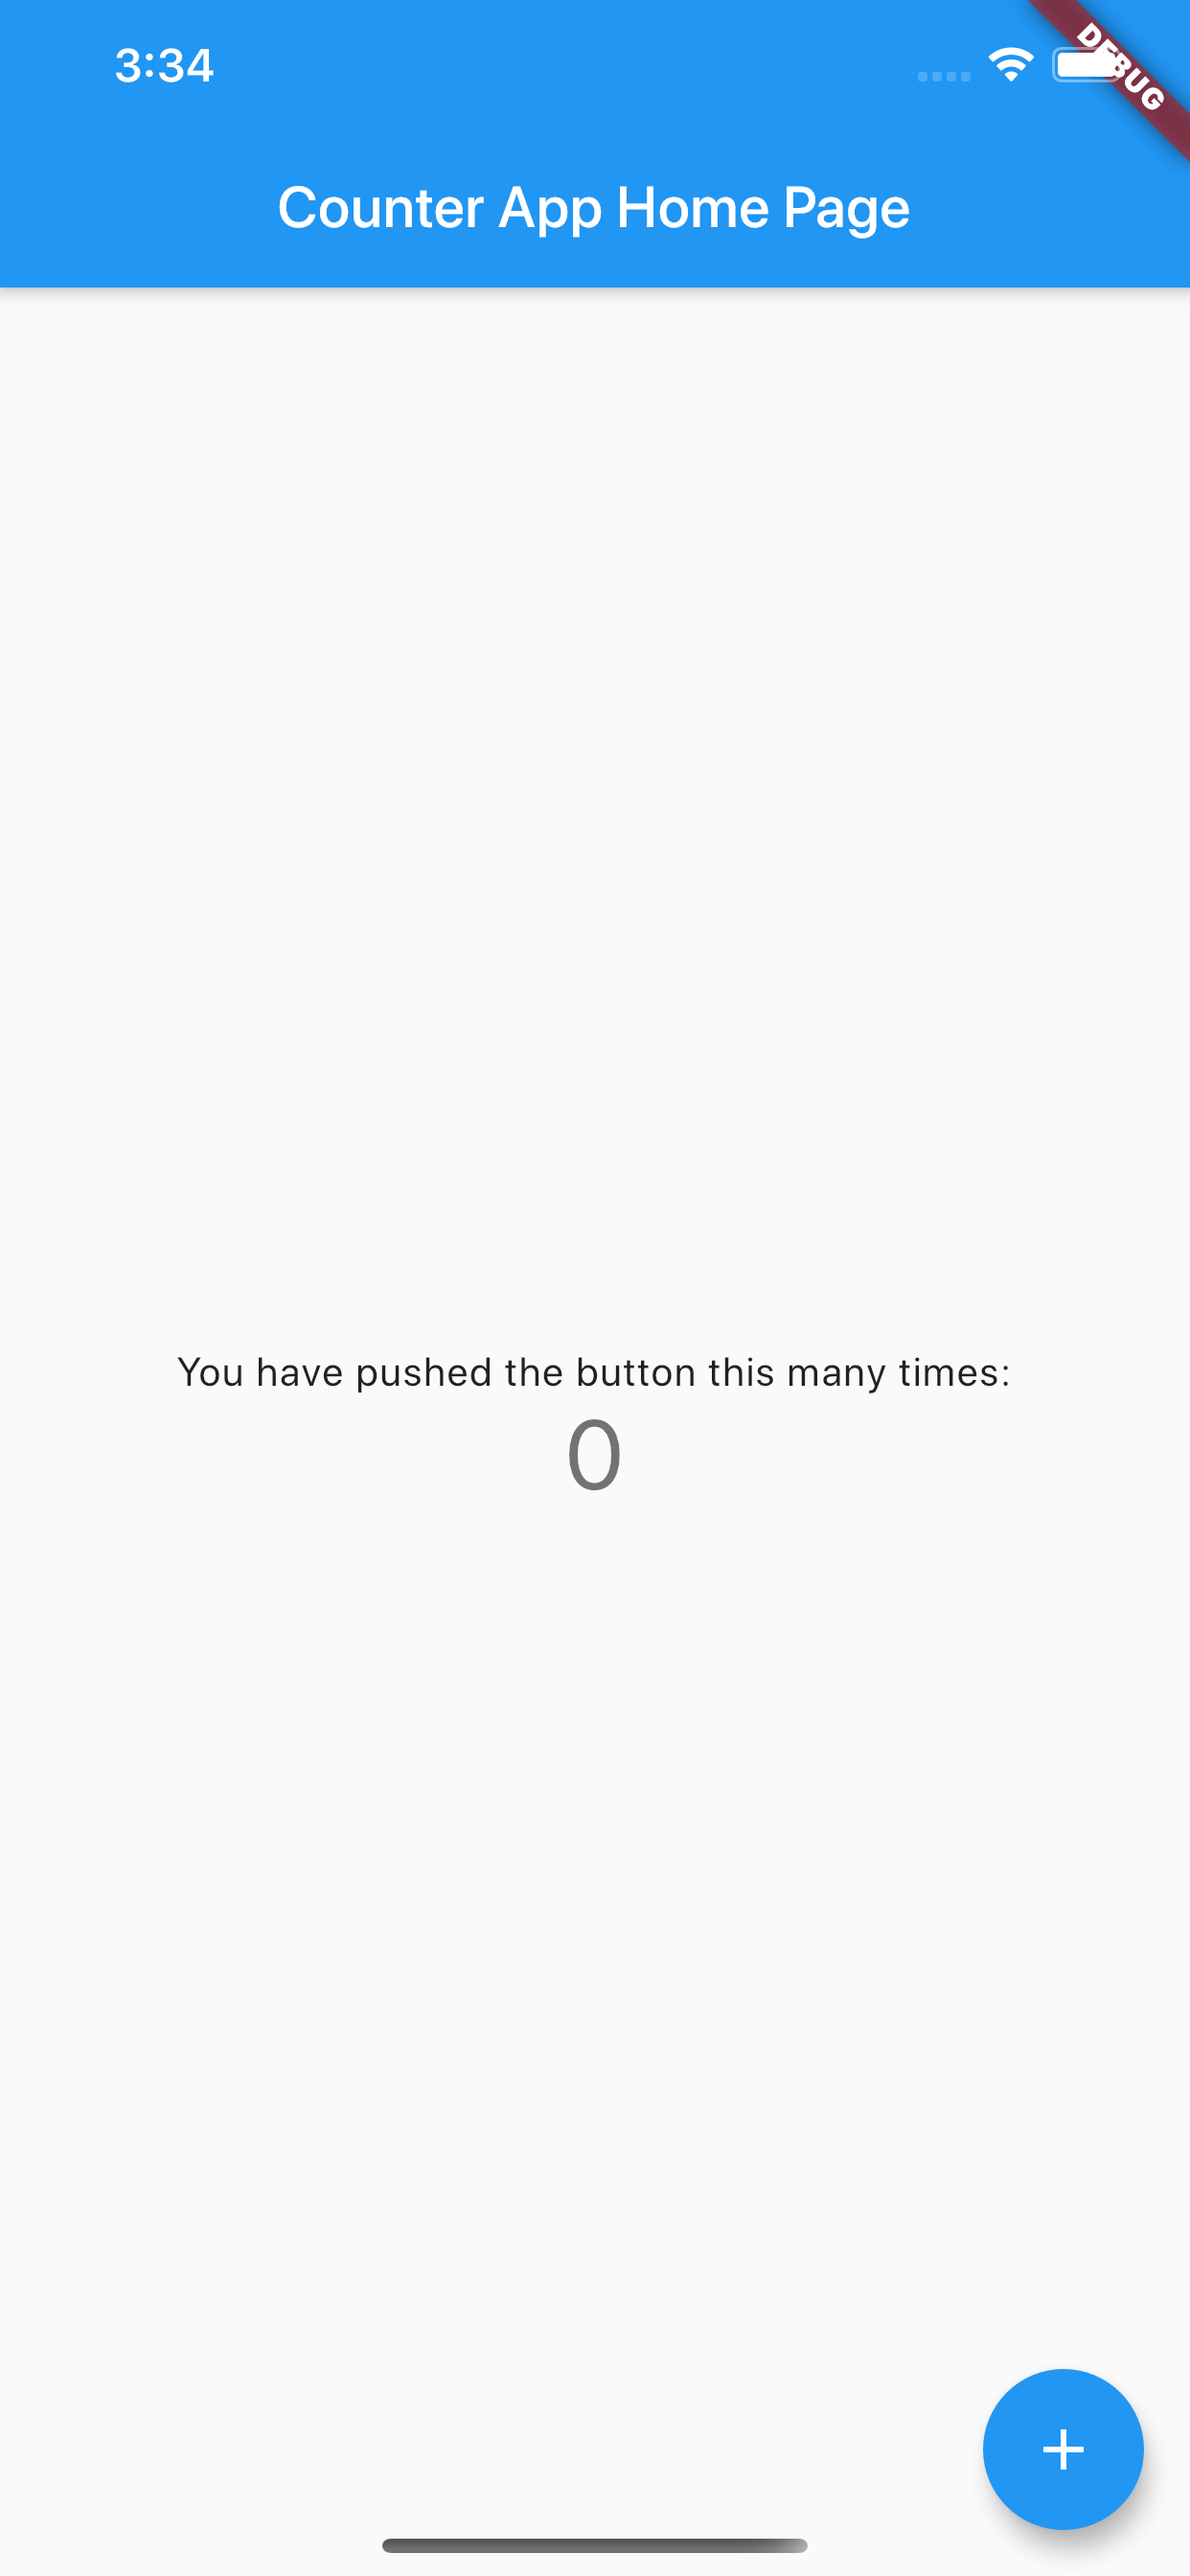
実行したらこんな感じ
2. dependency に flutter_driver を追加
下記の変更を加えた後に Packages get を実行
counter_app/pubspec.yaml
  dev_dependencies:
    flutter_test:
      sdk: flutter
++  flutter_driver:
++    sdk: flutter
++  test: any
3. テストファイルを作成
  counter_app/
    lib/
      main.dart
++  test_driver/
++    app.dart
++    app_test.dart
4. テストのための app ファイルを記述
counter_app/test_driver/app.dart
import 'package:flutter_driver/driver_extension.dart';
import 'package:counter_app/main.dart' as app;

void main() {
  // This line enables the extension.
  enableFlutterDriverExtension();

  // Call the `main()` function of the app, or call `runApp` with
  // any widget you are interested in testing.
  app.main();
}
5. テストを記述
counter_app/test_driver/app_test.dart
// Imports the Flutter Driver API.
import 'package:flutter_driver/flutter_driver.dart';
import 'package:test/test.dart';

void main() {
  group('Counter App', () {
    // First, define the Finders and use them to locate widgets from the
    // test suite. Note: the Strings provided to the `byValueKey` method must
    // be the same as the Strings we used for the Keys in step 1.
    final counterTextFinder = find.byValueKey('counter');
    final buttonFinder = find.byValueKey('increment');

    FlutterDriver driver;

    // Connect to the Flutter driver before running any tests.
    setUpAll(() async {
      driver = await FlutterDriver.connect();
    });

    // Close the connection to the driver after the tests have completed.
    tearDownAll(() async {
      if (driver != null) {
        driver.close();
      }
    });

    test('starts at 0', () async {
      // Use the `driver.getText` method to verify the counter starts at 0.
      expect(await driver.getText(counterTextFinder), "0");
    });

    test('increments the counter', () async {
      // First, tap the button.
      await driver.tap(buttonFinder);

      // Then, verify the counter text is incremented by 1.
      expect(await driver.getText(counterTextFinder), "1");
    });
  });
}
6. テストを実行
iOS のシミュレーターか Android のエミュレーターを起動して
AndroidStudio の Terminal に下記コマンドを貼り付けて実行!
flutter drive --target=test_driver/app.dart
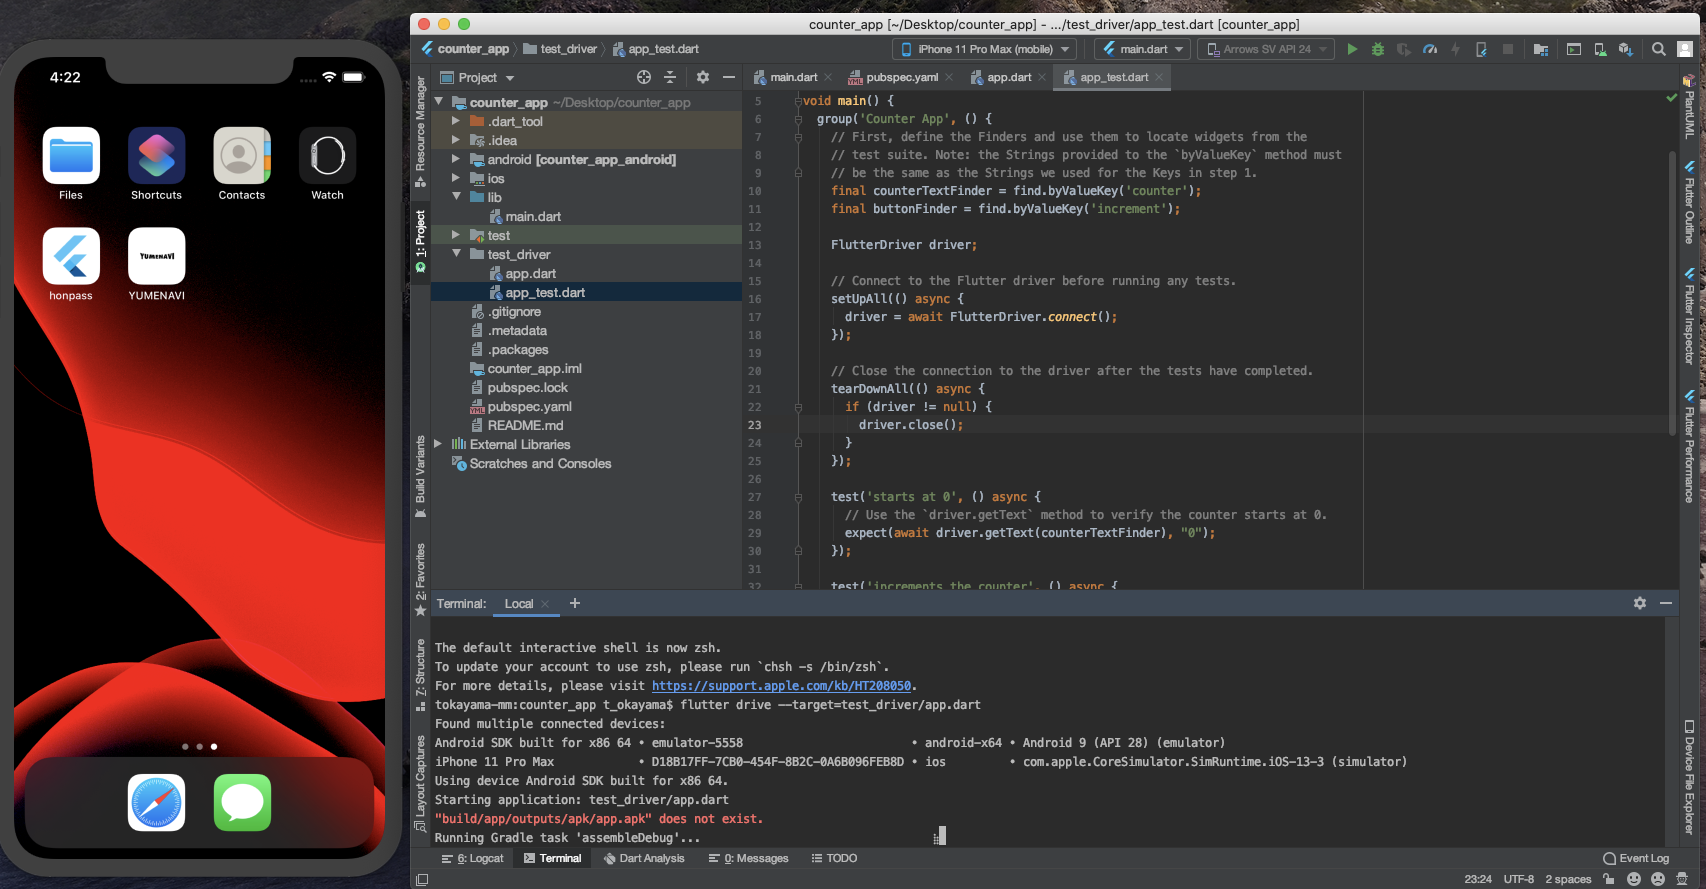
すると、次々にテストが実行されて下記のように表示されます

補足
後から追記しますw