siteguardの6.0系へのバージョンアップに伴い2023/12/15の最新の内容に修正しています。
概要
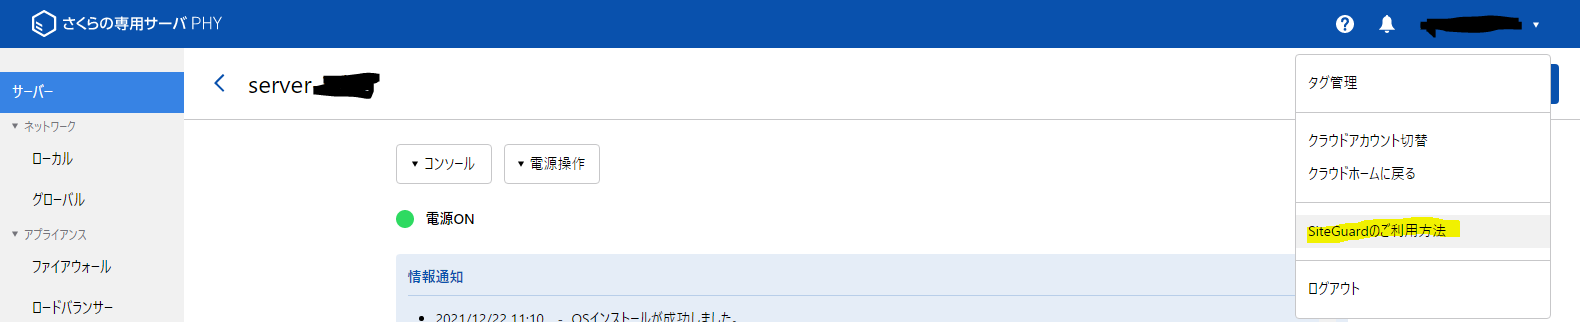
さくらインターネットの専用サーバやVPSを利用するメリットの1つがWAFのsiteguardを無料で使用できること。
今回は専用サーバ上の仮想マシンにnginxをソースからインストールし、siteguardを導入しreverse proxyサーバの構築を行いました。
導入後のトラブルなんかも少しあって、調べてもあまりネット上に情報が無かったので備忘録として記します。
環境
AlmaLinux release 9.3 (Shamrock Pampas Cat)
nginx version: nginx/1.24.0
SiteGuard Server Edition 6.00
SELINUX有効
尚、ネットワークは専用グローバル回線を契約しゲストOSに固定IPをブリッジし、DNSにてsiteguardのGUI用のドメインのAレコード(siteguard.domain.com(仮))を設定済みです。
nginxのdnfインストール
nginxのuserとグループを作成するため以下実行
# dnf install nginx
# dnf remove nginx
siteguardのインストール
さくらのサーバを契約すると管理画面にsiteguardのインストール方法のリンクが表示されるので、そのリンク先の案内に従って構築していきます。
必須コンポーネントのインストール
# dnf install glibc perl wget unzip openssl make file apr apr-util apr-devel apr-util-devel java fontconfig zlib-devel
siteguardのインストール
# cd
# wget wget http://progeny.sakura.ad.jp/siteguard/6.0.0/nginx/siteguard-server-edition-6.00-1.nginx.x86_64.tar.gz
# tar -zxvf siteguard-server-edition-6.00-1.nginx.x86_64.tar.gz
# cd siteguard-server-edition-6.00-1.nginx.x86_64/
# make install
nginxをソースからインストール
(この辺りは個別の環境に依存するためかsiteguardのインストールマニュアルに記載がなかったので適宜自分の環境に応じて設定していく)
nginxの公式より最新のソースをDLして解凍
# cd
# wget http://nginx.org/download/nginx-1.24.0.tar.gz
# tar -zxvf nginx-1.24.0.tar.gz
configureに必要なパッケージのインストール(環境やバージョンによって異なる)
# dnf install gcc pcre-devel openssl-devel
予めnginxのcache用のディレクトリを作っておく(あとでconfigure optionで指定する先のディレクトリ)
# mkdir /var/cache/nginx
長いインストールオプションをつけてconfigureする。
(ちなみにこのインストールオプションはnginxの公式リポジトリからdnfでinstallしたときに付くオプションと同じものに、siteguardのmoduleを追加するよう指定したもの)
make時に-Wno-error=stringop-truncationオプションがないとエラーして作成できなったので追加しています。
# cd nginx-1.21.6
# ./configure --add-module=/opt/jp-secure/siteguardlite/nginx --with-http_ssl_module --prefix=/etc/nginx --sbin-path=/usr/sbin/nginx --modules-path=/usr/lib64/nginx/modules --conf-path=/etc/nginx/nginx.conf --error-log-path=/var/log/nginx/error.log --http-log-path=/var/log/nginx/access.log --pid-path=/var/run/nginx.pid --lock-path=/var/run/nginx.lock --http-client-body-temp-path=/var/cache/nginx/client_temp --http-proxy-temp-path=/var/cache/nginx/proxy_temp --http-fastcgi-temp-path=/var/cache/nginx/fastcgi_temp --http-uwsgi-temp-path=/var/cache/nginx/uwsgi_temp --http-scgi-temp-path=/var/cache/nginx/scgi_temp --user=nginx --group=nginx \
--with-compat \
--with-file-aio \
--with-threads \
--with-http_addition_module \
--with-http_auth_request_module \
--with-http_dav_module \
--with-http_flv_module \
--with-http_gunzip_module \
--with-http_gzip_static_module \
--with-http_mp4_module \
--with-http_random_index_module \
--with-http_realip_module \
--with-http_secure_link_module \
--with-http_slice_module \
--with-http_stub_status_module \
--with-http_sub_module \
--with-http_v2_module \
--with-mail \
--with-mail_ssl_module \
--with-stream \
--with-stream_realip_module \
--with-stream_ssl_module \
--with-stream_ssl_preread_module \
--with-cc-opt='-O2 -flto=auto -ffat-lto-objects -fexceptions -g -grecord-gcc-switches -pipe -Wall -Werror=format-security -Wno-error=stringop-truncation -Wp,-D_FORTIFY_SOURCE=2 -Wp,-D_GLIBCXX_ASSERTIONS -specs=/usr/lib/rpm/redhat/redhat-hardened-cc1 -fstack-protector-strong -specs=/usr/lib/rpm/redhat/redhat-annobin-cc1 -m64 -march=x86-64-v2 -mtune=generic -fasynchronous-unwind-tables -fstack-clash-protection -fcf-protection' \
--with-ld-opt='-Wl,-z,relro -Wl,-z,now -pie'
無事完了したら
# make
# make install
SELINUX有効の環境なので、systemdに登録
# vi /lib/systemd/system/nginx.service
以下内容
[Unit]
Description=The NGINX HTTP and reverse proxy server
After=syslog.target network.target remote-fs.target nss-lookup.target

[Service]
Type=forking
PIDFile=/run/nginx.pid
ExecStartPre=/usr/sbin/nginx -t
ExecStart=/usr/sbin/nginx
ExecReload=/usr/sbin/nginx -s reload
ExecStop=/bin/kill -s QUIT $MAINPID
PrivateTmp=true

[Install]
WantedBy=multi-user.target
startup登録
# systemctl enable nginx
siteguardのnginxへのsetup
# cd /opt/jp-secure/siteguardlite/
# ./setup.sh
プロンプトが立ち上がるので以下の内容でセットアップを進めて行く
[root@nginx-siteguard-proxy siteguardlite]# ./setup.sh
------------------------------------------------------
SiteGuard Server Edition setup start...
------------------------------------------------------
please enter Nginx Config File. [] -->/etc/nginx/nginx.conf
Nginx Config File=[/etc/nginx/nginx.conf]
is correct? [yes]|no -->yes
please enter Nginx Binary File (nginx). [/usr/sbin/nginx] -->
Nginx Binary File (nginx)=[/usr/sbin/nginx]
is correct? [yes]|no -->yes
Is the Web server registered in systemd?
please select. [yes]|no -->yes
please enter Nginx service name. [nginx] -->
Nginx service name=[nginx]
is correct? [yes]|no -->yes
------------------------------------------------------
SELinux temporary switch to permissive
------------------------------------------------------
do you want to use the web administrative console?
* to use the console, you will need JDK or JRE is installed.
please select. [yes]|no -->yes
please enter JDK or JRE directory. [/usr/lib/jvm/jre-1.8.0] -->
JDK or JRE directory=[/usr/lib/jvm/jre-1.8.0]
is correct? [yes]|no -->yes
please enter the port number of the web console for https.
please enter port number. [9443] -->
port number=[9443]
is correct? [yes]|no -->yes
please enter the addresses allowed to access the web console for https.
ex:192.168.1.100 10.0.0.0/24
please enter allowed addresses. [all] -->
allowed addresses=[all]
is correct? [yes]|no -->yes
do you change the ssl certificate files?
please select. yes|[no] -->
update server config file done.
------------------------------------------------------
check if the ssl settings on admin console are appropriate....
------------------------------------------------------
Successfully set the ssl protocol.
update Makefile done.
------------------------------------------------------
SELinux Context Setup start
------------------------------------------------------
tomcat settings
logs settings
configured.module settings
tmp settings
notify settings
statistics settings
expire.txt settings
restorecon settings
policy settings
------------------------------------------------------
SELinux Context Setup done
------------------------------------------------------
------------------------------------------------------
Starting services...
------------------------------------------------------
Starting Tomcat(WebUI for SiteGuard Server Edition): [ OK ]
Starting Notify Service: [ OK ]
Nginx restart. Are you sure? [yes]|no -->
nginx: [error] invalid PID number "" in "/var/run/nginx.pid"
Stopping : [ OK ]
------------------------------------------------------
clear tmp files
------------------------------------------------------
removing tmp files ...
done.
starting web server ...
Starting : [ OK ]
Nginx restart done.
------------------------------------------------------
finished SiteGuard Server Edition setup
------------------------------------------------------
Please access following URL for starting service.
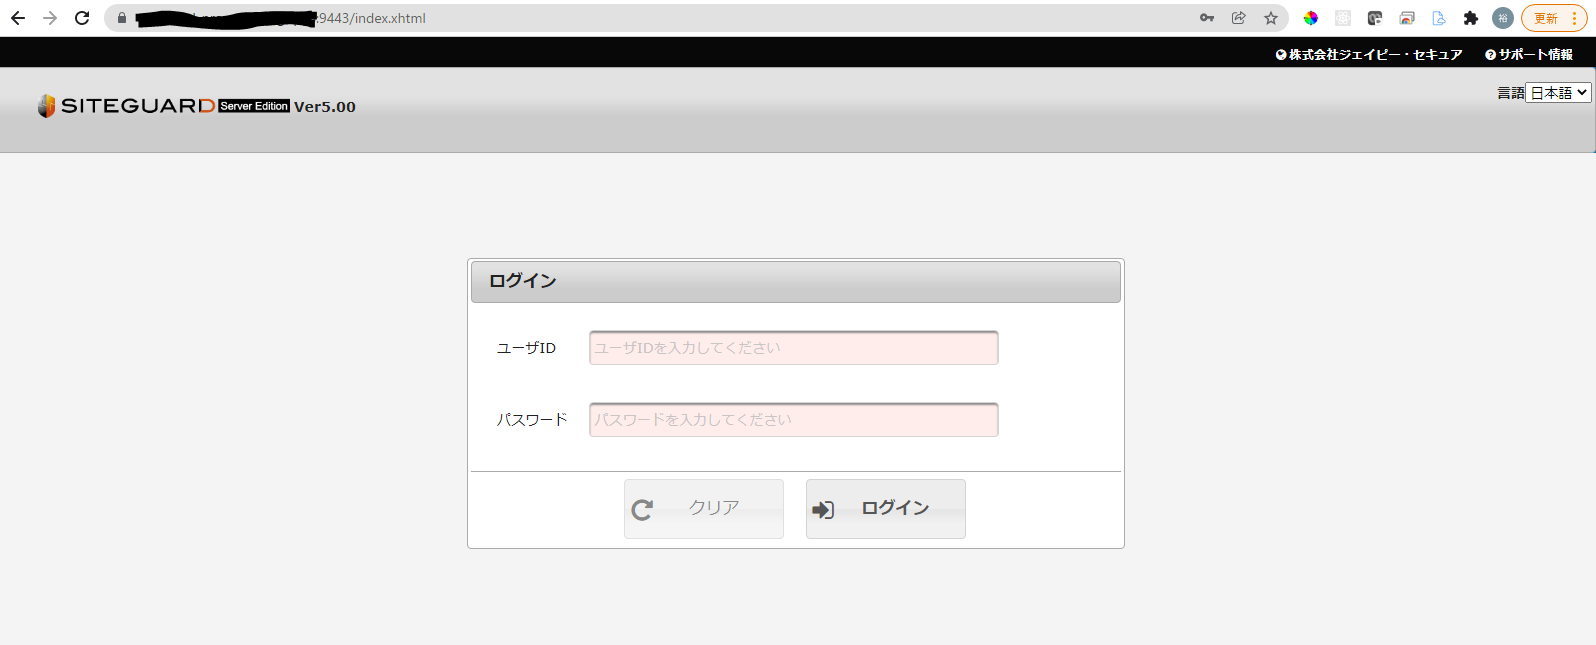
https://nginx-siteguard-proxy:9443/
(default user:admin, default password:admin)
------------------------------------------------------
SELinux switch to enforcing
------------------------------------------------------
------------------------------------------------------
SiteGuard Server Edition setup done...
------------------------------------------------------
portの開放
# firewall-cmd --add-port 9443/tcp --permanent
# firewall-cmd --add-service http --permanent
# firewall-cmd --add-service https --permanent
# firewall-cmd --reload
siteguardの管理画面のSSL化のためcertbotのインストール
# dnf install epel-release
# dnf install certbot python3-certbot-nginx
nginxのconfの設定
# vi /etc/nginx/nginx.conf
httpディレクティブ内の末尾に以下追加
http {
    ...
    include /etc/nginx/conf.d/*.conf;
}
siteguardの証明書取得用ドメインのconfを作成
# vi /etc/nginx/conf.d/siteguard.domain.com.conf
以下内容(このconfは証明書の取得のみに使用する)
server {
    server_name siteguard.domain.com;
}
SSL証明書インストール
# certbot --nginx -d siteguard.domain.com
証明書のpathを下記ファイルからコピーして
# view /etc/nginx/conf.d/siteguard.domain.com.conf
以下のファイルの
# vi /opt/jp-secure/siteguardlite/conf/nginx.conf.siteguardlite_admin_ssl
ssl_certificateとssl_certificate_keyを修正、ssl_dhparamを追加
    ssl_certificate /etc/letsencrypt/live/siteguard.domain.com/fullchain.pem; # managed by Certbot
    ssl_certificate_key /etc/letsencrypt/live/siteguard.domain.com/privkey.pem; # managed by Certbot
    #include /etc/letsencrypt/options-ssl-nginx.conf; # managed by Certbot
    ssl_dhparam /etc/letsencrypt/ssl-dhparams.pem; # managed by Certbot
    #ssl_certificate     /opt/jp-secure/siteguardlite/conf/ssl/server.crt;
    #ssl_certificate_key /opt/jp-secure/siteguardlite/conf/ssl/server.key;
cronで証明書の自動更新
# crontab -e
以下内容
PATH=/sbin:/bin:/usr/sbin:/usr/bin

0 4 * * * (/bin/certbot renew && /bin/systemctl reload nginx) > /var/log/cronout.log 2>&1
nginxを再起動しGUIにアクセス(siteguard.domain.comの9443ポートにhttpsでアクセスする)
# systemctl restart nginx
「管理」画面よりライセンス情報を登録する(画像省略)
メールはsmtpsで外部の送信サーバを利用可能。
「モジュール設定」画面より自動メール通知の設定(SPFやDKIMなどのちゃんとした設定は略)
シグネチャ更新URLの設定
# vi /opt/jp-secure/siteguardlite/conf/dbupdate_waf_url.conf
以下内容
LATEST_URL=https://www.jp-secure.com/download/siteguardlite_sp/updates_nw/latest-nw.zip
GUIからシグネチャ更新設定画面で自動更新を有効にする(画像略)
リバースプロキシ設定の追加
後はsiteguardが入っていないときのリバースプロキシの設定方法と同じです
以下のファイルを作り
# vi /etc/nginx/conf.d/reverse.proxy.com.conf
以下内容
server {
    server_name reverse.proxy.com;
}
certbotで証明書取得し
# certbot --nginx -d reverse.proxy.com
リバプロ情報を追加
# vi /etc/nginx/conf.d/reverse.proxy.com.conf
以下内容(適宜変更してください)
server {
    server_name reverse.proxy.com;
    access_log /var/log/nginx/reverse.proxy.com.access.log;
    location / {
        proxy_set_header    Host    $host;
        proxy_set_header    X-Forwarded-Host       $host;
        proxy_set_header    X-Forwarded-Server    $host;
        proxy_set_header    X-Forwarded-For    $proxy_add_x_forwarded_for;
        proxy_set_header X-Real-IP $remote_addr;
        proxy_pass http://192.168.100.101:3000;
    }

    listen 443 ssl; # managed by Certbot
    ssl_certificate /etc/letsencrypt/live/reverse.proxy.com/fullchain.pem; # managed by Certbot
    ssl_certificate_key /etc/letsencrypt/live/reverse.proxy.com/privkey.pem; # managed by Certbot
    include /etc/letsencrypt/options-ssl-nginx.conf; # managed by Certbot
    ssl_dhparam /etc/letsencrypt/ssl-dhparams.pem; # managed by Certbot

}
server {
    ...
}
運用後のトラブル
Notification of SYSTEM FAULTのエラーメール対応
アクセスが多いときに次のエラーが頻繁に来るようになったのでnginxのパフォーマンスの調整を行う(failureのスペルが間違っているのが気になるが残念ながらそれは直せない...)
1642582870.361860 [2022/01/19 18:01:10] ###ERROR### [80402]: apr_dbm_open_ex(/opt/jp-secure/siteguardlite/tmp/filter.db) faiulre. ret=24
# vi /etc/nginx/nginx.conf
デフォルトでworkerの数が1になっていたがautoに変更し、core数に応じたprocess数が立ち上がるようにする
また各workerの扱えるファイル数の上限を上げる(参考:https://qiita.com/mikene_koko/items/85fbe6a342f89bf53e89)
worker_processes auto; #値変更
worker_rlimit_nofile 4096; #新規追加
nginxの再起動で反映
systemctl restart nginx
ログの肥大化対応
ソースからインストールした場合はnginxのログローテーションがされておらず、気づいたらログが5GBにもなっていたのでローテーションの設定追加
# vi /etc/logrotate.d/nginx
以下内容
/var/log/nginx/*log {
        daily
        missingok
        rotate 52
        compress
        delaycompress
        notifempty
        create 640 nginx adm
        sharedscripts
        postrotate
                if [ -f /var/run/nginx.pid ]; then
                        kill -USR1 `cat /var/run/nginx.pid`
                fi
        endscript
}
以上です。