Next.jsとは?
Next.jsは、Vercel社によって開発されたReactベースのフロントエンドフレームワークです
Next.jsを使うことでReactだけではできないSSR/SG・headの変更・動的なルーティングなど
を可能にします
特徴
Next.jsには、パフォーマンス、SEOやアプリケーション開発の効率化に関わる
ルーティング, SSR・ SG(SSG), イメージに関する機能が事前に組み込まされています
・動的なルーティング
Reactではプラグインを使用することでルーティングを可能にしていたが、
Next.jsではLinkコンポーネントを用いるだけでルーティングが使用でき、
getStaticPathsやgetStaticPropsを使用することでダイナミックルーティングなど、
動的なルーティングが可能になる
・SSRとSG
Next.jsではReactではできなかったSG・SSRの切り替えができるようになり、
SPAだけでは難しかったSEO対策、パフォーマンスの向上が見込める
SG(SSG) とは...
Static Generation の略で、 npm run build などビルドされるタイミングで、
依存関係にあるHTMLが事前に生成され、表示をより高速化することができる
SSRとは...
Server side Renderingの略で、リクエストが起こる度に サーバ側でHTMLを生成され、
ページを常に最新状態に維持することができる
・画像の最適化
Next.jsでは、Imageコンポーネントを使用することでブラウザが
サポートしている場合にはWebPのような最新の形式で画像をリサイズ、最適化ができる
Next.jsをセットアップしよう
※node環境が無い場合はあらかじめインストールしてください
- 開発環境
macOS Big Sur 11.6 (M1, 2020)
node 14.18.1
npm 6.14.15
・Next.jsのインストール
npx create-next-app@latest --ts
# or
yarn create next-app --typescript
npxまたはyarnでNext.jsのインストールをします
npx: 1個のパッケージを1.628秒でインストールしました。

? **What is your project named?** › 任意のプロジェクト名
作成するプロジェクト名を聞かれるので入力
cd 任意のプロジェクト名
インストールが完了したら任意のプロジェクトディレクトリに移動
npm run dev
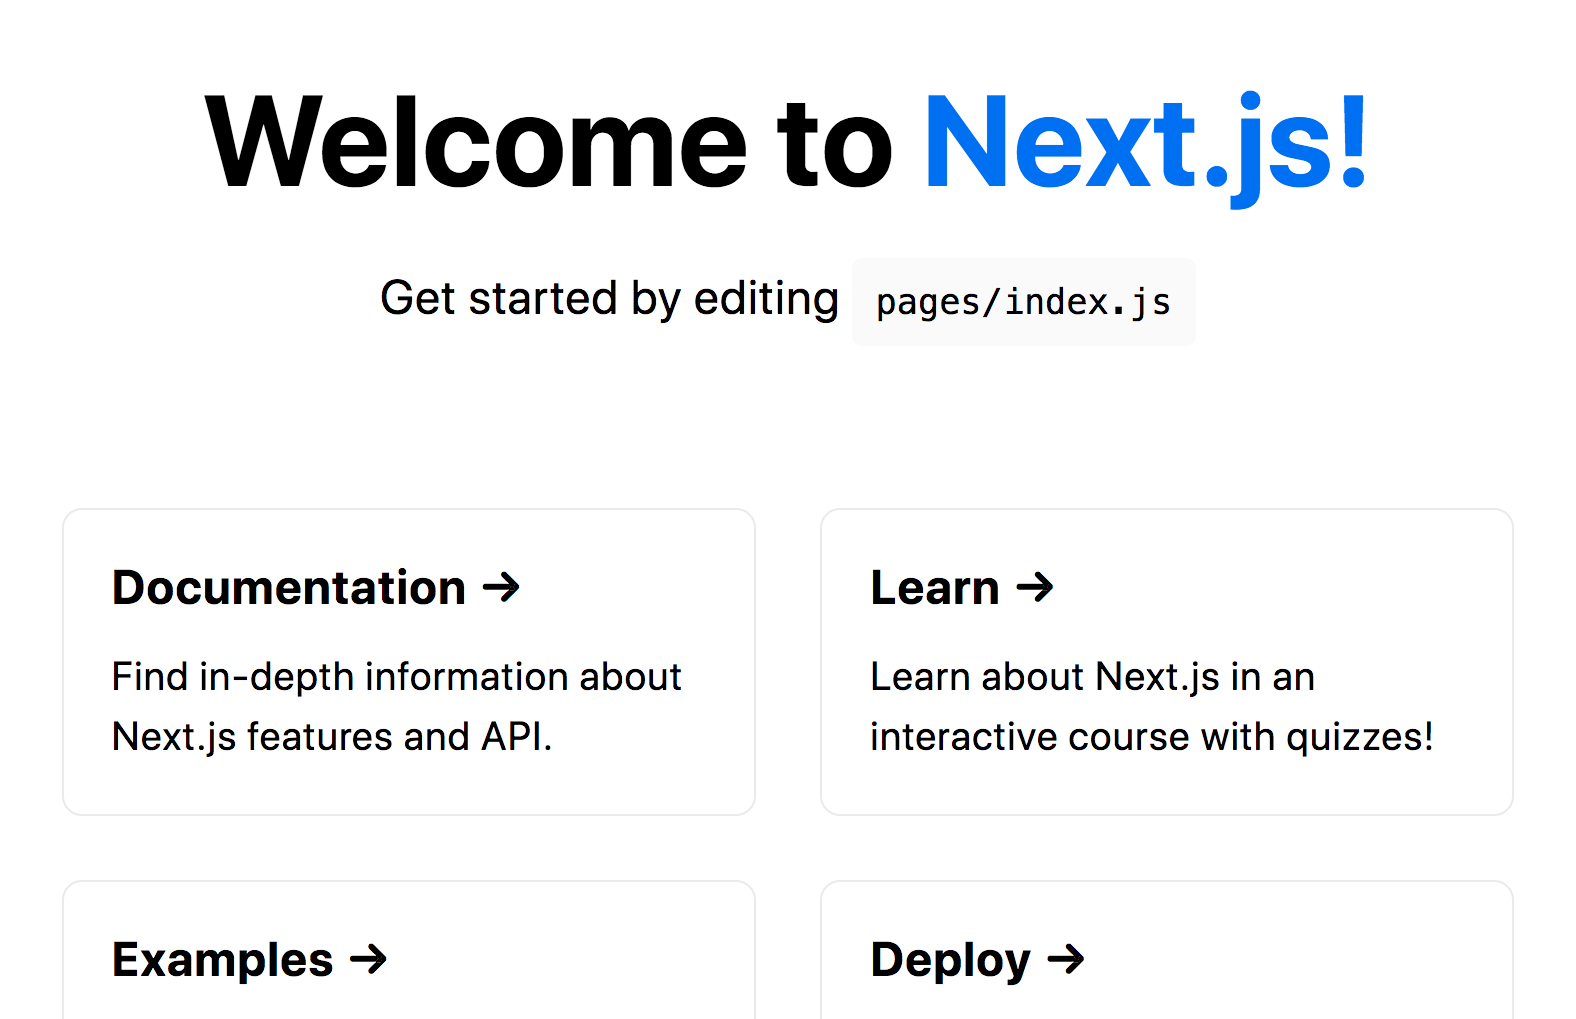
コマンドを実行し、http://localhost:3000/でNext.jsのサイトが表示されれば環境構築成功です
Next.jsでToDoアプリを作ってみよう
今回はNext.js+TypeScriptを使用して
簡単なToDoアプリを作成していきます
作成するディレクトリ構造は以下のようになります
pages
 ├── _app.tsx
 ├── componets
 │   ├── Form.tsx
 │   ├── Header.tsx
 │   ├── TodoContents.tsx
 │   └── index.tsx
 └── index.tsx
public
  └── img
      └── logo.png
styles
  ├── css
  │   └── reset.css
  └── sass
      ├── _config.scss
      └── style.module.scss
やること
- ToDo項目の作成
- ToDoの進捗状態のタスク切り替え
やらないこと
- DBへの接続・保存
- ToDoの編集
- 動的なルーティング
1.スタイルの作成
今回はスタイルの説明を省略するため、GitHubから取得し、
Styelsとpublicに必要なファイルを追加、_app.tsxを以下のように書き直し、
reset.cssを適用してください
スタイルはこちら:GitHub
import type { AppProps } from "next/app";
import "../styles/css/reset.css";

function MyApp({ Component, pageProps }: AppProps) {
	return <Component {...pageProps} />;
}

export default MyApp;
また、sassを使用しているためインストールしてください
npm install sass
2.ToDoアプリのコンポーネントを作成
ToDoアプリに必要な機能をHeader.tsx, TodoContents.tsx, Form.tsxの
3つのコンポーネントに分けて作成していきます
まず、Header.tsxを作成します
import Link from "next/link";
import Image from "next/image";
import logo from "../../public/img/logo.png";
import styles from "../../styles/sass/style.module.scss";

const Header = () => {
	return (
		<>
			<header className={styles.header}>
				<Link href="/">
					<a className={styles.header_logo}>
						<Image src={logo} alt="LOGO" />
					</a>
				</Link>
			</header>
		</>
	);
};

export default Header;
Next.jsではLinkコンポーネントを使用することでルーティングを実現できます
使用方法もLinkコンポーネントをインポートしてくるだけなのでとても簡単です
import Link from "next/link";
ロゴ部分はImageコンポーネントを使用することで可読性が良くなります
また、画像拡張子をWebPなどの最適な拡張子に自動で変換されるため、
表示速度が格段に上がります
/*imgタグの書き方*/
<img src="./assets/img/logo.png" alt="LOGO">


/*Imageコンポーネントの書き方*/
import Image from "next/image";
import logo from "../../public/img/logo.png";

<Image src={logo} alt="LOGO" />
次にTodoContents.tsxを作成します
このコンポーネントでは、ToDoの一覧機能、絞り込み機能を作成していきます
Formコンポーネントから受け取る値を配列にしているため、
一覧機能、絞り込み機能は配列を操作するメソッドを使用して実装しています
import { useState } from "react";
import Form from "./Form";
import styles from "../../styles/sass/style.module.scss";

const TextContents = () => {
	const [todos, setTodos] = useState([]);
	const [todoStatus, setTodoStatus] = useState("全て");

	const todoProcess = ["全て", "完了", "未完了"];

	//Formコンポーネントから渡された値を格納していく
	const getTodo = (id, todo, status) => {
		setTodos([...todos, {id, todo, status }]);
	};

	//完了・未完了の場合のTodoをソートする
	const filterTodos = () => {
		if (todoStatus === "完了") {
			const completeTodos = todos.filter(value => value.status === true);

			return completeTodos;
		}else if (todoStatus === "未完了") {
			const incompleteTodos = todos.filter(value => value.status === false);

			return incompleteTodos;
		}

		return todos;
	};

	//Todoが完了・未完了かを切り替える
	const isTodoChangeStatus = (id) => {
		const changeStatus = todos.map( index => {
			if (index.id === id) {
				index.status = !index.status ;
			}
			return index;
		})

		setTodos(changeStatus)
	};

	return (
		<main>
			<Form addTodo={getTodo}/>
			<div className={styles.contents}>
				<div className={styles.contents_tabs}>
					{todoProcess.map((status, index) => {
						return (
							<button
								className={`${styles.contents_tabs_tab} ${todoStatus === status && styles.is_active}`}
								key={index}
								onClick={() => setTodoStatus(status)}>
									{status}
							</button>
						)
					})}
				</div>
				{filterTodos().map((value, index) => {
					return (
						<li className={styles.list_item} key={index}>
							<p className={`${styles.list_item_ttl} ${value.status && styles.is_done_item_ttl}`}>
							  {value.todo}
							</p>
							<button
							  className={`${styles.list_item_button} ${value.status && styles.is_done_item_button}`}
							  onClick={() => isTodoChangeStatus(value.id)}>
								完了
							</button>
						</li>
					)
				})}
			</div>
		</main>
	);
};

export default TextContents;
ソート機能はfilterメソッドを使い指定された配列からコールバック関数の条件に該当する
要素を持つ新しい配列を作成します
const filterTodos = () => {

        if (todoStatus === "完了") {
            //この場合はtodosのstatusがtureのものだけ取得する
            const completeTodos = todos.filter(value => value.status === true);
            return completeTodos;
        }else if (todoStatus === "未完了") {
            //この場合はtodosのstatusがfalseのものだけ取得する
            const incompleteTodos = todos.filter(value => value.status === false);
            return incompleteTodos;
        }

        return todos;
    };
一覧機能はmapメソッドを使い指定された配列要素を1個ずつ呼び出し
新しい配列としてreturnの形で返します
{filterTodos().map((value, index) => {
     return (
       <li className={styles.list_item} key={index}>
          <p className={`${styles.list_item_ttl} ${value.status && styles.is_done_item_ttl}`}>
             {value.todo}
          </p>
          <button
            className={`${styles.list_item_button} ${value.status && styles.is_done_item_button}`}
            onClick={() => isTodoChangeStatus(value.id)}>
            完了
           </button>
        </li>
      )
 })}
TodoContents.tsxで扱うForm.tsxを作成していきます
Form.tsxではユニークIDをuuid.jsを使い作成するのでインストールします
npm install uuid
TodoContents.tsxからpropsで渡ってきたgetTodo関数にsetTodoを渡します
その際、ユニークidをuuid()で作成します
追加ボタンには空欄で追加できないよう、アラート表示をします
import { useState } from "react";
import { v4 as uuidv4 } from 'uuid';
import styles from "../../styles/sass/style.module.scss";

const Form = (props) => {
	const [text, setText] = useState("");

	const submitText = () => {
	    if (text === "") {
	 		alert("Todoを入力してください");
			return;
		}

        props.addTodo(uuidv4(), text, false);
		setText("");
     }

	return (
		<form className={styles.form}>
			<input
				className={styles.form_txt}
				type="text"
				placeholder="TODO"
				value={text}
				onChange={e => setText(e.target.value)}
			/>
			<button className={styles.form_submit} type="button" onClick={submitText}>
				追加
			</button>
		</form>
	);
};

export default Form;
3.Todoアプリを画面に表示する
必要なコンポーネントは作成できたのでindex.tsxに追加していきます
ここで使用しているHeadコンポーネントはSEO対策をする際に重要になってくる
メタデータやタイトルを各ページごとに設定することができるようになります
詳しくは公式ドキュメント:next/head
import Head from "next/head";
import Header from "./componets/Header";
import TodoContents from "./componets/TodoContents";

const App = () => {

	return (
		<>
			<Head>
				<link rel="stylesheet" href="./assets/css/reset.css" />
				<title>Next.js-ToDo</title>
				<meta charSet="utf-8" />
				<meta http-equiv="X-UA-Compatible" content="IE=edge" />
				<meta name="viewport" content="width=device-width, initial-scale=1" />
			</Head>
			<Header />
			<TodoContents/>
		</>
	);
};

export default App;
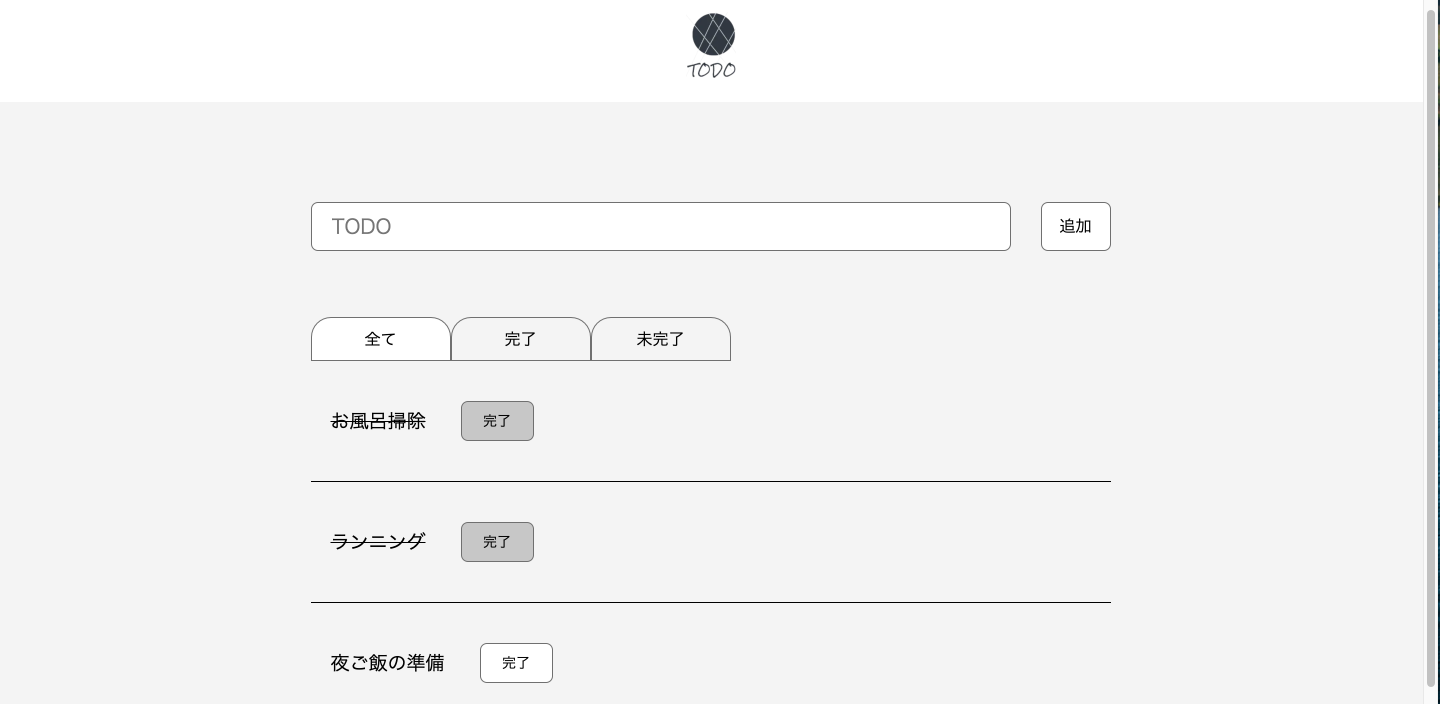
これでToDoアプリが作成できたので画面に表示させてみましょう
npm run dev
コマンドを実行後、http://localhost:3000/でToDo画面が表示せれれば完成です
お疲れ様でした
Next.js 使ったみた感想
元々Reactを使ったことがありNext.jsは知っていましたが実際に勉強してみると
プラグインで使っていた機能が標準で備わっていたりしたので、Reactに触れてから
Next.jsに取り組めば恩恵を感じられると思います
今回のToDoアプリでは使用しなかった動的ルーティング、画像のサイズや拡張子の最適化など
Next.jsには便利な機能が多いので興味があれば勉強してみてください
参考サイト
Next.js公式
Next.js 10 の新機能 next/image のオプション全部触ってみる
Next.jsのルーティング

