デモアプリの構成
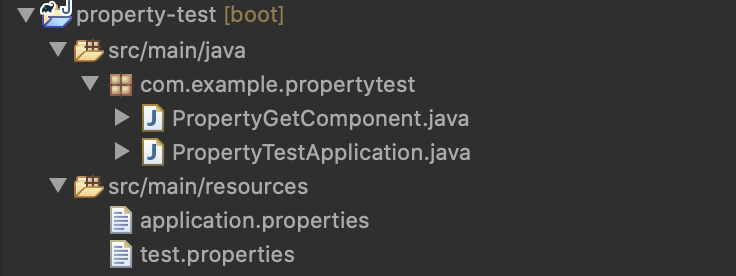 src/main/resources/test.properties
が追加したプロパティファイル。
このファイルから、値を取得する。
src/main/resources/test.properties
が追加したプロパティファイル。
このファイルから、値を取得する。
 プロパティファイル内は、↑の状態。
# @PropertySource でEnvironmentにプロパティファイルを追加する
```java
import org.springframework.boot.SpringApplication;
import org.springframework.boot.autoconfigure.SpringBootApplication;
import org.springframework.context.annotation.PropertySource;
プロパティファイル内は、↑の状態。
# @PropertySource でEnvironmentにプロパティファイルを追加する
```java
import org.springframework.boot.SpringApplication;
import org.springframework.boot.autoconfigure.SpringBootApplication;
import org.springframework.context.annotation.PropertySource;
@SpringBootApplication
@PropertySource("classpath:test.properties")
public class PropertyTestApplication {
public static void main(String[] args) {
	SpringApplication.run(PropertyTestApplication.class, args);
}
}
@PropertySource()の引数に、プロパティファイルのパスを指定してやれば、Environmentに追加できる。

@PropertySourceは、@Configurationと一緒に宣言する必要があるが、
@SpringBootApplication内で、@Configurationが宣言されているため特別に宣言する必要はない。

[@PropertySourceのレファレンスはこちら](https://docs.spring.io/spring/docs/current/javadoc-api/org/springframework/context/annotation/PropertySource.html)

# env.getProperty()で取得する。
```java
import org.springframework.beans.factory.annotation.Autowired;
import org.springframework.core.env.Environment;
import org.springframework.stereotype.Component;

@Component
public class PropertyGetComponent {

	@Autowired
	Environment env;

	public void printProperty() {
		String value = env.getProperty("test.property.key");
		System.out.println("取得した値は[ " + value + " ] です。");
	}

}
printProperty()の実行結果は↓
取得した値は[ test value ] です。
env.getProperty()で追加したプロパティファイルから、値を取得することができた![]()