目的
自分用のRailsでHello Worldの表示。今回はmacでの環境設定。
Windowsは次回。。。。
開発環境
macOS Big Sur
Visual Studio Code
バージョン
Rails 5.2.3
Ruby 2.7.0
rbenv 1.1.2
Bundler 2.1.4
初期設定
1 . Homebrewのインストール
terminal
$ /bin/bash -c "$(curl -fsSL https://raw.githubusercontent.com/Homebrew/install/HEAD/install.sh)"
2 . rbenvのインストール
Rubyのバージョン管理ツールrbenvのダウンロード
terminal
$ brew install rbenv ruby-build
3-1 . Rubyのインストール
最新版(2.7.0)をインストール
terminal
$ rbenv install --list
$ rbenv install 2.7.0
$ rbenv global 2.7.0
$ ruby -v
3-2 . PATHを通す
terminal
$ touch ~/.bash_profile # ホームディレクトリに.bash_profileを作成
$ touch ~/.bashrc       # ホームディレクトリに.bashrcを作成
$ echo '# rbenv' >> ~/.bash_profile
$ echo 'export PATH=~/.rbenv/bin:$PATH' >> ~/.bash_profile
$ echo 'eval "$(rbenv init -)"' >> ~/.bash_profile
$ source ~/.bash_profile
4 . Bundleのインストール
Railsのバージョン管理ツールのダウンロード
terminal
$ gem install bundler
$ bundle -v
5 . Railsのインストール
terminal
$ gem install -v 5.2.3 rails
$ gem list rails

*** LOCAL GEMS ***

rails (6.0.2.1, 5.2.3)
rails-dom-testing (2.0.3)
rails-html-sanitizer (1.3.0)
sprockets-rails (3.2.1)
6 . データベースのインストール
sqlite3
terminal
$ gem install sqlite3 @[バージョン]
postgresql
terminal
$ brew install postgresql @[バージョン]
MySQL
terminal
$ brew install mysql @[バージョン]
$ mysql.server start
7 . プロジェクト作成・導入〜起動
workspace
$ rails _5.2.3_ new my-app
workspace/my-app
$ cd my-app
$ bundle install --path vendor/bundle
$ rails server
→ Gemfileからインストールする方法もある
応用
bootstrap4の導入
Gemfile
gem 'bootstrap', '~> 4.3.1'
gem 'jquery-rails'
my-app
$ bundle install
app/assets/javascripts/application.js
//= require jquery3
//= require popper
//= require bootstrap-sprockets
→ 文末には記述しない
app/assets/stylesheets/application.css→application.scss(rename)
@import "bootstrap";
ルーターとMVC開発
my-app
$ rails g controller users index
ルーター
my-app/config/routes.rb
Rails.application.routes.draw do
  get 'users/index'
  # For details on the DSL available within this file, see https://guides.rubyonrails.org/routing.html
end
①モデル
my-app/app/models
$ 省略
②コントローラー
my-app/app/controllers/users_controller.rb
class UsersController < ApplicationController
  def index
    @message = 'Hello World'
  end
end
③ビュー
my-app/app/views/users/index.html.erb
<div class="row">
<div class="col-1">
</div>
<div class="col-4">
<h1><%= @message %></h1>
</div>
</div>
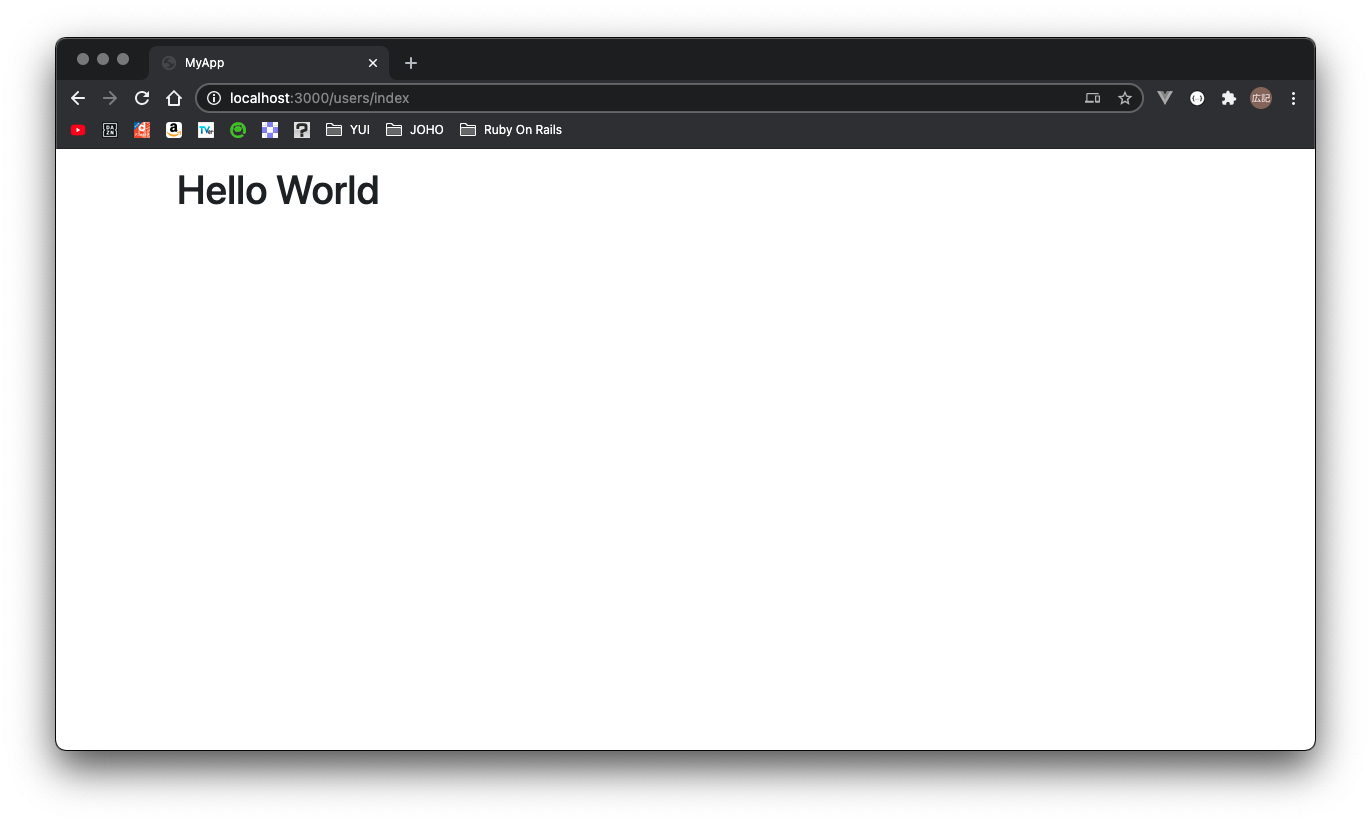
結果
おまけ
復元するとき
my-app
$ bundle update
バックグランドで残っているとき
terminal
$ rm ./tmp/pids/server.pid //process idを消す