はじめに
機械学習およびディープラーニングの代表的なライブラリ/フレームワークの一つであるChainerに関して、初めて動かす人向けのメモです。
tensorflowとか特にCaffeに比べて環境構築が大変簡単だなあという印象です。
TensorFlow 環境構築 + fully_connected_feed.py 実行を3分でやってみるという記事で、TensorFlowに関して、環境の構築と、サンプルの実行まで書きましたが、この記事ではChainerについてもう少し詳しく調べていろいろまとめたいと思います。(これからも随時編集していきます)
この記事では __Ubuntuの場合とOSX__の場合を紹介します。
OS X 環境構築 + サンプル実行
環境
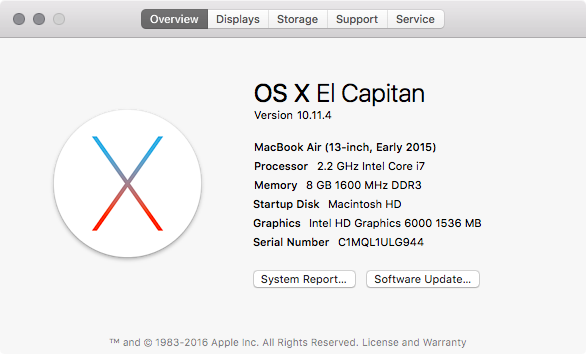
- OSX 10.11.4 El Capitan
- Python 2.7.10
$ python -V
Python 2.7.10
手順
[1]. 環境構築
pipとかが入っていない場合はsudo easy_install pipで入れてあげて、以下のようにchainer環境を整えます。
$ sudo easy_install pip
$ sudo pip install --upgrade virtualenv
ここで、他のPython環境でいろいろ問題を起こさないように、仮想環境としてchainerというディレクトリを用意します。
$ mkdir ~/chainer
$ virtualenv --system-site-packages ~/chainer
いよいよ、仮想環境内でchainerをインストールします。
$ source ~/chainer/bin/activate
(chainer) $ pip install chainer
何とこれだけ!
また補足として、$ deactivateで抜けることができます。
[2]. チュートリアルのコードの準備
(chainer)$ cd workdir
(chainer)workdir$ git clone https://github.com/pfnet/chainer.git
[3]. チュートリアルのコードの実行
(chainer)workdir$ python chainer/examples/mnist/train_mnist.py
GPU: -1
# unit: 1000
# Minibatch-size: 100
# epoch: 20

Downloading from http://yann.lecun.com/exdb/mnist/train-images-idx3-ubyte.gz...
Downloading from http://yann.lecun.com/exdb/mnist/train-labels-idx1-ubyte.gz...
Downloading from http://yann.lecun.com/exdb/mnist/t10k-images-idx3-ubyte.gz...
Downloading from http://yann.lecun.com/exdb/mnist/t10k-labels-idx1-ubyte.gz...
epoch       main/loss   validation/main/loss  main/accuracy  validation/main/accuracy  elapsed_time
1           0.190416    0.104004              0.94345        0.9684                    17.5941
2           0.076082    0.0811159             0.976417       0.9736                    36.9471
3           0.0471095   0.0981369             0.984867       0.9702                    56.9719
4           0.0350777   0.0761874             0.9886         0.9781                    77.4668
5           0.0282012   0.0867539             0.991067       0.9774                    98.3472
6           0.0248647   0.0695007             0.9919         0.9801                    119.961
7           0.0210343   0.0767947             0.99305        0.9808                    141.635
8           0.0176813   0.0905643             0.994          0.9777                    163.806
9           0.0178874   0.0723692             0.99425        0.9826                    186.365
10          0.0136274   0.0707852             0.995917       0.9832                    209.43
11          0.0131937   0.113052              0.9958         0.9755                    233.096
12          0.0128028   0.0889003             0.996083       0.9803                    257.344
13          0.0112644   0.110072              0.9965         0.9792                    282.586
14          0.0139703   0.0881926             0.995267       0.9828                    308.389
15          0.0122166   0.104037              0.996317       0.9808                    335.018
16          0.00773986  0.107721              0.997583       0.9815                    362.33
17          0.00971623  0.094353              0.996933       0.9809                    390.071
18          0.0107869   0.0942736             0.996717       0.9832                    418.135
19          0.0114094   0.096485              0.99665        0.9822                    449.07
20          0.00670194  0.0999182             0.997883       0.9852                    481.826
みたいになれば成功です!
Ubuntu 環境構築 + サンプル実行
環境
- Ubuntu 14.04.5
$ lsb_release -a
LSB Version:	core-2.0-amd64:core-2.0-noarch:core-3.0-amd64:core-3.0-noarch:core-3.1-amd64:core-3.1-noarch:core-3.2-amd64:core-3.2-noarch:core-4.0-amd64:core-4.0-noarch:core-4.1-amd64:core-4.1-noarch:security-4.0-amd64:security-4.0-noarch:security-4.1-amd64:security-4.1-noarch
Distributor ID:	Ubuntu
Description:	Ubuntu 14.04.5 LTS
Release:	14.04
Codename:	trusty
- Python 2.7.6
$ python -V
Python 2.7.6
手順
OSX環境と全く同じです!
画風を変換するアルゴリズムを試してみる
このセクションで試してみる画風を変換するアルゴリズムは、__Ubuntuの場合とOSX__の場合共通です。
Chainerの仮想環境に入ります。
$ source ~/chainer/bin/activate
任意のディレクトリに移動し、今回動かす画風を変換するアルゴリズムのソースコードをgithubからcloneしてきます。
(chainer)$ cd workdir
(chainer)workdir$ git clone git@github.com:mattya/chainer-gogh.git
その後に、
(chainer)workdir$ cd chainer-gogh
(chainer)workdir/chainer-gogh$
の状態にしておきましょう。
ここで、このアルゴリズムでは、Caffeのモデルを使うため、こちらからダウンロードし同じディレクトリーに配置します。
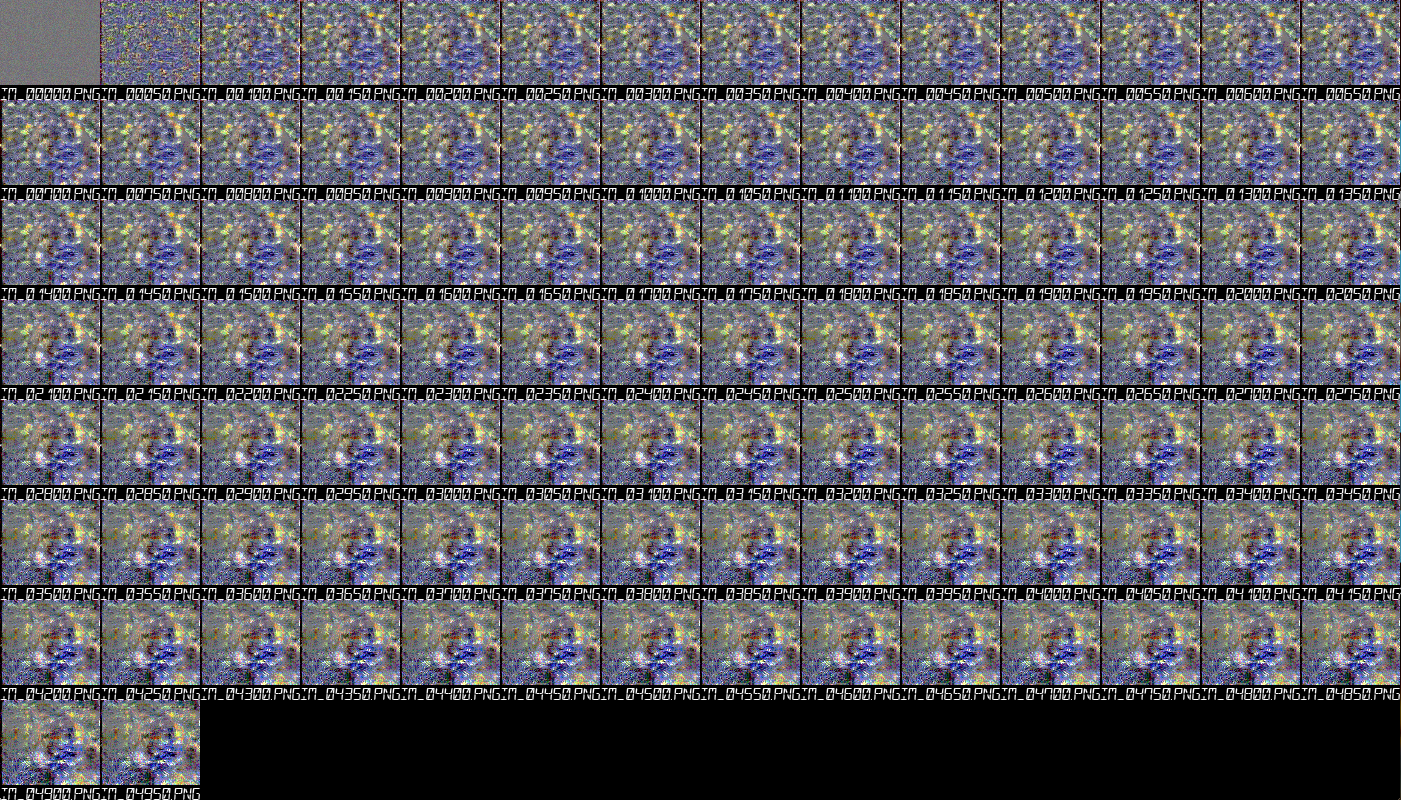
最後に画風の変換を実行します。
すると、以下のような画面は出ませんが、順々に画風変換後の画像がpng形式でoutput_dirディレクトリに出力されていきます。連番の番号の大きな画像ほど、後に出力され、いい感じになってきます。以下が実行のコマンドです。ただしこのまま試すと、以下のようにエラーが出るので、、
(chainer)workdir/chainer-gogh$ python chainer-gogh.py -m vgg -i sample_images/cat.png -s sample_images/style_0.png -o sample_images -g -1
Traceback (most recent call last):
  File "chainer-gogh.py", line 7, in <module>
    from PIL import Image
ImportError: No module named PIL
以下のように、もう一段落Pillowをインストールするという操作を挟んで実行しましょう。
(chainer)workdir/chainer-gogh$ pip install Pillow
Collecting Pillow
  Downloading Pillow-3.4.2-cp27-cp27m-macosx_10_6_intel.macosx_10_9_intel.macosx_10_9_x86_64.macosx_10_10_intel.macosx_10_10_x86_64.whl (3.4MB)
    100% |████████████████████████████████| 3.5MB 314kB/s
Installing collected packages: Pillow
Successfully installed Pillow-3.4.2
(chainer)workdir/chainer-gogh$ python chainer-gogh.py -m vgg -i sample_images/cat.png -s sample_images/style_0.png -o sample_images -g -1
このコマンドでは、sample_images/cat.pngという画像を、sample_images/style_0.pngという画像の画風に変換します。
(chainer)workdir/chainer-gogh$ python chainer-gogh.py -m vgg -i sample_images/cat.png -s sample_images/style_0.png -o sample_images -g -1
load model... nin_imagenet.caffemodel
('image resized to: ', (1, 3, 435, 435))
('image resized to: ', (1, 3, 435, 428))
0 0 0.0 132.33581543
0 1 0.0 16.8572692871
0 2 5.28033351898 0.127215072513
0 3 0.52776414156 0.00720807584003
100 0 0.0 0.917560875416
100 1 0.0 0.521785616875
~~//略//~~
4900 2 1.104362607 0.072212561965
4900 3 0.0635322630405 0.000989900669083
みたいなのが出ればたぶん成功です。