はじめに
サーバレス構成の構築が実際のサービスとして、どう使われるのか気になったので、実際に自分で構築してみることにしました。
今回もChatGPT4oの力をお借りして、作業を実施させていただきました。
全体構成図(概要)
Slack → [API Gateway] → [AWS Lambda (Python)] → 任意の処理(例:Slackに返信)
構築手順
Step 1: Slackアプリを作成
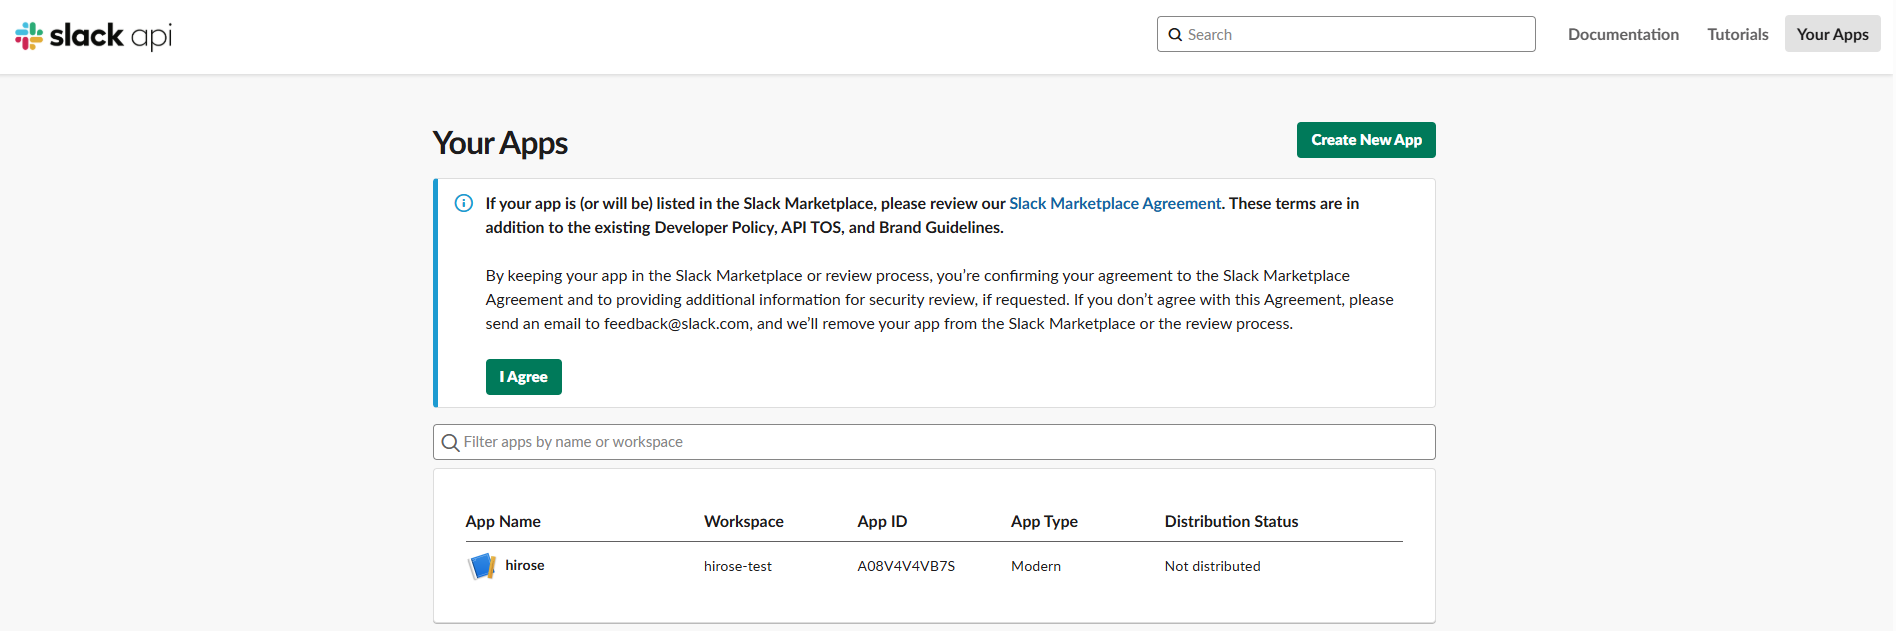
1. Slack API管理画面https://api.slack.com/apps にアクセス
2. 「Create New App」→ From scratch を選択
3. 名前とワークスペースを指定し、アプリ作成
Step 2: Bot権限(スコープ)を設定
1. 左メニュー「OAuth & Permissions」を開く
2. 「Bot Token Scopes」に以下を追加:
・chat:write メッセージ送信
・app_mentions:read メンション受信
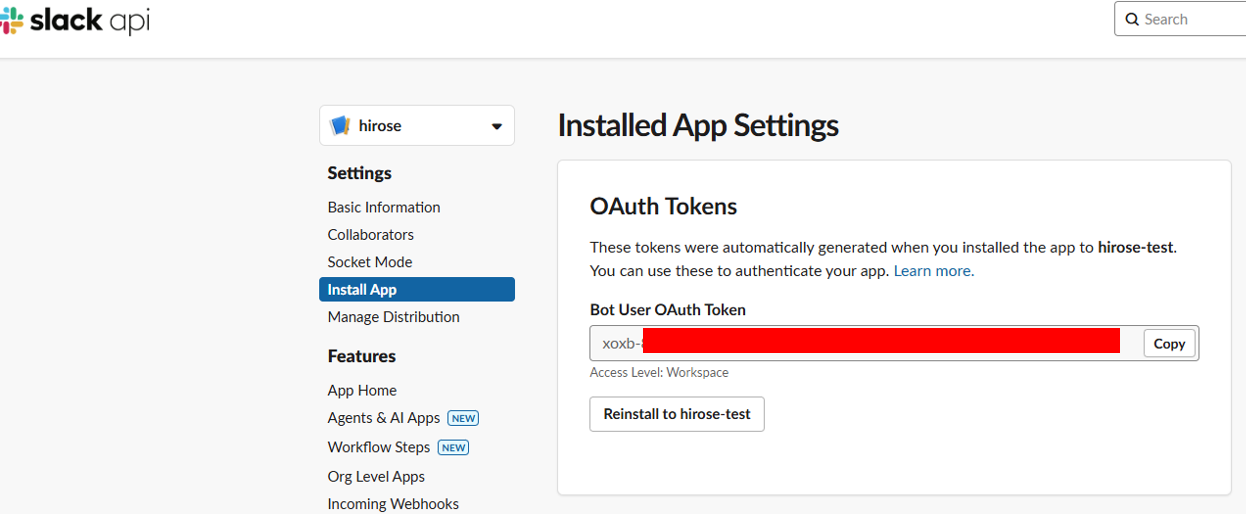
3.Install App を押してインストール
→ Bot User OAuth Token(xoxb-xxxx...) をコピーしておく
Step 3: Slackイベントの設定
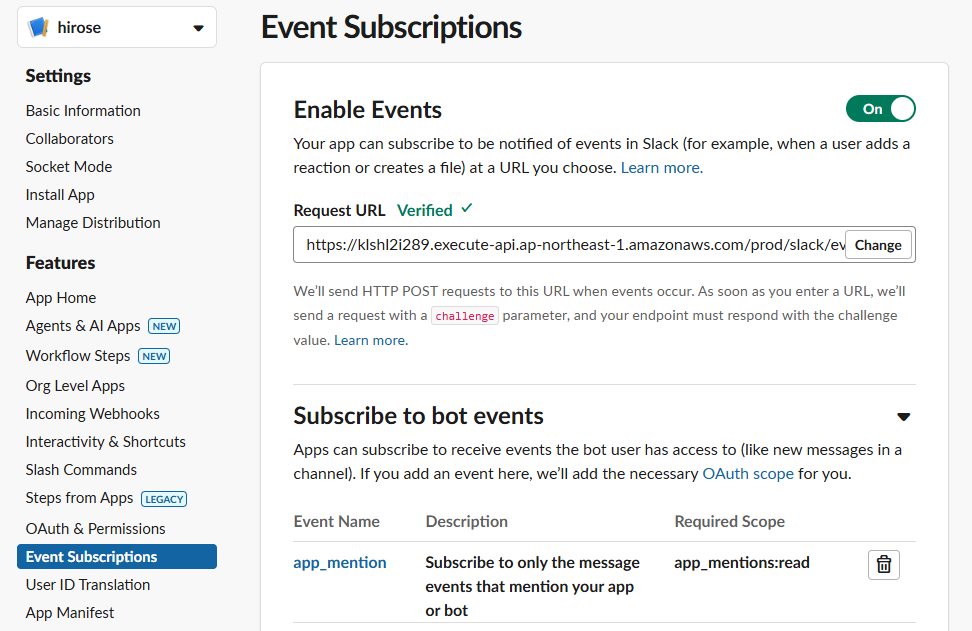
1. 左メニュー「Event Subscriptions」 → ON
2. Request URL に API Gateway のURLを設定(あとで)
3. 「Subscribe to Bot Events」→ app_mention を追加
Step 4: Lambda関数(Python)を作成
✅ Lambdaコード例(Slack応答)
import json
import os
import urllib.request

SLACK_TOKEN = os.environ['SLACK_BOT_TOKEN']

def lambda_handler(event, context):
    print("Received event:", event)

    # Slack Event Challengeに対応
    body = json.loads(event['body'])
    if 'challenge' in body:
        return {
            "statusCode": 200,
            "body": body['challenge']
        }

    if body.get("event") and body["event"].get("type") == "app_mention":
        user = body["event"]["user"]
        channel = body["event"]["channel"]
        text = body["event"]["text"]
        send_slack_message(channel, f"Hi <@{user}>, you said: {text}")

    return {
        'statusCode': 200,
        'body': 'OK'
    }

def send_slack_message(channel, text):
    url = "https://slack.com/api/chat.postMessage"
    headers = {
        "Content-Type": "application/json",
        "Authorization": f"Bearer {SLACK_TOKEN}"
    }
    data = json.dumps({
        "channel": channel,
        "text": text
    }).encode("utf-8")
    req = urllib.request.Request(url, data=data, headers=headers)
    with urllib.request.urlopen(req) as res:
        print(res.read())

Step 5:Lambdaの設定
・ランタイム:Python 3.9
・環境変数に Slack Bot Token を設定(SLACK_BOT_TOKEN)

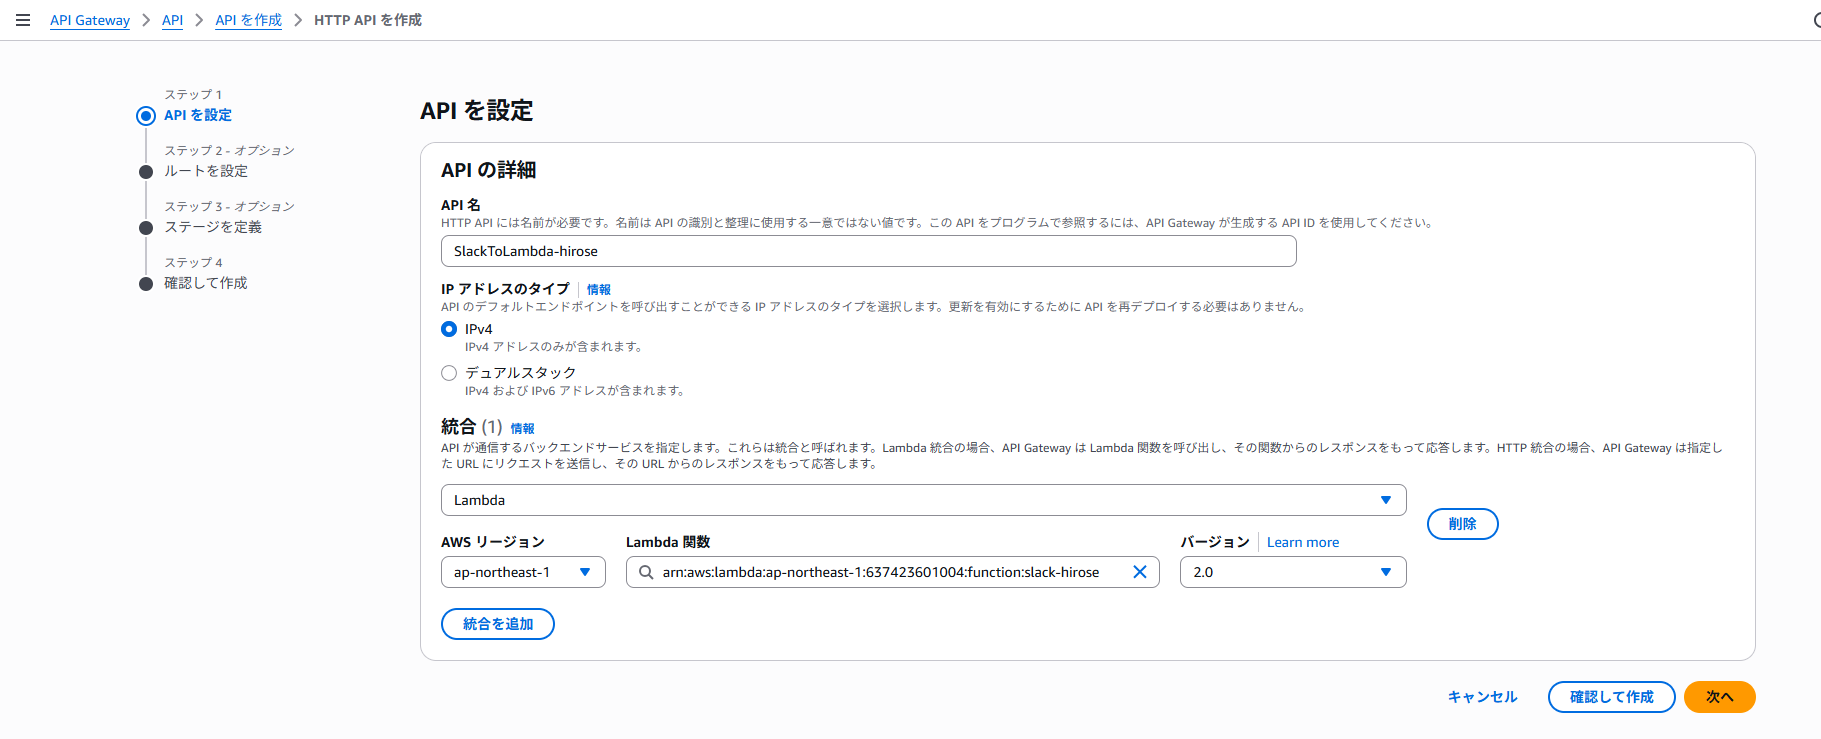
Step 6: API Gateway の設定
・新しい HTTP API を作成(もしくは REST API)
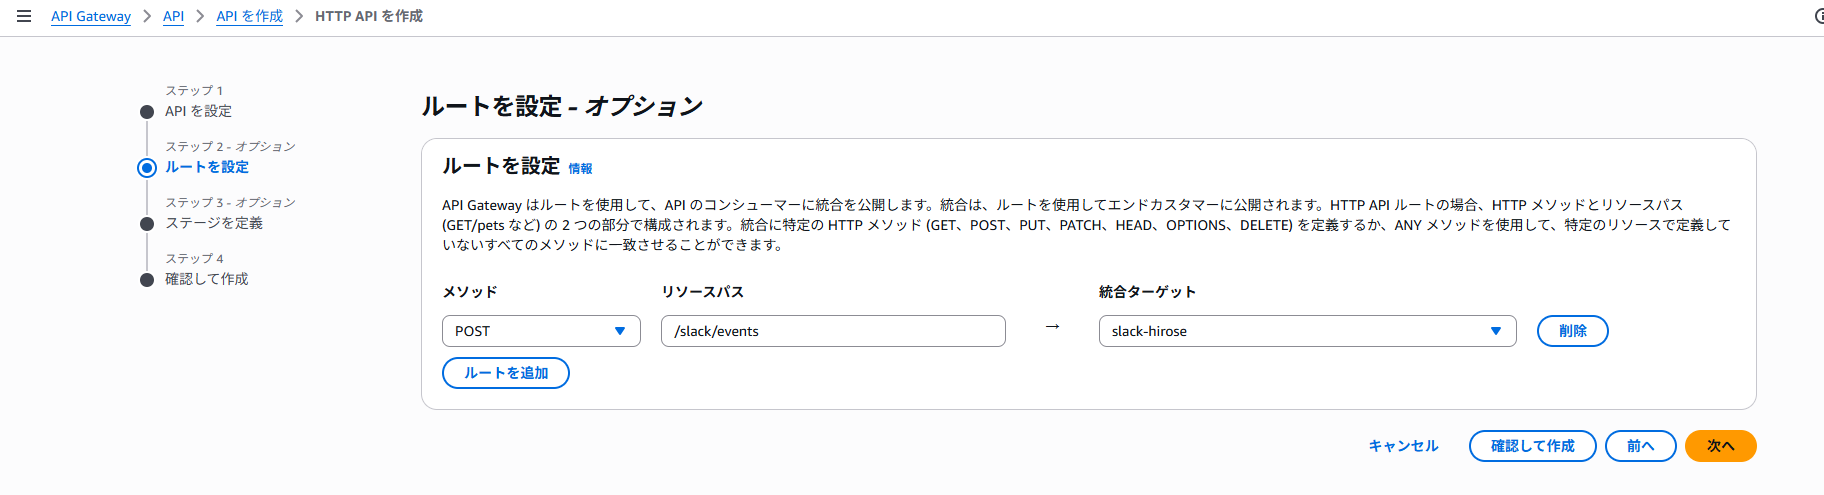
・POST /slack/events のルートを作成
・統合先に先ほどの Lambda を指定
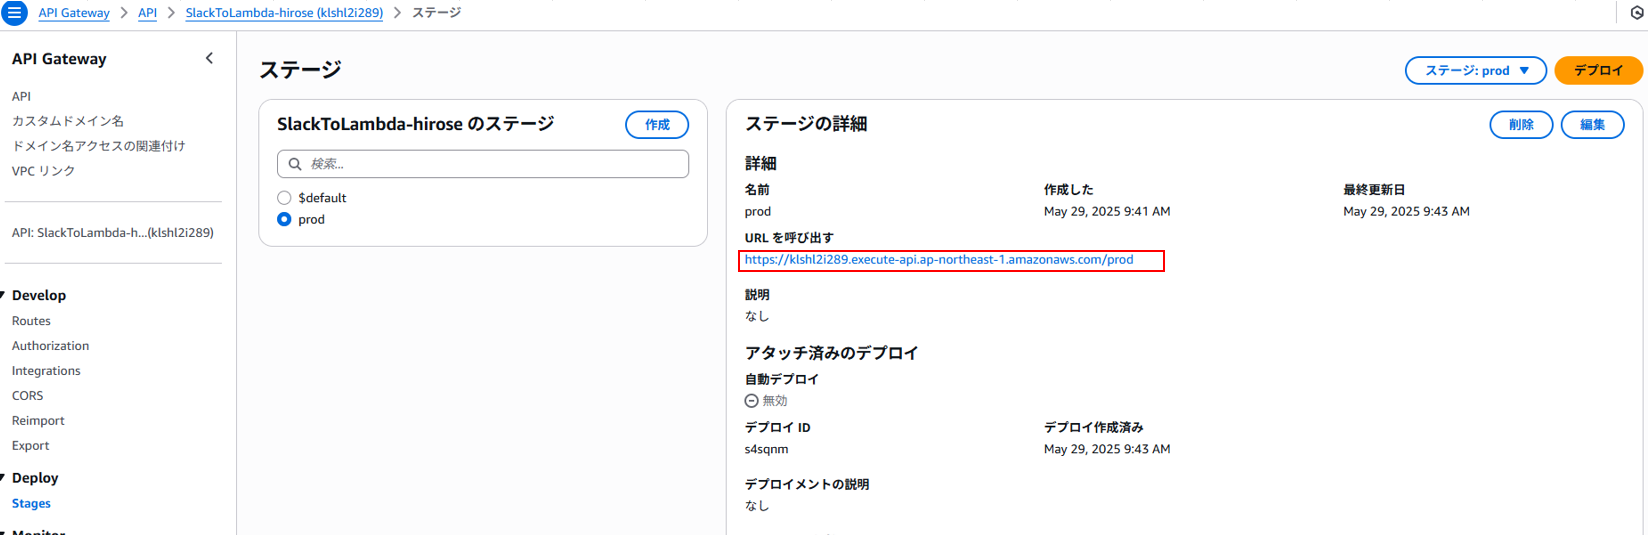
・新規でステージ(prod)を作成し、デプロイ
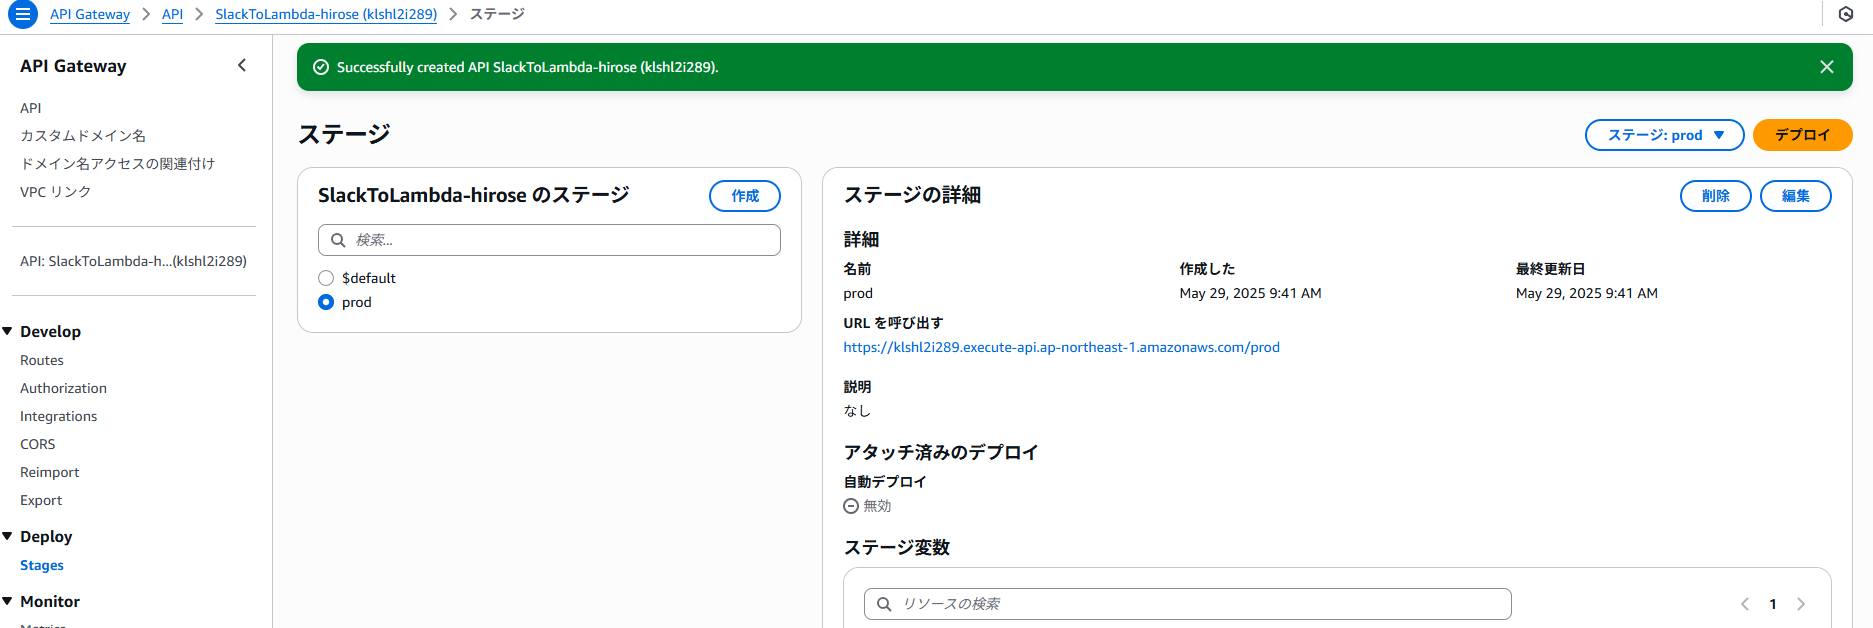

・デプロイ後、エンドポイント URL をコピー
→ これを Slack の「Event Subscription URL」に設定
Step 7:Slack 側で検証と有効化
・Slack の Event Subscriptions に戻り、先ほどの URL を貼り付け

・これだけだとエラーが返ってしまうため、API Gateway作成時に指定したリソースパス(/slack/events)を末尾に追加する。
・「app_mention」の追加
・作成したchatbotの招待
/invite @chatbot名
・chatbotをメンションして、何か送ってみる(今回は、こんにちは)

おわりに
Lambdaで実装したPythonの機能を外部アプリAPIを介して、Slack上のBotで実行することが出来ました。
今回のハンズオンで、外部APIの実装イメージやAPI Gateway+Lambdaの連携についてトライ&エラーを通して、学ぶことが出来ました。
これを改良すると、実際に業務として使える自動化の導入が視えてきた気がします(笑)