完成形はこんな感じです
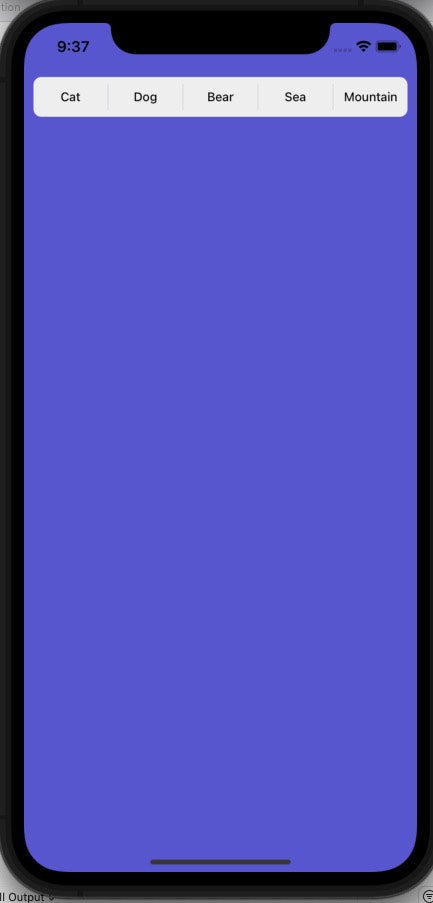
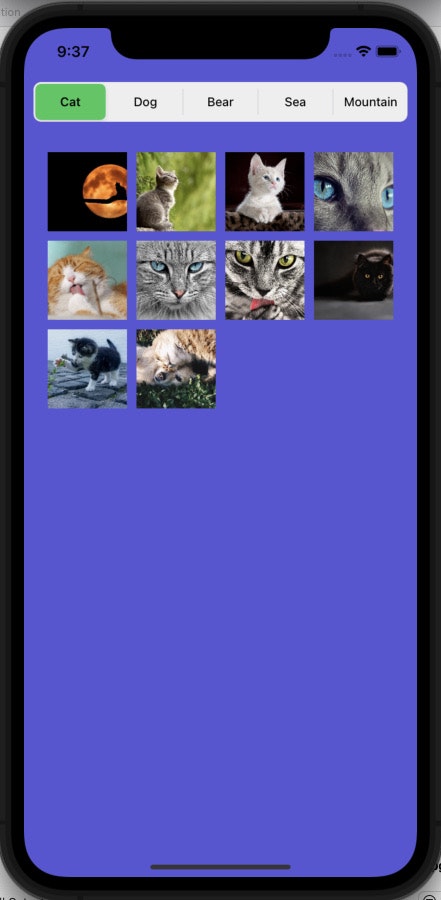
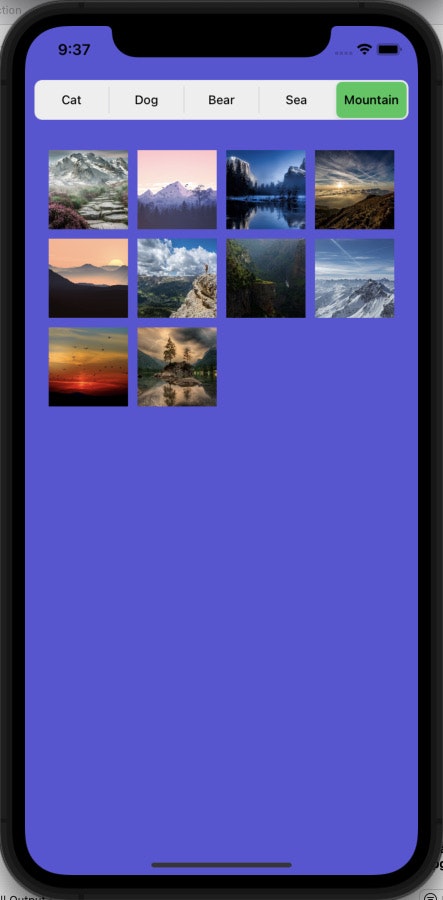
機能説明
- 画面上部のUISegmentedControlをタップすると、対応した画像をAPIで取得して表示します。
コードと簡単解説
Podfile
Podfile
  pod 'SwiftyJSON'
  pod 'Alamofire'
  pod 'SDWebImage'
Model
JsonDataSets
import Foundation

struct JsonDataSets{

    var imageURLData = String()

}
- 今回は、10個の画像のURLを取得したいので,
for needDataCount in 0...10 - 1{}内でresponseに入ってきたデータをjsonResultDatasArrayに入れていきます。
AlamofireModel
import Foundation
import Alamofire
import SwiftyJSON

class AlamofireModel{

    var jsonResultDatasArray = [JsonDataSets]()

}

extension AlamofireModel{

    func searchGetImageURL(searchKeyword:String){

            AF.request("https://pixabay.com/api/?key=~~~~~~~~~APIKey~~~~~~~~~&q=\(searchKeyword)", method: .get, parameters: nil, encoding: JSONEncoding.default).responseJSON { (response) in

                switch response.result{

                case.success:

                    self.jsonResultDatasArray = [] //以前のデータを削除
                    let jsonResult:JSON = JSON(response.data as Any)

                    for needDataCount in 0...10 - 1{

                        if jsonResult["hits"][needDataCount]["webformatURL"].string != nil{

                            let jsonResult = JsonDataSets(imageURLData: jsonResult["hits"][needDataCount]["webformatURL"].string!)

                            self.jsonResultDatasArray.append(jsonResult)

                        }else{

                            break  //取得できる"webformatURL"が無くなった時に処理を終わらせる
                        }

                    }

                case .failure:

                    let error = NSError()
                    print(error.debugDescription)
                    break

                }
            }
        }
}
View
-
segmentContentsArrayはSegmentのTitleと画像のURLを取得する時に使います。 -
for count in 0...segmentContentsArray.count - 1{}内で、insertSegment(withTitle: String, at: Int, animated: Bool)を使用して、表示したい個数分のSegmentを作成します。
SegmentFile
import Foundation
import UIKit

class SegmentFile{

    let alamofireModel = AlamofireModel()
    let uiSegmentetControl = UISegmentedControl() //インスタンス作成
    let segmentContentsArray = ["Cat","Dog","Bear","Sea","Mountain"]

}

extension SegmentFile{

    func createSegmentControl(targetView:UIView){

        for count in 0...segmentContentsArray.count - 1{

            uiSegmentetControl.insertSegment(withTitle: segmentContentsArray[count], at: count, animated: true)

         }

        uiSegmentetControl.frame = CGRect(x: targetView.bounds.minX, y: targetView.bounds.minY, width: targetView.frame.size.width, height: targetView.frame.size.height)

        uiSegmentetControl.backgroundColor = UIColor.white
        uiSegmentetControl.selectedSegmentTintColor = UIColor.systemGreen

        targetView.addSubview(uiSegmentetControl)

    }

}
Controller
-
Segmentを選択時に画像のURLを取得したいので、
addTarget(target: Any?, action: Selector, for: UIControl.Event)を使用します。今回は、actionに#selector(displayImage)を入れています。なので、viewWillAppearを出た場所で@objc func displayImage(sender:UISegmentedControl){}を作成します。 -
forEachの({})内にある$0は、senderArrayの値が1つずつ入ってきます。 -
$0 == sender.selectedSegmentIndexで選択されたSegmentを確実に調べます。選択されたselectedSegmentIndexと同じIndex番号のsegmentContentsArrayの値を使い画像のURLを取得してきます。
ViewController
import UIKit
import SDWebImage

class ViewController: UIViewController {

    @IBOutlet weak var collectionView: UICollectionView!
    @IBOutlet weak var segmentedControlView: UIView!

    let segmentFile = SegmentFile()
    let alamofireModel = AlamofireModel()
    let collectionViewFlowLayout = UICollectionViewFlowLayout()

    override func viewDidLoad() {
        super.viewDidLoad()

        collectionView.delegate = self
        collectionView.dataSource = self

    }

    override func viewWillAppear(_ animated: Bool) {
        super.viewWillAppear(animated)

        segmentFile.createSegmentControl(targetView: segmentedControlView)

        collectionViewFlowLayout.sectionInset = UIEdgeInsets(top: 5, left: 5, bottom: 5, right: 5)
        collectionView.collectionViewLayout = collectionViewFlowLayout

        segmentFile.uiSegmentetControl.addTarget(self, action: #selector(displayImage), for: .valueChanged)
    }

    @objc func displayImage(sender:UISegmentedControl){

        let senderArray = [0,1,2,3,4]

        senderArray.forEach({

            if $0 == sender.selectedSegmentIndex{

                alamofireModel.searchGetImageURL(searchKeyword: segmentFile.segmentContentsArray[sender.selectedSegmentIndex])

                DispatchQueue.main.asyncAfter(deadline: .now() + 2) {

                    self.collectionView.reloadData()

                }
            }
        })
    }
}
- CollectionViewの解説はこちらで簡単にしていますので、必要な方はご覧くださいUISliderとCollectionViewの簡単復習App
ViewController
extension ViewController: UICollectionViewDelegate,UICollectionViewDataSource,UICollectionViewDelegateFlowLayout{

    func collectionView(_ collectionView: UICollectionView, numberOfItemsInSection section: Int) -> Int {

        return alamofireModel.jsonResultDatasArray.count

    }

    func collectionView(_ collectionView: UICollectionView, cellForItemAt indexPath: IndexPath) -> UICollectionViewCell {

        let cell = collectionView.dequeueReusableCell(withReuseIdentifier: "Cell", for: indexPath)

        let cellImageView = cell.contentView.viewWithTag(1) as! UIImageView

        cellImageView.frame = CGRect(x: cell.bounds.minX, y: cell.bounds.minY, width: cell.frame.size.width, height: cell.frame.size.height)

        cellImageView.contentMode = .scaleAspectFill

        cellImageView.sd_setImage(with: URL(string: alamofireModel.jsonResultDatasArray[indexPath.row].imageURLData), completed: nil)

        return cell
    }

    func collectionView(_ collectionView: UICollectionView, layout collectionViewLayout: UICollectionViewLayout, sizeForItemAt indexPath: IndexPath) -> CGSize {

        return CGSize(width: collectionView.frame.size.width / 4 - 10, height: collectionView.frame.size.width / 4 - 10)

    }
}
終わり
最近、同じbackGroundColorを何度も使ってる気がする。
ご指摘、ご質問などありましたら、コメントまでお願い致します。