今回の内容
- 3種類のアラートをすぐ作れる様にカスタム前の状態で、書き残しておきます。
コードと表示結果
アラート1(preferredStyle: .alert)
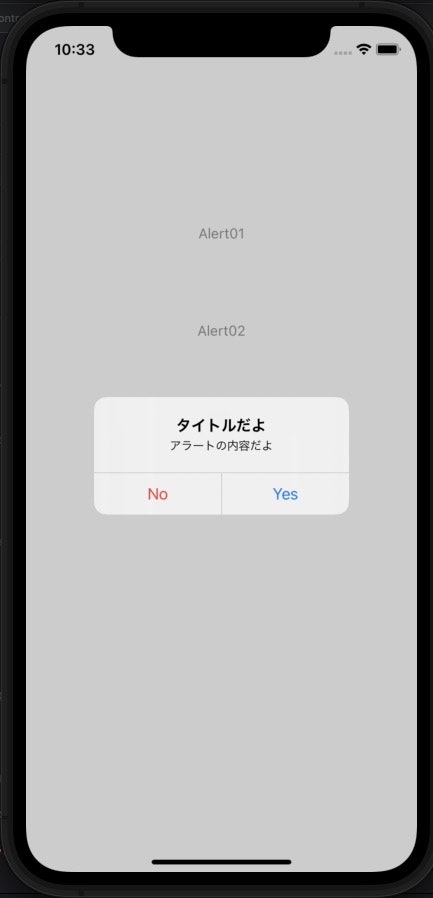
        let usualAlert = {() -> UIAlertController in

            let alert = UIAlertController(title: "タイトルだよ", message: "アラートの内容だよ", preferredStyle: .alert)

            alert.addAction(UIAlertAction(title: "No", style: .destructive, handler: { _ in

                print("No")
            }))

            alert.addAction(UIAlertAction(title: "Yes", style: .default, handler: { _ in

                print("Yes")
            }))

            return alert
        }()

        self.present(usualAler, animated: true, completion: nil)
アラート2(preferredStyle: .actionSheet)
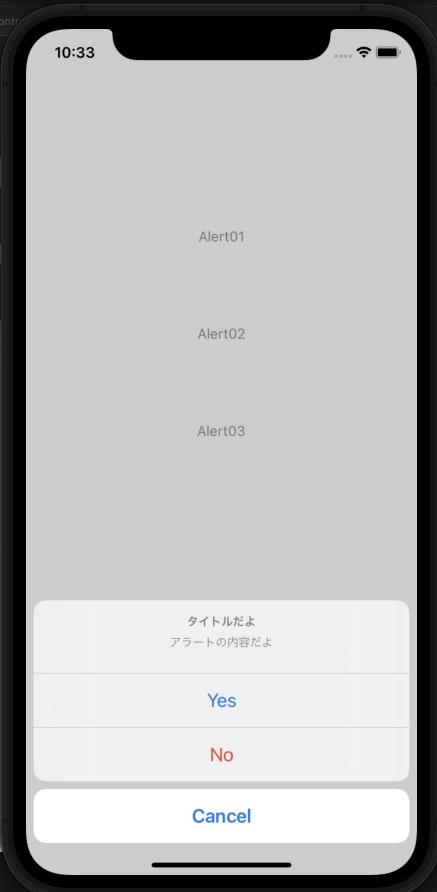
        let usualActionSheetAlert = {() -> UIAlertController in

            let alert = UIAlertController(title: "タイトルだよ", message: "アラートの内容だよ", preferredStyle: .actionSheet)

            alert.addAction(UIAlertAction(title: "Yes", style: .default, handler: { _ in

                print("Yes")
            }))

            alert.addAction(UIAlertAction(title: "No", style: .destructive, handler: { _ in

                print("No")
            }))

            alert.addAction(UIAlertAction(title: "Cancel", style: .cancel, handler: { _ in

                print("cancel")
            }))

            return alert
        }()

        self.present(usualActionSheetAlert, animated: true, completion: nil)
アラート3(preferredStyle: .alert) TextFieldを表示
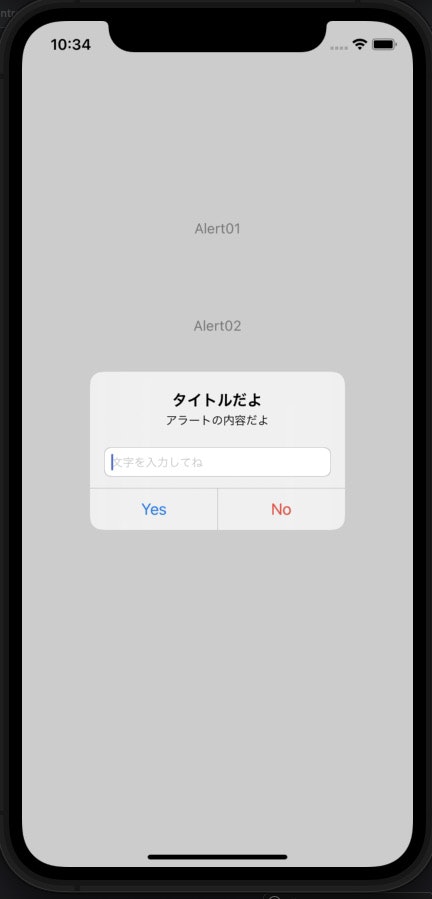
        let textfieldInAlert = {() -> UIAlertController in

            let alert = UIAlertController(title: "タイトルだよ", message: "アラートの内容だよ", preferredStyle: .alert)

            alert.addTextField { (alertTextField:UITextField) in

                alertTextField.placeholder = "文字を入力してね"

            }

            alert.addAction(UIAlertAction(title: "Yes", style: .default, handler: { _ in

                print("Yes")

            }))

            alert.addAction(UIAlertAction(title: "No", style: .destructive, handler: { _ in

                print("No")

            }))

            return alert
        }()

        self.present(textfieldInAlert, animated: true, completion: nil)
終わり
ご指摘、ご質問などありましたら、コメントまでお願い致します。