このエントリーは 一休.comのカレンダー | Advent Calendar 2023 - Qiita の23日目の記事です。
はじめに
一休.comでは、施設を検索したリスト画面で画像を大きく見せるつくりをしています。施設が登録した画像を表示するのですが、その選定には任意性があります。
中には画質が悪いせいで、実際の施設は良いのに予約してくれないといったこともあるかもしれません。
というわけで、施設画像の画質が良いことはある程度大切になってきますが、定量的に計算するのは難しいです。
今回はその計算が行える、googleが発表したResNetベースの画質評価モデルを利用しました。
コード
主要ライブラリのバージョン
- tensorflow,keras: 2.10.0
- numpy: 1.24.4
neural-image-assessmentを参考に、バッチ処理できるようにしました。
weights/inception_resnet_weights.h5とutilsの内容はgithub上でダウンロードできます。
pythonのインポート、モデルの定義は以下で行います。
import numpy as np
import pandas as pd
import os
from PIL import Image
import requests
from io import BytesIO

os.environ["CUDA_VISIBLE_DEVICES"] = "-1"

from keras.models import Model
from keras.layers import Dense, Dropout
from keras.applications.inception_resnet_v2 import InceptionResNetV2
from keras.applications.inception_resnet_v2 import preprocess_input
from tensorflow.keras.preprocessing.image import load_img
from tensorflow.keras.utils import img_to_array
import tensorflow as tf
from utils.score_utils import mean_score, std_score

base_model = InceptionResNetV2(input_shape=(None, None, 3), include_top=False, pooling='avg', weights=None)
x = Dropout(0.75)(base_model.output)
x = Dense(10, activation='softmax')(x)

model = Model(base_model.input, x)
model.load_weights('weights/inception_resnet_weights.h5')
def download_image(url):
    try:
        response = requests.get(url, timeout=2)
    except Exception as e:
        print(e)
        return None

    # レスポンスが正常かどうかをチェック
    if response.status_code == 200:
        image_bytes = BytesIO(response.content)
        return image_bytes
    else:
        print(f"Error: Unable to download image. HTTP status code {response.status_code}")
        return None

def get_nima_score(model, image_bytes):
    target_size = (224, 224)

    with tf.device('/CPU:0'):
        xs = []
        for image_byte in image_bytes:
            img = load_img(image_byte, target_size=target_size)
            x = img_to_array(img)
            xs.append(x)

        x = np.stack(xs, axis=0)
        x = preprocess_input(x)
        scores = model.predict(x, batch_size=len(image_bytes), verbose=0)

        results = []
        for score in scores:
            mean = mean_score(score)
            std = std_score(score)
            results.append([mean, std])

    return results
下のように、複数画像URLに対して計算を実行できます。
for i, image_url in enumerate(image_urls):
    image_byte = download_image(image_url)
    if image_byte is not None:
        image_bytes.append(image_byte)
        target_image_urls.append(image_url)
result = get_nima_score(image_bytes)
スコア
用意した画像だとこんな感じのスコアになりました。
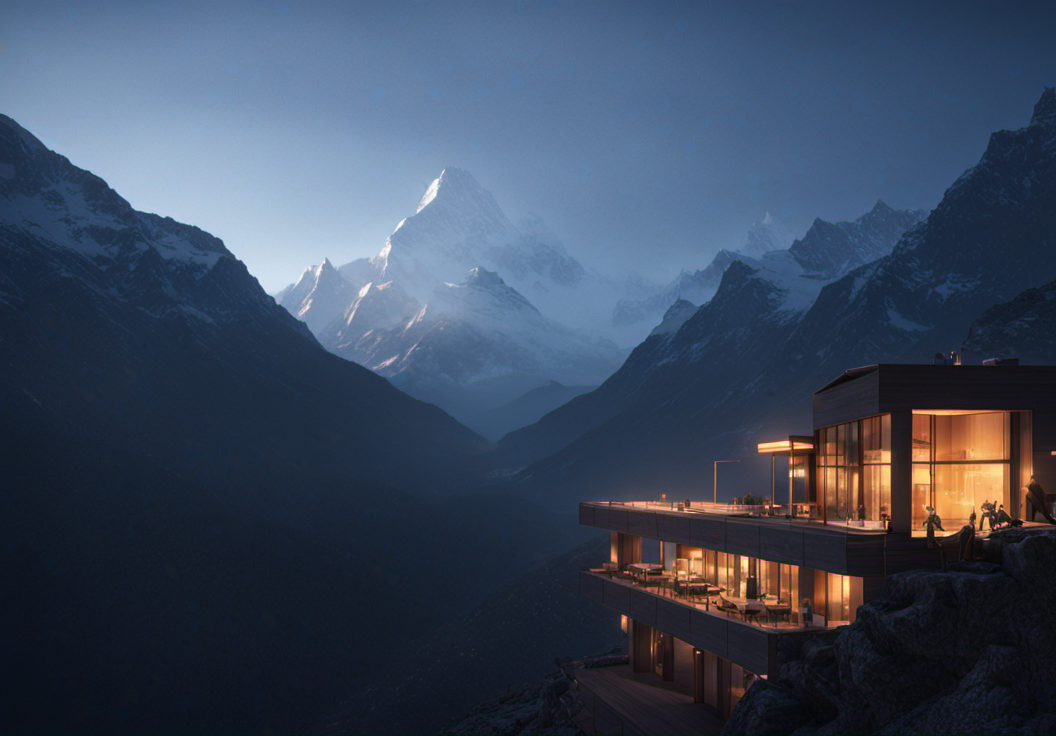
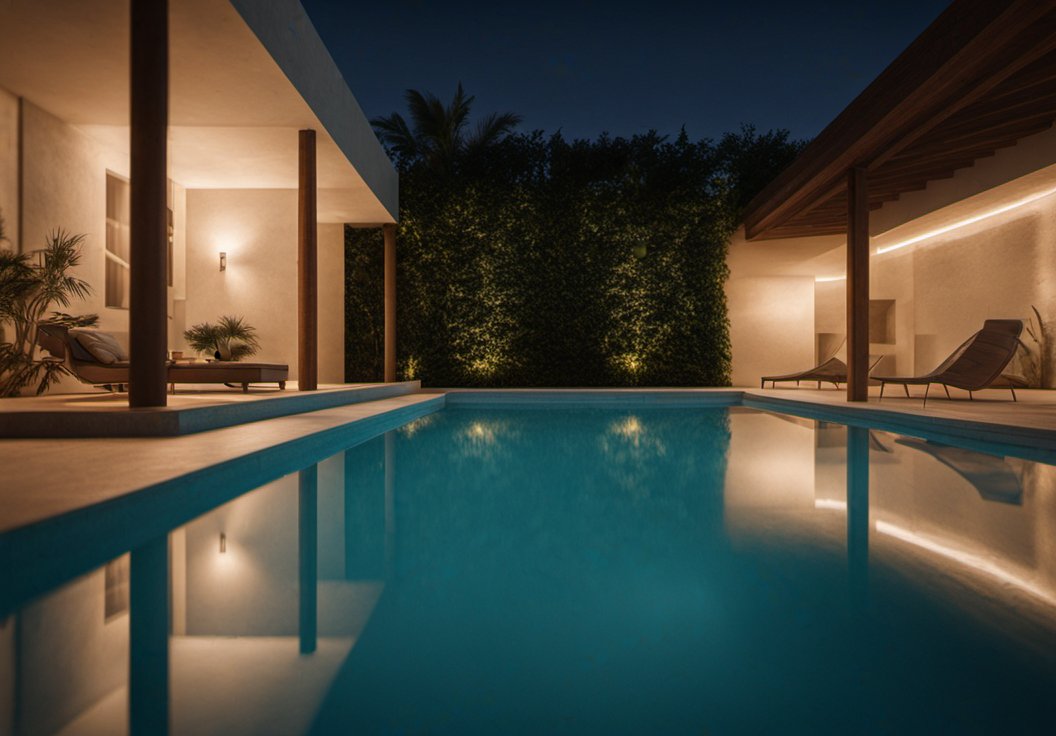
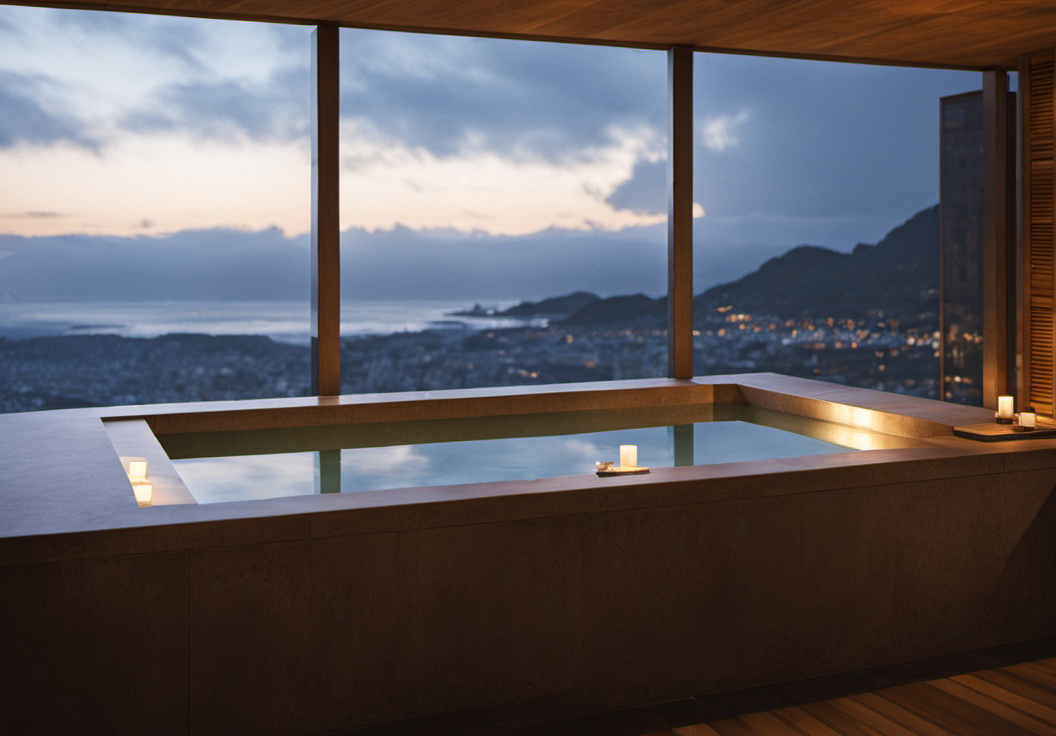
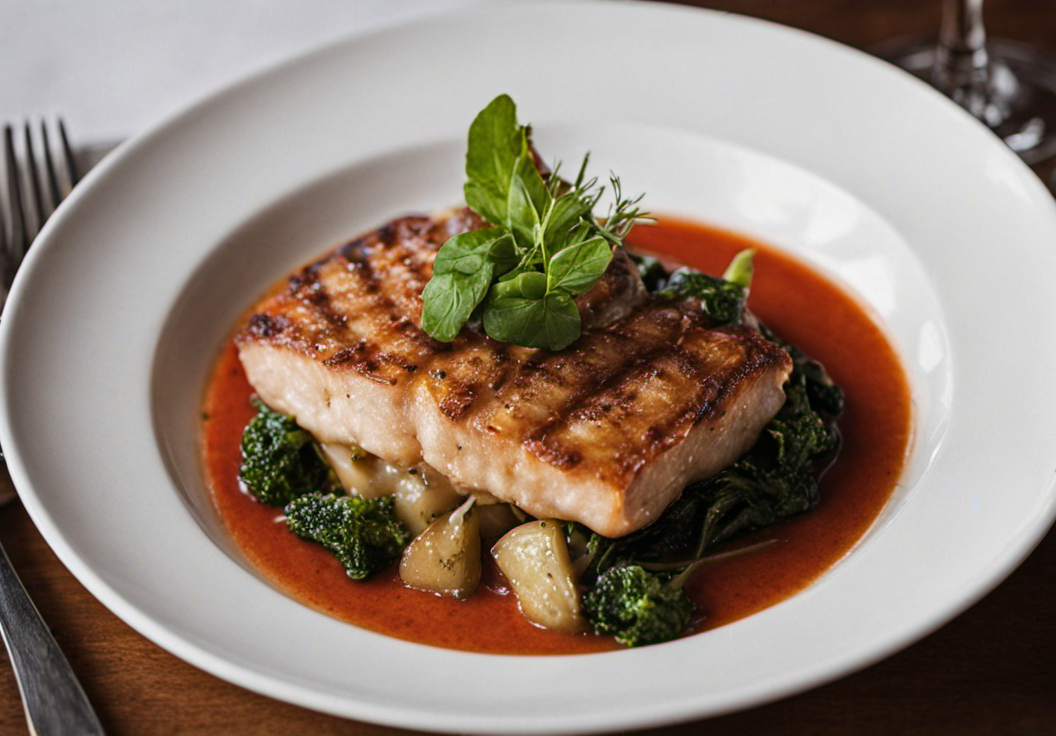
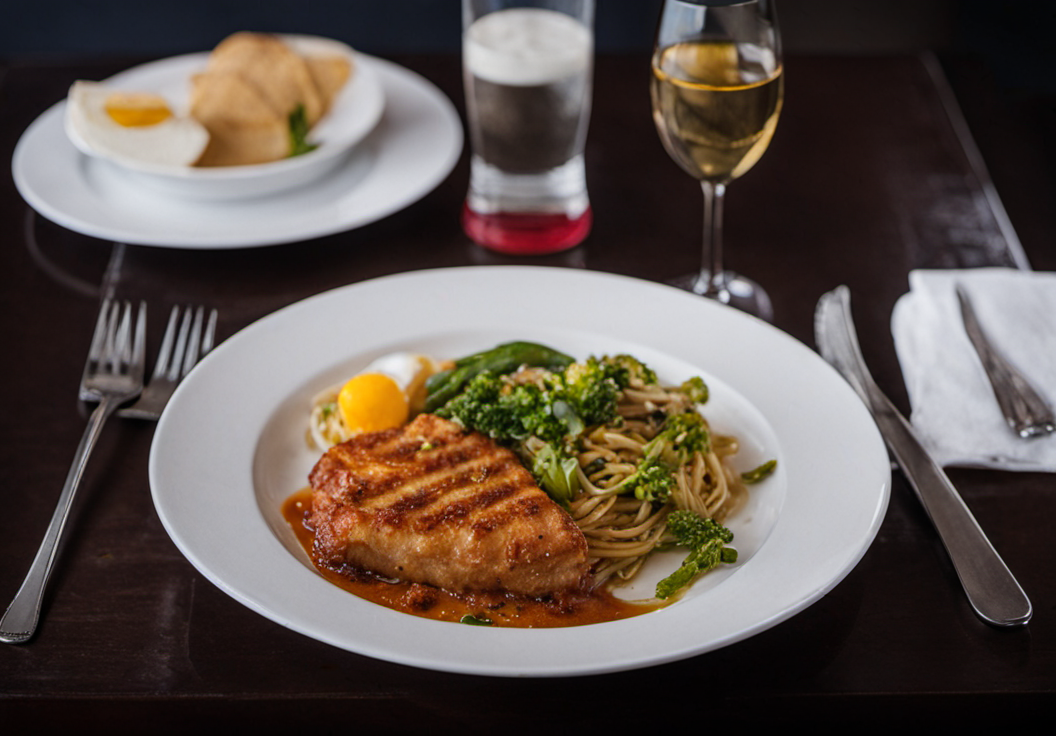
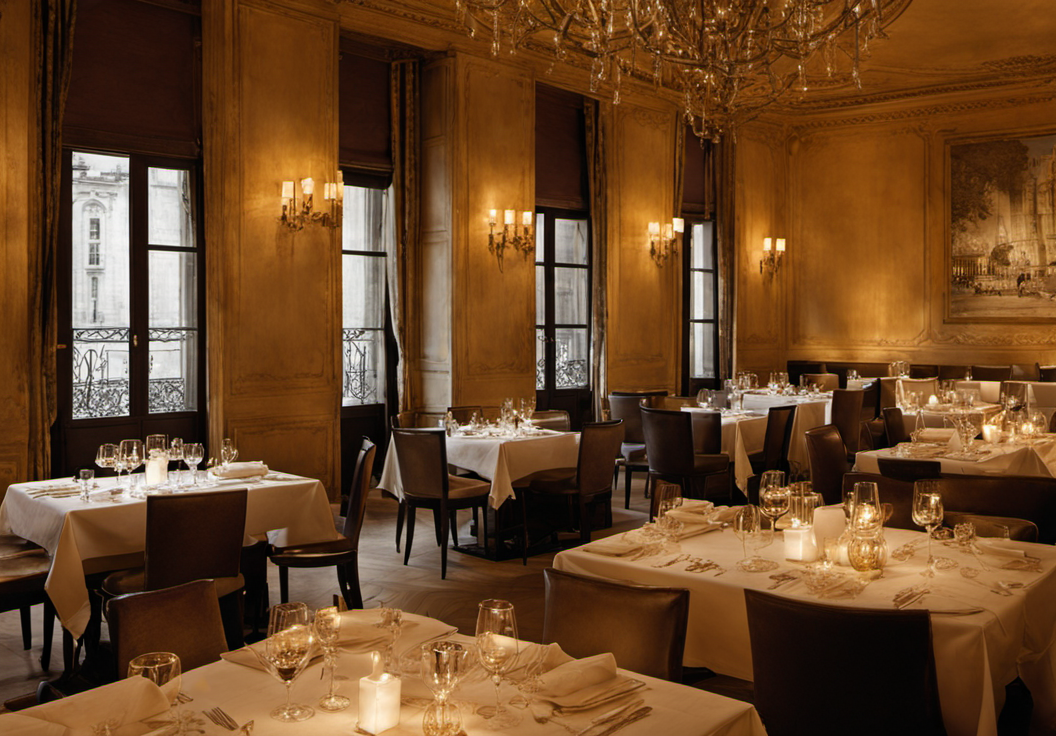
全部Stable diffusionのJuggernaut XLを使って生成しています。施設ページにありそうな画像をイメージしています。
NIMAは1(最低)~10(最高)でスコアリングされます。大体綺麗なのでそこまで差は出ていません。
壮大な自然系の画像だとスコアが高くなり、背景がボケてる画像だと低めに出る傾向にあります。
| スコア: 6.52 | スコア: 5.87 | スコア: 5.23 |
|---|---|---|
 |
 |
 |
| スコア: 6.13 | スコア: 5.54 | スコア: 6.08 |
|---|---|---|
 |
 |
 |
画質を悪くしてみます。拡大してみると分かりやすいです。
スコア4台辺りから厳しくなってきますね。
| スコア: 5.16 | スコア: 4.65 | スコア: 4.43 |
|---|---|---|
 |
 |
 |
一休.comの施設画像70万枚について実際に計算してみたところ、良い画像でも意外とスコアが上がらないケースが散見されましたが、スコア4.5以下は概ね悪いことが分かりました。
検索時に提示する画像を選定する一つの基準になりそうです。