AWS EC2をAstroneerゲームサーバとして利用します。
■構成
Astroneer Server : Windows Server 2022
Astroneer Client : Windows11
■流れ
まずはAWS EC2の準備とネットワーク設定を実施します。
1.EC2作成
1-1.EC2作成
1-2.セキュリティグループ編集
1-3.ElasticIPの関連付け
1-4.初期パスワードの入手とRDP接続
1-5.Windowsファイアウォール設定
Astroneerデプロイのため、SteamCMDを利用してインストール等を行います。
2.Astroneerデプロイ
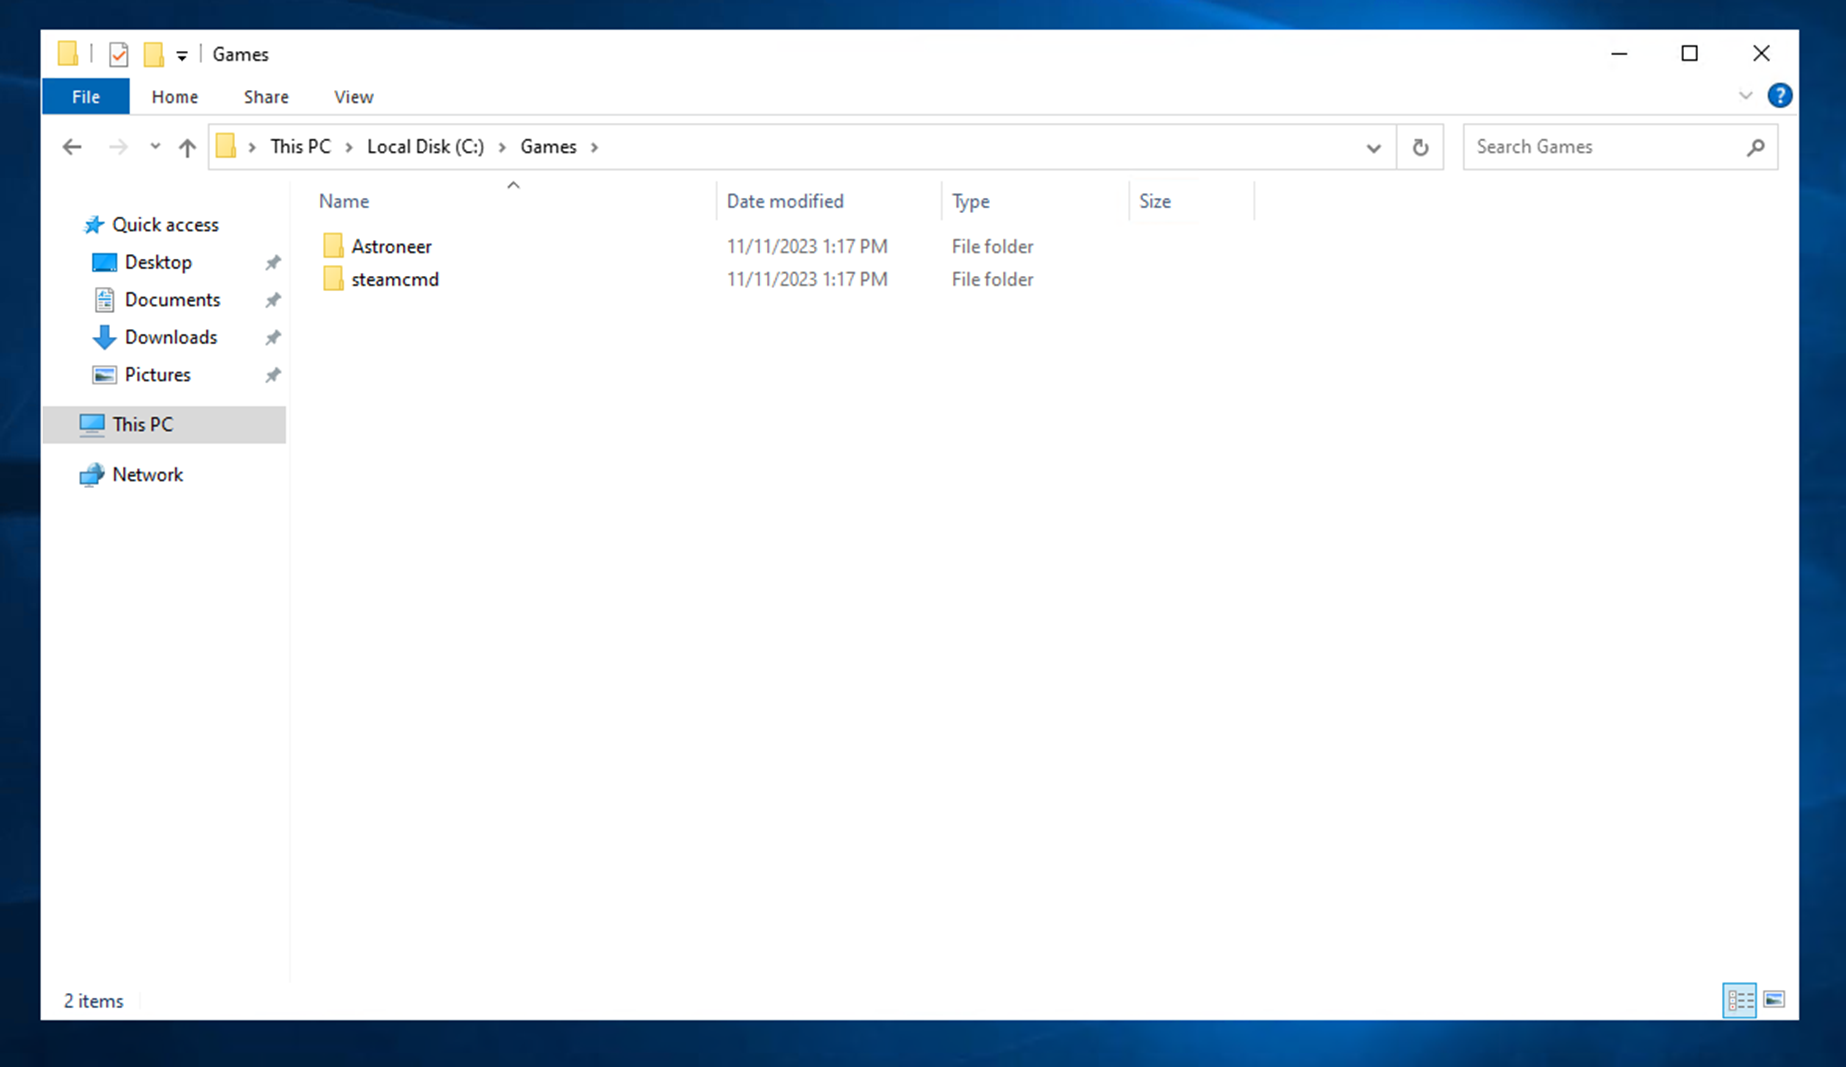
2-1.ディレクトリ構成
2-2.steamCMDデプロイ
2-3.Astroneerデプロイ
2-4.Astroneer初回起動
2-5.Astroneer config設定
2-5.Astroneer起動
最後にClient側からServerへの接続を行います。
3.Astroneerクライアント接続
3-1.SERVER LISTからの接続
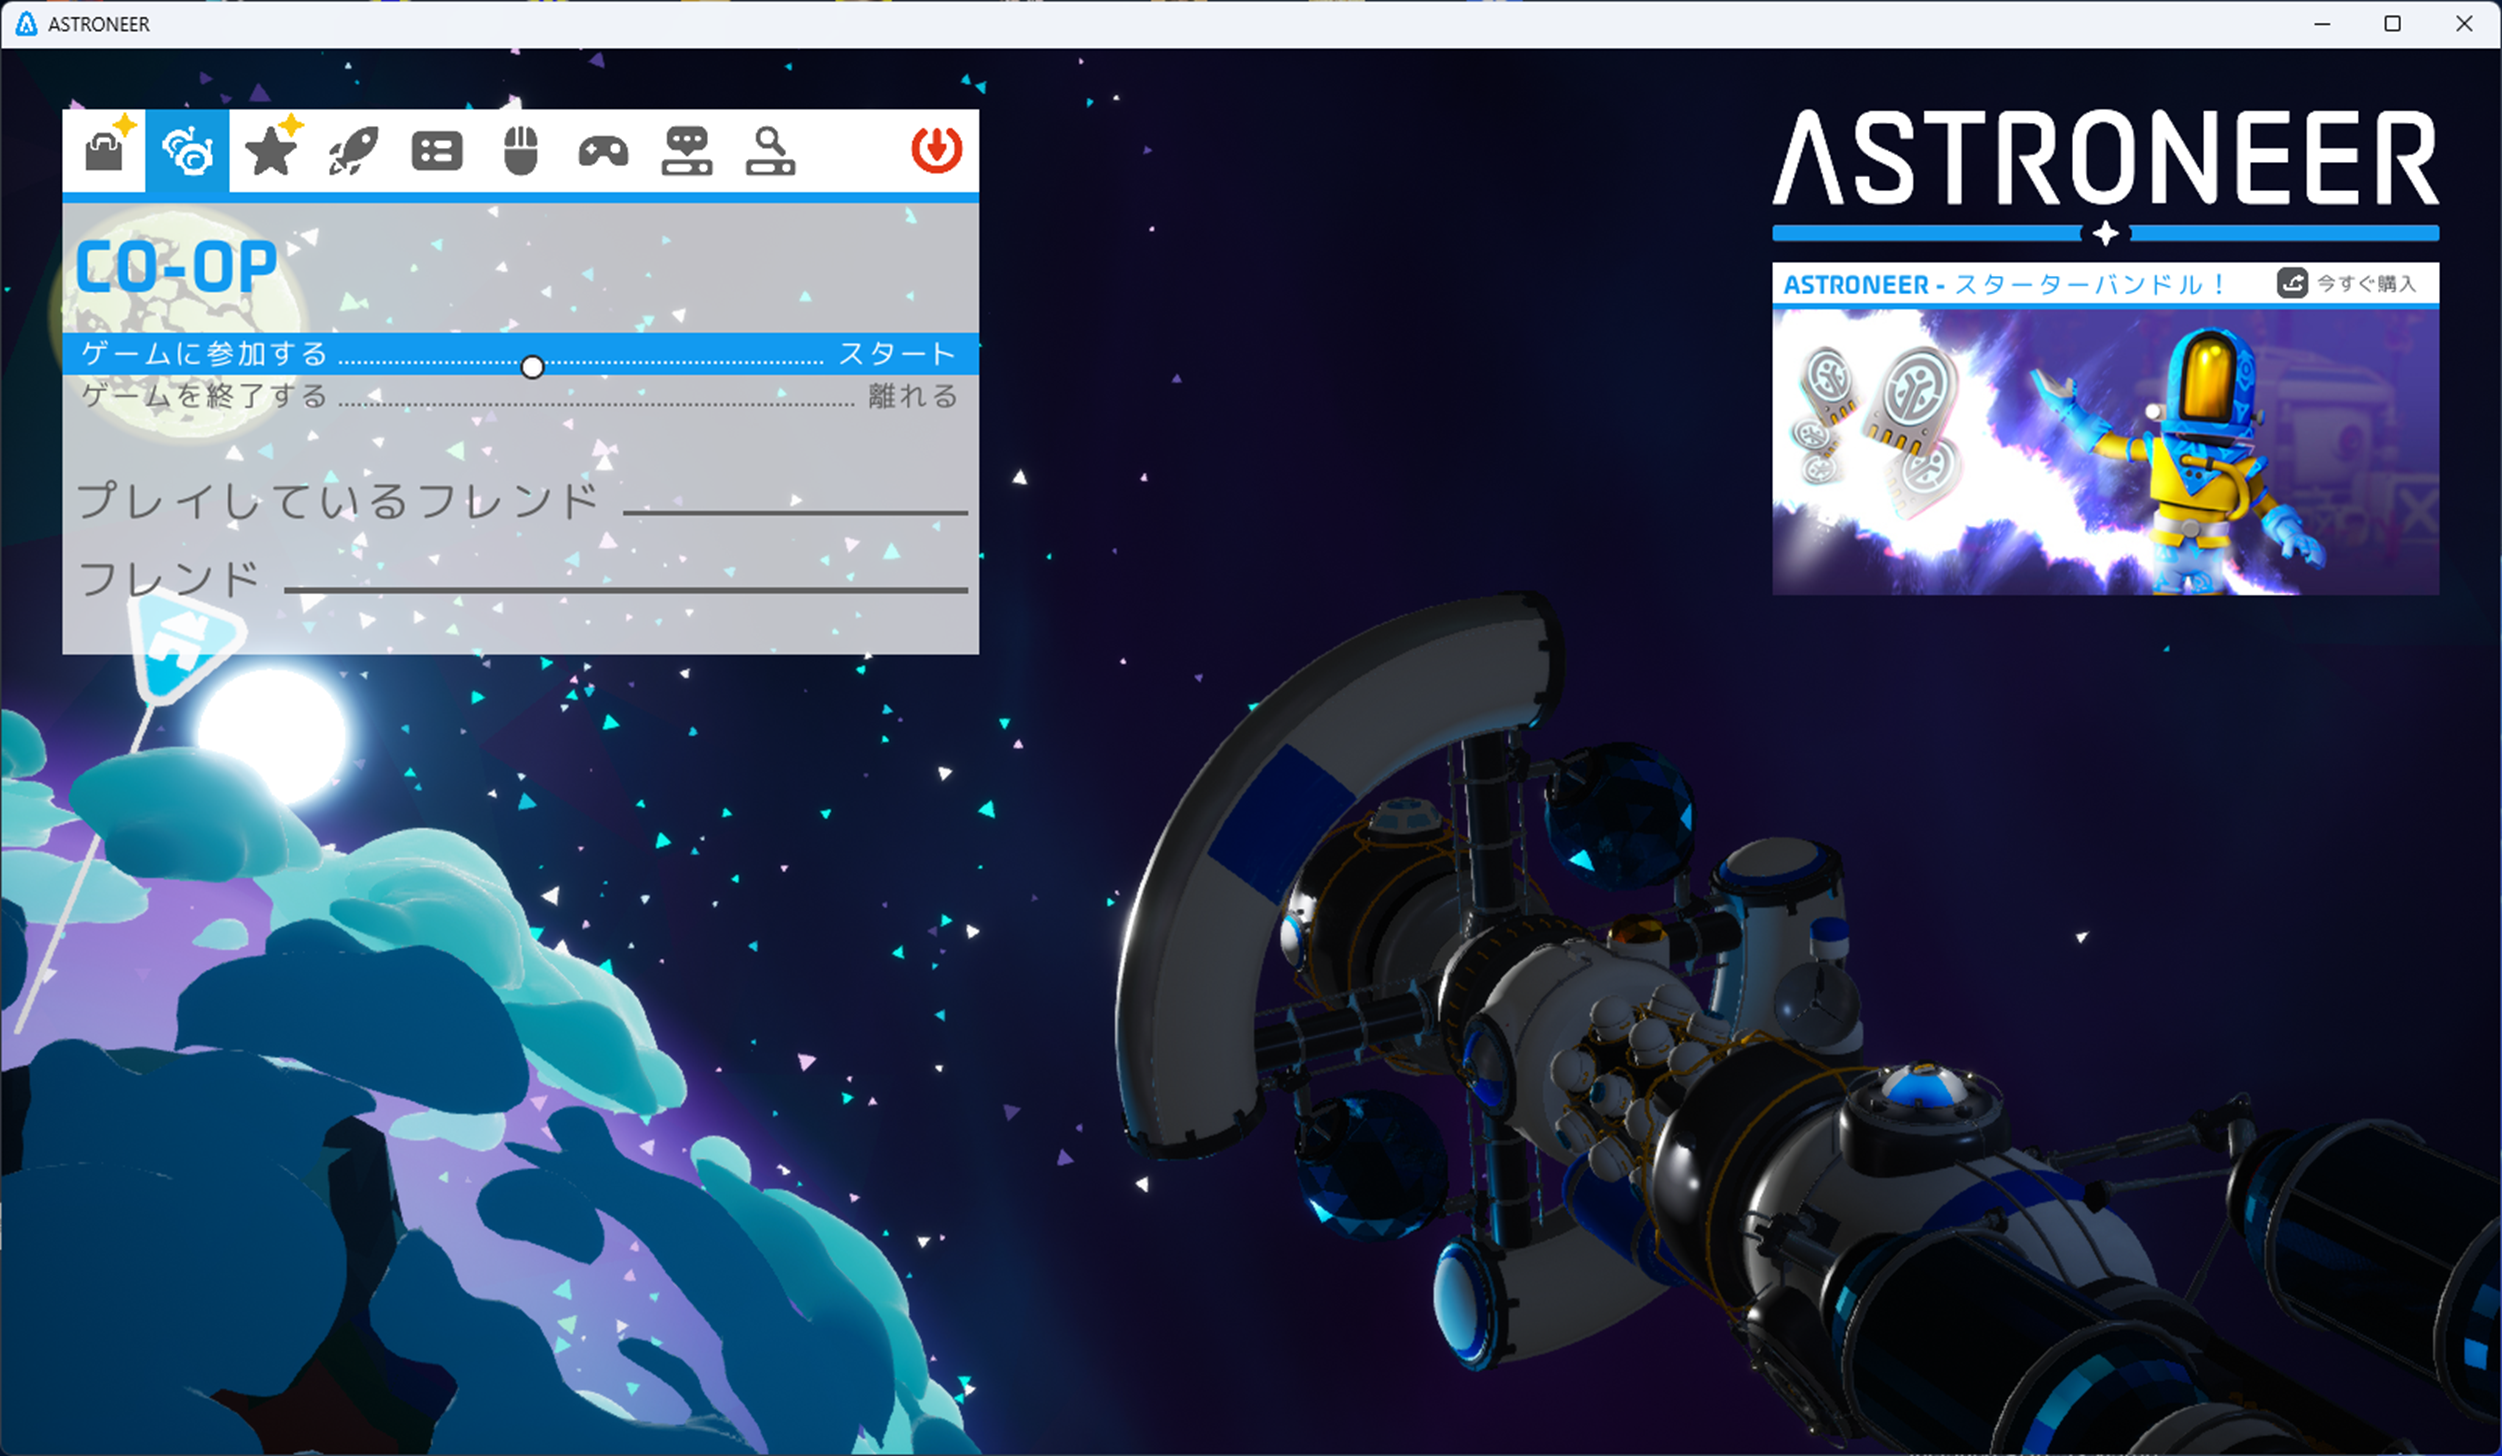
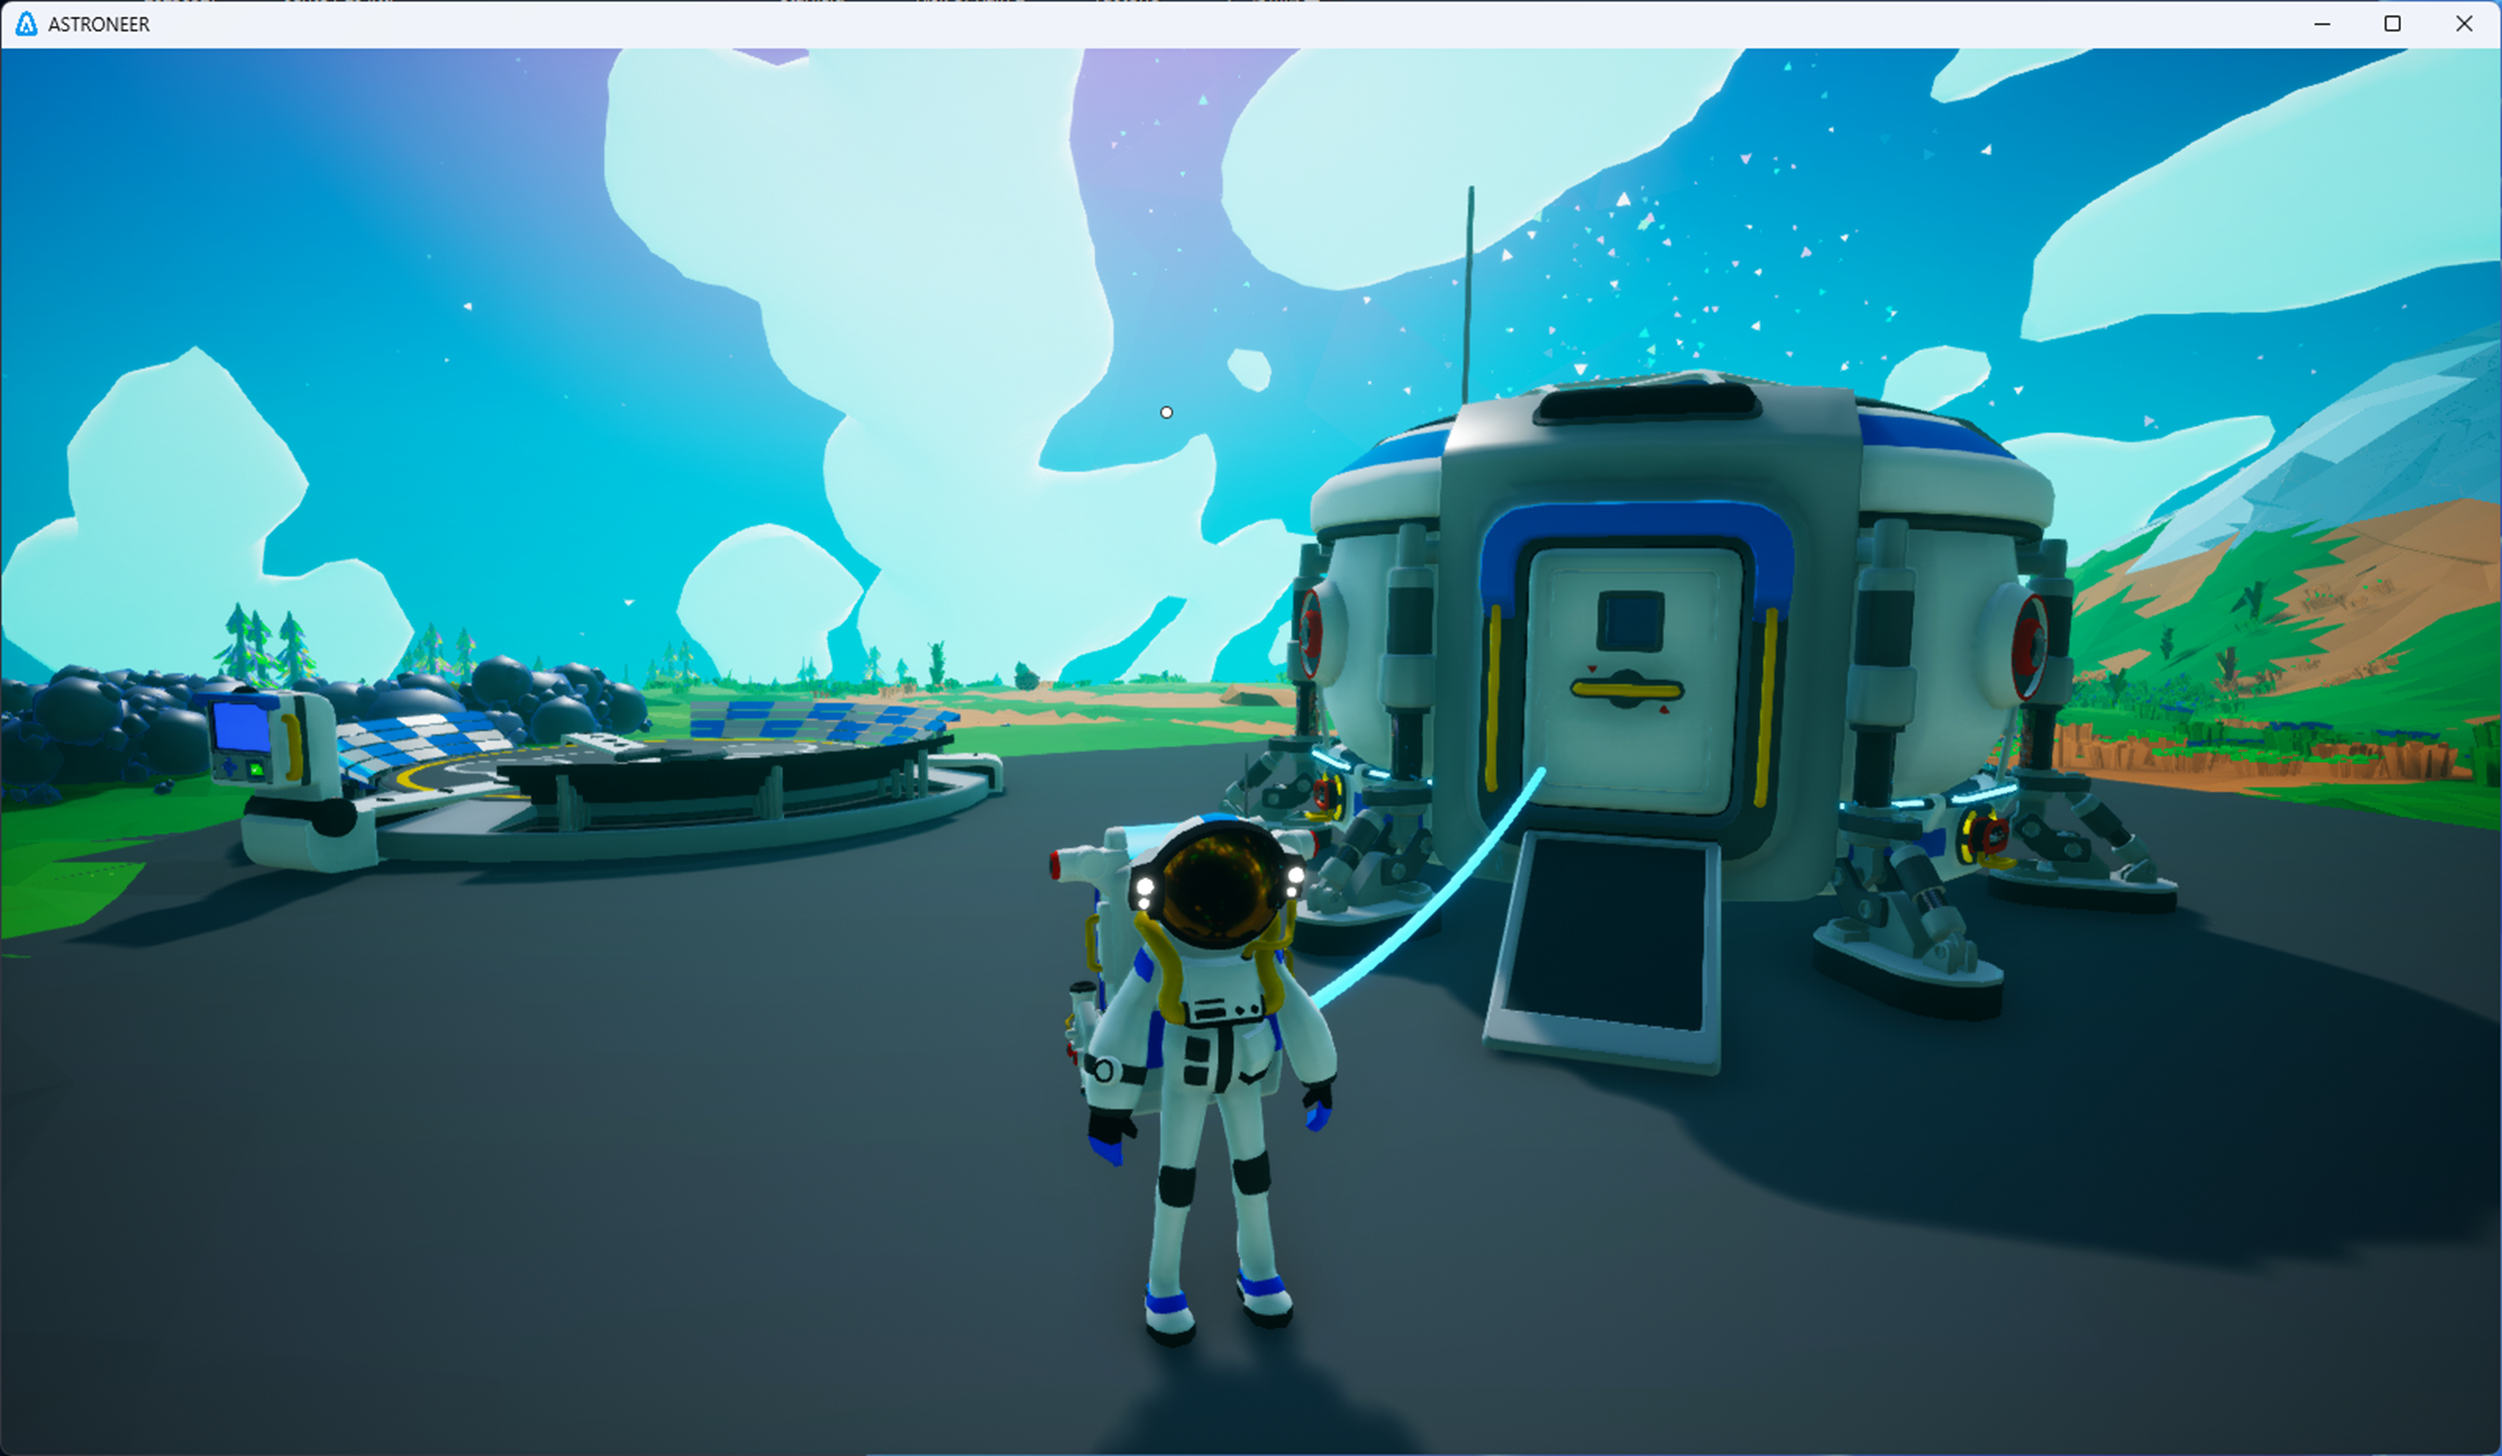
3-2.CO-OPモードでのゲーム開始
1.EC2作成
AWS EC2を作成し、グローバルIPアドレスで接続可能にします。
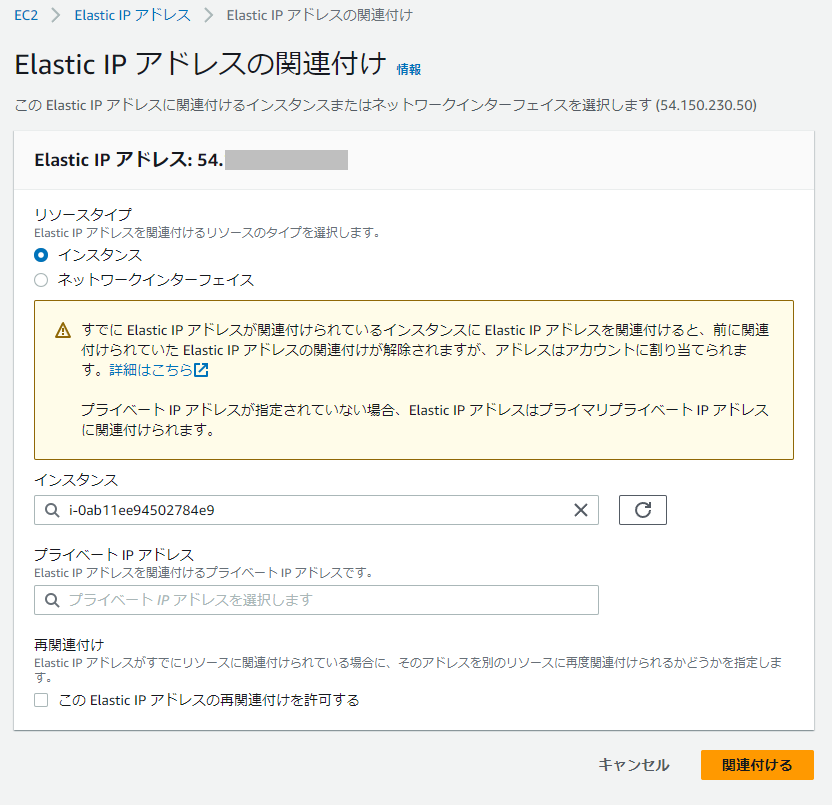
グローバルIPアドレスはElastic IPを利用し、サーバを恒久的に削除するまで固定するものとします。
1-1.EC2作成
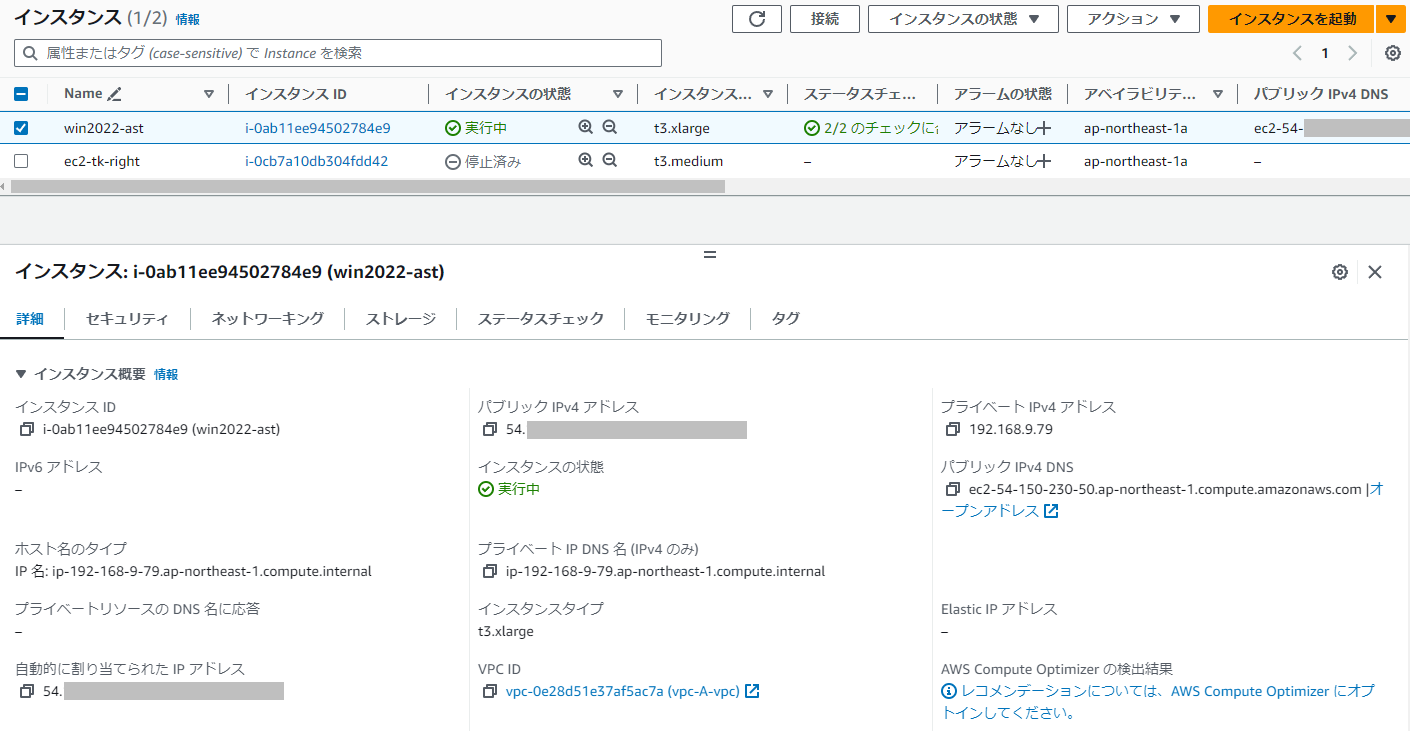
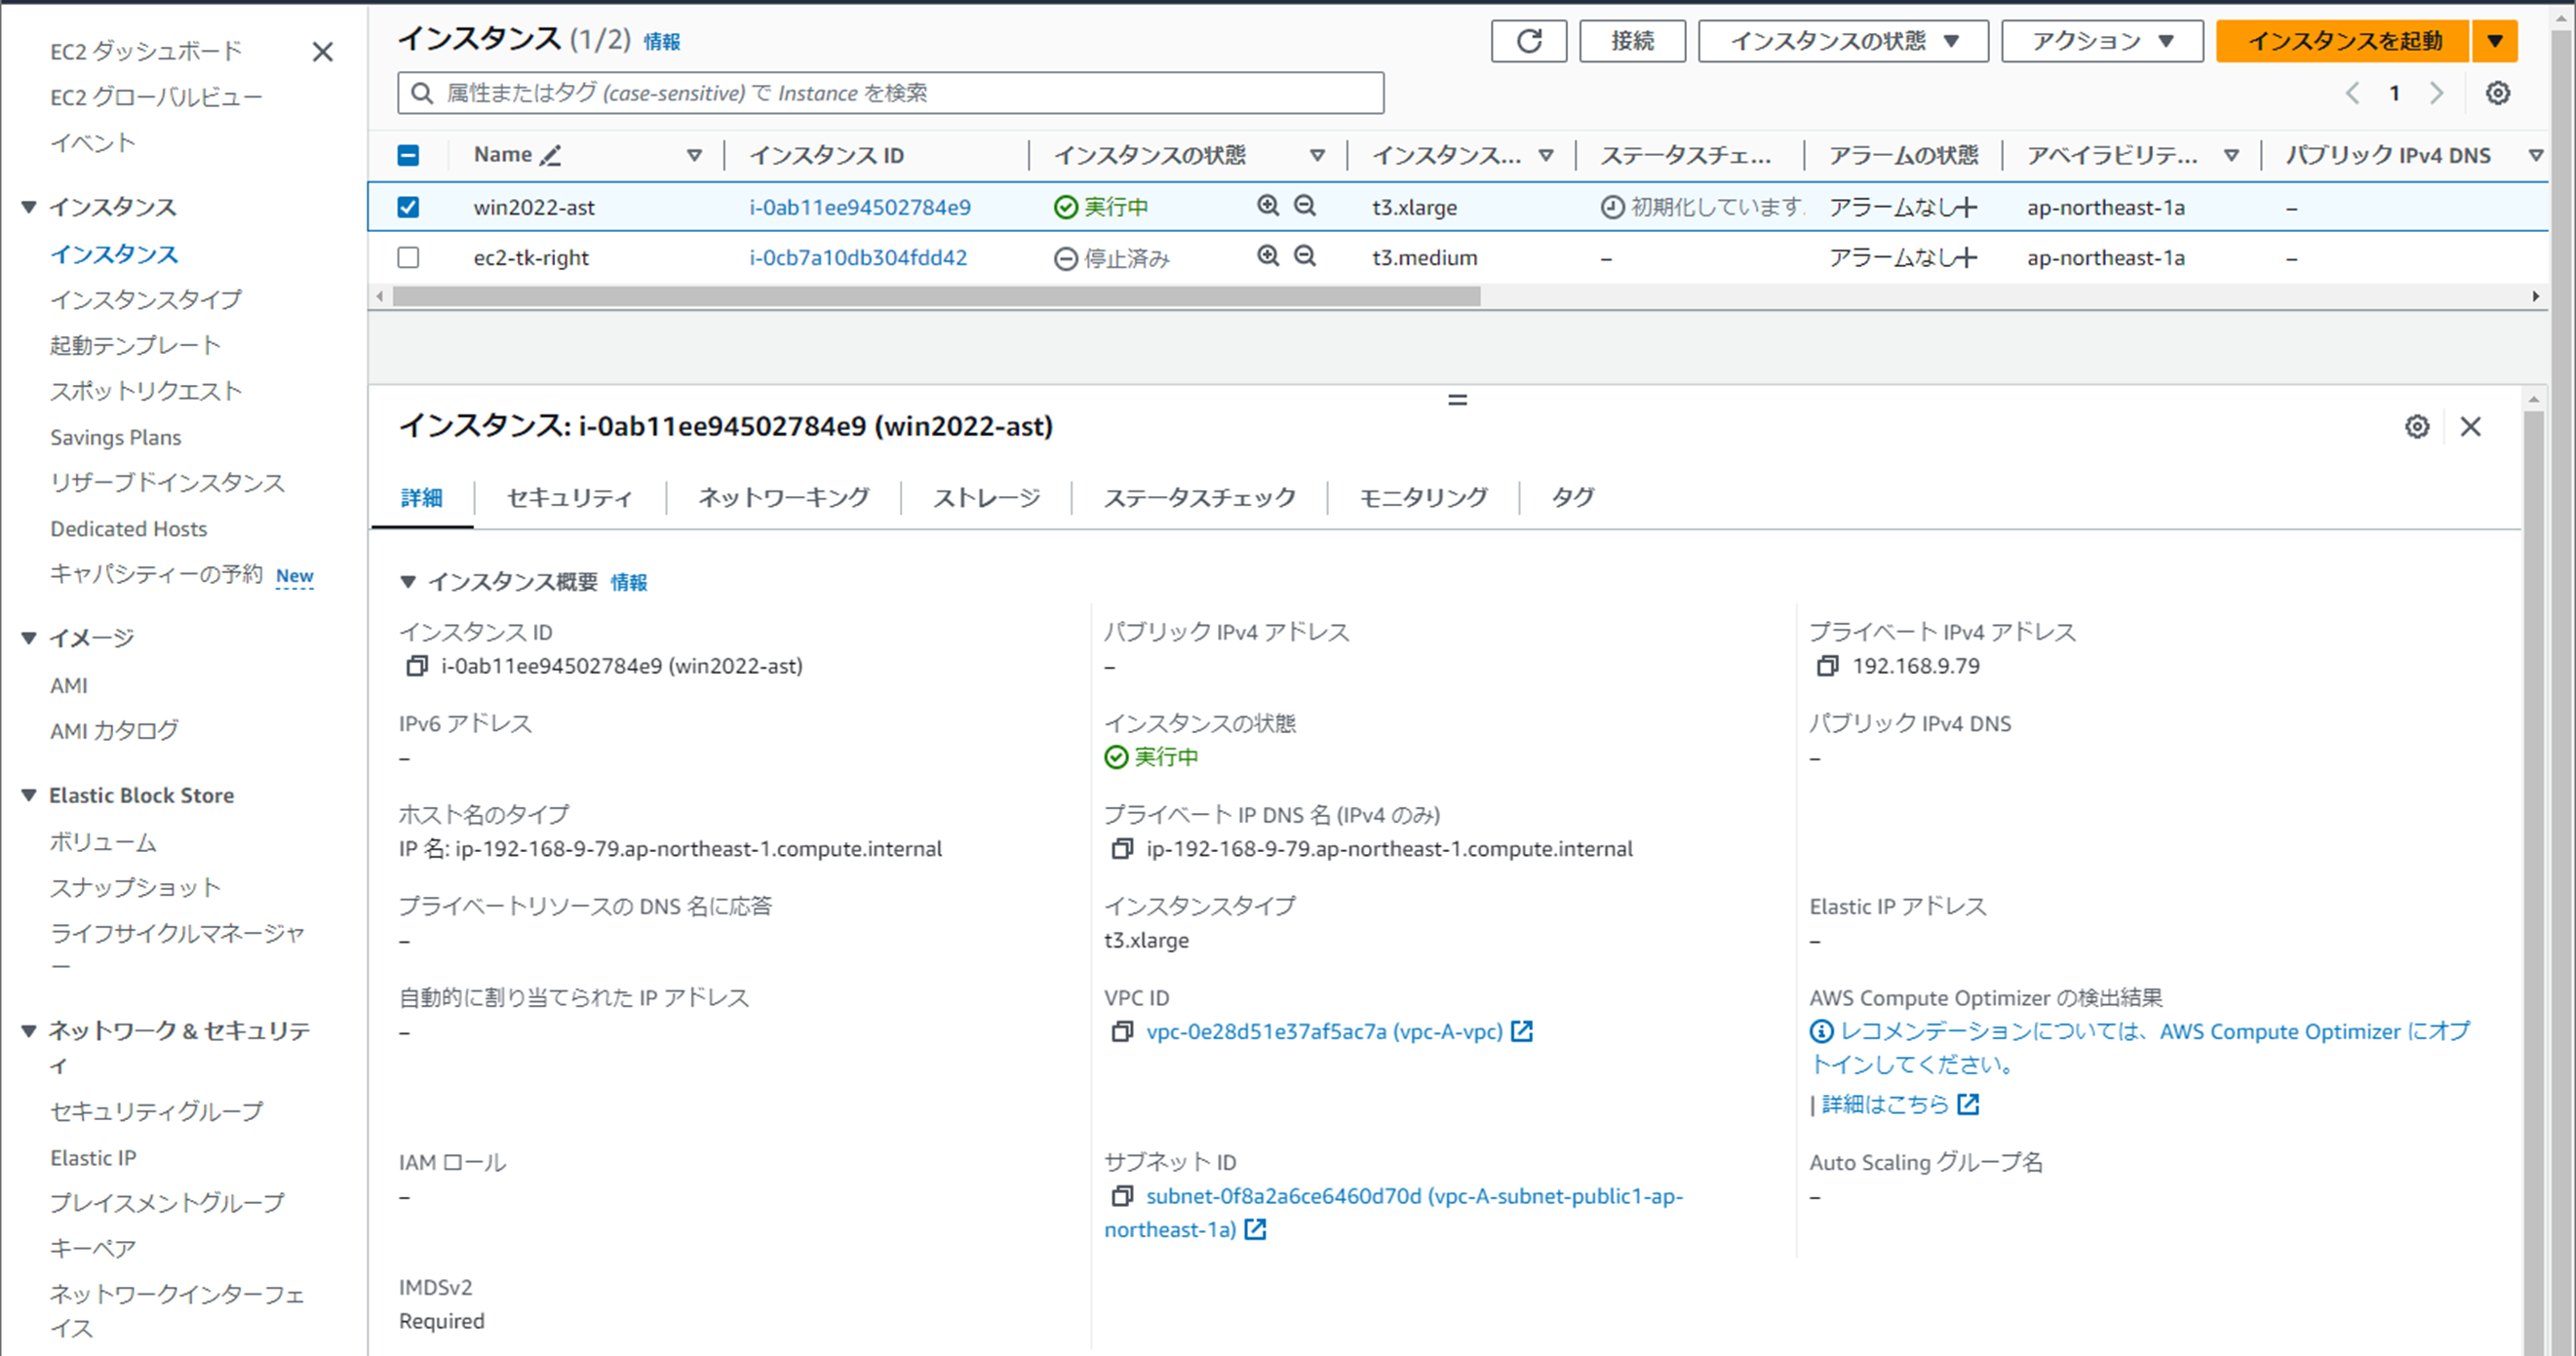
EC2を作成します。
OSはWindows 2022、サイズはt3.xlarge、パブリックIPアドレスの自動割当は無効化としてインスタンスを起動します。
1-2.セキュリティグループ編集
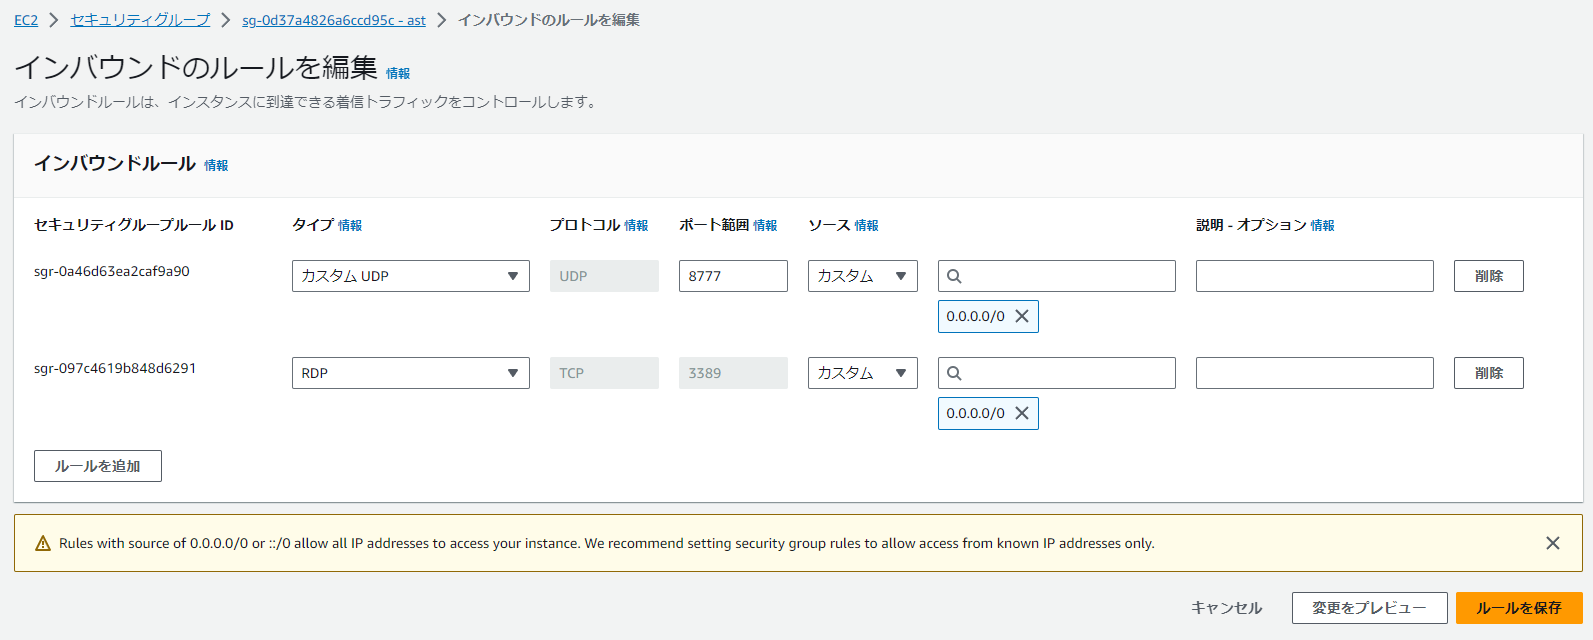
インバウンドルールで以下のみ許可をしてEC2にアタッチします。
RDP(TCP3389):リモートデスクトップ用
カスタムUDP - 8777:Astroneer接続用
1-3.ElasticIPの関連付け
1-4.初期パスワードの入手とRDP接続
EC2を選択し、インスタンスの状態 - セキュリティ - Windowsパスワードを取得を押下します。

EC2作成時に利用したキーペアを使用して初期パスワードを払い出しします。

グローバルIPアドレスと初期パスワードを使用して、EC2へリモートデスクトップします。

以降、Windows Server 2022は英語設定のまま進めます。
1-5.Windowsファイアウォール設定
Windowsファイアウォールの許可設定を行います。
インターネットからEC2へアクセスする際に使用される、UDP 8777を許可します。
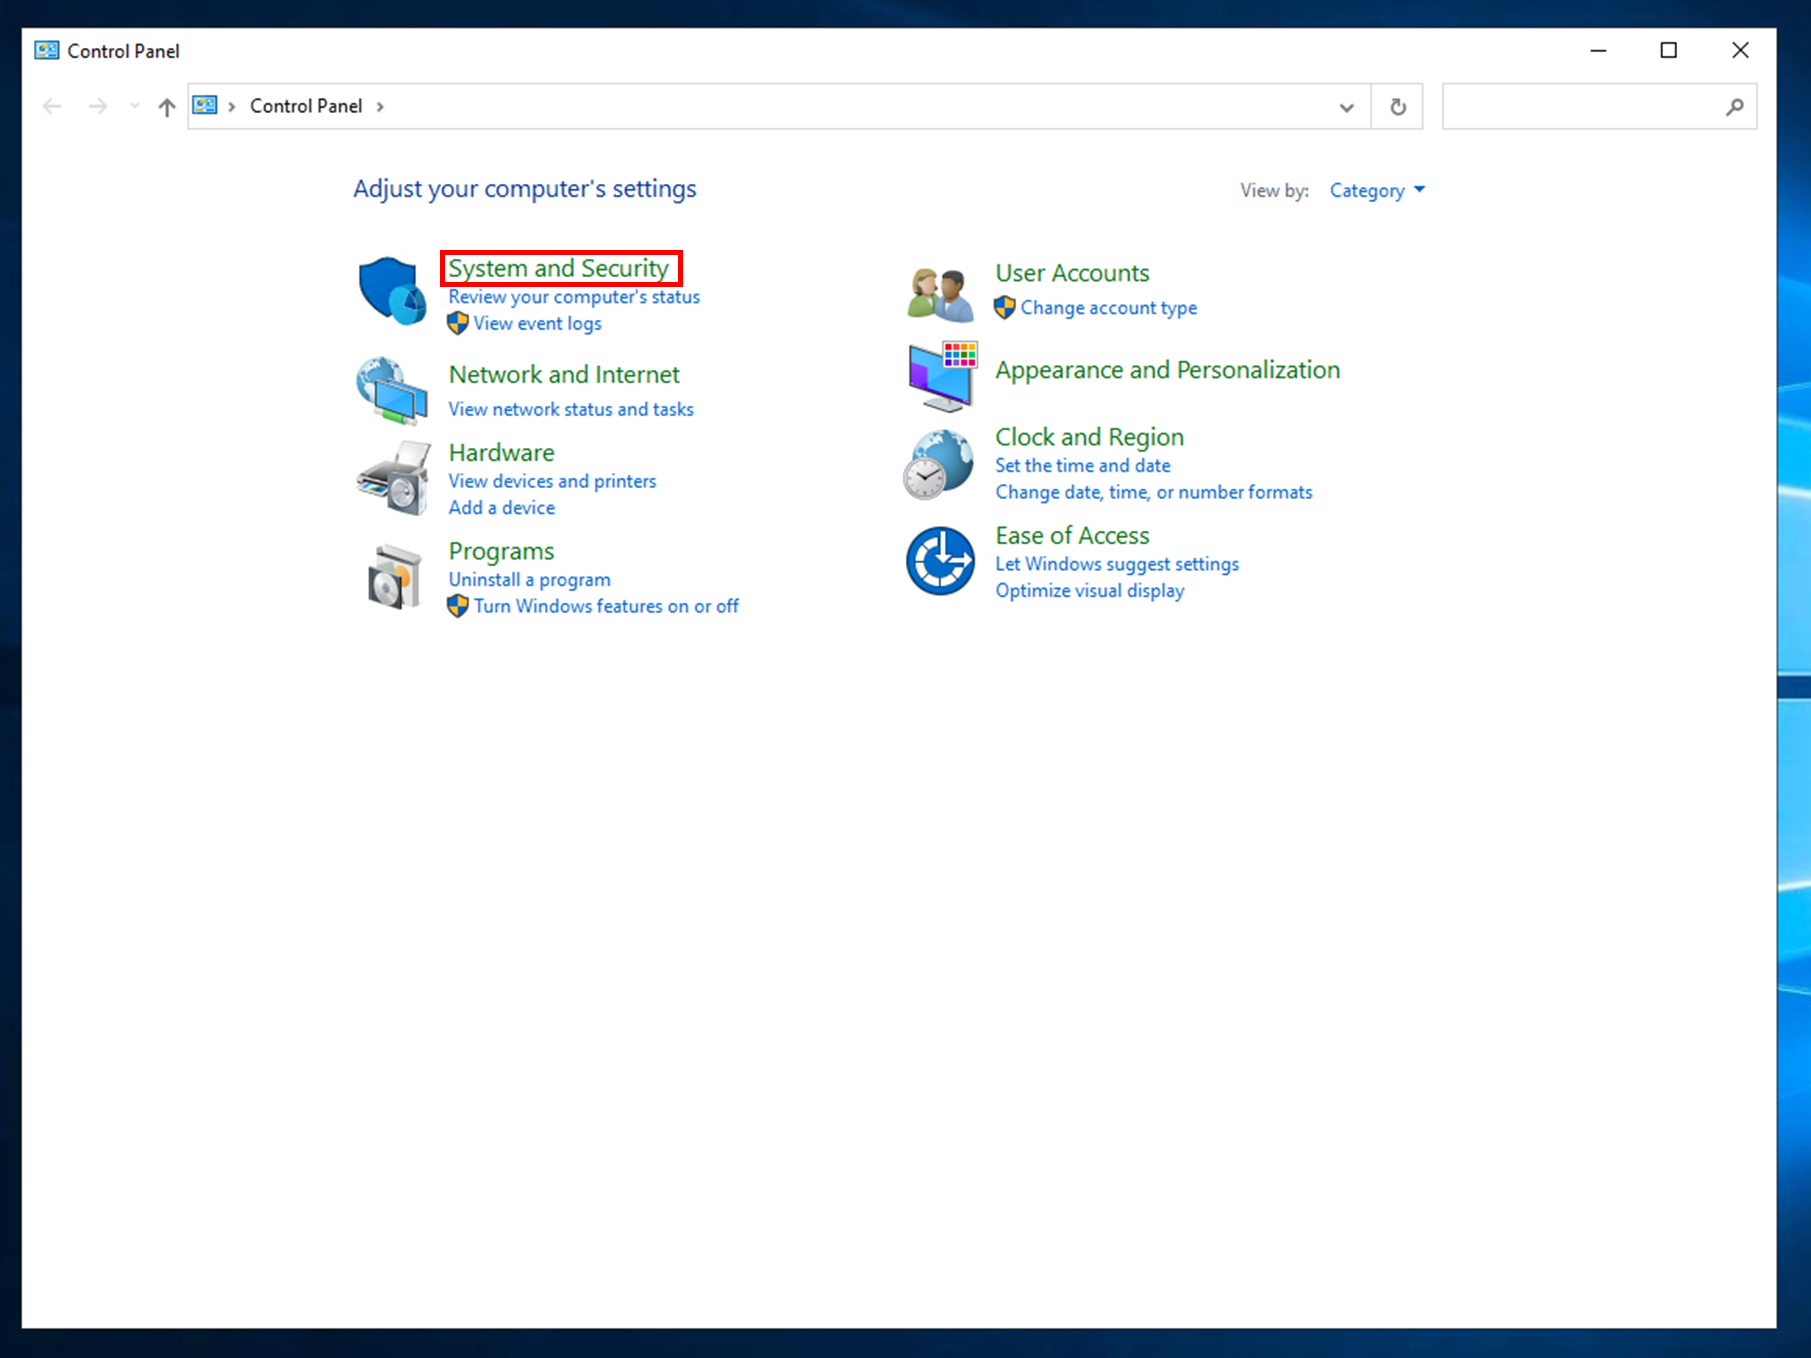
コントロールパネルを起動します。
System and Securityを選択します。
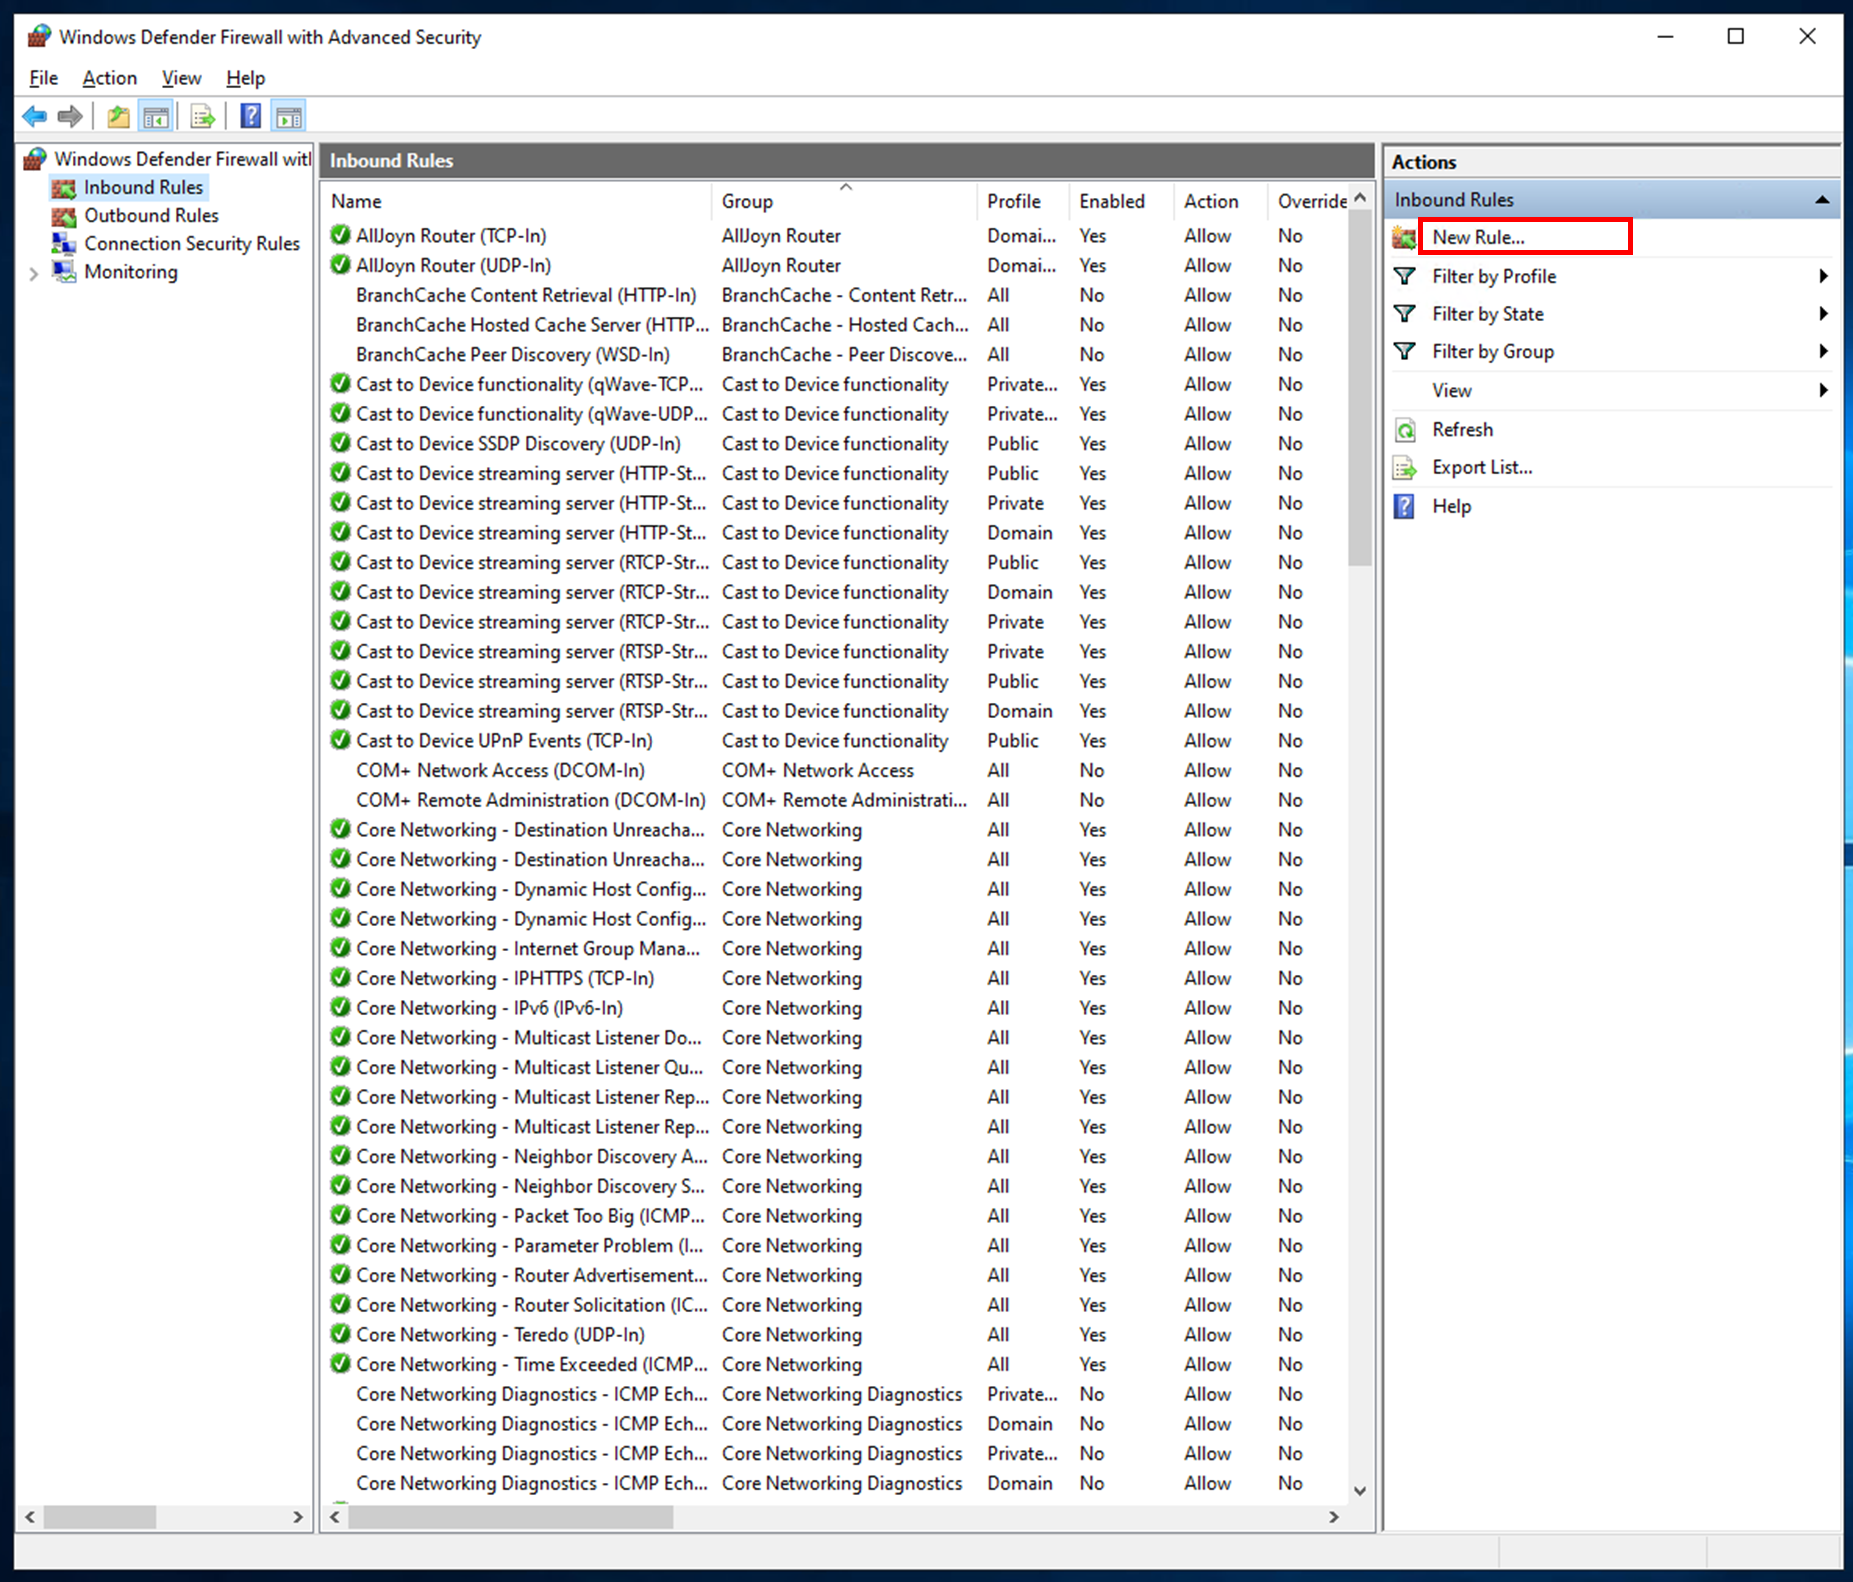
Windows Defender Firewallを選択します。

Inbound RulesにてNew Ruleを選択します。
2.Astroneerデプロイ
EC2にAstroneerのサーバアプリケーションをデプロイします。
なお、AstroneerのデプロイのためにSteamCMDというものを利用します。
SteamCMDはSteam内のユーザ登録不要なゲームサーバ等を入手するためにValve社にて提供しているツールです。
https://developer.valvesoftware.com/wiki/SteamCMD
2-1.ディレクトリ構成
今回はEC2内に以下のディレクトリを作成します。
C:\Games\steamcmd:SteamCMD用ディレクトリ
C:\Games\Astroneer:Astroneer用ディレクトリ
2-2.steamCMDデプロイ
以下URLにアクセスし、steamcmd.zipをダウンロードします。
zipファイルを展開し、作成済みのsteamcmd用ディレクトリ(C:\Games\steancmd)に中身を配置します。

steamcmd.exeをダブルクリックします。
steamcmdのインストールと起動が開始します。

しばらくして Steam> のプロンプトになるとsteamcmdの準備は完了です。
[----] Verifying installation...
Steam Console Client (c) Valve Corporation - version 1698778122
-- type 'quit' to exit --
Loading Steam API...OK

Steam>
2-3.Astroneerデプロイ
引き続きsteamcmdを利用し、Astroneerの準備をします。
Steam> login anonymous
Steam> force_install_dir "C:\Games\Astroneer"
Steam> app_update 728470 validate
Steam> exit
app_update 728470 validateの728470はSteam Application IDにおけるAstroneerのIDになります。
コマンド実行後、ディレクトリ内に以下のファイルが生成されています。

2-4.Astroneer初回起動
追加プログラムのインストールや一部ファイル等の作成のため、初回起動を行います。
ディレクトリ内のAstroServer.exeを起動します。
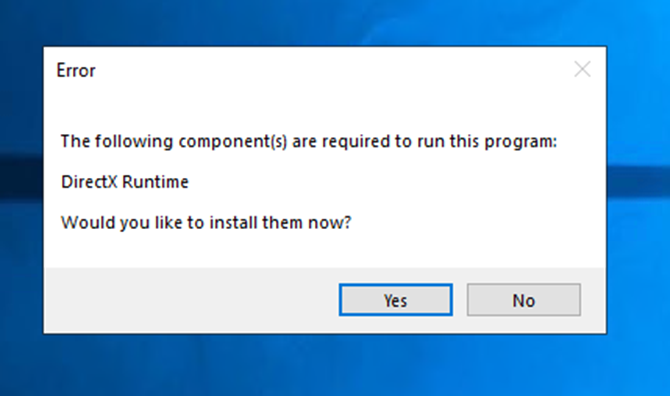
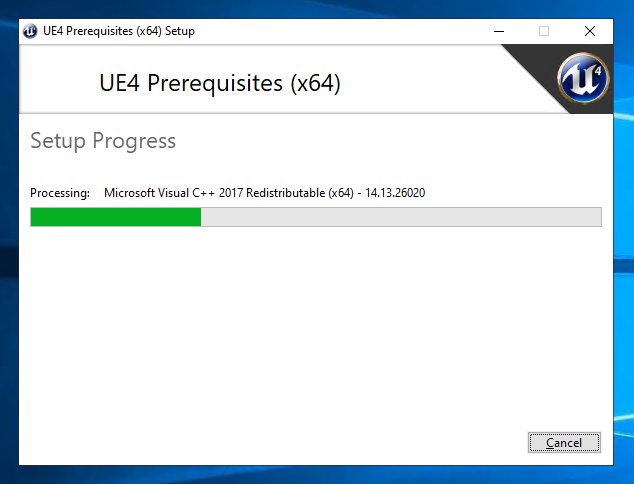
以下エラーが出る場合、DirectX Runtimeを行います。
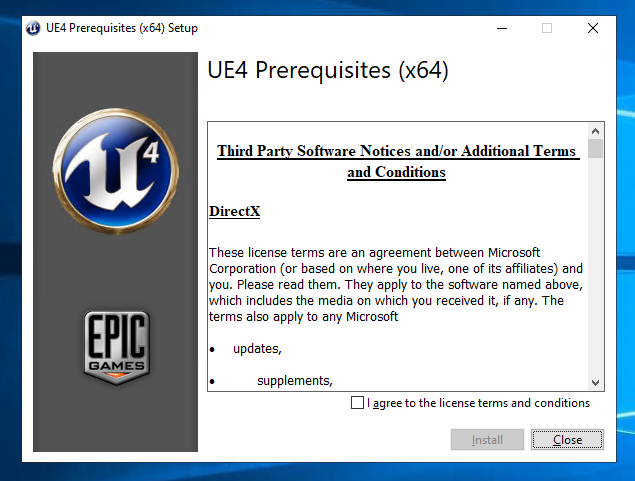
インストーラーに従ってセットアップすると、インストールが完了します。

2-5.Astroneer config設定
config等の設定を行います。
まず、タスクマネージャの詳細にAstroneer-Win64-Shipping.exeやAstroneer.exeが存在しないことを確認します。存在する場合は右クリックからプロセスツリーの終了を実施します。

以下ファイルの修正を実施します。
C:\Games\Astroneer\Astro\Saved\Config\WindowsServer\AstroServerSettings.ini
PublicIP=       ### グローバルIPアドレスを入力 ###
ServerName=     ### サーバ名を記入(ホスト名と一致しなくてよい) ###
以下ファイルの追記を実施します。
C:\Games\Astroneer\Astro\Saved\Config\WindowsServer\Engine.ini
[URL]
Port=8777
2-5.Astroneer起動
上記で設定等が完了しましたので、AstroServer.exeを起動します。
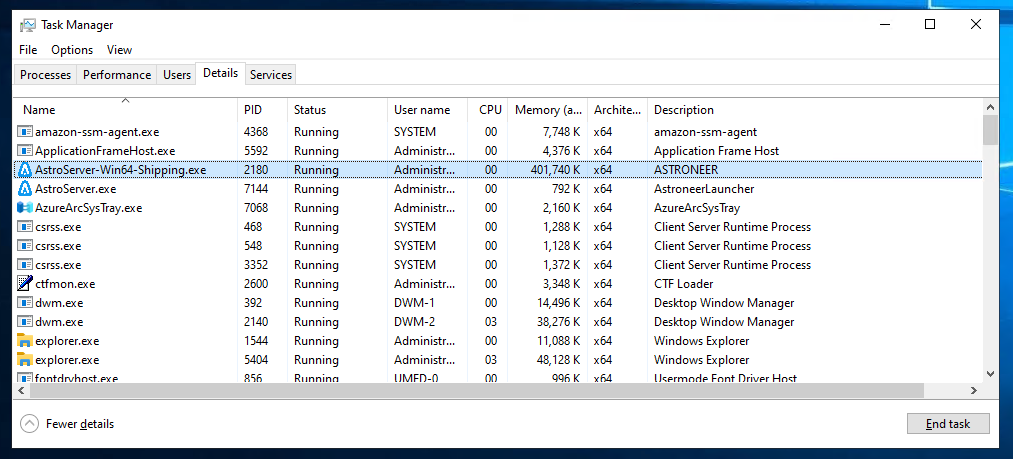
タスクマネージャの詳細にAstroneer-Win64-Shipping.exeおよびAstroneer.exeが存在することを確認します。
3.Astroneerクライアント接続
以降はクライアント側のWindows11にてAstroneerサーバへの接続を実施します。
3-1.SERVER LISTからの接続
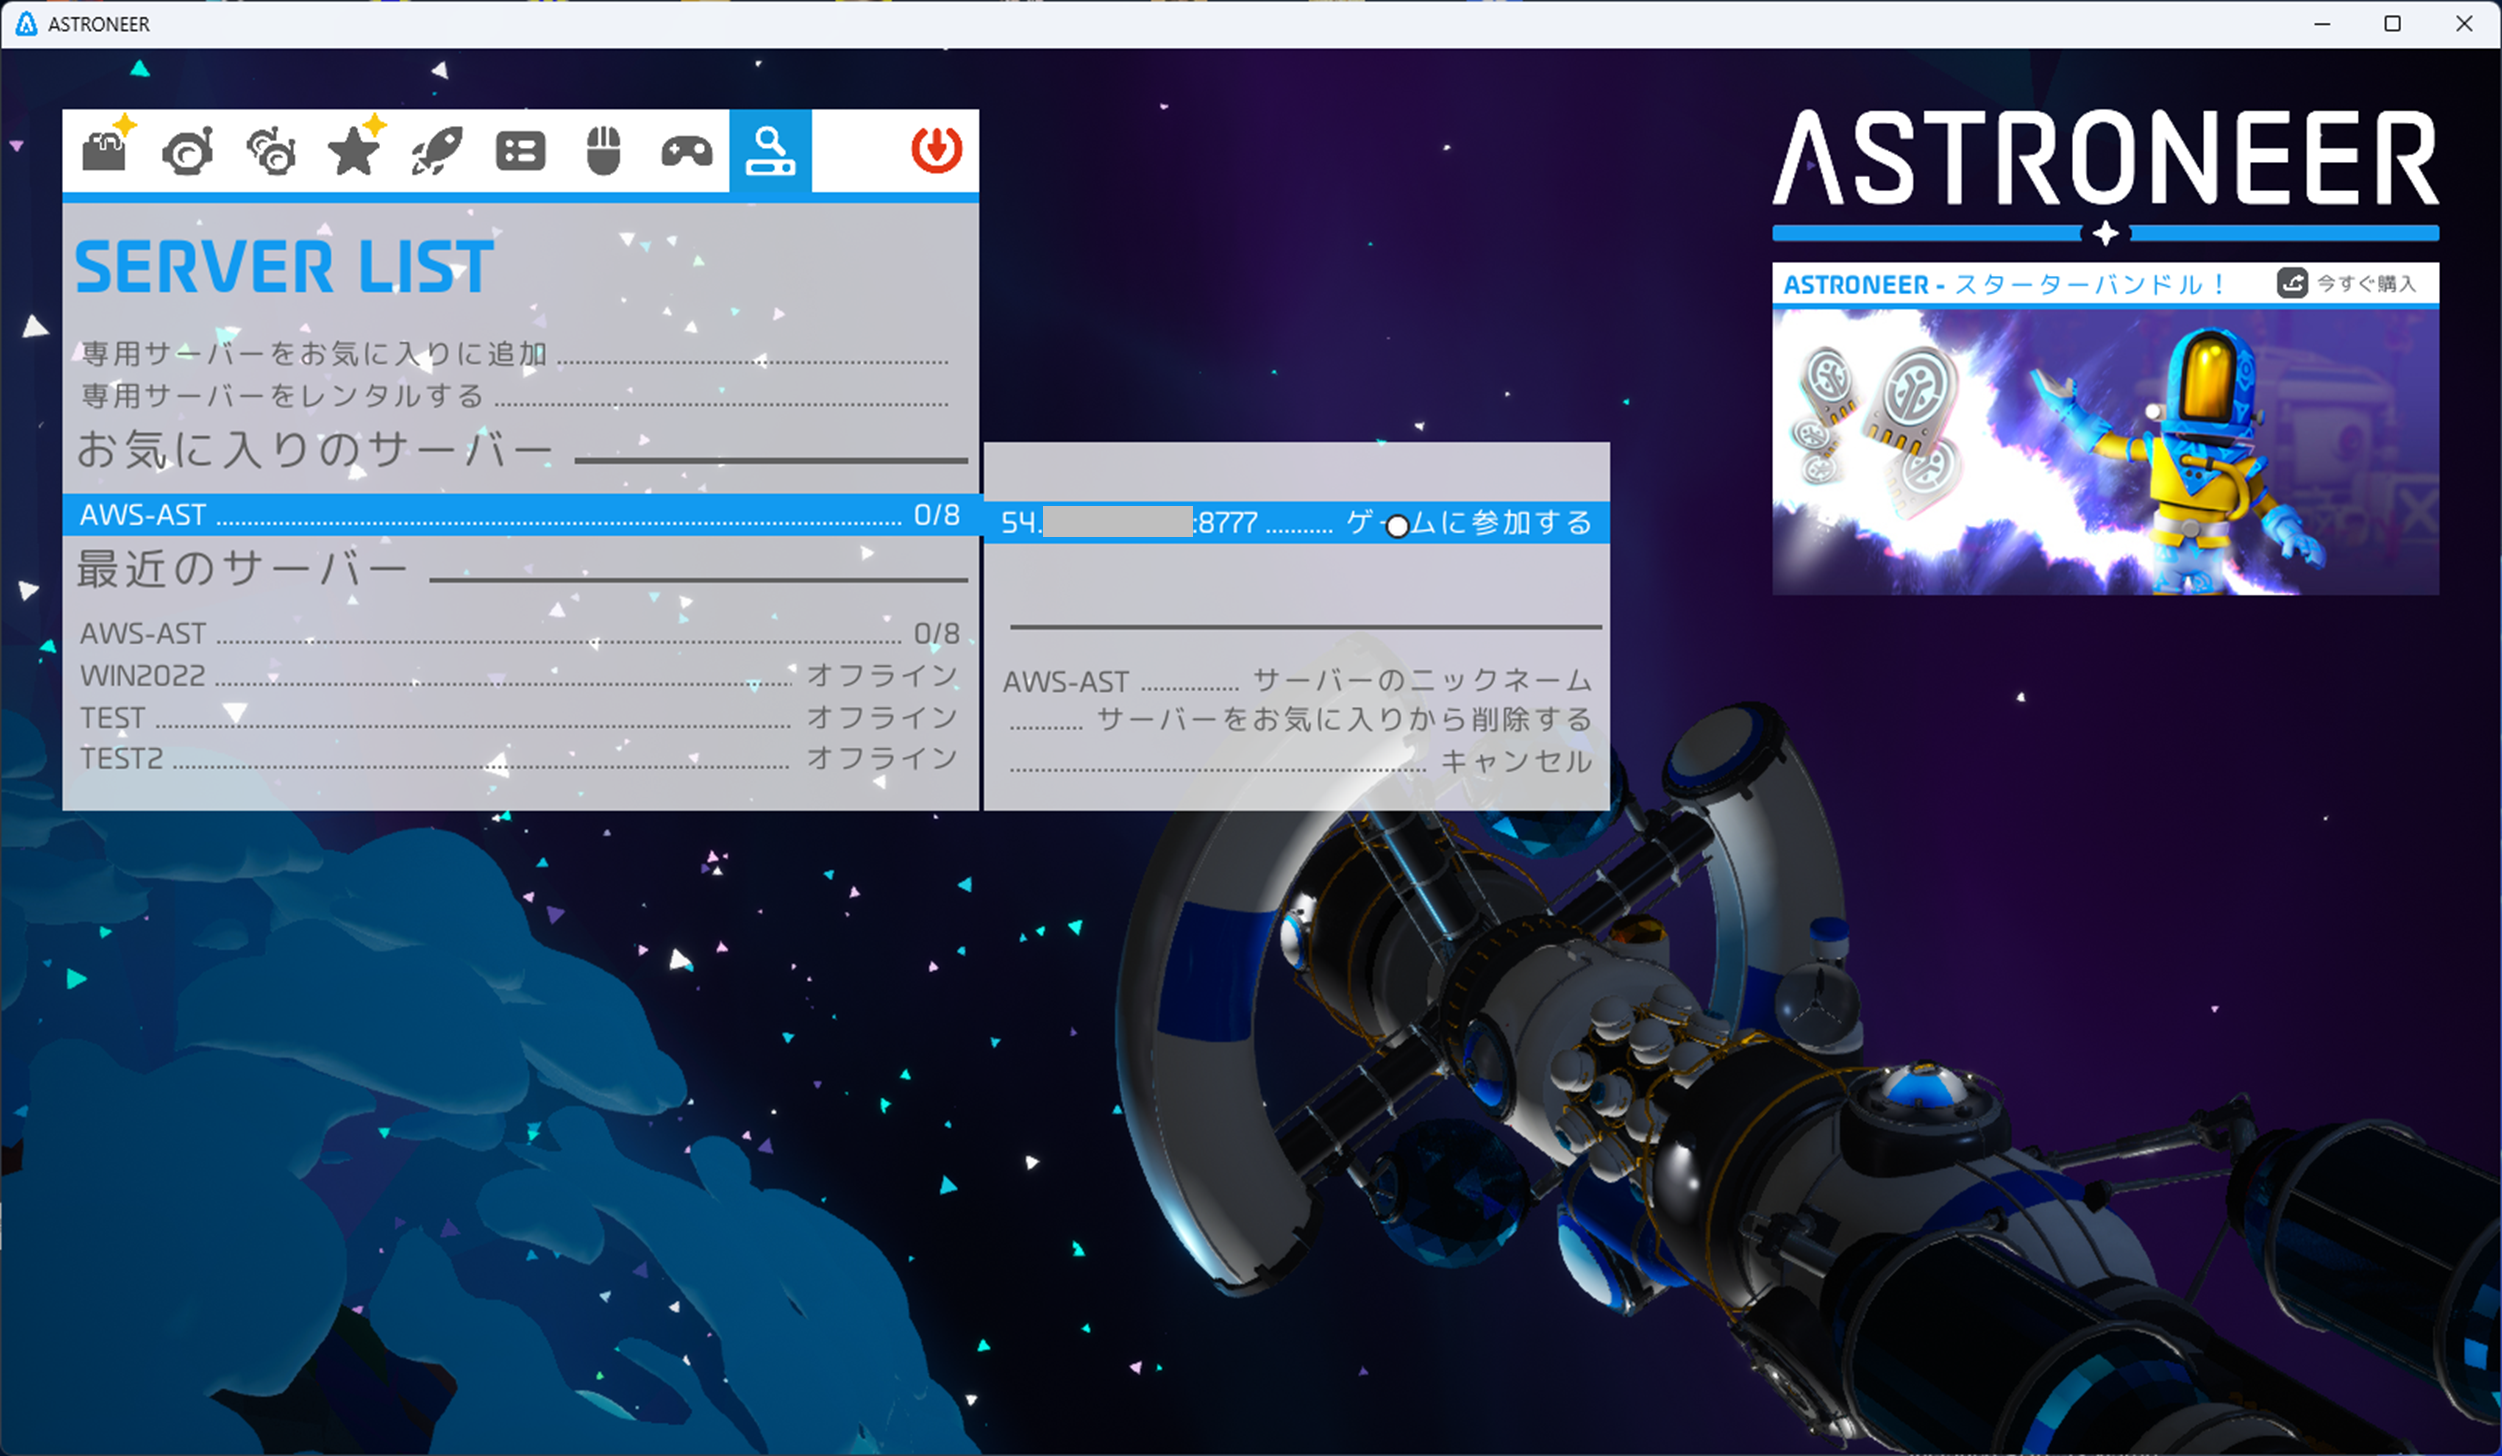
Astroneerを起動し、SERVER LISTを表示します。
専用サーバーをお気に入りに追加を選択し、以下を入力してサーバーをお気に入りに追加を選択します。
サーバーURL:IPアドレス:Portの形式で入力します。
サーバーのニックネーム:任意のニックネームを入力します。

ゲームに参加するを選択すると、Astroneerサーバへアクセスします。
