Zabbix Server 6.0 を AlmaLinux 8.9 にインストールします。
■環境
以下の公式要件から選定しています。
| Hardware | Resource |
|---|---|
| vCPU | 2 Core |
| vMemory | 8 GB |
| vDisk | 16 GB |
| Software | Target |
|---|---|
| OS | AlmaLinux release 8.9 (Midnight Oncilla) |
| Zabbix | zabbix-server-pgsql-6.0.25-release1.el8.x86_64 |
| DB | postgresql-server-15.5-1.module_el8.9.0+3706+885c732e.x86_64 |
| Web | httpd-2.4.37-62.module_el8.9.0+3646+acd210d0.x86_64 |
OSバージョンはPostgreSQLのOS利用可能バージョンからRHEL系8.8以降として選定しています。
RHEL 8 では、PostgreSQLサーバーは複数のバージョンで利用でき、各バージョンは個別のストリームで提供されます。
PostgreSQL 10 - 確実のストリーム
PostgreSQL 9.6
PostgreSQL 12 - RHEL 8.1.1 以降で利用できます。
PostgreSQL 13 - RHEL 8.4 以降で利用できます。
PostgreSQL 15 - RHEL 8.8 以降で利用できます。
■作業フロー
1.VM/OSインストール
2.NW/セキュリティ設定
2.1 hosts設定
2.2 firewalld設定
2.3 SELinux設定
3.Zabbix Serverインストール
3.1 Zabbix Serverインストール
3.2 PostgreSQLインストール
3.3 PostgreSQL初回起動
3.4 PostgreSQLセットアップ
3.5 PostgreSQL認証設定
3.6 Zabbix Server設定
3.7 php設定
3.8 サービス再起動
4.Zabbix Server初回セットアップ
1.VM/OSインストール
vmware ESXiを利用してVMおよびOSのインストールを実施します。
だいたい以下と同様のため割愛します。
2.NW/セキュリティ設定
NWおよびセキュリティの設定を行います。
IPアドレス設定、ルーティング設定等は割愛します。
2.1 hosts設定
/etc/hostsファイルのIPv6行をコメントアウトしておきます。
# vi /etc/hosts
-----------
127.0.0.1   localhost localhost.localdomain localhost4 localhost4.localdomain4
::1         localhost localhost.localdomain localhost6 localhost6.localdomain6

↓

127.0.0.1   localhost localhost.localdomain localhost4 localhost4.localdomain4
#::1         localhost localhost.localdomain localhost6 localhost6.localdomain6
-----------
Zabbix Server初回セットアップ時に、IPv6アドレスを利用した名前解決(localhost)でPostgreSQLへ接続しに行ったりするため除外しておきます。
2.2 firewalld設定
firewalldを無効化しておきます。
# systemctl stop firewalld
# systemctl disable firewalld
必要に応じてポート開放設定を検討ください。
2.3 SELinux設定
SELinuxを無効化しておきます。
# vi /etc/selinux/config
-----
SELINUX=enforcing
↓
SELINUX=disabled
-----
設定反映のため、OS再起動を行います。
# shutdown -r now
SELinuxが無効化されたことを確認します。
# getenforce
Disabled
必要に応じて許可設定等を検討ください。
3.Zabbix Serverインストール
Zabbix Serverや関連ソフトウェアのインストールを実施します。
基本は以下に従います。
3.1 Zabbix Serverインストール
リポジトリインストールおよびZabbix Server関連パッケージのインストールを行います。
# rpm -Uvh https://repo.zabbix.com/zabbix/6.0/rhel/8/x86_64/zabbix-release-6.0-4.el8.noarch.rpm

# dnf clean all

# dnf install -y zabbix-server-pgsql zabbix-web-pgsql zabbix-apache-conf zabbix-sql-scripts zabbix-selinux-policy zabbix-agent
3.2 PostgreSQLインストール
PostgreSQLのインストールを行います。
AlmaLinux8.9のデフォルトではPostgreSQL 10がインストールされるため、バージョン15をインストールするようにしていきます。
まずはインストール可能なバージョンを確認します。
# dnf module list postgresql
メタデータの期限切れの最終確認: 0:01:37 前の 2023年12月30日 11時56分19秒 に実施しました。
AlmaLinux 8 - AppStream
Name         Stream     Profiles               Summary
postgresql   9.6        client, server [d]     PostgreSQL server and client module
postgresql   10 [d]     client, server [d]     PostgreSQL server and client module
postgresql   12         client, server [d]     PostgreSQL server and client module
postgresql   13         client, server [d]     PostgreSQL server and client module
postgresql   15         client, server [d]     PostgreSQL server and client module

ヒント: [d]efault, [e]nabled, [x]disabled, [i]nstalled
バージョン15を利用可能にします。
# dnf module enable postgresql:15 -y
メタデータの期限切れの最終確認: 0:01:45 前の 2023年12月30日 11時56分19秒 に実施しました。
依存関係が解決しました。
==========================================================================================
 パッケージ                      アーキテクチャー    バージョン    リポジトリー     サイズ
==========================================================================================
モジュールストリームの有効化中:
 postgresql                                          15

トランザクションの概要
==========================================================================================

完了しました!
PostgreSQLをインストールします。
# dnf install -y postgresql postgresql-server
PostgreSQLバージョン15がインストールされたことを確認します。
# rpm -qa | grep postgre
postgresql-private-libs-15.5-1.module_el8.9.0+3706+885c732e.x86_64
postgresql-server-15.5-1.module_el8.9.0+3706+885c732e.x86_64
postgresql-15.5-1.module_el8.9.0+3706+885c732e.x86_64
3.3 PostgreSQL初回起動
PostgreSQLを自動起動するようにします。
# systemctl enable postgresql
initdb処理を行います。
# /usr/bin/postgresql-setup initdb
WARNING: using obsoleted argument syntax, try --help
WARNING: arguments transformed to: postgresql-setup --initdb --unit postgresql
 * Initializing database in '/var/lib/pgsql/data'
 * Initialized, logs are in /var/lib/pgsql/initdb_postgresql.log
サービス起動および起動確認を行います。
# systemctl start postgresql

# systemctl status postgresql
● postgresql.service - PostgreSQL database server
   Loaded: loaded (/usr/lib/systemd/system/postgresql.service; enabled; vendor preset: disabled)
   Active: active (running) since Sat 2023-12-30 11:58:45 JST; 3s ago
  Process: 27678 ExecStartPre=/usr/libexec/postgresql-check-db-dir postgresql (code=exited, status=0/SUCCESS)
 Main PID: 27681 (postmaster)
    Tasks: 7 (limit: 48931)
   Memory: 17.6M
   CGroup: /system.slice/postgresql.service
           tq27681 /usr/bin/postmaster -D /var/lib/pgsql/data
           tq27682 postgres: logger
           tq27683 postgres: checkpointer
           tq27684 postgres: background writer
           tq27686 postgres: walwriter
           tq27687 postgres: autovacuum launcher
           mq27688 postgres: logical replication launcher
3.4 PostgreSQLセットアップ
Zabbix用DBとしてPostgreSQLをセットアップします。
公式インストール手順に従い、PostgreSQLのユーザ作成、DB作成およびSQL投入を行います。
PostgreSQLにzabbixユーザを作成するにあたりDB接続パスワードを投入します。DB接続パスワードは以降の手順でも利用します。
# sudo -u postgres createuser --pwprompt zabbix
could not change directory to "/root": 許可がありません
Enter password for new role:
Enter it again:

# sudo -u postgres createdb -O zabbix zabbix
could not change directory to "/root": 許可がありません

# zcat /usr/share/zabbix-sql-scripts/postgresql/server.sql.gz | sudo -u zabbix psql zabbix
3.5 PostgreSQL認証設定
ZabbixServerがPostgreSQLへ接続する際の認証設定を行います。
local接続/IPv4接続に対し、md5認証に変更しています。
# vi /var/lib/pgsql/data/pg_hba.conf
----------------------------------------
# TYPE  DATABASE        USER            ADDRESS                 METHOD

# "local" is for Unix domain socket connections only
local   all             all                                     peer
# IPv4 local connections:
host    all             all             127.0.0.1/32            ident

↓

# TYPE  DATABASE        USER            ADDRESS                 METHOD

# "local" is for Unix domain socket connections only
local   all             all                                     md5
# IPv4 local connections:
host    all             all             127.0.0.1/32            md5
----------------------------------------
PostgreSQLサービス再起動を行います。
# systemctl restart postgresql
3.6 Zabbix Server設定
Zabbix ServerのconfigファイルにDBパスワードを設定します。
# vi /etc/zabbix/zabbix_server.conf
-----------------------------------
DBPassword=password   ←PostgreSQL/zabbixユーザのパスワード
-----------------------------------
3.7 php設定
phpのconfigファイルにタイムゾーンの設定を行います。
# vi /etc/php-fpm.d/zabbix.conf
-----
php_value[date.timezone] = Asia/Tokyo
-----
3.8 サービス再起動
Zabbix Server等サービスの自動起動および再起動を行います。
# systemctl restart zabbix-server zabbix-agent httpd php-fpm
# systemctl enable zabbix-server zabbix-agent httpd php-fpm
4.Zabbix Server初回セットアップ
以下にブラウザで接続します。
http://[サーバのIPアドレス]/zabbix
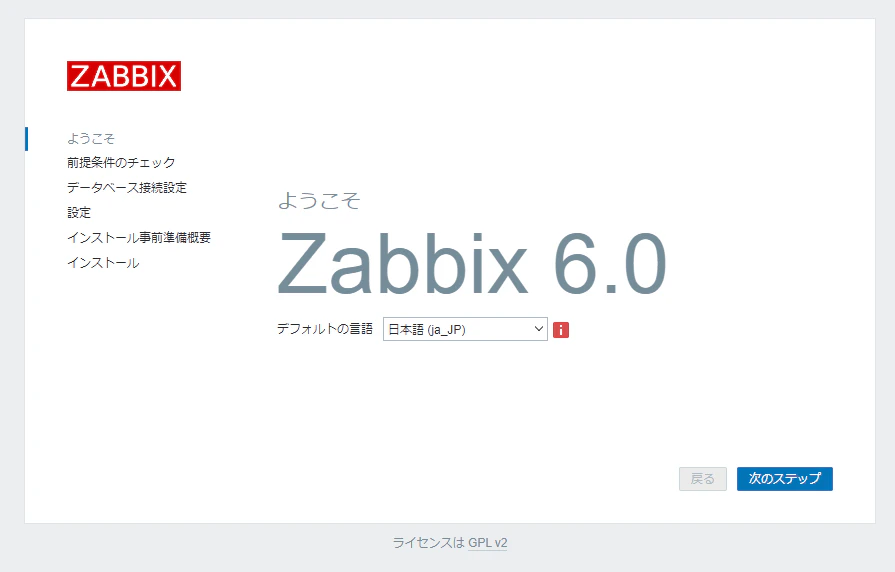
言語選択をします。
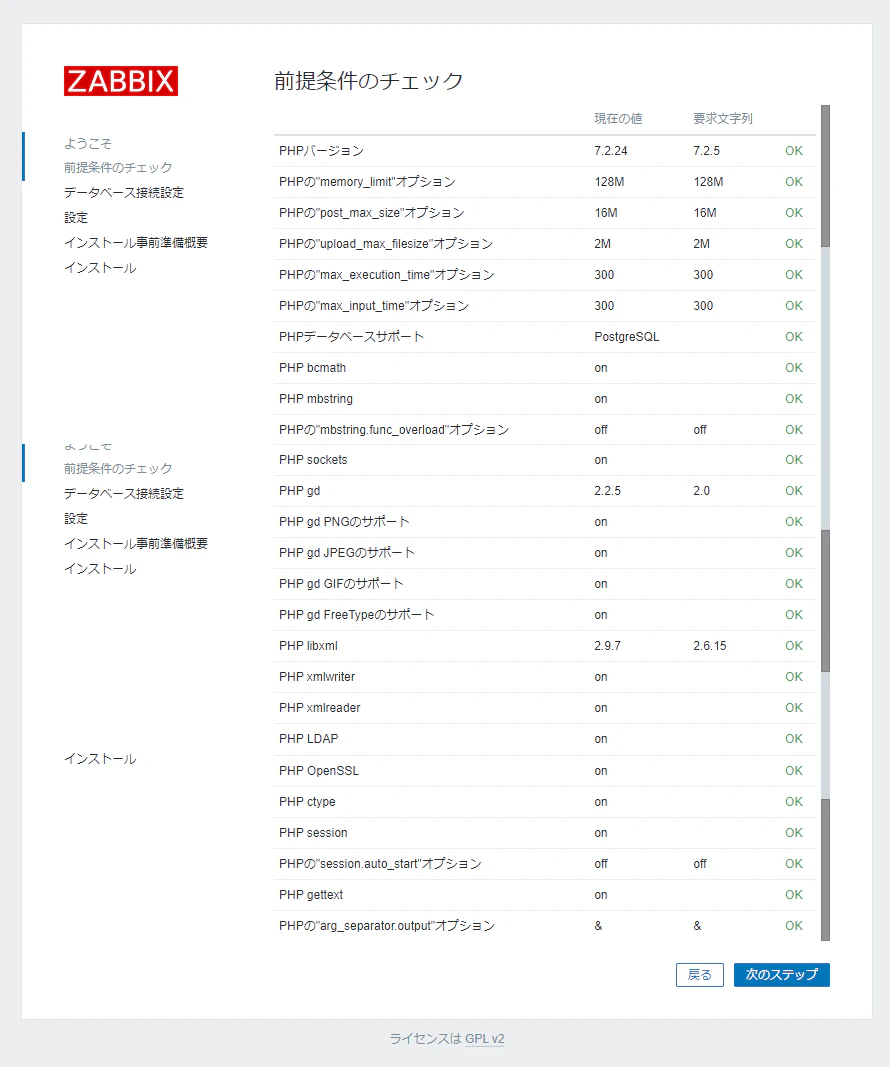
前提条件をクリアしているか確認します。
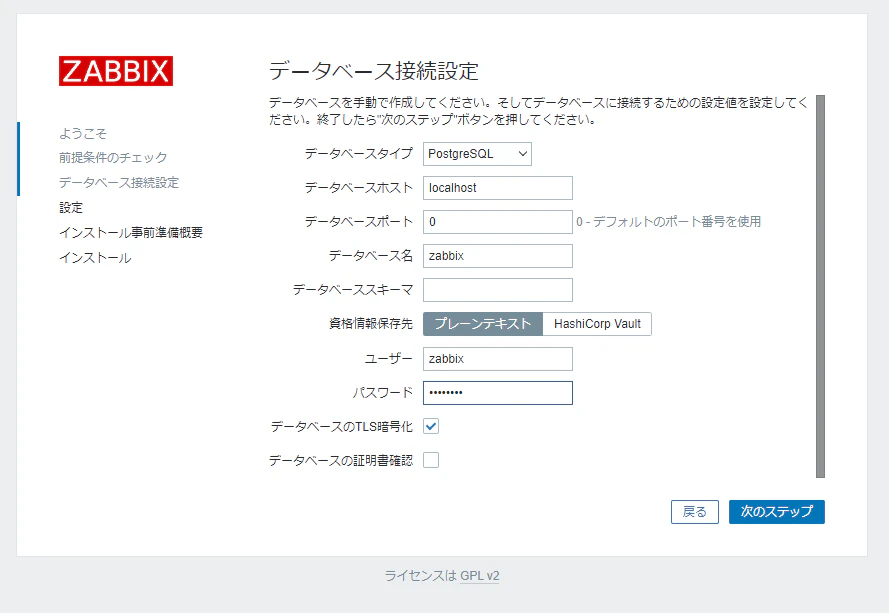
データベース接続設定を行います。
入力が必要な箇所はデータベースタイプとパスワード程度になります。
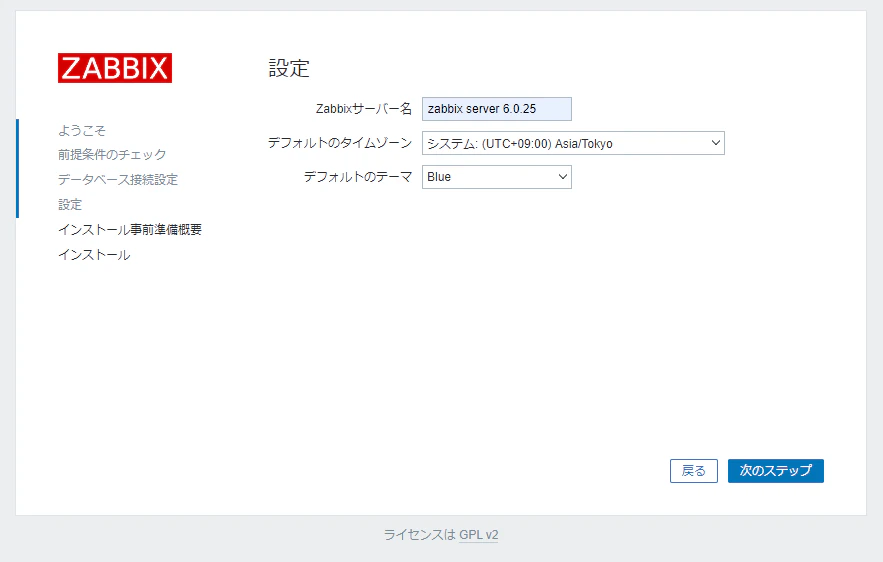
Zabbixサーバ名を入力します。
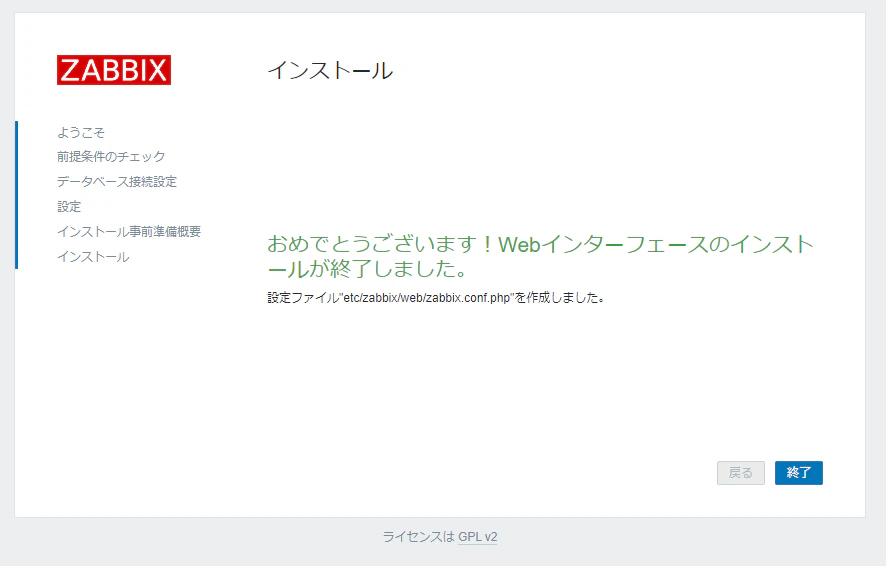
内容の確認を行います。

終了ボタンを押下します。
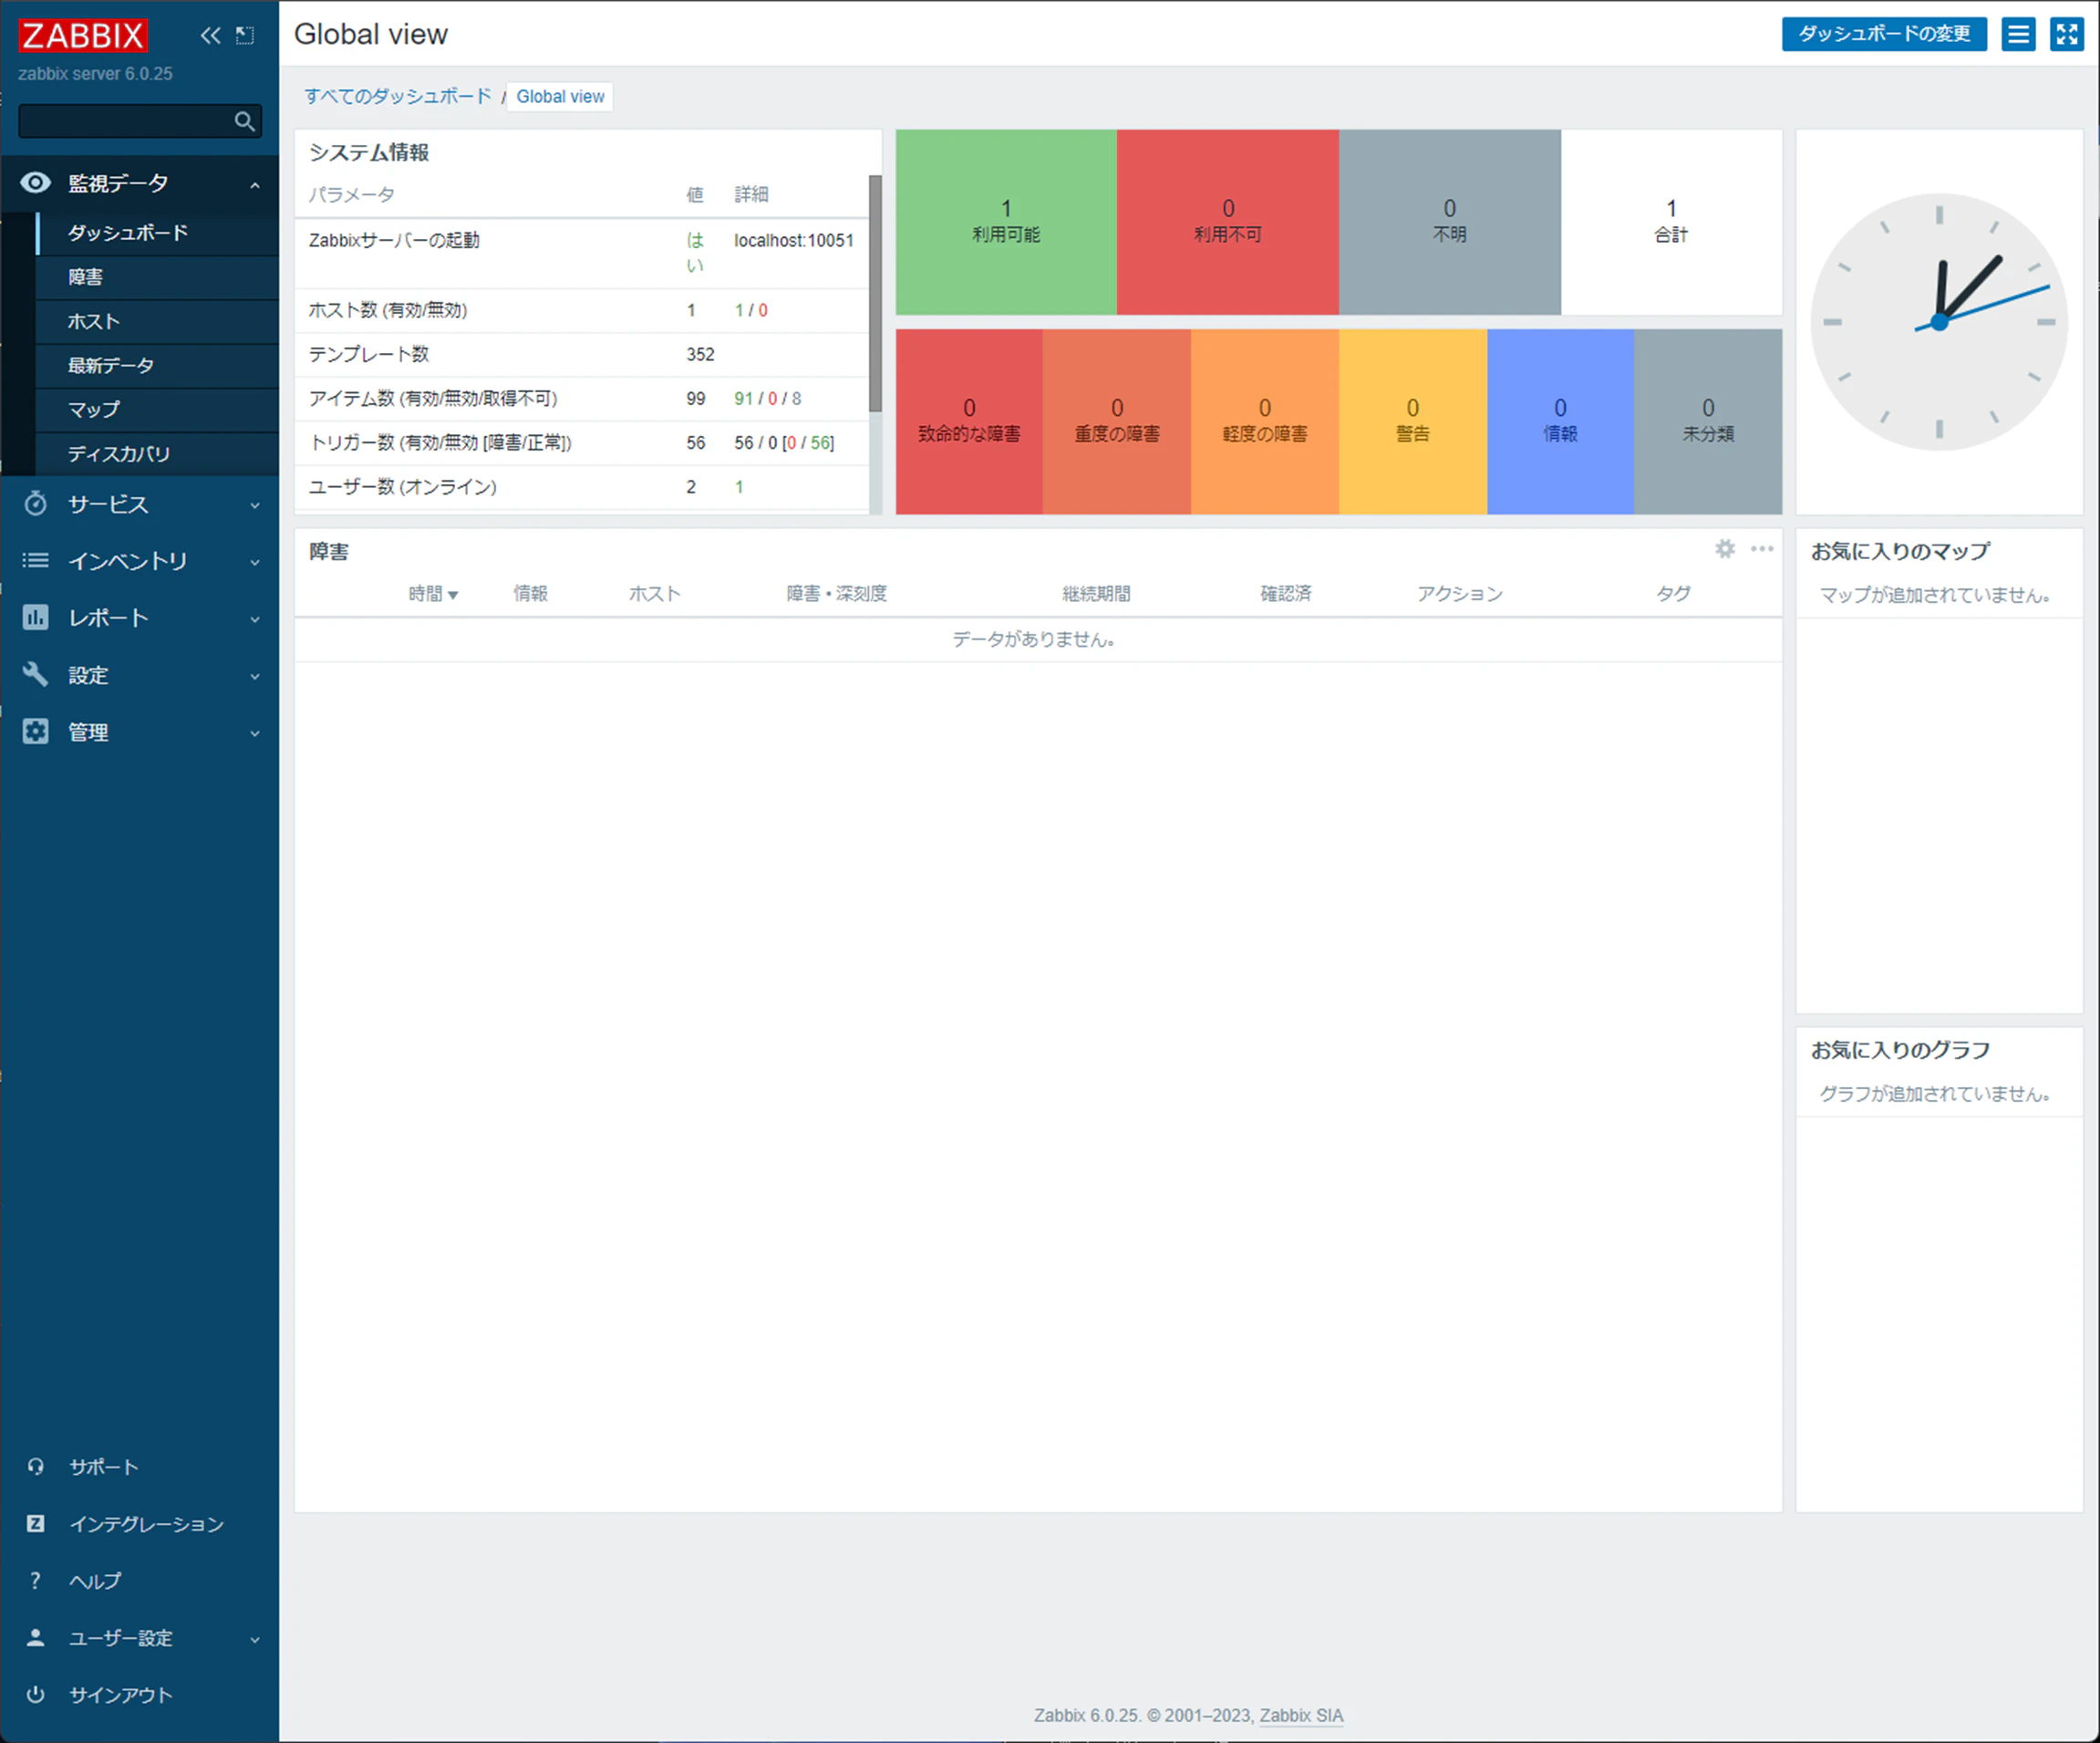
サインインをします。

デフォルトのユーザ名はAdmin、パスワードはzabbixになります。
無事、Zabbix Serverが使用可能な状態になりました。
■参考