開発を進めていく上で、コード管理を効率的に行うことは必須ですよね。
UiPathは、レコーディング機能などを使用すれば、誰でもロボットを作成できますが、汎用性のあるロボットを作ろうとすると、ある程度の開発は行う必要があります。
UiPathでは、コード管理のリポジトリとして、Git, TFS, SVNと連携することができます。

今回は、この中からGitを使って、コードを管理する方法について、解説しようと思います。
(リポジトリは、GitLab を利用します。)
まずは、設定編です。
環境設定の流れは、以下のとおりです。
0. GitLabへのアカウントの登録(割愛)
1. Git for Windowsのインストール
2. Git BashでSSH Keyを作成、設定
3. UiPathで、Git Cloneをする
Git for Windowsのインストール
-
UiPathとGitを連携させるためには、
gitコマンドをWindows PCから使えるようにする必要がありますので、必要なモジュールをインストールします( こちら からダウンロードできます )。 -
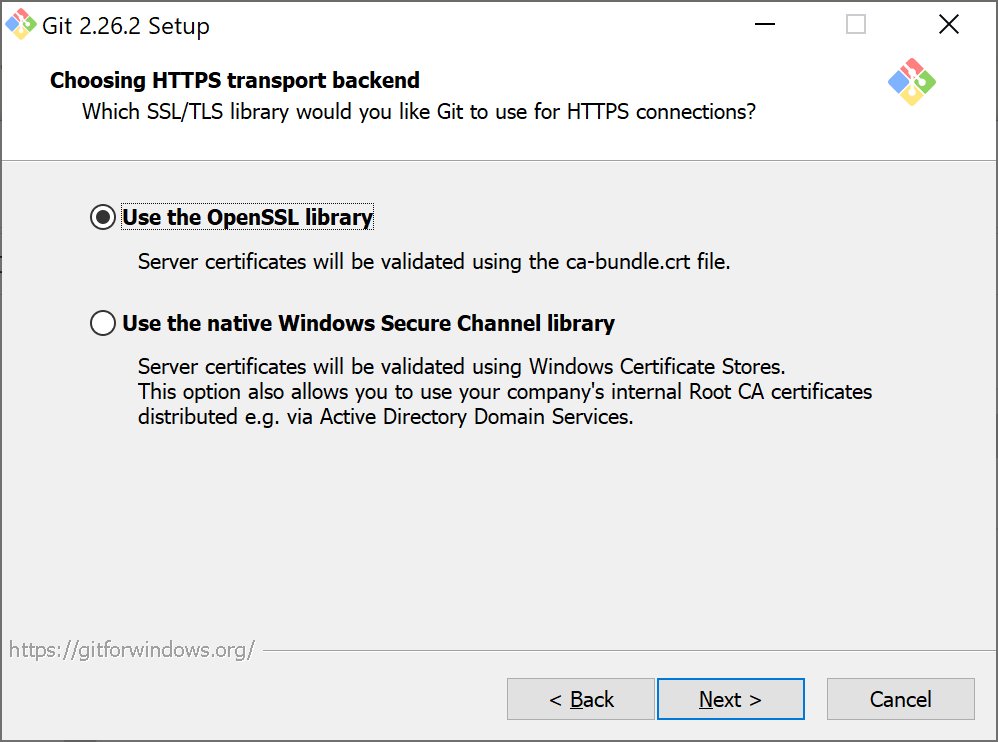
ダウンロードしたモジュール( Git-[バージョン]-64-bit.exe )を実行し、インストールを行います。
参考までに、いくつかキャプチャを載せておきますが、ひたすら "Next" をクリックし、インストールを進めればOKです。


- インストールが完了したら、コマンドプロンプトを立ち上げ、
gitが有効となっていることを確認します。gitとコマンドを打って、エラーが出なければ有効です。

Git BashでSSH Keyを作成、設定
1: Git Bashを使用し、SSH Keyを作成します。 SSH Keyの作成は、ssh-keygenコマンドを使用します。
$ ssh-keygen -t rsa -f gitlab_rsa

Generating public/private rsa key pair.
Enter passphrase (empty for no passphrase):
Enter same passphrase again:
Your identification has been saved in gitlab_rsa
Your public key has been saved in gitlab_rsa.pub
The key fingerprint is:
SHA256:xRuQu62MqUK1E1pXq4rAaSNPfJCWEUcsBffPa3u5AuE User@WinDev2004Eval
The key's randomart image is:
+---[RSA 3072]----+
|  o*=   ..       |
     //(省略)
|   ...  .o..     |
+----[SHA256]-----+
2: C:\Users\[ユーザー名]\.ssh\ に gitlab_rsa, gitlab_rsa.pub の2つのファイルが作成されるので、gitlab_rsa.pubをエディタで開き、すべてをコピーする。
3: [GitLab] (https://gitlab.com/) のサイトにアクセスし、[User Settings] - [SSH Key]を開き、赤枠のところに ”SSH Key” を貼り付け、Add keyをクリックする。

UiPathで、Git Cloneをする
リポジトリは、GitLabで事前に作成されている前提です。
- UiPath Studioのメニュー、
Team-Clone Repositoryを選択する。

- Repository URL、Private Key (前のステップで作成した
gitlab_rsa)を設定し、Openをクリックします。 Repository URLは、GitLabのページより取得します。


- UiPath Studioの
Projectタブを開いた時に、各ファイルの横に矢印のようなマークがついていれば、リポジトリと接続できています。

UiPath StudioとGitLabを接続する方法の説明は、以上で終わりです。
ブランチの作成、Commitについては、別の記事に記載します。