はじめに
研究室を卒業するが,引き継ぎ用資料の内,一般公開可能なものを備忘録としておきます.
-
公式サイト より環境にあったRaspberry Pi Imagerをダウンロード,インストールする.(本記事ではwindows11で進める)

- 通常通りRaspberry Piを起動させ,初期設定,apt updateやapt upgrade -yを完了させる.
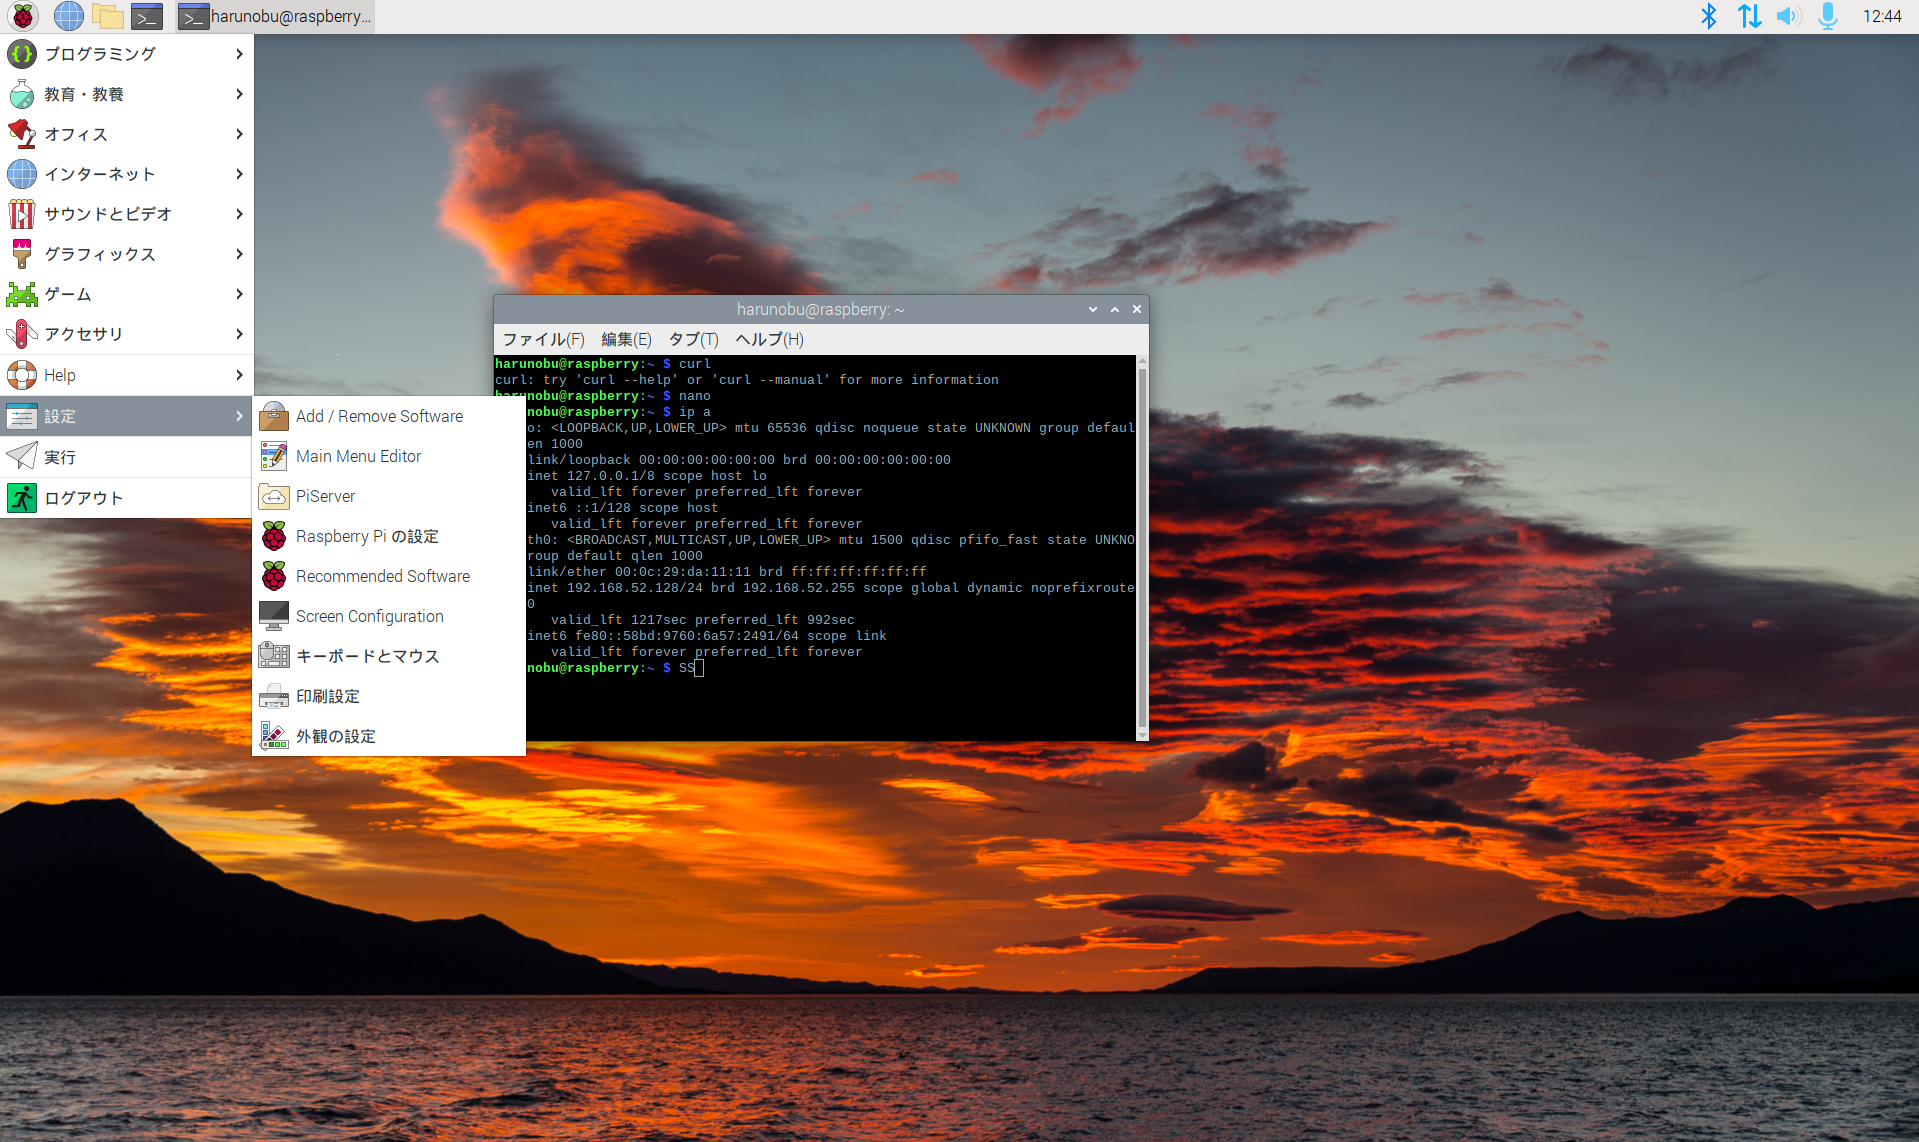
- ipアドレスは ip aで確認できる

この例だと 192.168.52.128である(実機ではなく,vmware環境で撮影しています.すみません) - 左上ボタン→設定Raspberry Piの設定→インタフェースを開き,ssh(と必要に応じてvnc)を有効にする


- Raspberry Piを再起動する
- sshでログインできることを確認する
- スクリーンエディタ(nanoなど)を用いて/boot/config.txtというファイルをsudoで開き,その一番下に以下の3行を追加する(間違ってそれ以外を触らないように注意!!!)
dtoverlay=spi1-3cs
dtoverlay=mcp251xfd,spi0-0,interrupt=25
dtoverlay=mcp251xfd,spi0-1,interrupt=24
- Raspberry Piを再起動する
- PC上にvscodeをまだ入れていない場合には入れ,ssh拡張機能を入れる.
$  sudo ip link set up can0 type can bitrate 500000 dbitrate 1000000 fd on
$  sudo ip link set up can1 type can bitrate 500000 dbitrate 1000000 fd on
とipコマンドを使用してインタフェースを起動するコマンドの引数の意味は
sudo ip link set (起動する) (インタフェース名) type can bitrate (ボーレート(例の場合500 kbps)) dbitrate (データビットレート(例の場合1 Mbps)) fd on(can fdを使用する)
である
https://github.com/HarunobuEnami/send_example
送信プログラムの例
https://github.com/HarunobuEnami/recieve_example
受信プログラムの例