1.はじめに
Vagrantは、簡単に仮想環境を作成するためのツールです。
今回は自分用の備忘録として、Vagrantを使って Mac PCにCentOS7 環境を作成する手順をまとめます。
※ 前提としてMac PCに VirtualBox が導入済であるとします。
VirtualBoxは以下リンク先のサイトから ダウンロードします。
https://www.virtualbox.org/
2. 準備
まず Mac PCにVagrantを導入します。
2-1.ダウンロード
公式サイトからVagrantをダウンロードします。
ダウンロード イメージは以下リンク先から取得できます。
Vagrant:Download Vagrant
https://www.vagrantup.com/downloads.html
URLを開くと、以下のようなページが表示されます。
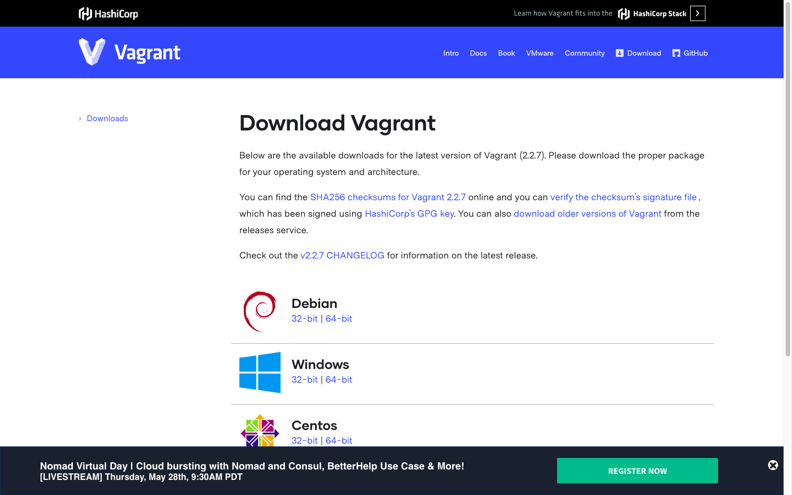
今回はMac PCにVagrantを導入するので、macOS用のイメージを選択します。
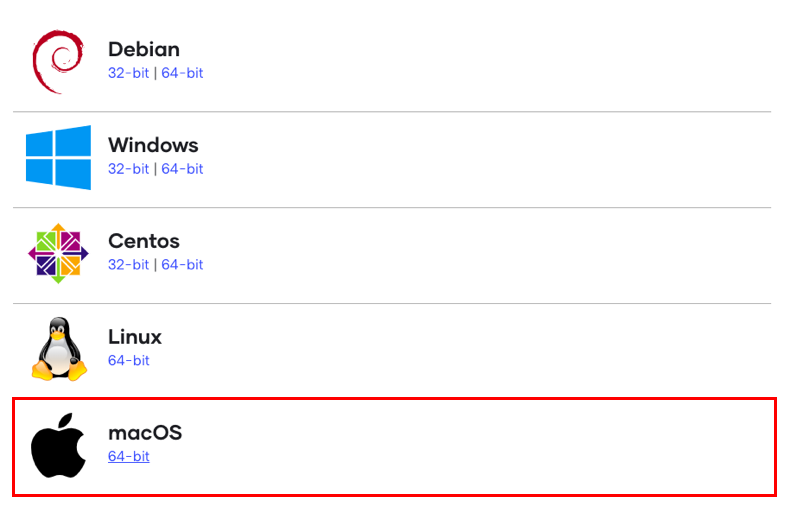
※ 今回はバージョン2.2.7を導入
2-2. インストール
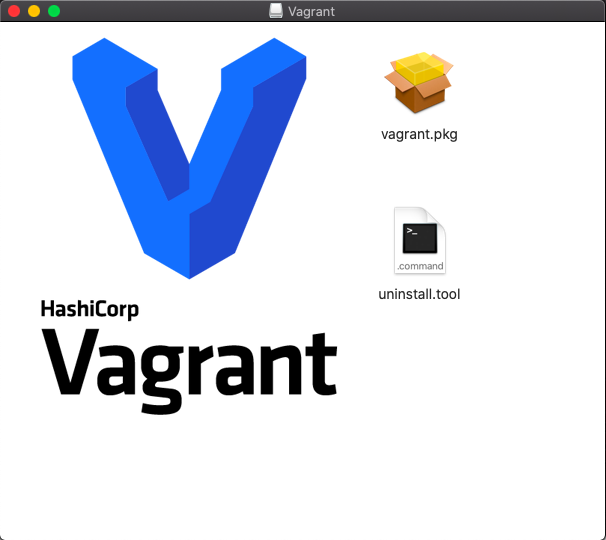
(1) インストーラーを開く
ダウンロードしたVagrantのインストーラーを開くと、以下のようなウィンドウが表示されます。
(2) [続ける] をクリック
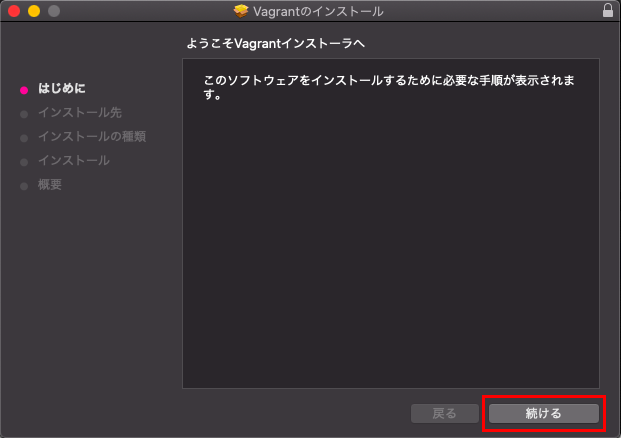
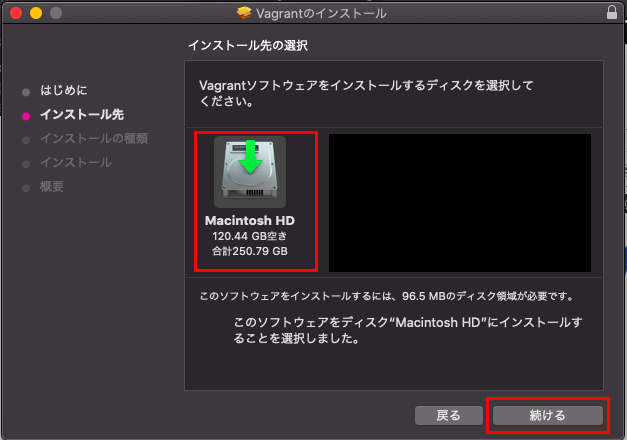
(3) インストール先のディスクを選択し、[続ける]をクリック
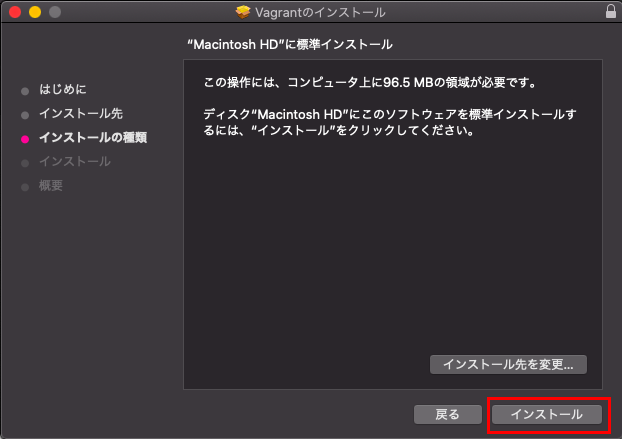
(4) [インストール]をクリックし、インストール開始
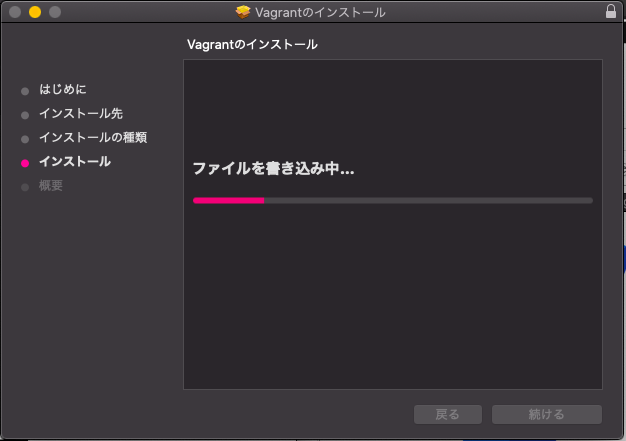
インストールが開始されます。
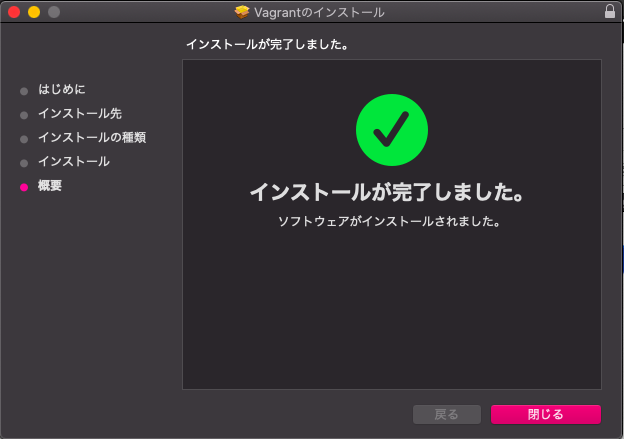
(5) [閉じる]をクリックし、インストールを終了
2-3. バージョン確認
ターミナルを開き、導入されたVagrantのバージョンを確認します。
バージョンの確認には、以下コマンドを実行します。
<コマンド>
vagrant --version
上記コマンドを実行します。
<実行>
$ vagrant --version
Vagrant 2.2.7
今回はVagrant バージョン2.2.7が導入されたことがわかります。
3. 仮想マシン作成
Vagrantを使って、Mac PC上に CentOS7の仮想マシンを作成します。
3-1. BOX追加
Boxとは仮想マシンのテンプレートとなるものです。
BOXは以下サイトなどから探すことができます。
Vagrantbox.es
https://www.vagrantbox.es/
Vagrant Cloud:Discover Vagrant Boxes
https://app.vagrantup.com/boxes/search
Boxの追加・確認には、以下のコマンドを使用します。
<コマンド>
・Box追加
vagrant box add {BOXNAME} {URL}
・Box確認
vagrant box list
上記コマンドを実行します。
<実行>
・Box追加
CentOS7 のBoxを追加するため、
今回は 以下リンク先を参照し、コマンドを実行します。
https://app.vagrantup.com/centos/boxes/7
※ providerは[3) virtualbox]を選択します。
$ vagrant box add centos/7
==> box: Loading metadata for box 'centos/7'
    box: URL: https://vagrantcloud.com/centos/7
This box can work with multiple providers! The providers that it
can work with are listed below. Please review the list and choose
the provider you will be working with.

1) hyperv
2) libvirt
3) virtualbox
4) vmware_desktop

Enter your choice: 3
==> box: Adding box 'centos/7' (v1905.1) for provider: virtualbox
    box: Downloading: https://vagrantcloud.com/centos/boxes/7/versions/1905.1/providers/virtualbox.box
    box: Download redirected to host: cloud.centos.org
==> box: Successfully added box 'centos/7' (v1905.1) for 'virtualbox'!
・Box確認
CentOS7のBoxが追加されたことを確認します。
$ vagrant box list
centos/7                  (virtualbox, 1905.1)
3-2. 仮想マシン初期化
仮想マシン初期化を行うことで、設定ファイル(Vagrantfile)を作成します。
仮想マシンの初期化には、以下のコマンドを使用します。
<コマンド>
・仮想マシン初期化
vagrant init {BOXNAME}
上記コマンドを実行します。
<実行>
・(準備)ディレクトリ作成・移動
仮想マシン別に ディレクトリを作成し、そこに設定ファイル(Vagrantfile)を作成していきます。
任意の名前でディレクトリを作成し、移動します。
$ cd ~/vagrant/
$ mkdir centos7
$ cd centos7/
・仮想マシン初期化
前工程で追加したBOX 'centos/7' を指定し、
仮想マシン初期化することで、ディレクトリ内に 仮想マシンの初期設定ファイル(初期Vagrantfile)を作成します。
$ vagrant init centos/7
A `Vagrantfile` has been placed in this directory. You are now
ready to `vagrant up` your first virtual environment! Please read
the comments in the Vagrantfile as well as documentation on
`vagrantup.com` for more information on using Vagrant.
コマンドを実行したカレントディレクトリにVagrantfileが作成されていることを確認できます。
$ ls
Vagrantfile
(・Vagrantfileの中身を確認)
$ cat Vagrantfile
# -*- mode: ruby -*-
# vi: set ft=ruby :

# All Vagrant configuration is done below. The "2" in Vagrant.configure
# configures the configuration version (we support older styles for
# backwards compatibility). Please don't change it unless you know what
# you're doing.
Vagrant.configure("2") do |config|
  # The most common configuration options are documented and commented below.
  # For a complete reference, please see the online documentation at
  # https://docs.vagrantup.com.

  # Every Vagrant development environment requires a box. You can search for
  # boxes at https://vagrantcloud.com/search.
  config.vm.box = "centos/7"

  # Disable automatic box update checking. If you disable this, then
  # boxes will only be checked for updates when the user runs
  # `vagrant box outdated`. This is not recommended.
  # config.vm.box_check_update = false

  # Create a forwarded port mapping which allows access to a specific port
  # within the machine from a port on the host machine. In the example below,
  # accessing "localhost:8080" will access port 80 on the guest machine.
  # NOTE: This will enable public access to the opened port
  # config.vm.network "forwarded_port", guest: 80, host: 8080

  # Create a forwarded port mapping which allows access to a specific port
  # within the machine from a port on the host machine and only allow access
  # via 127.0.0.1 to disable public access
  # config.vm.network "forwarded_port", guest: 80, host: 8080, host_ip: "127.0.0.1"

  # Create a private network, which allows host-only access to the machine
  # using a specific IP.
  # config.vm.network "private_network", ip: "192.168.33.10"

  # Create a public network, which generally matched to bridged network.
  # Bridged networks make the machine appear as another physical device on
  # your network.
  # config.vm.network "public_network"

  # Share an additional folder to the guest VM. The first argument is
  # the path on the host to the actual folder. The second argument is
  # the path on the guest to mount the folder. And the optional third
  # argument is a set of non-required options.
  # config.vm.synced_folder "../data", "/vagrant_data"

  # Provider-specific configuration so you can fine-tune various
  # backing providers for Vagrant. These expose provider-specific options.
  # Example for VirtualBox:
  #
  # config.vm.provider "virtualbox" do |vb|
  #   # Display the VirtualBox GUI when booting the machine
  #   vb.gui = true
  #
  #   # Customize the amount of memory on the VM:
  #   vb.memory = "1024"
  # end
  #
  # View the documentation for the provider you are using for more
  # information on available options.

  # Enable provisioning with a shell script. Additional provisioners such as
  # Ansible, Chef, Docker, Puppet and Salt are also available. Please see the
  # documentation for more information about their specific syntax and use.
  # config.vm.provision "shell", inline: <<-SHELL
  #   apt-get update
  #   apt-get install -y apache2
  # SHELL
end
3-3. 仮想マシン起動
作成した 仮想マシンを起動します。
以下のコマンドを使用し、仮想マシンを起動・状態確認します。
<コマンド>
・仮想マシン起動
vagrant up
・仮想マシン 状態確認
vagrant status
上記コマンドを実行します。
<実行>
(・Vagrantfileの配置されたディレクトリに移動・確認)
$ cd ~/vagrant/centos7/
$ ls
Vagrantfile
・仮想マシン起動
$ vagrant up
Bringing machine 'default' up with 'virtualbox' provider...
==> default: Importing base box 'centos/7'...
==> default: Matching MAC address for NAT networking...
==> default: Checking if box 'centos/7' version '1905.1' is up to date...
==> default: Setting the name of the VM: centos7_default_1587971622673_54447
==> default: Clearing any previously set network interfaces...
==> default: Preparing network interfaces based on configuration...
    default: Adapter 1: nat
==> default: Forwarding ports...
    default: 22 (guest) => 2222 (host) (adapter 1)
==> default: Booting VM...
==> default: Waiting for machine to boot. This may take a few minutes...
    default: SSH address: 127.0.0.1:2222
    default: SSH username: vagrant
    default: SSH auth method: private key
    default:
    default: Vagrant insecure key detected. Vagrant will automatically replace
    default: this with a newly generated keypair for better security.
    default:
    default: Inserting generated public key within guest...
    default: Removing insecure key from the guest if it's present...
    default: Key inserted! Disconnecting and reconnecting using new SSH key...
==> default: Machine booted and ready!
==> default: Checking for guest additions in VM...
    default: No guest additions were detected on the base box for this VM! Guest
    default: additions are required for forwarded ports, shared folders, host only
    default: networking, and more. If SSH fails on this machine, please install
    default: the guest additions and repackage the box to continue.
    default:
    default: This is not an error message; everything may continue to work properly,
    default: in which case you may ignore this message.
==> default: Rsyncing folder: /XXXXX/vagrant/centos7/ => /vagrant
・仮想マシン 状態確認
$ vagrant status
Current machine states:

default                   running (virtualbox)

The VM is running. To stop this VM, you can run `vagrant halt` to
shut it down forcefully, or you can run `vagrant suspend` to simply
suspend the virtual machine. In either case, to restart it again,
simply run `vagrant up`.
3-4. 仮想マシン接続
起動した仮想マシンに SSH接続します。
仮想マシンの接続には、以下のコマンドを使用します。
<コマンド>
・仮想マシン接続
vagrant ssh
上記コマンドを実行します。
<実行>
(・Vagrantfileの配置されたディレクトリに移動・確認)
$ cd ~/vagrant/centos7/
$ ls
Vagrantfile
・仮想マシン接続
コマンドを実行し、CentOS7の仮想マシンに接続します。
$ vagrant ssh
[vagrant@localhost ~]$
4. 仮想マシン操作
仮想マシンを操作するにあたって、使用できる代表的なコマンドを一覧にまとめます。
| コマンド | 説明 |
|---|---|
| vagrant up | 仮想マシンを起動する |
| vagrant halt | 仮想マシンを停止する |
| vagrant status | 仮想マシンの状態を表示する |
| vagrant ssh | 仮想マシンに接続する |
| vagrant destroy | 仮想マシンを削除する |
※ その他コマンドについて、詳細は以下リンク先を参照
Vagrant:Command-Line Interface
https://www.vagrantup.com/docs/cli/
5. おわりに
今回はVagrantを使ってMac PC上にCentOS7の仮想環境を作成する手順をまとめました。
手作業で環境を作るのとかなり時間がかかりますが、
Vagrantを使うことで10分前後くらいで環境構築することができました。
自分の検証・開発用に環境が欲しい時にすぐに準備できる手軽さが、とても便利だと思いました。
参考情報
Vagrant 公式サイト
https://www.vagrantup.com/
ドットインストール:Vagrant入門
https://dotinstall.com/lessons/basic_vagrant