はじめに
iOSアプリ開発の際に、簡単にシミュレータでPUSH通知の挙動を確認したい時がある。
簡単に記事にまとめようと思ったが、有料のDeveloperアカウントを持っていない状態でどこまで確認できるのか単純に疑問に思ったのでやってみたw
無駄なようにも思えるが、Push Notificationsを有効にした証明書を作成せずに、本当にサクッと確認したい時はこの記事が生きてくるだろう
※尚、SwiftUIを採用するか、StoryBoardを使用するか実装方法が変わってくる。
今回はSwiftUIを採用するかを使用した場合の記事となる、
StoriBoard使用の場合は以下参照
https://qiita.com/H_Stephen/items/f1bcb415e9ee27696e1f
確認環境
・Mac OS Sequoia 15.2
・Xcode 16.2
・使用言語 Swift (バージョンは5)
・プロジェクト:InterfaceはSwiftUIを採用
・シミュレータ:iPhone16(iOS18.2)
実装
プロジェクト作成
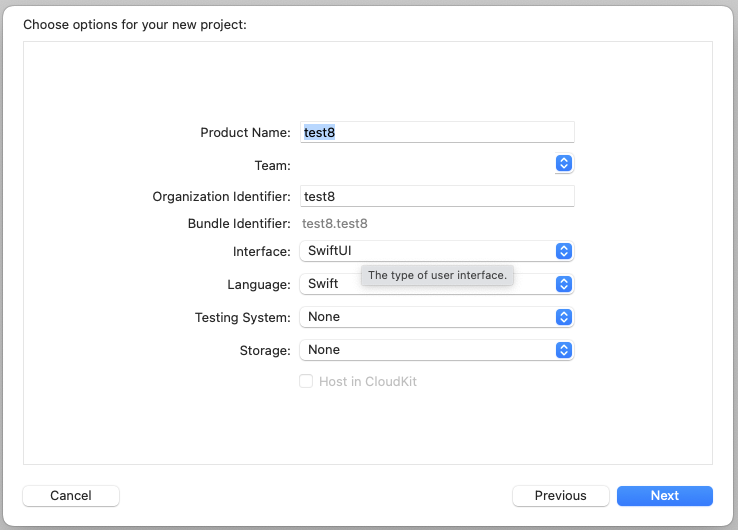
今回はInterfaceはSwiftUIを採用、Teamは無料のDeveloperアカウントのやつを指定(個人名入っているので隠しています)

Signing & Capabilities
Background ModesでRemote notificationsを有効にする

※本来はここでCapabilitiesにRemote Notificationを追加して有効にする必要があるが、無料のDeveloperアカウントを使用しているのでこの部分は省略
App
・UIApplicationDelegateAdaptorを追加
@main
struct test8App: App {
    @UIApplicationDelegateAdaptor(AppDelegate.self) var appDelegate
    var body: some Scene {
        WindowGroup {
            ContentView()
                .onAppear(perform: {
                    appDelegate.app = self
                })
        }
    }
}
AppDelegate
・アプリ起動時にPUSH通知の許可Dialogを表示し、ユーザーに許可を求める。
    // AppDelegateでPUSH通知受信イベントをハンドリングした時に、Appオブジェクトから任意の処理を行いたい場合のためにメンバ変数を用意
    var app: test8App?

    func application(_ application: UIApplication,
                     didFinishLaunchingWithOptions launchOptions: [UIApplication.LaunchOptionsKey: Any]?) -> Bool {
        self.registerPushNotifications()
        //      registerForPushNotifications()

        // Setting the notification delegate
        UNUserNotificationCenter.current().delegate = self

        return true
    }

    /// ユーザーにPUSH通知の許可を要求(許可Dialogを表示)
    private func registerPushNotifications() {
        let center = UNUserNotificationCenter.current()
        center.requestAuthorization(options: [.alert, .sound, .badge]) { granted, error in
            if granted {
                DispatchQueue.main.async {
                    UIApplication.shared.registerForRemoteNotifications()
                }
            } else {
                print("Push notification authorization denied: \(String(describing: error))")
            }
        }
    }
・許可Dialogで許可されたらDeviceTokenを取得
    func application(_ application: UIApplication, didRegisterForRemoteNotificationsWithDeviceToken deviceToken: Data) {
        let token = deviceToken.map { String(format: "%02.2hhx", $0) }.joined()
        print("Success register remote device token: APNs Device Token: \(token)")
    }

    func application(_ application: UIApplication, didFailToRegisterForRemoteNotificationsWithError error: Error) {
            // 以下エラーが検出
//        Failed to register: Error Domain=NSCocoaErrorDomain Code=3000 "アプリケーションの有効な“aps-environment”エンタイトルメント文字列が見つかりません" UserInfo={NSLocalizedDescription=アプリケーションの有効な“aps-environment”エンタイトルメント文字列が見つかりません}

        // 原因は以下(無料でPUSH通知を試す限界)
        // ・Push Notificationsを有効にしたアプリの証明書を組み込んいない
        // ・CapabilityでPush Notificationsを有効にしていない
        print("Failed register remote device token: error: \(error)")
    }
・PUSH通知のDelegateをハンドリングするため登録
SwiftUIを採用した場合は、SceneDelegateを用意しなくてもAppDelegateに書いてしまえば良い
    // PUSH通知をタップした時にコールされるイベント
    // ※注意:バックグラウンドでもフォアグラウンドでも同様
    //       バックグラウンドでPUSH通知を受信した時にコールされるイベントはない
    //       またアプリ未起動の状態でPUSH通知を受信した時にコールされるイベントも同様にない
    func userNotificationCenter(_ center: UNUserNotificationCenter, didReceive response: UNNotificationResponse) async {
        print("Got notification title: ", response.notification.request.content.title)
    }

    // フォアグラウンドでPUSH通知を受信した時にコールされるイベント
    func userNotificationCenter(_ center: UNUserNotificationCenter, willPresent notification: UNNotification) async -> UNNotificationPresentationOptions {
        // These options are the options that will be used when displaying a notification with the app in the foreground
        // for example, we will be able to display a badge on the app a banner alert will appear and we could play a sound
        return [.badge, .banner, .list, .sound]
    }
シミュレータで確認する時のapnsファイルをローカルに用意
・最小限のapnsの構成で用意
ここで注意が必要なのは、"Simulator Target Bundle"に使用するプロジェクトのBundle IDに随時書き換える必要があること
{
    "Simulator Target Bundle": "test8.test8",
    "aps": {
        "alert": {
            "title": "通知テストタイトル",
            "body": "通知テストメッセージ"
        }
    }
}
動作確認
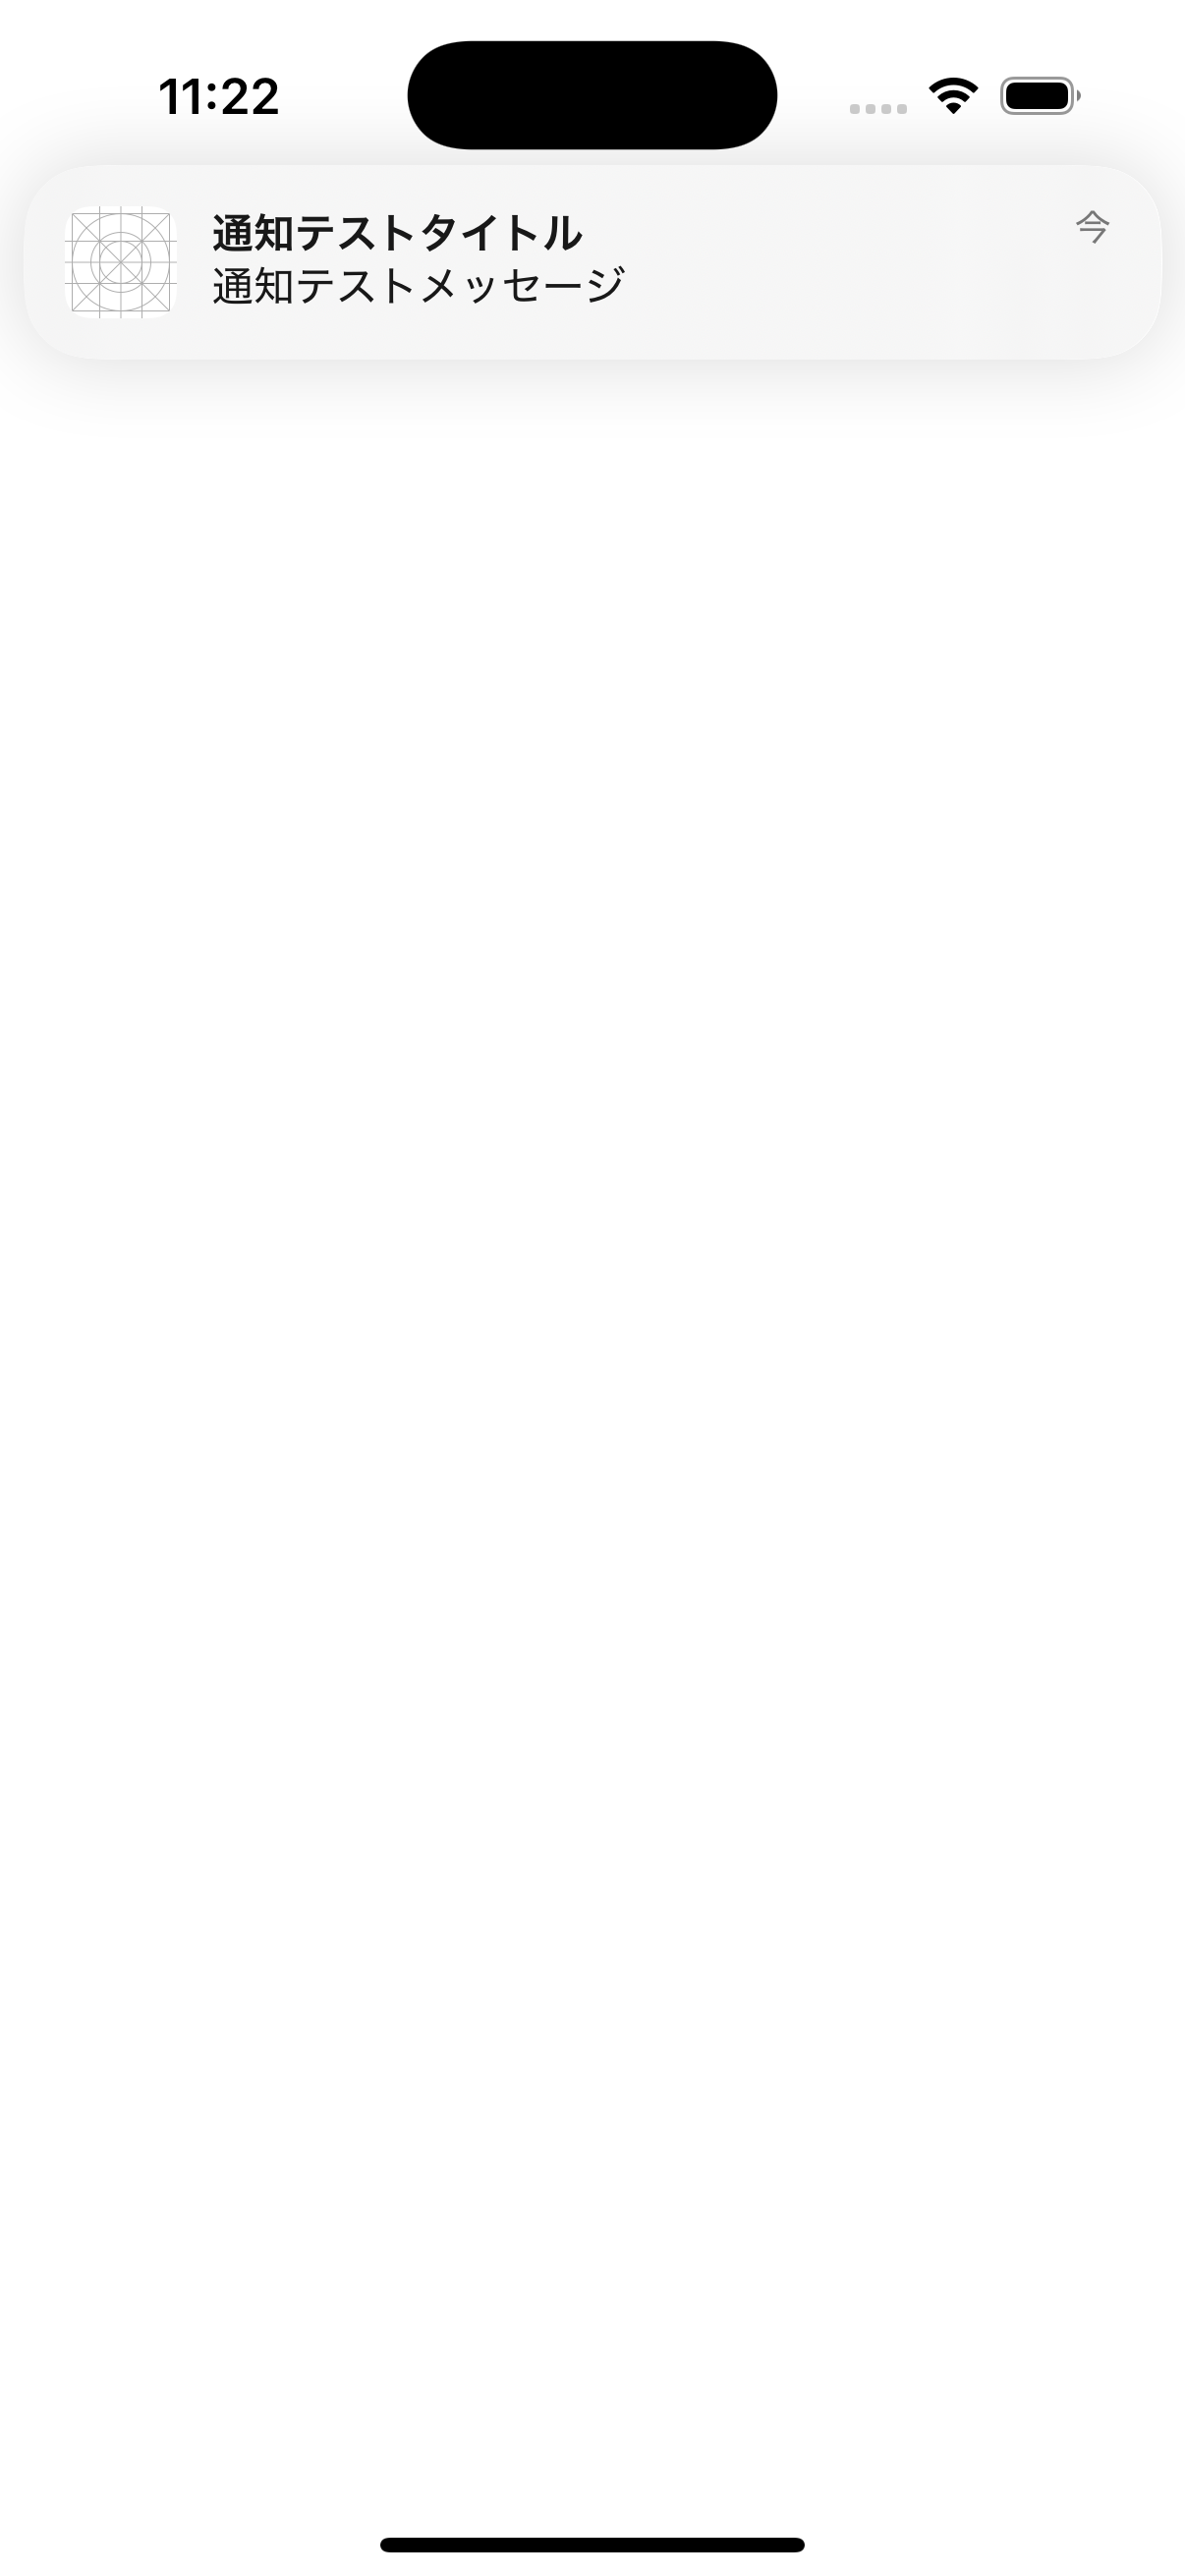
フォアグラウンドで受信できることを確認
通知をタップした後にイベントをハンドリングできることも確認

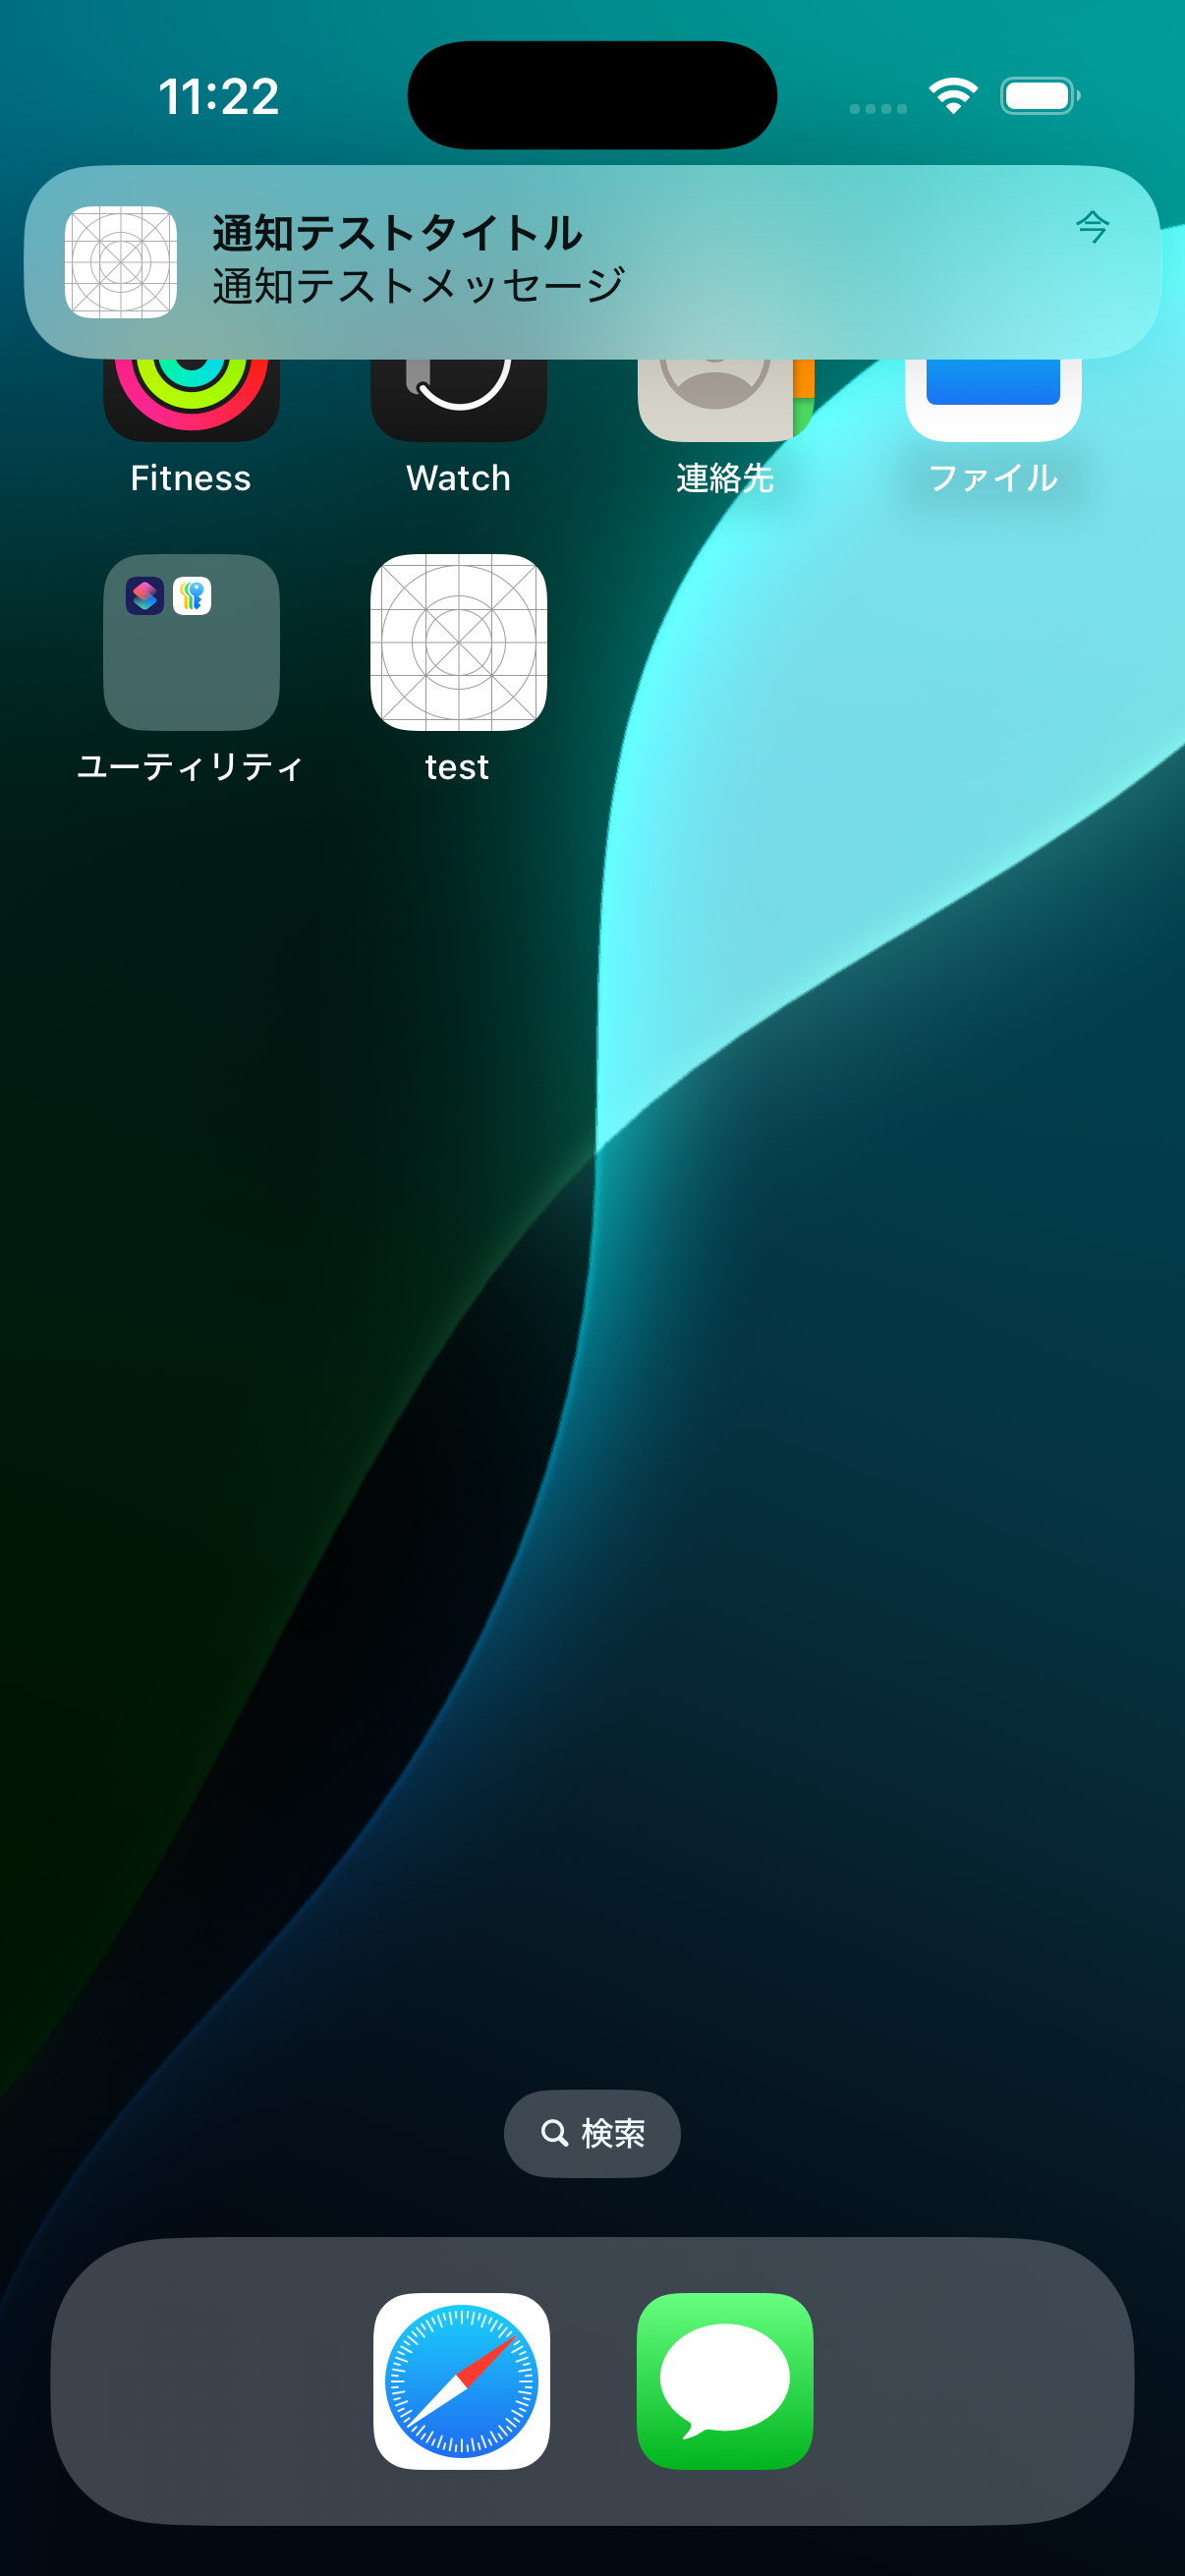
バックグラウンドで受信できることを確認
通知をタップした後にイベントをハンドリングできることも確認

最後に
SwiftUIを採用した場合もシミュレータで実験的に確認する分には
結果的に無料のDevelopアカウントでもPUSH通知の動作確認は可能なようです。
ただし、あくまでシミュレータで実験的に確認する話なので、
本番運用の場合はPush Notifications機能を有効にした証明書を取り込み、
かつ実機での動作確認は必須です。
以上