Linuxで顔認証する方法を説明します。
今回はWindows Hello 非搭載のカメラで認証してみます。
インストール
公式では以下のように記載があります。
sudo add-apt-repository ppa:boltgolt/howdy
sudo apt update
sudo apt install howdy
これでは、external managedとエラーになり、どうやらUbuntu24.04LTSではインストールできないようです。
Issueに別のインストール方法があったのでそちらでインストールしてみます。
以下のURLから.debを予めダウンロードします。
https://github.com/thecalamityjoe87/howdy/releases/tag/v2.6.1-1
- 依存関係のインストール
sudo apt-get update && sudo apt-get install -y \
python3 python3-pip python3-setuptools python3-wheel \
cmake make build-essential \
libpam0g-dev libinih-dev libevdev-dev \
python3-dev libopencv-dev python3-numpy \
python3-opencv libpam-python
- インストール
sudo dpkg -i howdy_2.6.1-1_all.deb
以下の出力が得られればインストール成功です。
howdy
current active user: haruki-goto

usage: howdy [-U USER] [-y] [-h] command [argument]

Command line interface for Howdy face authentication.

positional arguments:
  command               The command option to execute, can be one of the following: add, clear, config, disable, list, remove, snapshot, test or version.
  argument              Either 0 (enable) or 1 (disable) for the disable command, or the model ID for the remove command.

options:
  -U USER, --user USER  Set the user account to use.
  -y                    Skip all questions.
  -h, --help            Show this help message and exit.

For support please visit
https://github.com/boltgolt/howdy
顔の追加
顔の追加を行うカメラの設定をします。
sudo howdy config
ここのdevice-path=に自分のカメラのデバイスのパスを入れて下さい。(例 : /dev/video0)
- 顔の追加
sudo howdy addでOKです。
$ sudo howdy add

Adding face model for the user haruki-goto
Enter a label for this new model [Initial model] (max 24 characters): haruki
[ WARN:0@3.701] global ./modules/videoio/src/cap_gstreamer.cpp (2401) handleMessage OpenCV | GStreamer warning: Embedded video playback halted; module source reported: Could not read from resource.
[ WARN:0@3.701] global ./modules/videoio/src/cap_gstreamer.cpp (1356) open OpenCV | GStreamer warning: unable to start pipeline
[ WARN:0@3.701] global ./modules/videoio/src/cap_gstreamer.cpp (862) isPipelinePlaying OpenCV | GStreamer warning: GStreamer: pipeline have not been created

Please look straight into the camera
Scan complete

Added a new model to haruki-goto
これで完了です!これだけでsudoの入力とかも顔認証されます!!!
動作確認
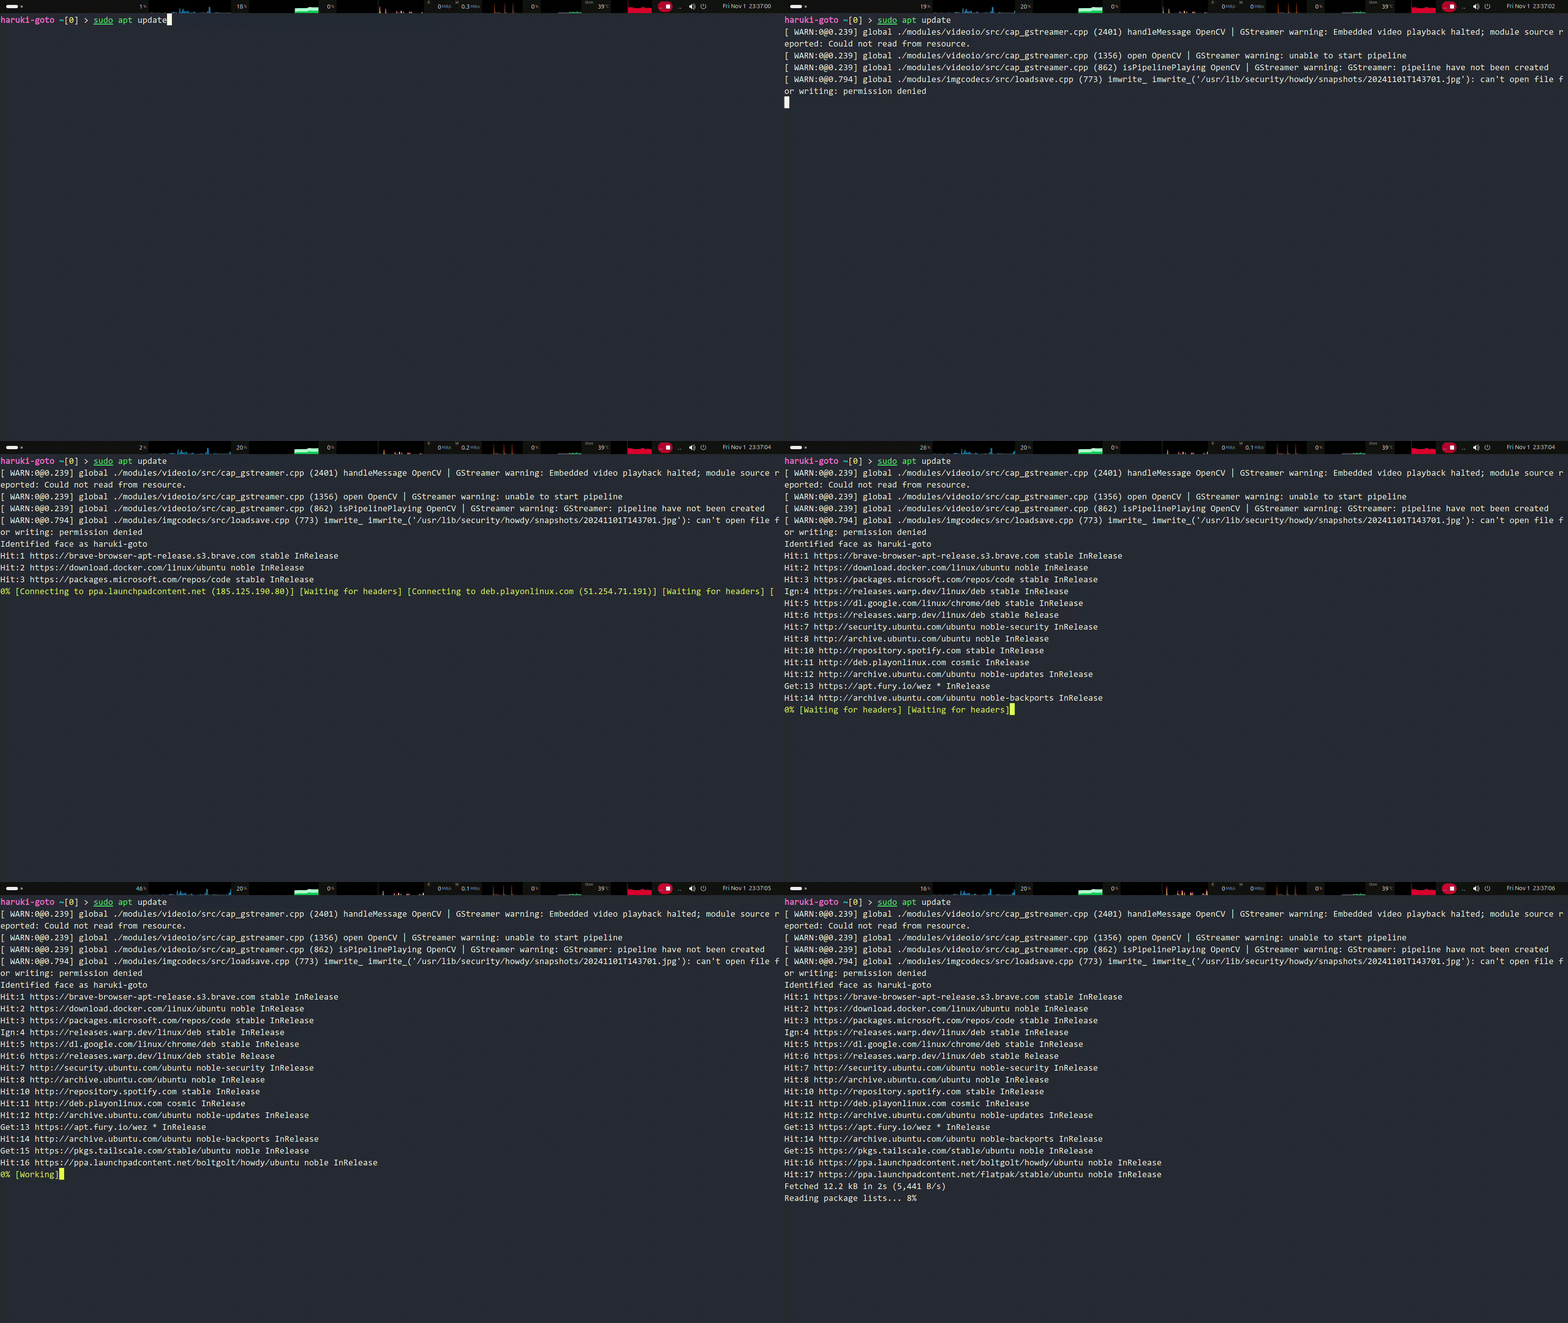
sudo apt updateしてみます。
haruki-goto ~/Downloads[0] > sudo apt update
[ WARN:0@0.540] global ./modules/videoio/src/cap_gstreamer.cpp (2401) handleMessage OpenCV | GStreamer warning: Embedded video playback halted; module source reported: Could not read from resource.
[ WARN:0@0.541] global ./modules/videoio/src/cap_gstreamer.cpp (1356) open OpenCV | GStreamer warning: unable to start pipeline
[ WARN:0@0.541] global ./modules/videoio/src/cap_gstreamer.cpp (862) isPipelinePlaying OpenCV | GStreamer warning: GStreamer: pipeline have not been created
[ WARN:0@1.010] global ./modules/imgcodecs/src/loadsave.cpp (773) imwrite_ imwrite_('/usr/lib/security/howdy/snapshots/20241101T142612.jpg'): can't open file for writing: permission denied
Identified face as haruki-goto
Hit:1 https://download.docker.com/linux/ubuntu noble InRelease
Hit:2 https://brave-browser-apt-release.s3.brave.com stable InRelease
Hit:3 https://packages.microsoft.com/repos/code stable InRelease
~~~~
うまくいけました。
加えてログインも顔認証で行けたので非常に便利です!
ウェブカメラ搭載のPCはぜひ導入して下さい。
まとめ
- インストールは.debでインストールしないとUbuntu24は実行できないです。
-
sudo howdy configでカメラの設定をします。 -
sudo howdy addで顔を追加します。 - あとはsudoとかで顔認証でいけます。
また、howdyはwindows helloも対応しているのでそのwebカメラを持っている人にとってはさらに良いと思います。
設定に解像度やSSHでの設定など細かく決められるので、高速だけど精度落としたり、低速だけど精度上げたりとかも自由に設定できそうです。
以上です。お疲れ様でした。
