はじめに
備忘録&Nuxt3で実装するtauriアプリケーションの例があまりなかったので記事にしてみました。
自身の環境に導入する際は以下の記事を参考にさせて頂きました。
参考:
tauriの導入
この手順は既存でいくらでもあると思うので省略。
以下のtauri公式を参考にtauriインストール。
$ yarn create tauri-app
yarn create v1.22.19
[1/4] Resolving packages...
[2/4] Fetching packages...
[3/4] Linking dependencies...
[4/4] Building fresh packages...
success Installed "create-tauri-app@3.4.0" with binaries:
      - create-tauri-app
✔ Project name · tauri-nuxt3-tailwind-rome-template
✔ Choose which language to use for your frontend · TypeScript / JavaScript - (pnpm, yarn, npm)
✔ Choose your package manager · yarn
✔ Choose your UI template · Vanilla
✔ Choose your UI flavor · TypeScript

Template created! To get started run:
  cd tauri-nuxt3-tailwind-rome-template
  yarn
  yarn tauri dev

Done in 79.90s.
以下、作成したtauriプロジェクト「tauri-nuxt3-tailwind-rome-template」をルートディレクトリとして進めていく。
tauri実行
yarn tauri devをコマンド入力すると以下のエラーが発生する。
$ yarn tauri dev
yarn run v1.22.19
$ tauri dev
     Running BeforeDevCommand (`yarn dev`)
$ vite
'vite' is not recognized as an internal or external command,
operable program or batch file.
error Command failed with exit code 1.
なのでviteをインストール。
$ yarn add -D vite
もう一度yarn tauri devを入力するとコンパイルが始まりtauriが起動する。
「Welcome to Tauri!」
Nuxt3導入
ここから本番。
tauriが起動するのを確認したらNuxt3プロジェクトを作成し、tauriフロントエンド側に適用していく。
まずはルートディレクトリでNuxt3プロジェクト作成。
npx nuxi init nuxt3project
現在のディレクトリ構成
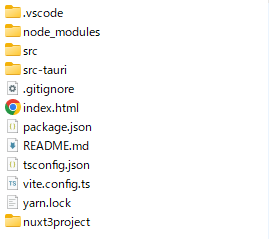
次に以下のディレクトリ・ファイルを削除。
・ルートディレクトリ直下の「src」
・ルートディレクトリ直下の「index.html」
・ルートディレクトリ直下の「tsconfig.json」
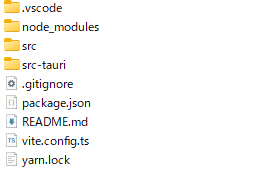
↑上記削除後、先ほど作成したNuxt3プロジェクト「nuxt3project」を「src」にリネームする。
こんな感じのディレクトリ構成になるはず
次に「src」の中にある以下のファイルについて、ルートディレクトリ直下に移動、もしくは同ファイルに内容を転記していく。
移動
・nuxt.config.ts
・tsconfig.json
転記
・.gitignore
・package.json
転記後に削除(いずれもsrcディレクトリの中)
・「public」ディレクトリ
・.gitignore
・package.json
・.npmrc
・README.md
転記後のファイルの中身
「package.json」
{
  "name": "tauri-nuxt3-tailwind-rome-template",
  "private": true,
  "version": "0.0.0",
  "type": "module",
  "scripts": {
    "tauri": "tauri",
    "build": "nuxt build",
    "dev": "nuxt dev",
    "generate": "nuxt generate",
    "preview": "nuxt preview",
    "postinstall": "nuxt prepare"
  },
  "dependencies": {
    "@tauri-apps/api": "^1.3.0"
  },
  "devDependencies": {
    "@tauri-apps/cli": "^1.3.0",
    "typescript": "^4.8.2",
    "vite": "^4.3.5",
    "@types/node": "^18",
    "nuxt": "^3.4.3"
  }
}
「.gitignore」
# Logs
logs
*.log
npm-debug.log*
yarn-debug.log*
yarn-error.log*
pnpm-debug.log*
lerna-debug.log*

node_modules
dist
dist-ssr
*.local
// 「src」ディレクトリから転記(既存と重複分は削除)
.nuxt
.nitro
.cache
.output
.env

# Editor directories and files
.vscode/*
!.vscode/extensions.json
.idea
.DS_Store
*.suo
*.ntvs*
*.njsproj
*.sln
*.sw?
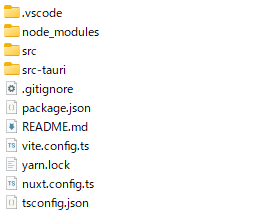
ここまででディレクトリ構造はこんな感じ。
srcディレクトリは「app.vue」のみ存在。
「src-tauri」についても内容を編集していく。
「tauri.conf.json」"devPath"の値を「http://localhost:3000」に変更
{
  "build": {
    "beforeDevCommand": "yarn dev",
    "beforeBuildCommand": "yarn build",
-   "devPath": "http://localhost:1420",
+   "devPath": "http://localhost:3000",//Nuxtのデフォルトに合わせるためポート番号を1420から3000に変更
    "distDir": "../dist",
    "withGlobalTauri": true
  },
  "package": {
    "productName": "tauri-nuxt3-tailwind-rome-template",
    "version": "0.0.0"
  },
  "tauri": {
    "allowlist": {
      "all": false,
      "shell": {
        "all": false,
        "open": true
      }
    },
    "bundle": {
      "active": true,
      "icon": ["icons/32x32.png", "icons/128x128.png", "icons/128x128@2x.png", "icons/icon.icns", "icons/icon.ico"],
      "identifier": "com.tauri.dev",
      "targets": "all"
    },
    "security": {
      "csp": null
    },
    "updater": {
      "active": false
    },
    "windows": [
      {
        "fullscreen": false,
        "resizable": true,
        "title": "tauri-nuxt3-tailwind-rome-template",
        "width": 800,
        "height": 600
      }
    ]
  }
}
※次の手順を実施する前にルート直下、「src」ディレクトリともに「node_modules」ディレクトリは削除しておく。
package.jsonに記載されている依存パッケージを再度インストールしてtauriを起動
$ yarn install

//インストール後に起動
$ yarn tauri dev
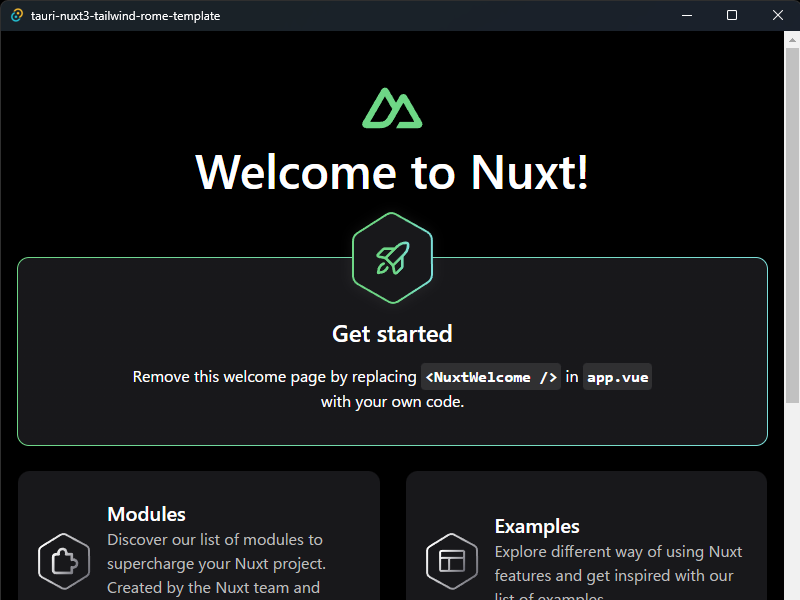
nuxt3が適用されている
このままsrcディレクトリにフロント側コードを実装してもフロント側は反映されないと思うので「nuxt.config.ts」を編集していく。
import { defineNuxtConfig } from "nuxt/config";

// https://nuxt.com/docs/api/configuration/nuxt-config
export default defineNuxtConfig({
  srcDir: "src/", //フロント側ルートディレクトリ
  ssr: false, //SPAレンダリングモードで実装
});
ちなみにnuxt3の開発サーバーのデフォルトポートを3000から変更したい場合は以下の記述を追加する。
その際tauri側の変更も忘れずに変更(1420にしたければ元に戻すと言った方が正しい)
nuxt.config.tsの構成は公式ドキュメントが参考になる。
※今回はポート番号3000のままで進めていく。
import { defineNuxtConfig } from 'nuxt/config'

// https://nuxt.com/docs/api/configuration/nuxt-config
export default defineNuxtConfig({
--省略--
  ssr: false,

//追加
+  devServer: {
+    port: 1420, //3000から1420に変更する場合
+  },
--省略--
{
  "build": {
    "beforeDevCommand": "yarn dev",
    "beforeBuildCommand": "yarn build",
-   "devPath": "http://localhost:3000",
+   "devPath": "http://localhost:1420",//3000⇒1420に変更
    "distDir": "../dist",
    "withGlobalTauri": true
  },
--省略--
Tailwindcss導入
次にTailwindを導入する。
Nuxt3では丁寧に公式サイトでまとめているのでそれに従う。
「devDependencies」にインストールしたかったので「-D」オプション付きでインストール
yarn add -D @nuxtjs/tailwindcss
「nuxt.config.ts」に以下の記載を追加
import { defineNuxtConfig } from 'nuxt/config'

// https://nuxt.com/docs/api/configuration/nuxt-config
export default defineNuxtConfig({
--省略--
  ssr: false,

//追加
+ modules: [
+   '@nuxtjs/tailwindcss'
  ]
--省略--
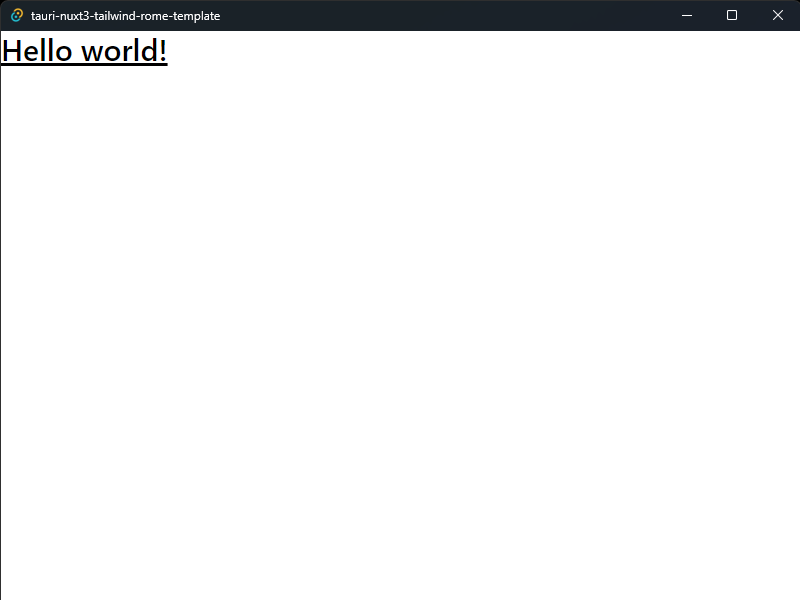
導入されているか確かめるため「src」ディレクトリの「app.vue」を修正する。
「app.vue」
<template>
  <div>
    //<NuxtWelcome />を削除して<h1>タグ追加
-   <NuxtWelcome />
+   <h1 class="text-3xl font-bold underline">
+       Hello world!
+   </h1>
  </div>
</template>
太文字&下線の「hello World!」が表示されたので無事適用されている。
Rome導入
最後にESlint&Prettierに取って代わるかもしれないフロントエンドツール「Rome」を入れていく(Rustで実装されているため処理速度が爆速)
現時点(2023/5/14)ではjs,ts,jsonのみ対応なのでvueファイルに処理の大半を実装している場合は恩恵が薄いかも。
その場合は素直にESlint&Prettierで対応しよう。
$ yarn add -D rome
次に設定ファイル「rome.json」をルート直下に作成。
もちろん好きなようにカスタマイズ可能。
以下の内容は公式の推奨設定をもとに少し変更している。
ルールについては公式ドキュメントを参照。
{
  "formatter": {
    "enabled": true,
    "formatWithErrors": false,
    "indentStyle": "tab",
    "indentSize": 2,
    "lineWidth": 80,
    "ignore": []
  },
  "linter": {
    "enabled": true,
    "rules": {
      //特にこだわりなければ"recommended": trueで良い
      //"recommended": true
      "suspicious": {
        "noDoubleEquals": "off" //等価演算子を「===」にするか「==」にするか。offで「==」
      },
      "nursery": {
        "noExtraSemicolons": "warn",//不要なセミコロンがある場合に警告
        "noInferrableTypes": "off"//型注釈の記載を許容する
      }
    }
  }
}
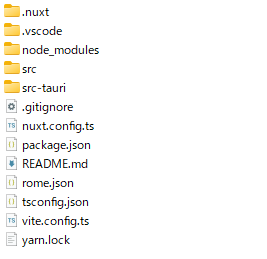
最終的にこんな感じのディレクトリ構成になる。
最後に
Nuxt3でTauriデスクトップアプリを開発できるところまで出来た。
ビルドする際はtauriの設定ファイルをいじらないといけないのでそのうち書くかも。