はじめに
二値化画像は、符号なしバイト(unsigned char)で1チャンネルのグレイスケールのMatで、黒(値0)と白(値255)組み合わせの白黒画像になります。
良く有効な部分は白で表す場合が多いですが、今回は白の部分をBGR(RGBでは無い)で埋めます。
考え方
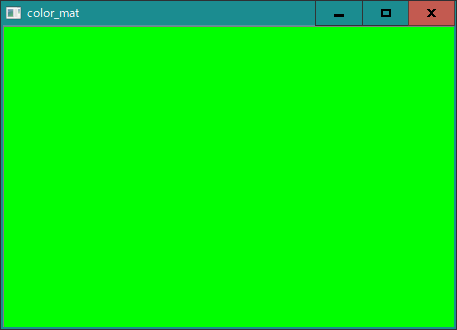
入力の二値化画像お同じ大きさの符号なしバイト(unsigned char)で3チャンネルのMatを作り、それをcv::Scalarで任意の色の画像とします。
作成した色画像から二値化画像をマスクにして、コピーします。
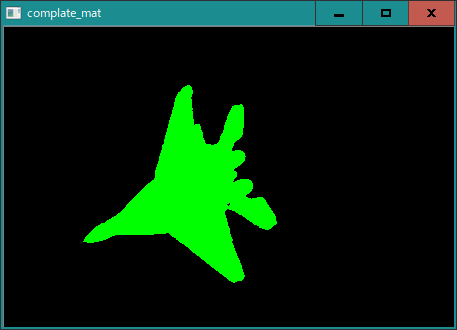
この二値化画像の白の部分を緑にします。
ソースコード
main.cpp
#include <opencv2/opencv.hpp>
#include <stdio.h>

int main(int argc, char* argv[])
{
	//二値画像表示
	cv::Mat src = cv::imread("bin_img.png",CV_LOAD_IMAGE_GRAYSCALE);
	//任意の色をつけたsrcと同じ3チャンネルMatを作成
	cv::Mat color_mat = cv::Mat(src.size(),CV_8UC3);
	//緑色にする(cv::ScalarはB,G,R)の順
	color_mat = cv::Scalar(0,255,0);
	//二値画像の白の部分だけ緑にする
	cv::Mat complate_mat;

	color_mat.copyTo(complate_mat,src);

	//結果表示
	cv::imshow("src",src);
	cv::imshow("color_mat",color_mat);
	cv::imshow("complate_mat",complate_mat);
	cv::waitKey(0);

	return 0;
}
結果
・最終結果画像
結果
処理としてはマスクを使用した簡単なものですが、
例えば、任意の画像をコピーさせれば、
マスクされた画像を表示出来たりと、
応用の余地はあるかと思います。


