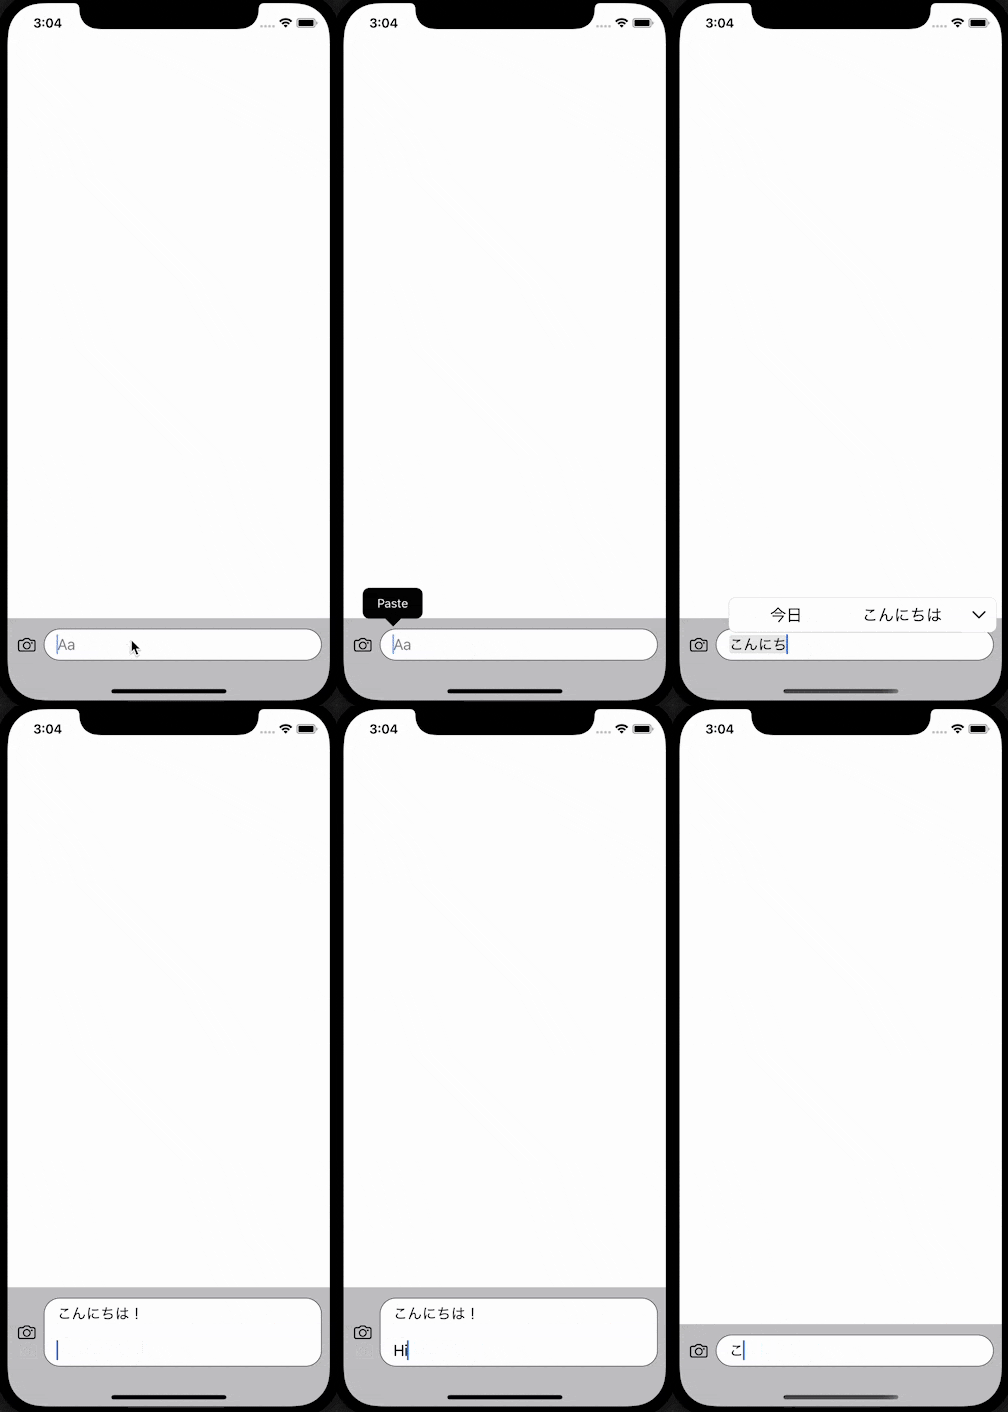
やりたいこと
チャットアプリで使われるような動的な高さの TextEditor を実装する。
実装
多少ハッキーな気もしますが、SwiftUI のみで実装しました。
struct DynamicHeightTextEditor: View {
    @Binding var text: String
    let placeholder: String
    let maxHeight: CGFloat

    var body: some View {
        ZStack(alignment: .leading) {
            // プレースホルダー
            if text.isEmpty {
                Text(placeholder)
                    .foregroundColor(.gray)
                    .padding(.leading, 5)
            }

            // テキストエディター
            HStack {
                Text(text.isEmpty ? " " : text)
                Spacer(minLength: 0)
            }
            .allowsHitTesting(false)
            .foregroundColor(.clear)
            .padding(.horizontal, 5)
            .padding(.vertical, 10)
            .background(TextEditor(text: $text).offset(y: 1.8))
        }
        .padding(.horizontal, 10)
        .frame(maxHeight: maxHeight) // テキストエディタの最大サイズを設定する
        .fixedSize(horizontal: false, vertical: true) // テキストエディタの最大サイズを設定する
        .background(Color.white) // テキストエディタの背景色
        .mask(RoundedRectangle(cornerRadius: 18).padding(.vertical, 3))
        .background(RoundedRectangle(cornerRadius: 18).stroke(lineWidth: 1).padding(.vertical, 3))
        .onAppear {
            UITextView.appearance().backgroundColor = .clear // TextEditor の背景色を clear にする
        }
        .onDisappear {
            UITextView.appearance().backgroundColor = nil
        }
    }
}
これを使えば、上記の GIF は以下のように実装できます。
struct ContentView: View {
    @State var text = ""

    var body: some View {
        VStack {
            Spacer()
            HStack {
                Image(systemName: "camera")
                DynamicHeightTextEditor(text: $text, placeholder: "Aa", maxHeight: 200)
                    .font(.system(size: 18))
            }
            .padding(.horizontal, 10)
            .padding(.vertical, 10)
            .background(Color.gray.opacity(0.5))
        }
    }
}
解説
テキストエディタ部分は以下のような実装になっています。
// テキストエディター
HStack {
    Text(text.isEmpty ? " " : text) // サイズ決定用のテキスト
    Spacer(minLength: 0)
}
.allowsHitTesting(false) // サイズ決定用のテキストに触れられなくする
.foregroundColor(.clear) // サイズ決定用のテキストを見えなくする
.padding(.horizontal, 5)
.padding(.vertical, 10)
.background(TextEditor(text: $text).offset(y: 1.8))
TextEditor は入力内容に関わらず Spacer のように広がってしまいます。
というわけで、入力されたテキストに合わせてサイズを決定する必要があります。
ここで、入力された内容を Text で表示させ、そのサイズに合わせて TextEditor を設置することにしました。
Text の background として TextEditor を設置することでサイズが合わせます。
Text が空のときも1文字分の高さが欲しいので空文字を入れておきます。
padding や offset はテキストとテキストエディタの文字の位置を合わせる調節用です。
allowsHitTesting(false) を入れることで、サイズ決定用のテキストによりテキストエディタに触れられなくなるのを防止しています。
