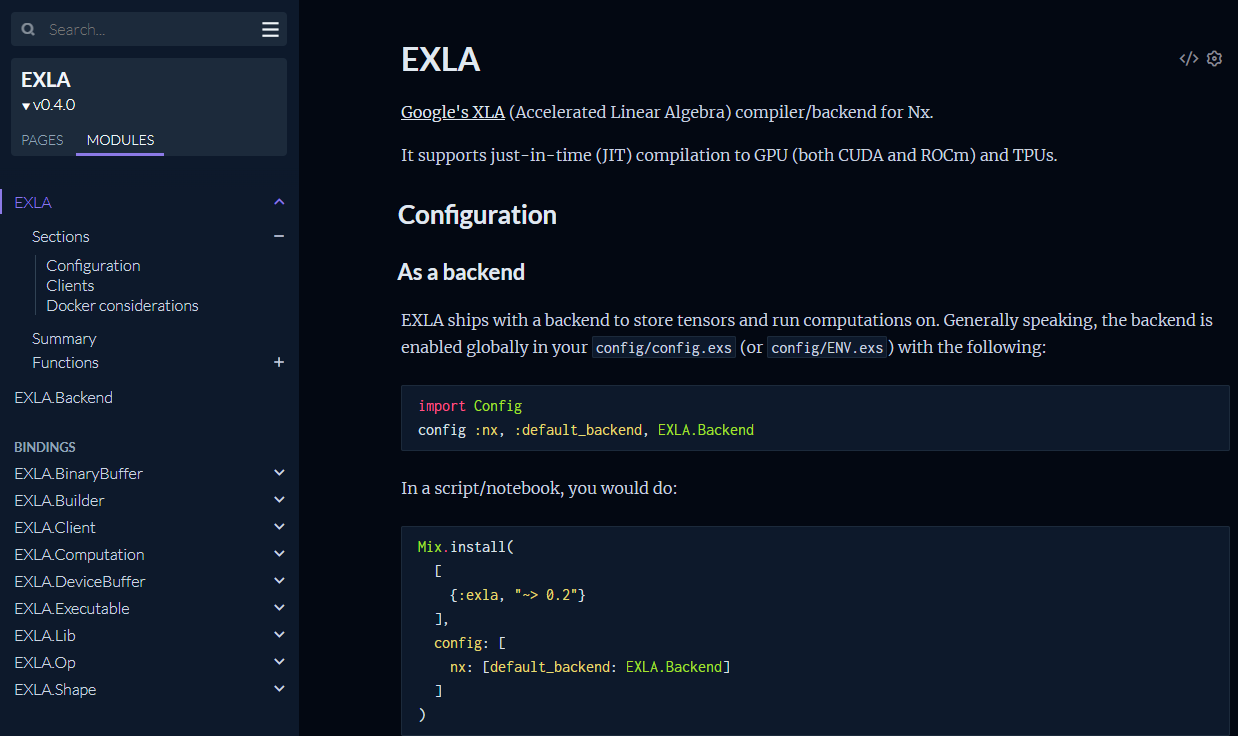
EXLAとは?
導入するだけで、Nxの計算がとにかく速くなります
Livebookからでも使用できます
GPUもcudaのドライバなど導入されていれば利用する事ができます
実際に使ってみます
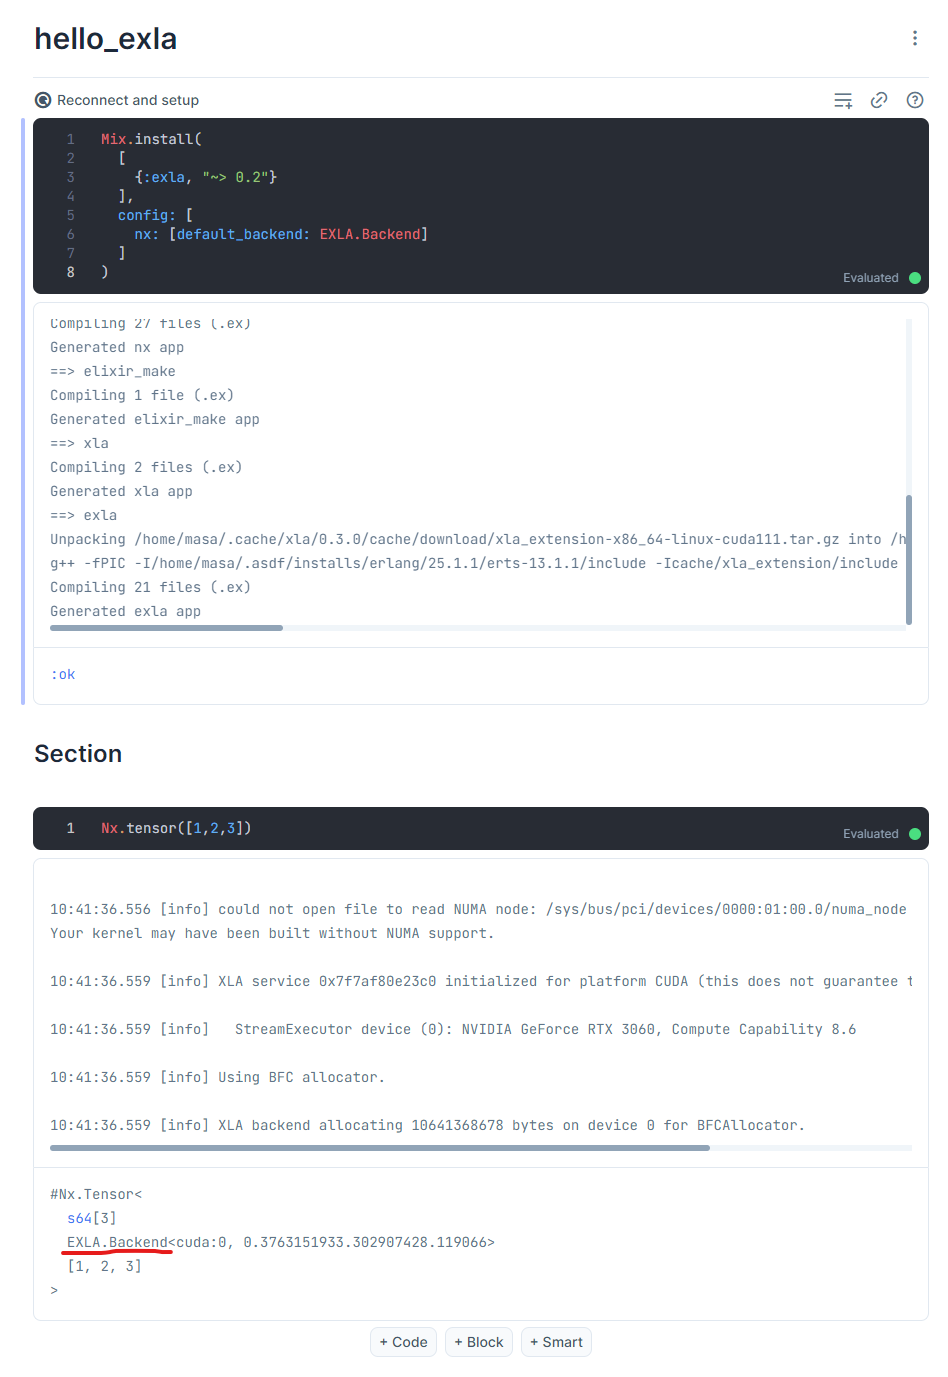
Livebookで使ってみる
Notebook dependencies and setupの欄にEXLAの記述を追加する事で利用できる
Mix.install(
  [
    {:exla, "~> 0.2"}
  ],
  config: [
    nx: [default_backend: EXLA.Backend]
  ]
)
実行結果
Nxで作成した行列がEXLA.Backendで作成したものになっている(赤線部分)
デモ
以降は、Livebookで実行しながらデモします
exla bench
Mix.install(
  [
    {:nx, "~> 0.3.0"},
    {:exla, "~> 0.3.0"},
    {:kino_vega_lite, "~> 0.1.3"}
  ],
  config: [
    nx: [
      default_backend: EXLA.Backend,
      default_defn_options: [compiler: EXLA]
    ]
  ],
  system_env: [
    XLA_TARGET: "cpu"
  ],
  # XLA_TARGETの変更で、exlaを再コンパイルしたい時はtrueにする
  force: true
)
Section
Nx.add(Nx.tensor([1]), Nx.tensor([1]))
Nx.tensor([1, 2, 3], backend: {Nx.BinaryBackend, device: :cpu})
tensor_dot = fn a, b ->
  c = Nx.dot(a, b)
  IO.inspect(c)
end

measure_ecec_time = fn a, b ->
  {exec_time, _} = :timer.tc(tensor_dot, [a, b])
  exec_time / 1_000_000
end
EXLAを使わない時の計算
a = Nx.eye(200, backend: {Nx.BinaryBackend, device: :cpu})
b = Nx.eye(200, backend: {Nx.BinaryBackend, device: :cpu})
time_binary = measure_ecec_time.(a, b)
EXLA使用時の計算時間
a = Nx.eye(200)
b = Nx.eye(200)
time_exla = measure_ecec_time.(a, b)
速度比較
time_binary / time_exla
measure_bin = fn tensor_size ->
  a = Nx.eye(tensor_size, backend: {Nx.BinaryBackend, device: :cpu})
  b = Nx.eye(tensor_size, backend: {Nx.BinaryBackend, device: :cpu})
  time_binary = measure_ecec_time.(a, b)
end

x = 10..100//10

y1 = Enum.map(x, measure_bin)

VegaLite.new(width: 600, height: 600)
|> VegaLite.data_from_values(x: x, y: y1)
|> VegaLite.mark(:line, tooltip: true)
|> VegaLite.encode_field(:x, "x", type: :quantitative)
|> VegaLite.encode_field(:y, "y", type: :quantitative)
measure_exla = fn tensor_size ->
  a = Nx.eye(tensor_size)
  b = Nx.eye(tensor_size)
  time_binary = measure_ecec_time.(a, b)
end

x2 = 100..1000//100

y2 = Enum.map(x2, measure_exla)

VegaLite.new(width: 600, height: 600)
|> VegaLite.layers([
  VegaLite.new()
  |> VegaLite.data_from_values(x: x, y: y1)
  |> VegaLite.mark(:line, tooltip: true)
  |> VegaLite.encode_field(:x, "x", type: :quantitative)
  |> VegaLite.encode_field(:y, "y", type: :quantitative),
  VegaLite.new()
  |> VegaLite.data_from_values(x: x2, y: y2)
  |> VegaLite.mark(:line, tooltip: true)
  |> VegaLite.encode_field(:x, "x", type: :quantitative)
  |> VegaLite.encode_field(:y, "y", type: :quantitative)
])
EXLA使用しない場合とEXLA使用時(CPU)の速度比較
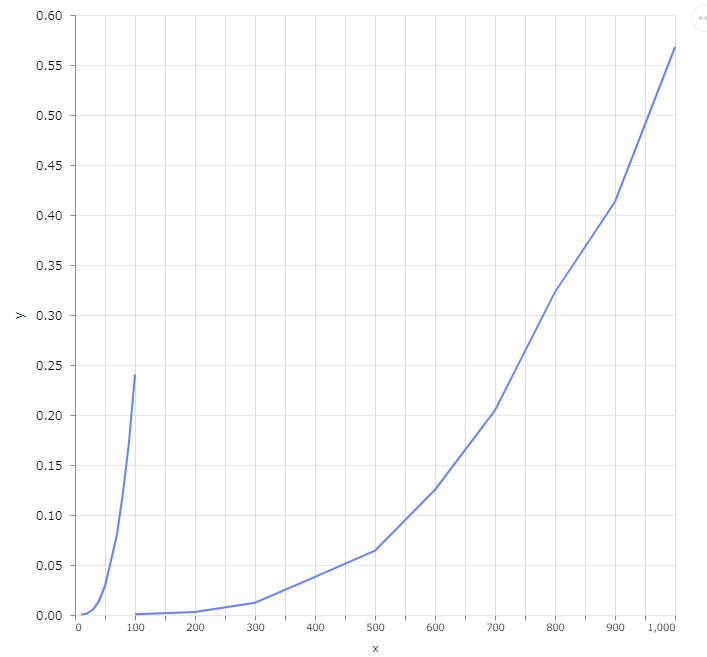
y2=[7.15e-4, 0.003077, 0.012146, 0.038081, 0.064272, 0.125242, 0.204559, 0.323119, 0.413457, 0.567912]
GPUを使う場合
GPUを使う場合は、EXLAが利用するXLAのターゲットの種類を設定することで利用できる。GPUのドライバーの導入も必要。
nvidiaのGPUを使う場合は、cuda111を指定する
Mix.install(
  [
    {:nx, "~> 0.3.0"},
    {:exla, "~> 0.3.0"},
    {:kino_vega_lite, "~> 0.1.3"}
  ],
  config: [
    nx: [
      default_backend: EXLA.Backend,
      default_defn_options: [compiler: EXLA]
    ]
  ],
  system_env: [
    XLA_TARGET: "cuda111"
  ],
  # XLA_TARGETの変更で、exlaを再コンパイルしたい時はtrueにする
  force: true
)
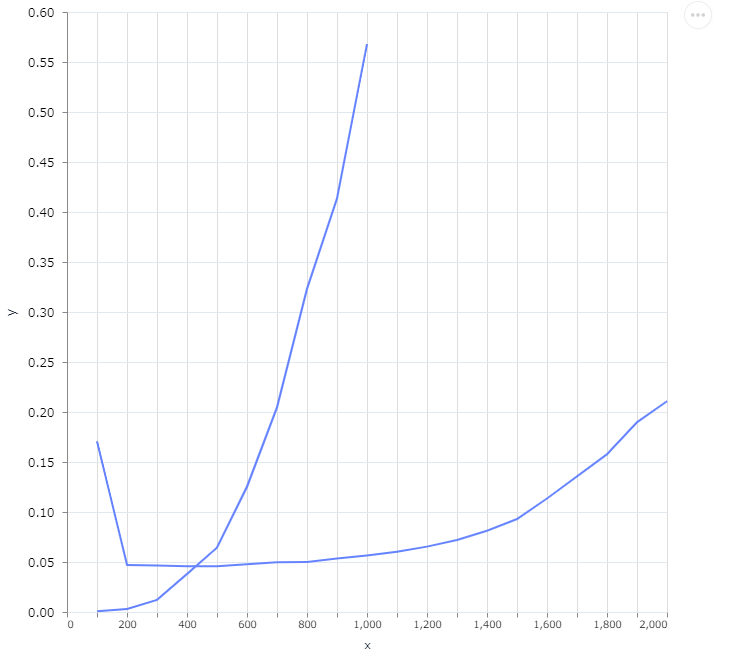
EXLA CPUとCUDAの速度比較
検証環境
OS Windows11
WSL2にubuntu 22.04をインストール
GPUのドライバー等の導入方法は、次の記事に記載 【2022/10月版】WSL2のElixir、NxでGPUを使ってみた