はじめに
Nervesではデフォルトでi2cが使えるようになっていますが、このクロックは100KHzでした。
Raspberry Piのデフォルトでもあるようです。
このクロックを変更する方法を記述しておきます。
Raspberry pi OSの場合
config.txtに次のような記述をすればよいらしい。
dtparam=i2c_arm=on,i2c_arm_baudrate=400000
Nervesの場合
次の記述をconfig.exsに追加する
config :nerves, :firmware,
  fwup_conf: "config/fwup.conf"
ターゲットに合った、fwup.confをconfigディレクトリにコピーする。
rpi0の場合、次のファイル。
cp deps/nerves_system_rpi0/fwup.conf config
fwup.confのconfig.txtに関する部分を次のように書き換える
file-resource config.txt {
    host-path = "${NERVES_APP}/config/config.txt"
}
ターゲットに合った、config.txtをconfigディレクトリにコピーする。
cp deps/nerves_system_rpi0/config.txt config
config.txtのi2c_arm=onの行に、,i2c_arm_baudrate=400000を追加する
dtparam=i2c_arm=on,i2c_arm_baudrate=400000
ファームウエアをビルドして起動すれば設定したクロックが反映されるはずです。
うまく行かなかった場合は、起動したNervesでcat "/boot/config.txt"を実行して設定が反映されてるか確認してみるとよいと思います。
反映されてない場合は、上記の何処かが抜けている可能性があるかとおもいます。
device treeを理解して特別な記述がいるのかもとヒヤヒヤしたんですが、config.txtの変更で対応できました。
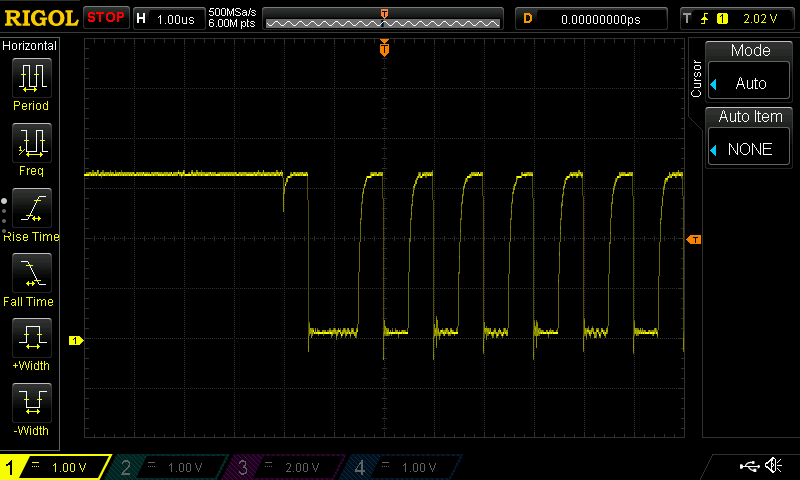
i2cの規格では400KHzが上限だったと思うのですが、1MHzにしてみても設定できて動作しました。
プルアップ抵抗なので、これくらいが限界かも。
参考
