今回はアプリでよく見る下部のアイコンのメニュー項目をBottomNavigationViewで実装する。
BottomNavigationViewもメニューの一種ではあるので、メニューファイルを利用するというところは、ToolbarのMenu設定と似ているが、ToolbarのMenu設定程の準備はいらない。
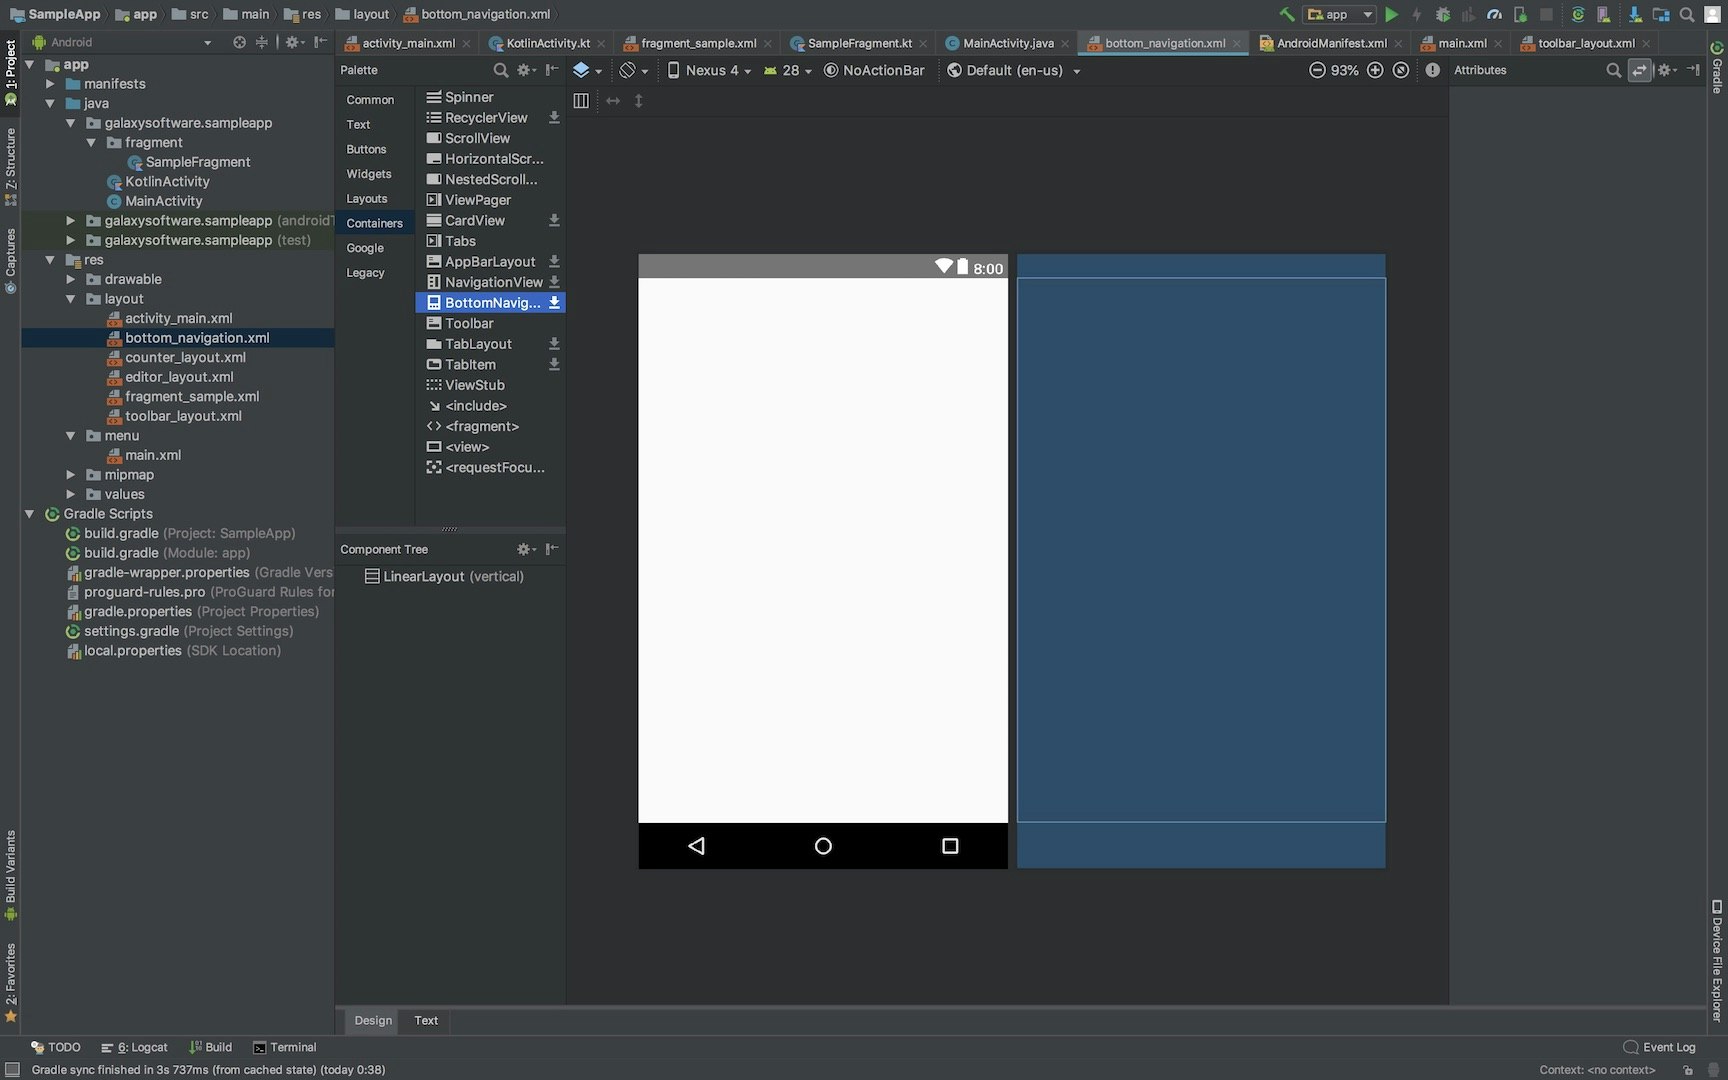
ただ、BottomNavigationViewはデフォルトでは含まれていないので(<から直接打っても出てこない)、ダウンロードする必要があるが、PaletteからViewをドラッグ&ドロップするだけでそこらは自動でやってくれる。
ダウンロードマーク付きの物はほぼそう。
メニューファイル
bottom_menu.xml
<?xml version="1.0" encoding="utf-8"?>
<menu xmlns:android="http://schemas.android.com/apk/res/android"
    xmlns:app="http://schemas.android.com/apk/res-auto">

    <item
        android:id="@+id/homeTab"
        android:title="@string/home"
        android:icon="@mipmap/baseline_home_black_48"
        app:showAsAction="ifRoom"/>
    <item
        android:id="@+id/historyTab"
        android:title="@string/history"
        android:icon="@mipmap/baseline_history_black_48"
        app:showAsAction="ifRoom"/>
    <item
        android:id="@+id/favouriteTab"
        android:title="@string/favourite"
        android:icon="@mipmap/baseline_favorite_black_48"
        app:showAsAction="ifRoom" />
</menu>
レイアウト
メニューはapp:menu="@menu/bottom_menu" で指定する
bottom_navigation.xml
<?xml version="1.0" encoding="utf-8"?>
<LinearLayout xmlns:android="http://schemas.android.com/apk/res/android"
    xmlns:app="http://schemas.android.com/apk/res-auto"
    android:layout_width="match_parent"
    android:layout_height="match_parent"
    android:orientation="vertical">

    <FrameLayout
        android:layout_width="match_parent"
        android:layout_height="0dp"
        android:layout_weight="1">

        <LinearLayout
            android:layout_width="match_parent"
            android:layout_height="match_parent"
            android:orientation="vertical">

            <TextView
                android:layout_width="wrap_content"
                android:layout_height="wrap_content"
                android:text="中身"
                android:layout_gravity="center"/>
        </LinearLayout>
    </FrameLayout>

    <android.support.design.widget.BottomNavigationView
        android:id="@+id/bottom_navigation"
        android:layout_width="match_parent"
        android:layout_height="wrap_content"
        app:menu="@menu/bottom_menu" />
</LinearLayout>
Activity
MainActivity.java
public class MainActivity extends AppCompatActivity{

    @Override
    protected void onCreate(Bundle savedInstanceState) {
        super.onCreate(savedInstanceState);
        setContentView(R.layout.bottom_navigation);
        BottomNavigationView bottomNavigationView = findViewById(R.id.bottom_navigation);
        bottomNavigationView.setOnNavigationItemSelectedListener(new BottomNavigationView.OnNavigationItemSelectedListener() {
            @Override
            public boolean onNavigationItemSelected(@NonNull MenuItem menuItem) {
                switch (menuItem.getItemId()) {
                    case R.id.homeTab:
                        break;
                    case R.id.historyTab:
                        break;
                    case R.id.favouriteTab:
                        break;
                }
                return false;
            }
        });
    }
}
BottomNavigationViewの場合、レイアウトでメニューを指定していて、かつAndroidの本来のメニュー機能が働く訳ではないので、これだけで済む。
クリック検知は**setOnNavigationItemSelectedListener()**を登録して、押された項目はmenuからidを取得して判別する。
実行するとこんな感じになる。
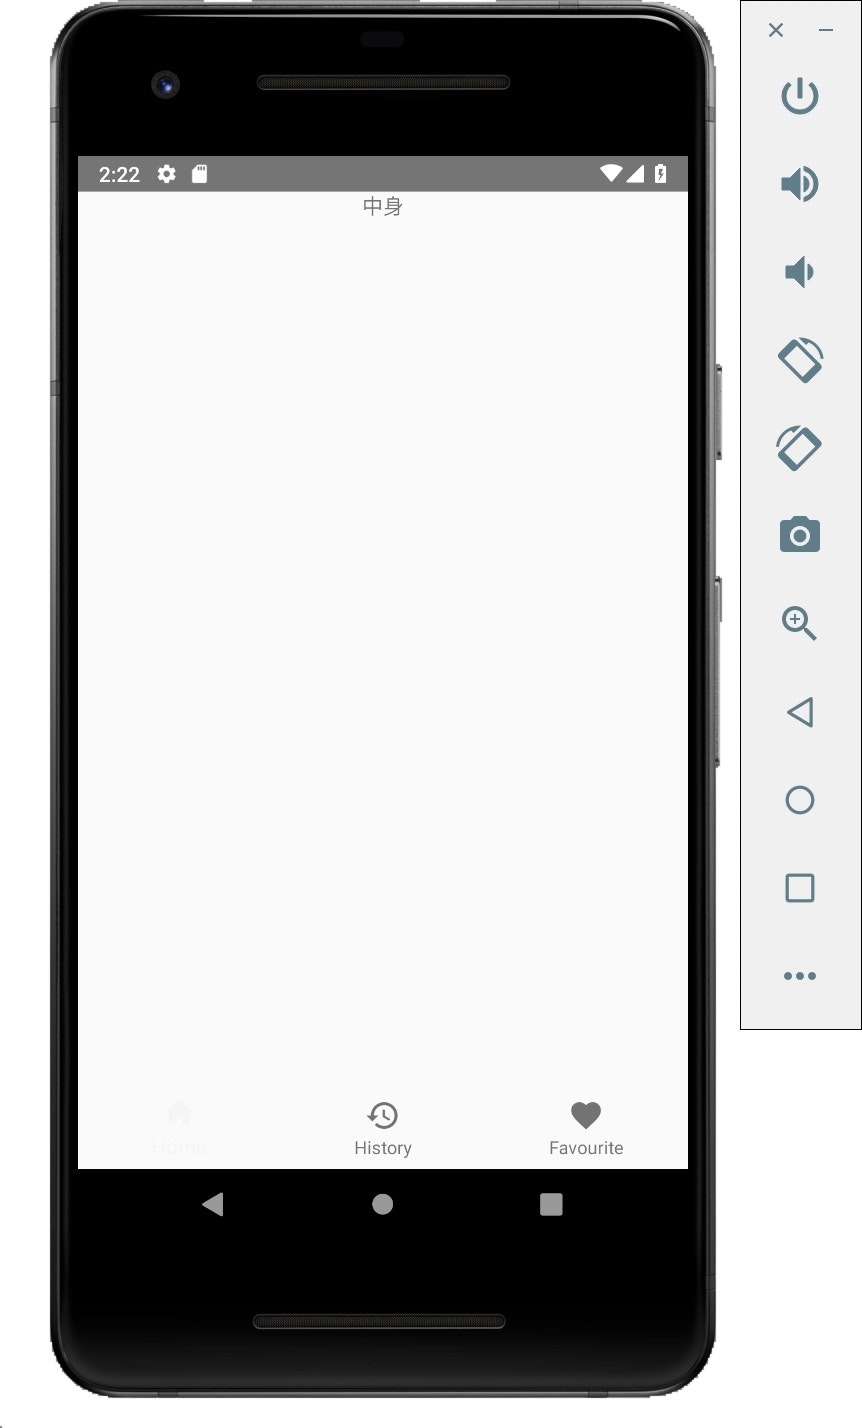
これをクリックしたら画面切り替えに使うのがセオリー
以上。
おまけ: 安定の、Kotlinで実装するとどうなるか!!
KotlinActivity.kt
setContentView(R.layout.bottom_navigation)
bottom_navigation.setOnNavigationItemSelectedListener {
   when(it.itemId) {
       R.id.homeTab -> return@setOnNavigationItemSelectedListener true
       R.id.historyTab -> return@setOnNavigationItemSelectedListener true
       R.id.favouriteTab -> return@setOnNavigationItemSelectedListener true
   }
   return@setOnNavigationItemSelectedListener false
}
最低限の実装だと こ れ だ け