はじめに
Unityから7botを制御してみた https://t.co/C4AA35GjHz
— GOROman (@GOROman) 2016年4月27日
7Bot とは?
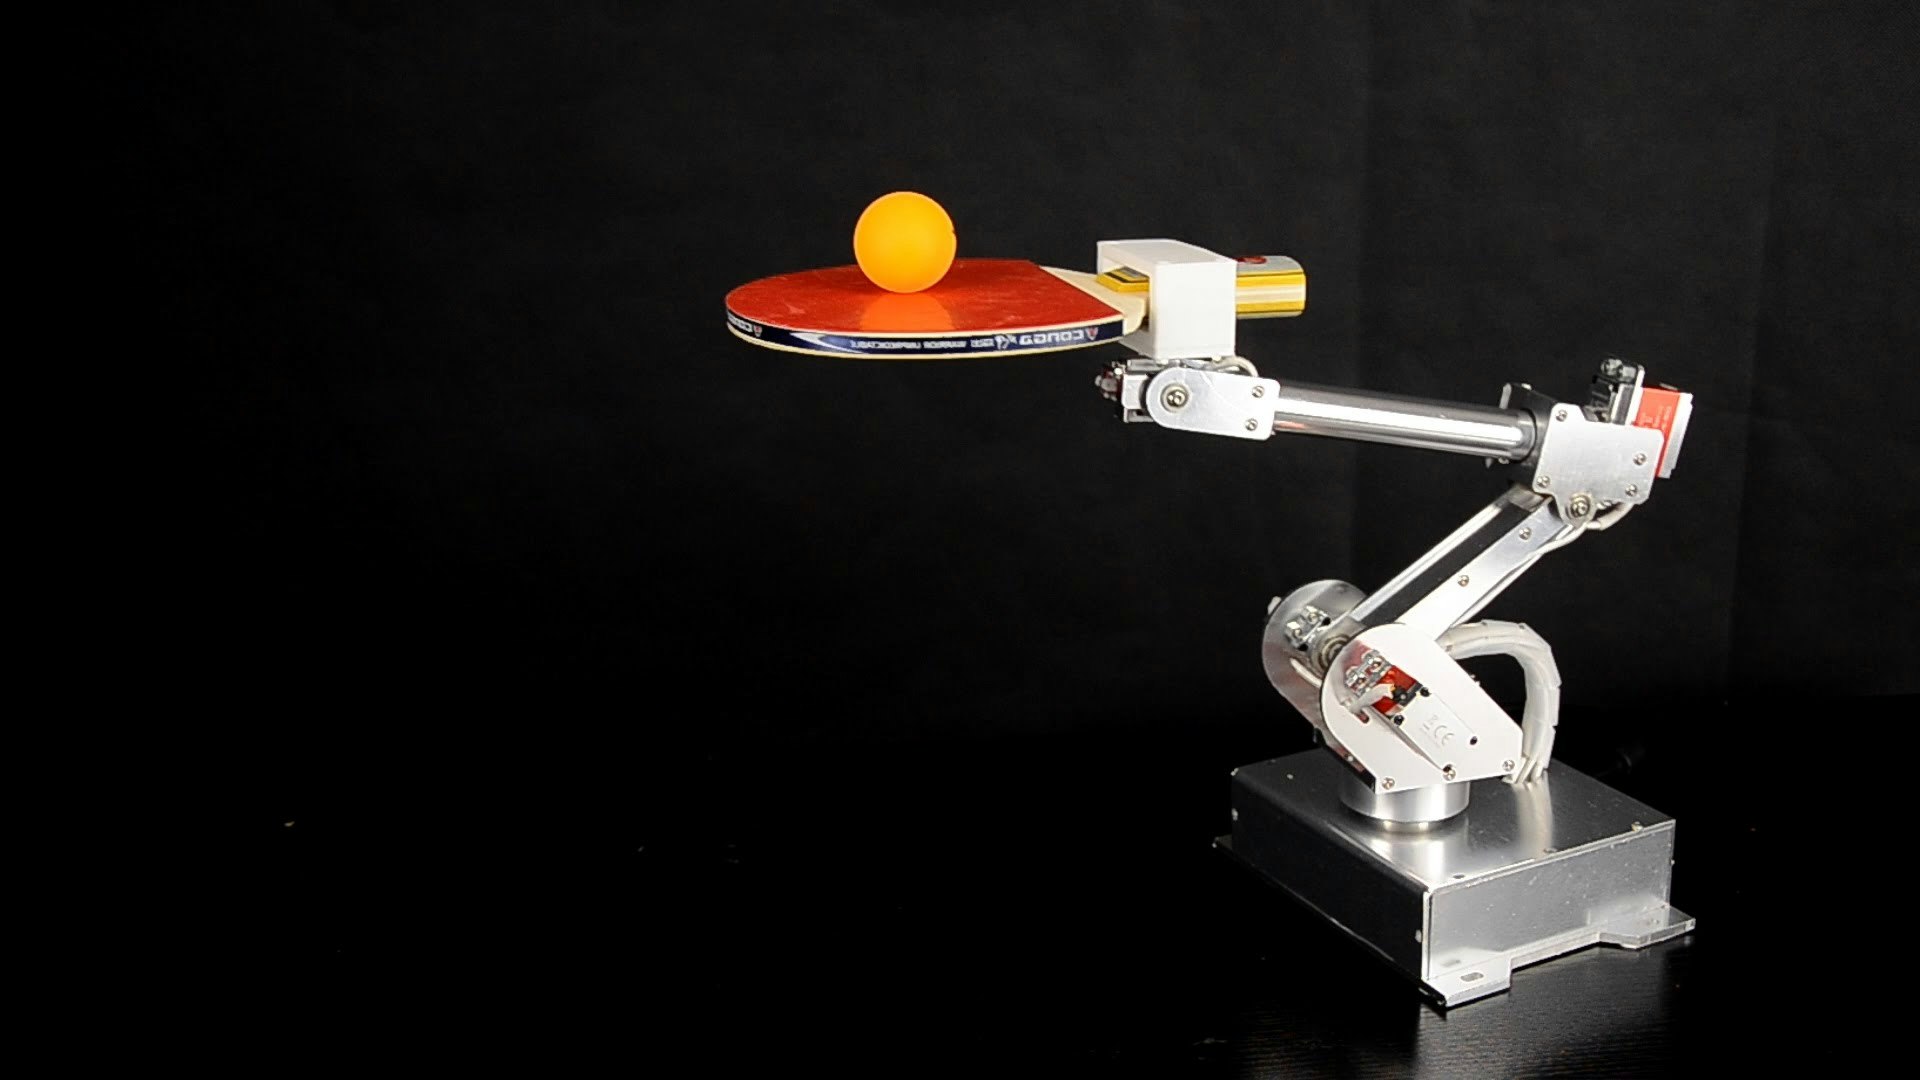
クラウドファンディング Kickstarter に発表されたロボットアームです。自由度の高い6つのサーボモータと物を掴むためのポンプを搭載し、$350 という低価格を実現しています。(Proモデルにはマジックハンドのような Two-Finger Gripperも付属)
システムは Arduino をベースとしているため、PCと接続し簡単にプログラミングによって制御可能です。
何ができるかは、以下のYoutube動画をご覧ください。
Youtube紹介動画
Kickstarterの紹介ページは こちら
7Bot 仕様
| 制御ボード | Arduino Due |
| 重量 | 2.5kg |
| 接続 | USB(シリアル) |
| 電源 | 7.5V 6A DC |
| 消費電力 | 60W |
| 軸 | 6 (7Bot Pro は 7) |
7Bot 可動範囲
7Bot を使う方法
現時点(2016/04/29)では、制御ライブラリがまだ公開されていないようです。ハードウェアだけ届いて遊べないのはKickstarter組として生殺しなので公式フォーラムから勝手に調べてUnityから使えるようにしてみました。
組み立て
説明書も何もないですが、Kickstarter Backer向けページ(For backers Only)に組み立て方がありますのでそれに沿って組み立てます。
Arduino上での手順
7Botの中身は Arduino のため、Arduino関連のファイルをインストールします。
(今回はWindows 10で動作確認を行いました)
1. Arduino Software のインストール
https://www.arduino.cc/en/Main/Software からArduino Softwareをダウンロードし、インストールします。
2. Arduino Software の起動
付属のUSBケーブルでPCと7Botを接続します。7Botには電源アダプターを接続します。
3. Arduino Due パッケージのインストール
Arduino Due用の設定は標準では入っていないため、ボードマネージャーからインストールします。
ボードマネージャーから 'Arduino Due' を検索し、[インストール]ボタンを押下しダウンロード。

4. マイコンボードの設定
マイコンボードを 'Arduino Due' に設定します。

5. シリアルポートの設定
注. シリアルポート番号は環境によって変わると思います。
6. サンプルの書き込みと実行
公式フォーラムにサンプルソースがありましたので、実行してみます。
#include <Servo.h>

Servo myservo; // create servo object to control a servo
// twelve servo objects can be created on most boards

int pos = 0; // variable to store the servo position
int s1 = 0; // variale to store the servo read out

int ServoReadPort = 0; // analog port 0
int ServoWritePort = 2; // digital port 2

void setup() {
  Serial.begin(9600);
  myservo.attach(ServoWritePort); // attaches the servo on pin 9 to the servo object
}

void loop() {

  for (pos = 0; pos <= 180; pos += 1) { // goes from 0 degrees to 180 degrees
    // in steps of 1 degree
    myservo.write(pos); // tell servo to go to position in variable 'pos'
    s1 = analogRead(ServoReadPort);
    Serial.println(s1); // tell servo to go to position in variable 'pos'

    delay(15); // waits 15ms for the servo to reach the position
  }

  delay(5000);

  for (pos = 180; pos >= 0; pos -= 1) { // goes from 180 degrees to 0 degrees
    myservo.write(pos); // tell servo to go to position in variable 'pos'
    s1 = analogRead(ServoReadPort);
    Serial.println(s1); // tell servo to go to position in variable 'pos'

    delay(15); // waits 15ms for the servo to reach the position
  }

  delay(5000);
}
上記ソースコードをIDE内にペーストし、スケッチ>マイコンボードに書き込む でコンパイル&書き込みが行われ実際にアームが左右にゆっくり回転すれば成功です。いろいろなスケッチを書いて制御してみるのも面白いと思います。
I/O ポートアサイン
7Botを制御するためのI/Oポートのアサインは以下のようです。
| ポート | R/W | 内容 | 値 |
|---|---|---|---|
| D2-D8 | Write | Axis 1~7のサーボモータ(servo 0-6)指定角度に動かす | (0-180) |
| D10 | Write | ポンプのバルブ制御 | LOW:開ける HIGH:締める |
| D11 | Write | ポンプのモータ制御 | LOW:オフ HIGH:オン(吸いだす) |
| D12 | Write | Beep音 | LOW:オフ HIGH:発音 |
| A0-A6 | Read | Axis 1~7 の回転角の取得(servo 0-6) | (0-1023?) |
| D71 | Read | 本体の左 K1ボタンの押下状態 | LOW:オフ HIGH:オン |
| D70 | Read | 本体の右 K2ボタンの押下状態 | LOW:オフ HIGH:オン |
Unity から使う方法
Unity Asset Storeに Uniduino というUnityからArduinoを制御する有料アセットがありますのでそちらを今回は使用しました。(もちろん自前で直接シリアルポートを叩いて制御も可能です)
1. Uniduino のインストール
Unity Asset Store から購入します。
https://www.assetstore.unity3d.com/jp/#!/content/6804
2. シリアルポートの有効化
Uniduinoのパッケージをインポート後、シリアルポートを使うために Player Settings から API Compatibility Level を .NET 2.0 Subset から .NET 2.0 へと変更する必要があります。

3. StandardFirmata の書き込み
Uniduino は Firmata というPCとArduino間をシリアルでやり取りするプロトコルを使用してArduinoの各入出力ポートを制御するため、StandardFirmata を7BotのArduino Dueへ書き込んでおきます。
スケッチの例から StandardFirmata をロード。

メニューから スケッチ>マイコンボードに書き込む で書き込んでおきます。
4. サンプル(Test Panel)の実行
UniduinoのProjectの中には簡単に動作チェックするサンプルシーンがあります。
Uniduino>UniduinoTestPanel>UniduinoTestPanelシーンを開きます。

実行します。
5. ポートの設定
うまく接続できれば、GameビューにGUIが表示されます。
デジタルポートD2:0 ~ D8:0 あたりがサーボモータの制御になりますので、[SERVO]ボタンをしてサーボモードに切り替えて、スライダーで 0度 ~ 180度まで各軸が回転します。D2,D3,D4は激しく動くので注意して操作しましょう。

D10, D11をhighにすればポンプが作動します。D12はBEEP音です。
これでUnityから自由に7Botを制御できるようになりました。
Unityから7botを制御してみた https://t.co/C4AA35GjHz
— GOROman (@GOROman) 2016年4月27日
結果
いろいろできました。
猫用自動餌やりシステム!!!! https://t.co/d3pQgz9tRf
— GOROman (@GOROman) 2016年4月27日
猫型ロボット https://t.co/nisNFjNe2s
— GOROman (@GOROman) 2016年4月27日
みなさんもぜひいろいろ7Botで作ってみてください。


