部活でslackを導入して作業の効率化を図ろうとHubotを導入した
Herokuでの導入記事はたくさんあったがVPS(CentOS)で全部説明してるところは無かったので備忘録として残しておく
自分の環境はCentOS 7.0.1406
nodejsとredisとnpmはインストールされている前提で話します。
redisの自動起動設定もする必要があるのかもしれない
Hubotを作成する
Hubotのインストール
Hubotのインストール方法は以下
$ npm install -g hubot coffee-script
coffeescriptも入れておく
botの作成
検索するとよく目にするhubot作成方法の
hubot --create
は現在非推奨なので、ジェネレータを使用してbotを作成する。
$ npm install -g generator-hubot
generator-hubotは、botを自動生成するのに使用する。
次にbot用の作業ディレクトリを作成し、作業ディレクトリに移動する。
$ mkdir hogebot
$ cd hogebot
[yo hubot]でhubotのジェネレータを起動して
- オーナーの名前
- botの名前
- botの説明
- アダプターの設定
を入力する。
$yo hubot
                     _____________________________
                    /                             \
   //\              |      Extracting input for    |
  ////\    _____    |   self-replication process   |
 //////\  /_____\   \                             /
 ======= |[^_/\_]|   /----------------------------
  |   | _|___@@__|__
  +===+/  ///     \_\
   | |_\ /// HUBOT/\\
   |___/\//      /  \\
         \      /   +---+
          \____/    |   |
           | //|    +===+
            \//      |xx|
? Owner: GENM
? Bot name: hogebot
? Description: test bot
? Bot adapter: slack
   create bin/hubot
   create bin/hubot.cmd
   create Procfile
   create README.md
   create external-scripts.json
   create hubot-scripts.json
   create .gitignore
   create package.json
   create scripts/example.coffee
   create .editorconfig
                     _____________________________
 _____              /                             \
 \    \             |   Self-replication process   |
 |    |    _____    |          complete...         |
 |__\\|   /_____\   \     Good luck with that.    /
   |//+  |[^_/\_]|   /----------------------------
  |   | _|___@@__|__
  +===+/  ///     \_\
   | |_\ /// HUBOT/\\
   |___/\//      /  \\
         \      /   +---+
          \____/    |   |
           | //|    +===+
            \//      |xx|
今回はslackを使用するので
Bot adapter:slackになっている。
いろいろインストールされるので、作業ディレクトリでhubotを実行。
$bin/hubot
エラーとか吐くけど動いてるしまぁ大丈夫だろう。
次にbotがちゃんと動いているか確認
hogebot>hogebot ping
で「PONG」と返ってくれば正常に動いている。
これでVPSにHubotをインストールすることができた。
Slackと連携する
HubotをSlackと連携する
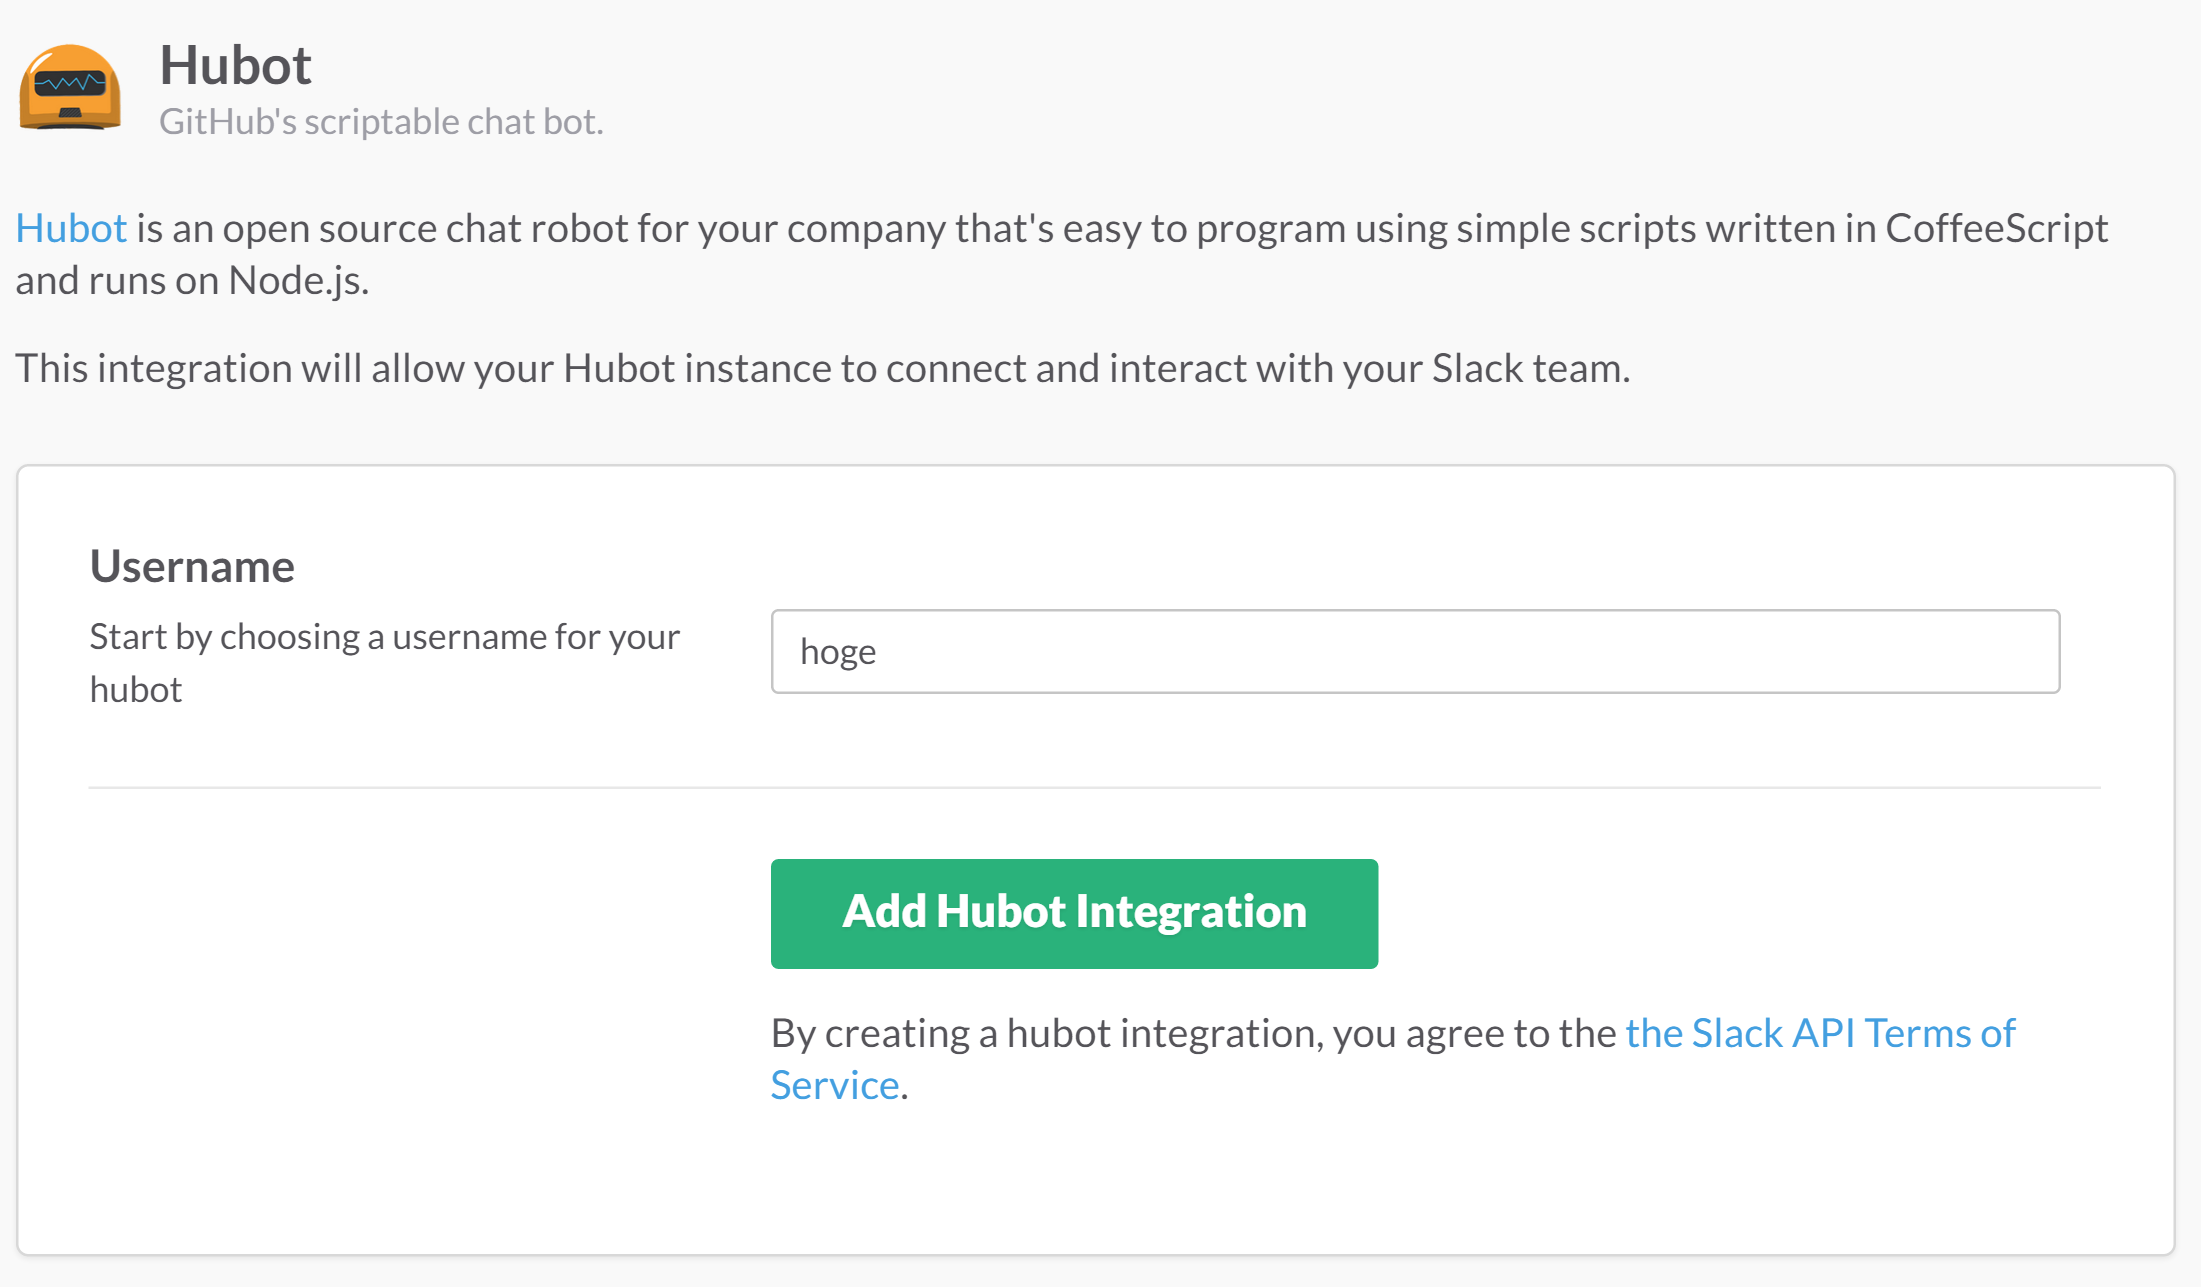
Slackの[Integrations]からHubotを選択し、Usernameにbotの名前(英数字のみ)を入力
[Add Hubot Integration]でbotのIntegrationが作成される。
ちなみにチャンネルやユーザーに同じ名前があると作成できない。
次の画面では、botの名前やアイコン画像などが設定できる。
ここでSlackのトークン、HUBOT_SLACK_TOKEN=xxxxxxxxxxxxxxxxxをメモしておく。
Slack連携のシェルスクリプトを作成する。
起動時に毎回トークンを設定する手間を省くためにサーバー側でシェルスクリプトを作成する。
$ emacs hoge.sh
スクリプトの中身はこんなかんじ。
# !/bin/sh

export HUBOT_SLACK_TOKEN=xxxxxxxxxxxxxxxxxxxxxxxx

./bin/hubot --adapter slack
このままだと実行権限が無いのでchmodコマンドで権限を追加しておく
$ chmod u+x hoge.sh
作成したスクリプトを実行してみる。
$ ./hoge.sh
正常に起動すると、botがアクティブになるので、Slackで
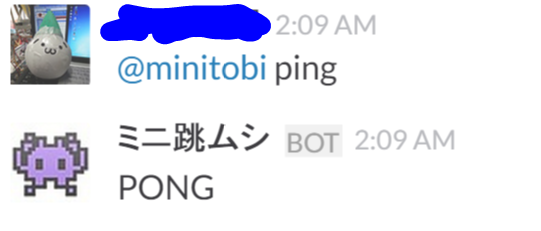
@hogebot ping
とメンションを送ってPONGが返ってくればSlack連携成功
Hubotを永続化(デーモン化)させる
foreverのインストール
Hubotを永続化させるためにnpmで作業ディレクトリにforeverをローカルインストールする。
$ sudo npm install --save forever
これでpackage.jsonのdependenciesに勝手に追加される
-gのオプションをつけるなら勝手にPATHが通るので下の手順はいらない。
自分の場合はPATHが通らなかった
npmでローカルインストールされたforeverは
hoge/node_modules/forever/bin
にあるので、作業ディレクトリからnpmモジュールを実行したときカレントディレクトリからの相対パスでbinにPATHが通るように設定する。
export PATH=$PATH:./node_modules/.bin
foreverがちゃんとインストールされてるかforever listで確認
$ forever list
info:    No forever processes running
こんなふうに反応が返ってくればOK
ただ、exportだとログインするたびにPATHを通さないと行けないので/etc/profileを開き
sudo emacs /etc/profile
以下の文を追記する。
PATH=$PATH:./node_modules/.bin
これで全ユーザのログイン時にPATHが通るようになる。
すぐにprofileの変更を反映させたいときは
$ source /etc/profile
で反映される。
シェルスクリプトを編集する
先ほど作成したシェルスクリプトを編集し
さっきのスクリプトと違うのは
npm install
と
forever --spinSleepTime 1000 start -c coffee node_modules/.bin/hubot --adapter \slack
の部分だろう。
これは、./bin/hubotで起動させていたhubot実行ファイルがforeverを介すとうまくいかないからで、hubot実行ファイルの中を覗いてみると
# !/bin/sh

set -e

npm install

PATH="node_modules/.bin:node_modules/hubot/node_modules/.bin:$PATH"

exec node_modules/.bin/hubot --name "hogebot" "$@"
npm install でpackage.jsonに記述されているモジュールを揃え、execでnode_modules/.bin/hubotを実行している。
これを自前のシェルスクリプトで書き直すと
# !/bin/sh
export HUBOT_SLACK_TOKEN=XXXXXXXXXXXXXXXXXXXXXX

npm install

forever start -c coffee node_modules/.bin/hubot --adapter \slack
のようになる。スクリプトを実行すればforever startでプロセスの永続化が開始される。
$ ./hoge.sh
info:    Forever processing file: node_modules/.bin/hubot
永続化を解除するときは、
$ forever list
で永続化しているプロセスを確認して
$ forever stop プロセス名
で停止させる。
botの調子がおかしいときはforever listコマンドで/home/ユーザ/.forever/にあるセッションログを見ると原因がわかるかもしれない
最後に
割りと制限の多いHerokuより安心感のあるVPSでHubotが動かせる様になったので、自由にbotが作れそう。
この場合もHerokuで実行した時と同じように、プログラムはscriptディレクトリ配下に.jsか.coffee形式のファイルを置けばHubot起動時に勝手に読み込んで実行してくれる。


