皆さん毎日*ngIf/*ngSwitchCaseライフ楽しんでいますか?
アプリケーションの状態によって表示を動的に変えたい場合、素直に実装すると*ngForや*ngIfに頼ることになると思います。
しかし、表示条件や表示内容自体が複雑になるとコンポーネントの見通しが悪くなり、メンテナンス性が徐々に悪化していくという経験はないでしょうか。
その原因の1つにはコンポーネントのテンプレートファイルである.component.htmlのファイルに複雑な条件(ロジック)と詳細な表現(UI)を混ぜてしまっているという要因があると考えられます。
これを解決するにはどうすればいいでしょうか。
そこで本記事では、Angularの動的コンポーネント(Dynamic Component)の機能を使うとより安全に動的なコンポーネントを書けるというのを紹介したいと思います。
動的コンポーネントとはまさに動的にコンポーネントを生成する仕組みなのですが、これを用いるとHTML上のコンポーネントの分岐をTypeScript側に持ち込むことができるようになります。
分岐をTypeScriptで書くことができると以下のメリットがあります。
- never型を使うことによりswitch文の網羅性チェックができる。
- ポリモーフィズムにより同じようなswitch文を書く回数を減らすことができる。
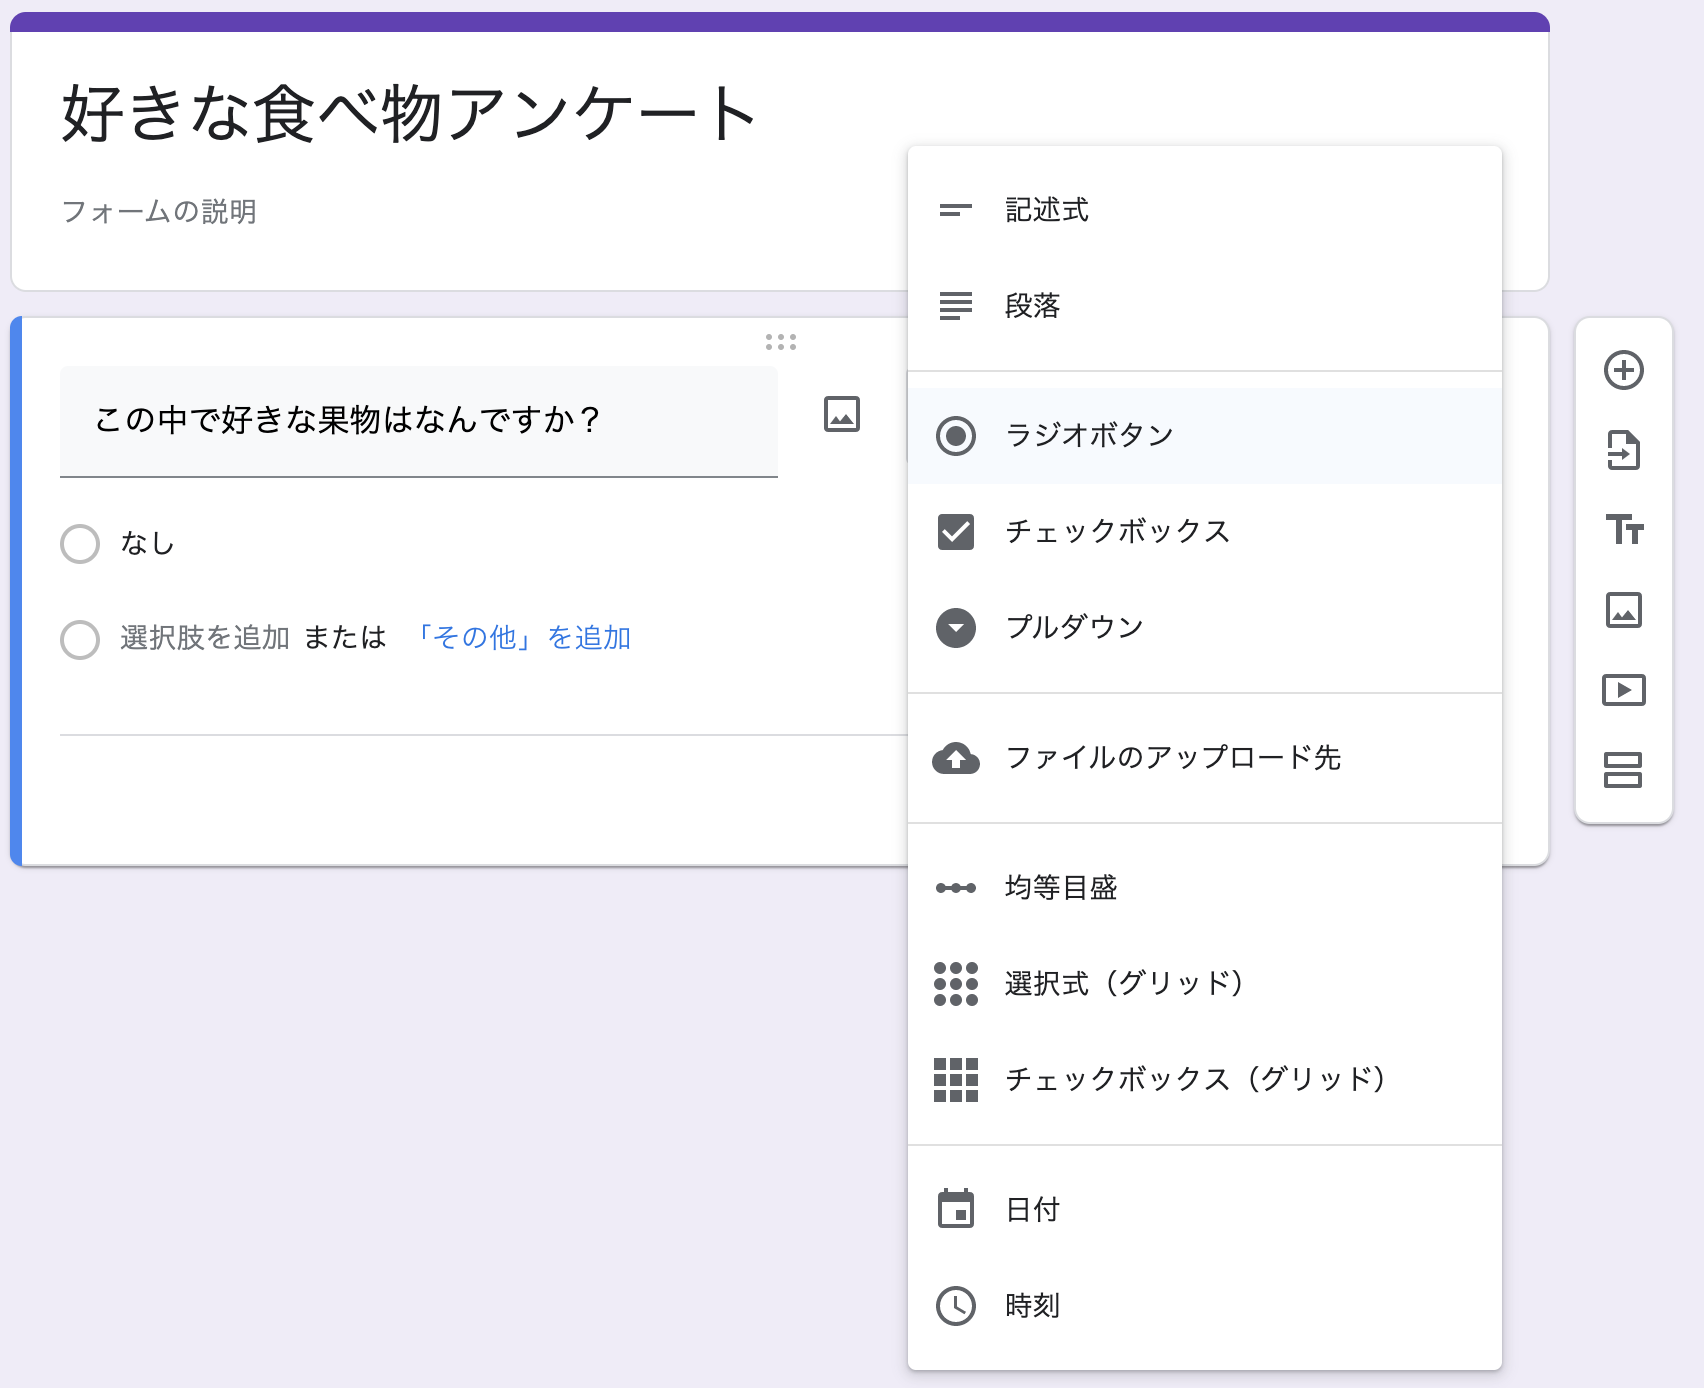
ではどのようにしてこれらの恩恵を受けることができるかGoogle Formのような例を題材に具体的に解説していきたいと思います。
動作環境
今回の解説に使うサンプルコードはGitHubのリポジトリで公開しています。
記事執筆時点でのAngularのバージョンは9.0.2です。TypeScriptのバージョンは3.7.5です。
典型的な例
Google Formのような例ではフォーム内にフォームの構成要素を複数配置することができます。
その構成要素にはテキスト入力やラジオボタンなどの種類があります。
やっかいなことに各構成要素には質問文や必須/オプションなどの共通する属性もあれば、ラジオボタンの選択肢など特定の構成要素にしかない属性もあります。
例えばサーバーから受け取るJSONは以下のようになるとします。
[
    {
      type: 0, // テキストフィールド
      id: "d44e0d0e-be59-4f37-a45c-9b000c60db80",
      title: "氏名",
      required: true,
      placeholder: "氏名を入力してください。"
    },
    {
      type: 1, // ラジオボタン
      id: "521d64f2-ddb2-4f49-b25e-4f805a3fd1e3",
      title: "満足度",
      required: true,
      options: [
        { label: "とてもよかった", value: 5 },
        { label: "まあまあよかった", value: 4 },
        { label: "普通", value: 3 },
        { label: "あまりよくなかった", value: 2 },
        { label: "よくなかった", value: 1 },
      ],
    },
    {
      type: 2, // 日付選択
      id: "7345d53b-6920-497d-836c-620d2850aba7",
      title: "次回の希望日",
      required: false,
      min: "2020-03-01",
      max: "2020-05-31"
    },
    // ...
  ]
これを愚直に実装するとどのようなコンポーネントが出来上がるでしょうか。
おそらくHTMLのテンプレートはこのようになります。
<div class="form">
  <div *ngFor="let formItem of formItems" [ngSwitch]="formItem.type">
    <ng-container *ngSwitchCase="0">
      <mat-form-field>
        <mat-label>{{ formItem.title }}</mat-label>
        <input
          matInput
          [placeholder]="formItem.placeholder"
          [formControl]="text"
          [required]="formItem.required"
        />
      </mat-form-field>
    </ng-container>
    <ng-container *ngSwitchCase="1">
      <mat-label>{{ formItem.title }}</mat-label><span *ngIf="formItem.required">*</span>:
      <mat-radio-group [formControl]="selectedValue" [required]="formItem.required">
        <mat-radio-button
          *ngFor="let option of formItem.options"
          [value]="option.value"
          class="option"
          >{{ option.label }}</mat-radio-button
        >
      </mat-radio-group>
    </ng-container>
    <ng-container *ngSwitchCase="2">
      <mat-form-field>
        <mat-label>{{ formItem.title }}</mat-label>
        <input
          matInput
          [min]="formItem.min"
          [max]="formItem.max"
          [matDatepicker]="picker"
          [formControl]="date"
        />
        <mat-datepicker-toggle matSuffix [for]="picker"></mat-datepicker-toggle>
        <mat-datepicker #picker></mat-datepicker>
      </mat-form-field>
    </ng-container>
    <!-- ... -->
  </div>
</div>
実際のところ今回のサンプルの例ではこのように愚直に実装してもそこまで問題にはなりません。
しかし、今後条件が増えたり複雑化したり各構成要素の内容が複雑になるとメンテナンスが難しくなります。
この場合各構成要素ごとにコンポーネント化するだけでもかなりましになります。
<div class="form">
  <div *ngFor="let formItem of formItems" [ngSwitch]="formItem.type">
    <app-text-field
      *ngSwitchCase="0"
      [formItem]="formItem"
      (valueChanges)="onValueChanges($event)"
    >
    </app-text-field>
    <app-radio-button
      *ngSwitchCase="1"
      [formItem]="formItem"
      (valueChanges)="onValueChanges($event)"
    >
    </app-radio-button>
    <app-datepicker
      *ngSwitchCase="2"
      [formItem]="formItem"
      (valueChanges)="onValueChanges($event)"
    >
    </app-datepicker>
    <!-- ... -->
  </div>
</div>
しかし、条件や入出力が今回の例以上に複雑になる場合はどのように対応していけばいいでしょうか。Input/Outputプロパティのバインディングも分岐ごとに同じものを書く必要がありますし、複雑化した場合の分岐条件はどこに書いたらいいのでしょうか。また、網羅性を確保するためには表示条件ごとに境界値をテストするしかないのでしょうか。
動的コンポーネントの恩恵を受けるための型を用意する
動的コンポーネントの恩恵を受けるための準備として、まずは受け取るJSONに型付けをしていきましょう。
export enum FormItemType {
  RadioButton,
  TextField,
  Datepicker,
}

export interface FormItem {
  type: FormItemType;
  id: string;
  title: string;
  required: boolean;
}

export interface RadioButton extends FormItem {
  type: FormItemType.RadioButton;
  options: { label: string; value: number }[];
}

export interface TextField extends FormItem {
  type: FormItemType.TextField;
  placeholder?: string;
}

export interface Datepicker extends FormItem {
  type: FormItemType.Datepicker;
  min?: Date;
  max?: Date;
}
typeをenumで定義して各構成要素で共通するプロパティはFormItemを定義し、それを継承するようにしています。enumによるパフォーマンスの影響が気になる場合は定数列挙型(const enum)を使うという選択肢もあります。
さらに各構成要素のコンポーネントで実装するべきInput/Outputプロパティもインターフェースとして定義しておきたいです。
export interface FormItemComponent {
  formItem: FormItem;
  valueChanges: EventEmitter<any>;
}
残念ながらTypeScriptのインターフェースでは@Input()や@Output()などのデコレータを矯正させることはできません。
InputとOutputの違いはEventEmitterが付いているかどうかで判断できますが、Inputでないプロパティも実装させたい場合は以下のようなアイデアを使うと意図が伝わりやすくなります。
type Input<T> = T;

export interface FormItemComponent {
  formItem: Input<FormItem>;
  formControl: FormControl;
  valueChanges: EventEmitter<any>;
}
各構成要素のコンポーネントでは次のように実装して使います。
@Component({ /* ... */ })
export class TextFieldComponent implements OnInit, FormItemComponent {
  @Input() formItem: TextField; // FormItemではなく派生型のTextFiledとして扱う
  @Output() valueChanges = new EventEmitter<any>();
  /* ... */
}
条件分岐を専用のクラスに書く
動的コンポーネントローダーにはthis.resolver.resolveComponentFactory(TextFieldComponent)のようにどのコンポーネントを渡すかを特定する必要があります。
以下のように条件分岐のみに集中する専用のクラスを書くと分岐が増えたときの見通しがよくなります。
@Injectable({
  providedIn: 'root',
})
export class ComponentTypeResolver {
  resolveComponentType(type: FormItemType): Type<FormItemComponent> {
    switch (type) {
      case FormItemType.TextField:
        return TextFieldComponent;
      case FormItemType.RadioButton:
        return RadioButtonComponent;
      case FormItemType.Datepicker:
        return DatepickerComponent;
      default:
        assertNever(type, `Unexpected FormItemType: ${type}`);
    }
  }
}
defaultケースではassertNeverという関数を使って網羅性チェックをしています。
assertNeverは以下のように定義しています。
function assertNever(_value: never, message?: string): never {
  throw new Error(message);
}
このようにnever型を使うと条件分岐の網羅性をコンパイル時に検知することができるようになります。[1]
export enum FormItemType {
  RadioButton,
  TextField,
  Datepicker,
  Checkbox, // enumに新しい種類を追加する
}

// するとnever型に値が入るのでコンパイルエラーとなる
/*
error TS2345: Argument of type 'FormItemType.Checkbox' is not assignable to parameter of type 'never'.
24         assertNever(type, `Unexpected FormItemType: ${type}`);
                       ~~~~
*/
動的にコンポーネントをホストするコンポーネントを用意する
前置きが長くなってしまいましたが、Angularの公式ドキュメントを参考に動的コンポーネントローダーをセットアップするコンポーネントを用意します。
まずはアンカーディレクティブを用意します。
import { Directive, ViewContainerRef } from '@angular/core';

@Directive({
  selector: '[appFormItem]',
})
export class FormItemDirective {
  constructor(readonly viewContainerRef: ViewContainerRef) {}
}
そしてアンカーディレクティブに動的にコンポーネントを差し込むコンポーネントを用意します。
@Component({
  selector: 'app-form-item-host',
  // TextFieldComponentなどはここに差し込まれる
  template: '<ng-template appFormItem></ng-template>',
})
export class FormItemHostComponent implements OnInit, OnDestroy, FormItemComponent {
  @Input() formItem: FormItem;
  @Output() valueChanges = new EventEmitter<any>();
  @ViewChild(FormItemDirective, { static: true }) directive: FormItemDirective;

  constructor(
    private componentFactoryResolver: ComponentFactoryResolver,
    private componentTypeResolver: ComponentTypeResolver,
  ) {}

  ngOnInit() {
    // formItemの種類からComponentFactoryResolverに渡すコンポーネント参照を決める
    const componentType = this.componentTypeResolver.resolveComponentType(
      this.formItem.type,
    );

    // コンポーネントのインスタンスを生成してアンカーディレクティブに差し込む
    const componentFactory = this.componentFactoryResolver.resolveComponentFactory(
      componentType,
    );
    const viewContainerRef = this.directive.viewContainerRef;
    const component = viewContainerRef.createComponent(componentFactory)
      .instance;

    // 動的コンポーネントにInputプロパティを渡す
    component.formItem = this.formItem;
    // 動的コンポーネントでイベントが発火されたら親コンポーネントに伝播させる
    component.valueChanges.subscribe(value => this.valueChanges.emit(value));
  }
}
ここで取得したコンポーネントのインスタンスの型はインターフェースであるFormItemComponentに推論されているので、FormItem型のオブジェクトを動的コンポーネントに問題なく渡すことができています(各動的コンポーネントのformItemはformItem: TextFieldのように派生した型で宣言していたことを思い出してください)。
動的コンポーネントのホストコンポーネントを使う
ここまで準備したらあとは*ngForで繰り返すだけです
<div class="form">
  <app-form-item-host
    *ngFor="let formItem of formItems"
    [formItem]="formItem"
    (valueChanges)="onValueChanges($event)"
    class="form-item"
  ></app-form-item-host>
</div>
ちなみにAngular 9では動的コンポーネントをentryComponentsに登録する必要がなくなりましたが、8以前の環境では忘れずに追加する必要がありますので注意してください。
@NgModule({
  /* ... */
  entryComponents: [TextFieldComponent, RadioButtonComponent, DatepickerComponent]
})
まとめ
動的コンポーネントを使うことでコンポーネントの条件分岐をTypeScriptに持ってくることができて、より安全にswitch-caseが書けるよというのを紹介しました。
シンプルに*ngIf/*ngSwitchCaseで書けるようシンプルに保つのが一番かもしれませんが、選択肢の1つとして知っておくと柔軟に対応できるので機会があれば活用してみてください。