イントロダクション
こんにちは、fu3noriです
仕事でspring bootを使ったアプリケーションを作るにあたり、intellij idea ultimateを使いました。
intellijにはUI上にプロジェクトのビルドと実行をするボタンが用意されていますが、そのままでは動きません。
幾つか設定が必要なのでそれを書き記していきます。
下準備
新しくプロジェクトを作る前提ですが、先にgithub(使うなら)で空のリポジトリを作り、ローカルの作業フォルダにしたい場所へクローンしておきます。
その中にプロジェクトを作りgitで管理できるようにしておきましょう
プロジェクトの作成
intellijを立ち上げ、新規作成を選び、spring bootを選びます。
入力は画像の通りセオリー通りで良いです(JDKをインストールしておくのを忘れずに)
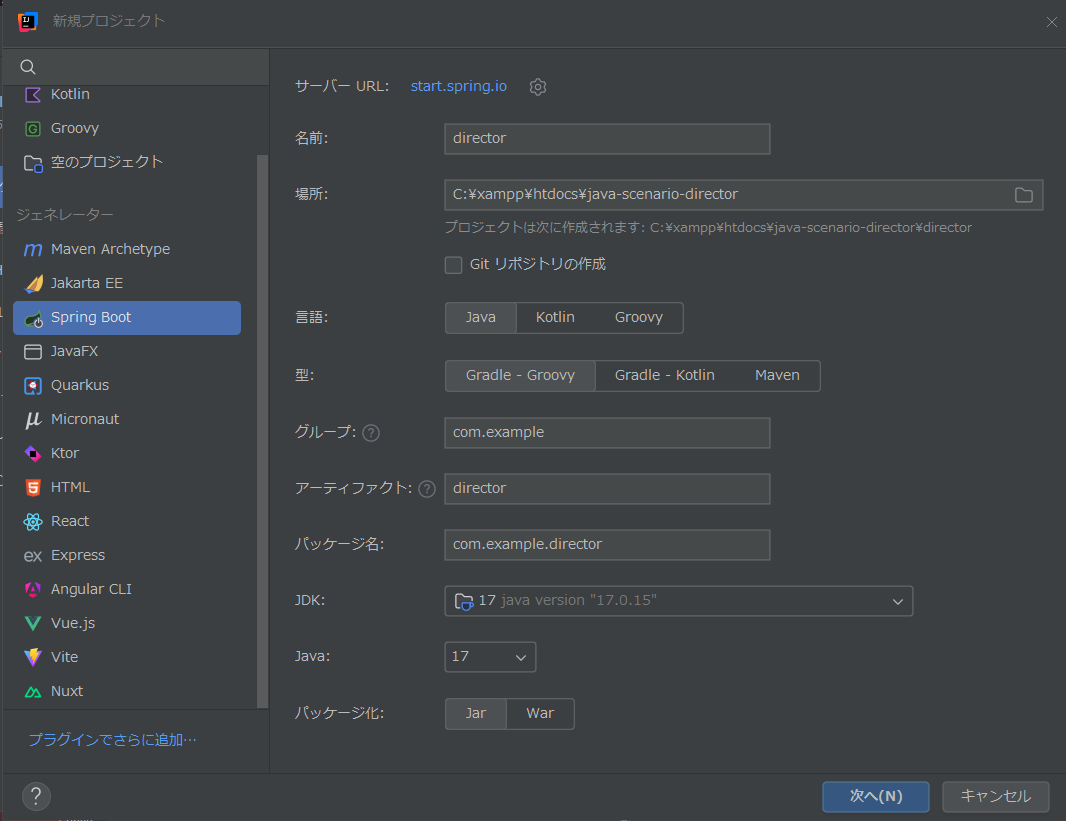
依存性を聞かれるのでspring bootは2025年現在依存性の心配が低い3.3.13を選ぶ。
Developer toolではSpringBootDevToolとSpringConfigurationProcesserを選ぶ

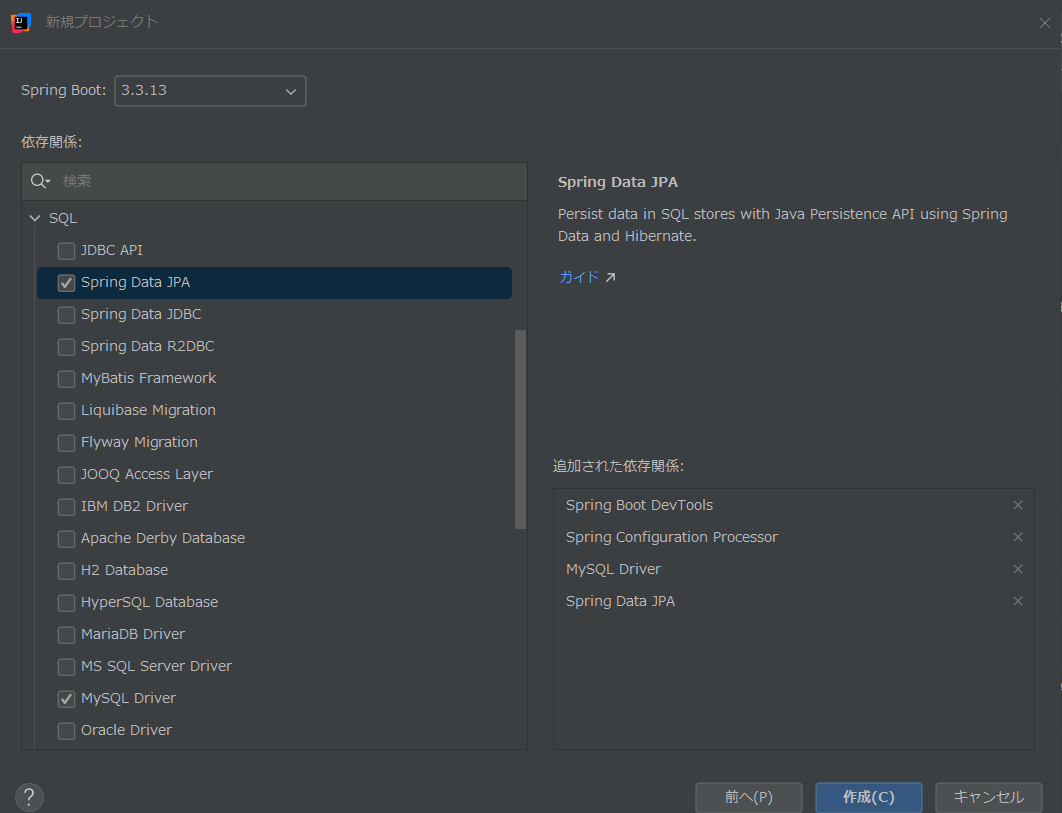
SQLタブを開いて使用するDBとSpringDataJPAを選ぶ(ここではMySQLを選択)
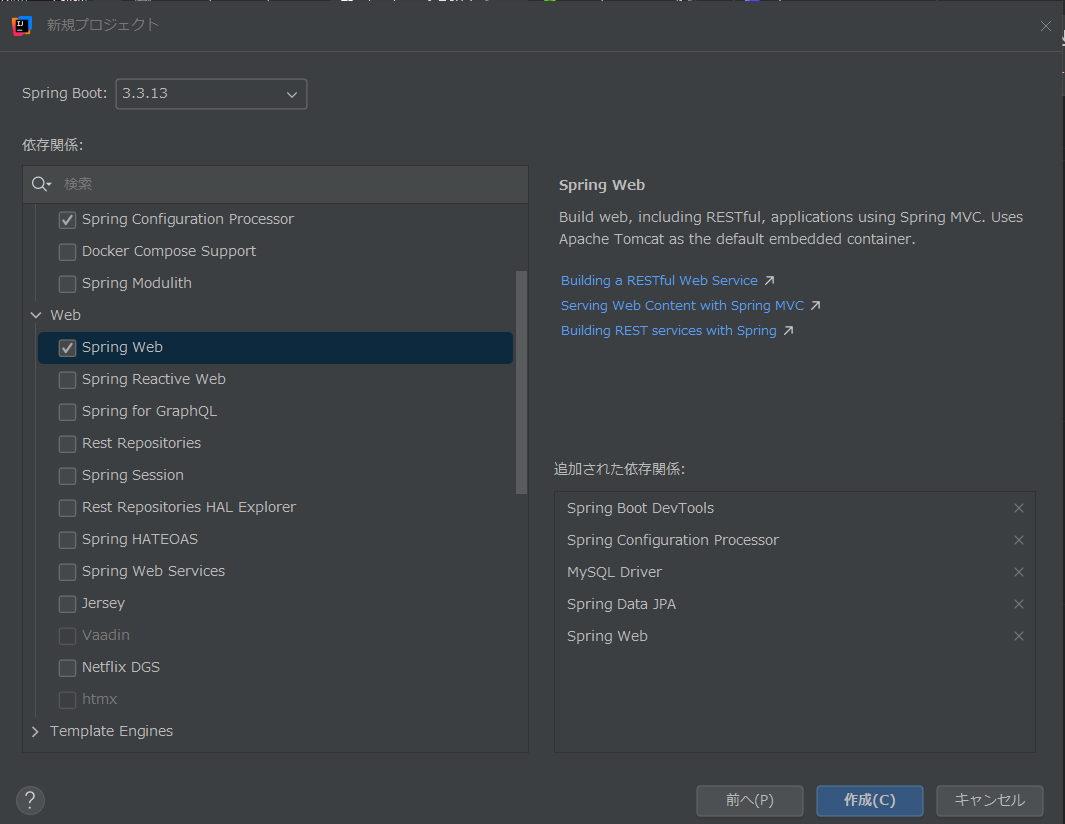
WEBタブを開いてSpring Webを選択
作成ボタンをクリック
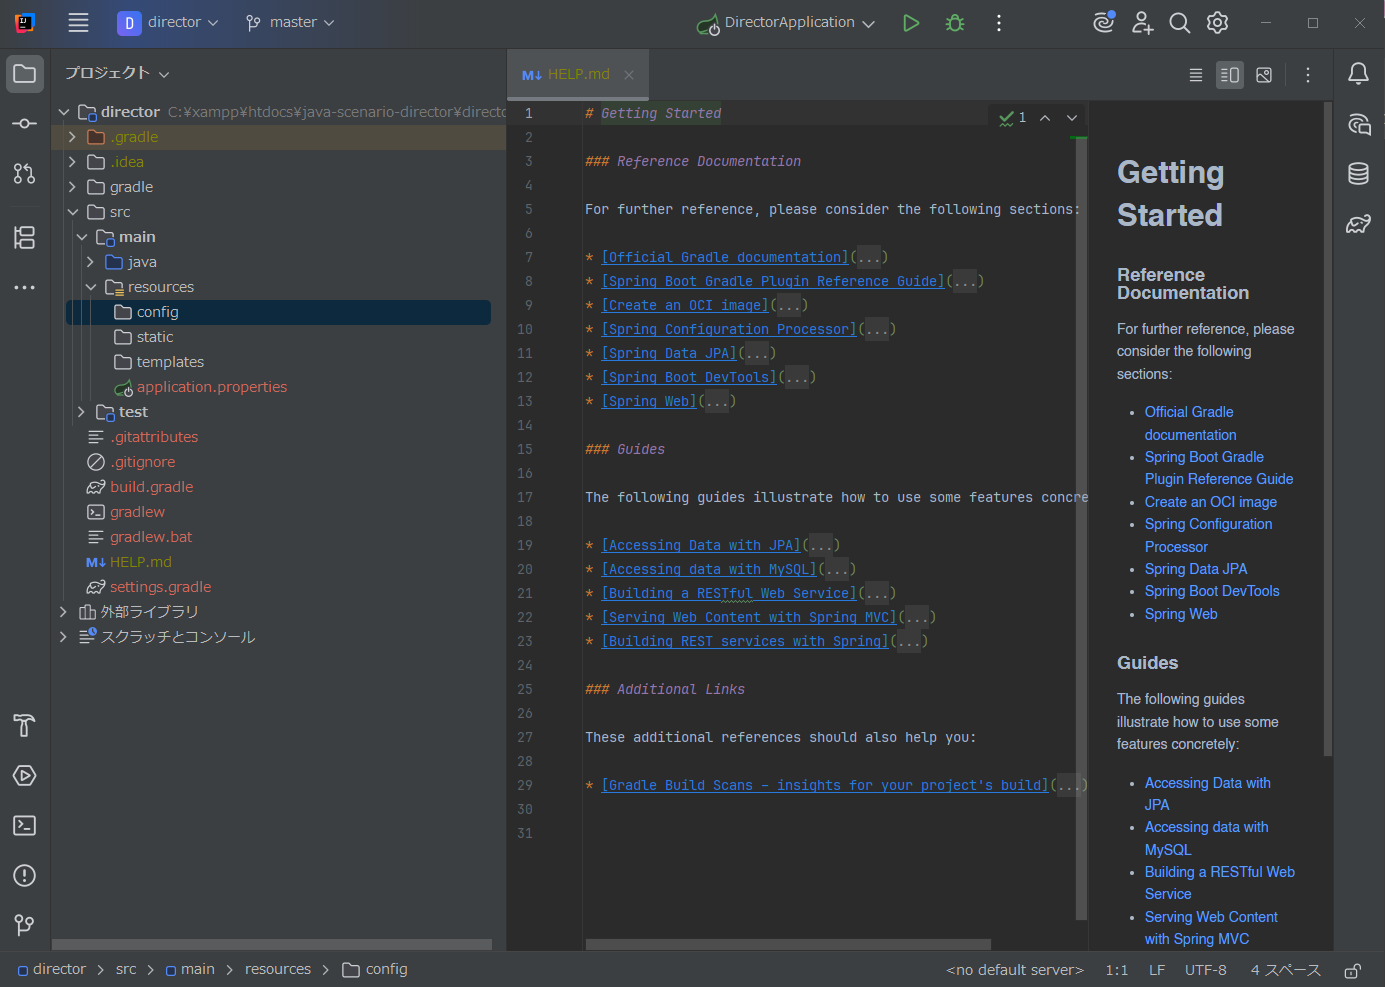
画面が切り替わり、画面下でインポート中と表示されるので処理が終わるまでタバコでも吸って待つ。
プロジェクトファイルの編集
プロジェクトの設定(DB接続とか)のymlファイルを書く
設置パスは src/main/resources/config/*.ymlとなる。
今回はDB接続(これは必須)ファイルとgoogleソーシャルログインのキーを書くファイルとpaypal課金のキーを書くファイルを設置する(最後の二つは任意)
configディレクトリはデフォルトでは存在しないので、src/main/resourcesを右クリックしてディレクトリの作成→configと捜査して作る事
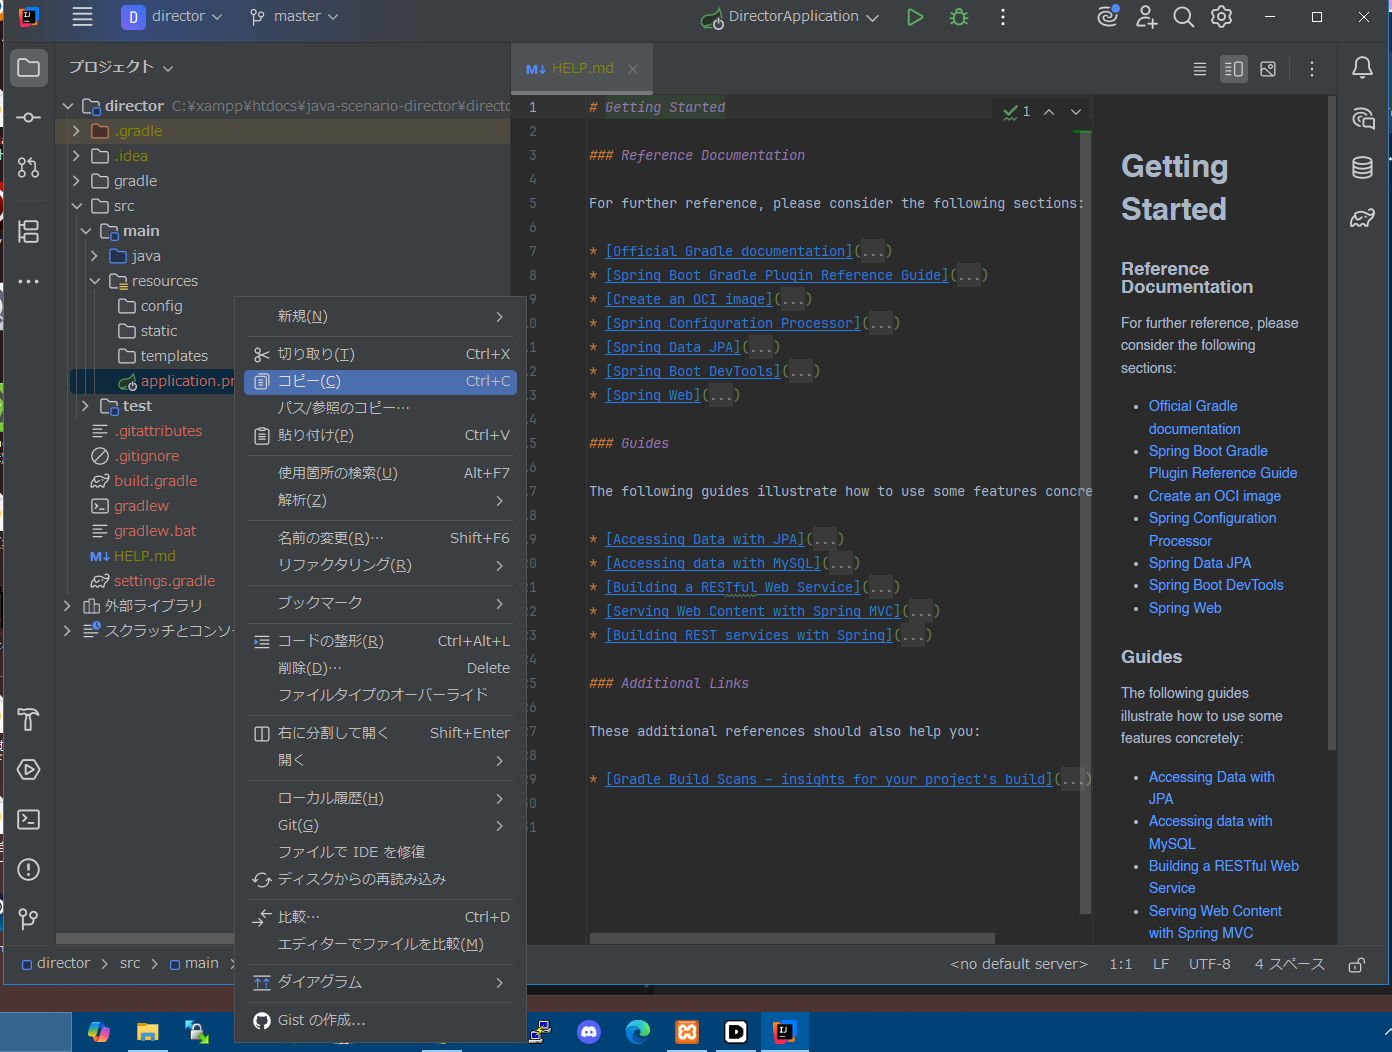
src/main/resources/application.properties を右クリックで削除(今回は使わないので)
代わりに
src/main/resources/application.ymlを作る
src/main/resources/を右クリックして新規→ファイル
ファイル名は application.yml とする
application.yamlの記述
内容はこうする(DB接続以外使わないならgoogle-oauthとpaypal-keysは不要)
spring:
  config:
    import:
      - classpath:config/db-config.yaml
      - classpath:config/google-oauth.yaml
      - classpath:config/paypal-keys.yaml

  thymeleaf:
    prefix: classpath:/templates/
    suffix: .html
    mode: HTML
    cache: false
その他の設定ファイルの記述
設置パスは
src/main/resources/config/db-config.yaml
src/main/resources/config/google-oauth.yaml
src/main/resources/config/paypal-keys.yaml
db-config.yml ※localhostはDBサーバーのIP、ドメインに読み替え可
spring:
  datasource:
    url: jdbc:mysql://localhost:3306/接続するDB名
    username: DBユーザー名
    password: DBパスワード
    driver-class-name: com.mysql.cj.jdbc.Driver

  jpa:
    hibernate:
      ddl-auto: update
    show-sql: true
    properties:
      hibernate:
        format_sql: true
google-oauth.yaml
spring:
  security:
    oauth2:
      client:
        registration:
          google:
            client-id: your-google-client-id
            client-secret: your-google-client-secret
            redirect-uri: "{baseUrl}/login/oauth2/code/google"
            scope:
              - openid
              - https://www.googleapis.com/auth/userinfo.profile
              - https://www.googleapis.com/auth/userinfo.email
        provider:
          google:
            authorization-uri: https://accounts.google.com/o/oauth2/v2/auth
            token-uri: https://oauth2.googleapis.com/token
            user-info-uri: https://www.googleapis.com/oauth2/v3/userinfo
paypal-keys.yaml
paypal:
  client-id: your-paypal-client-id
  secret: your-paypal-secret
  mode: live
intellijでの設定
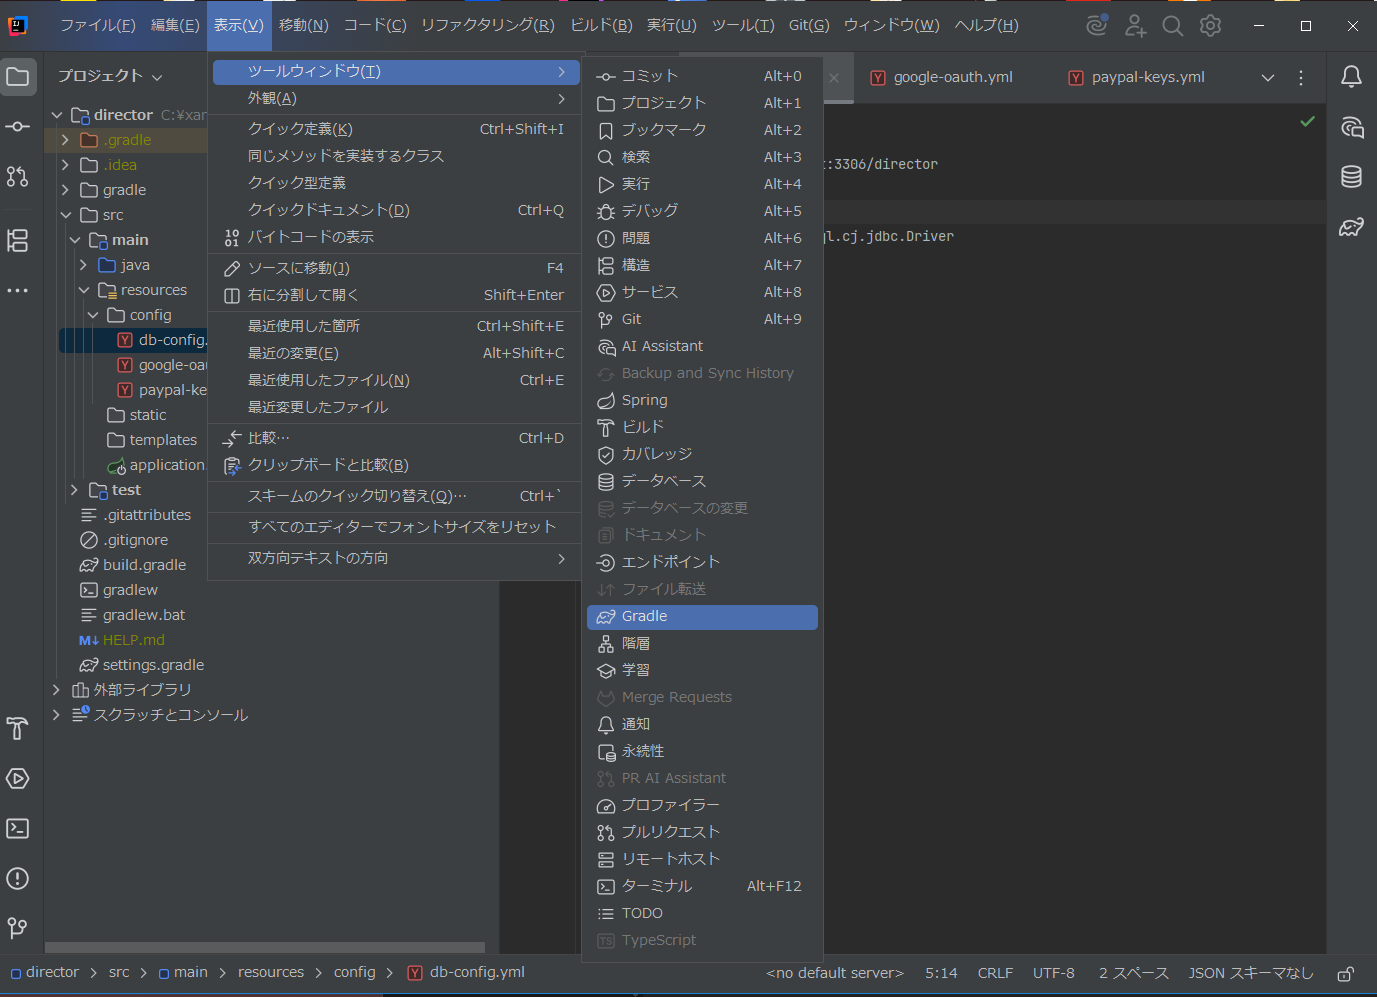
gradleウィンドウを開く
次にintellijのUIでbuild,runが出来るように設定します。
表示→ツールウィンドウ→gradleを選びます
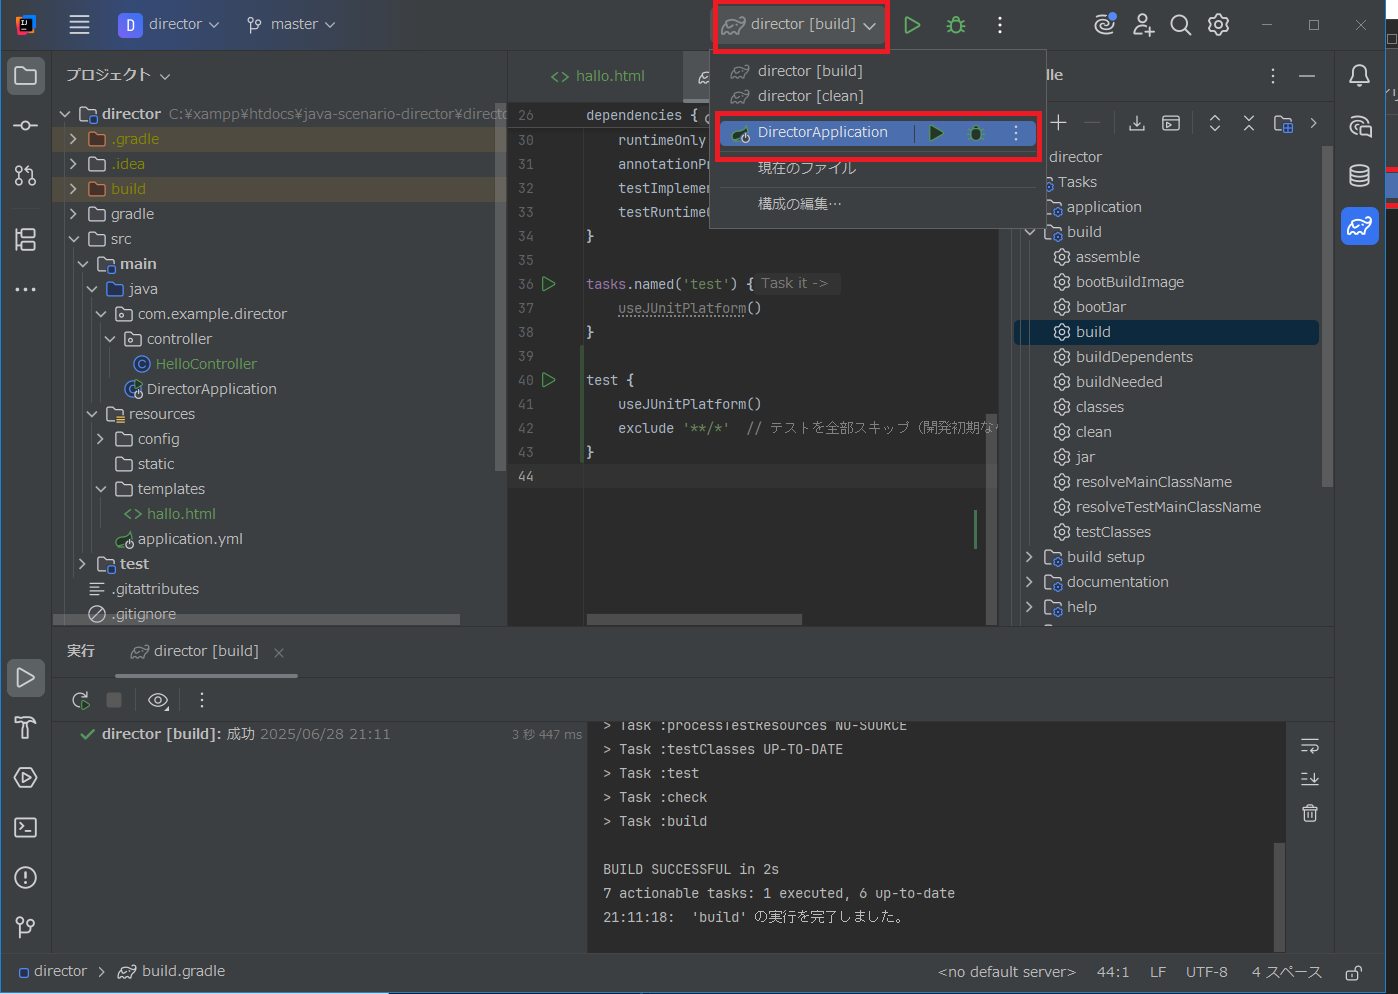
run build設定画面を開く
次に画面上の三角ボタンの二つ右にある…ボタンをクリックし、編集ボタンをクリックします
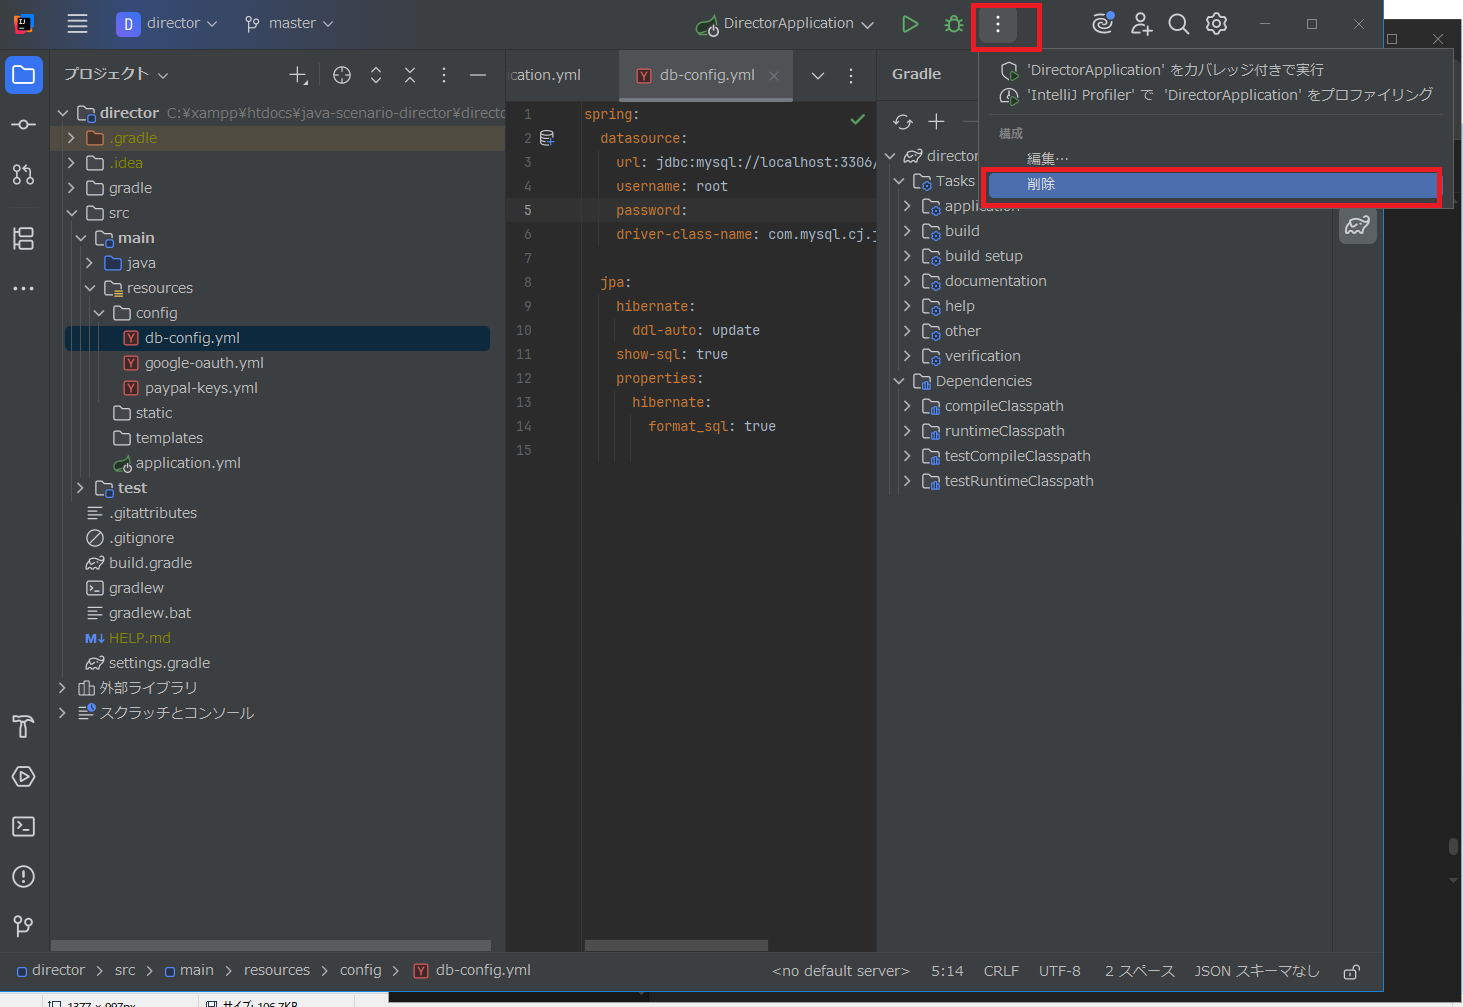
run build設定画面が開きます
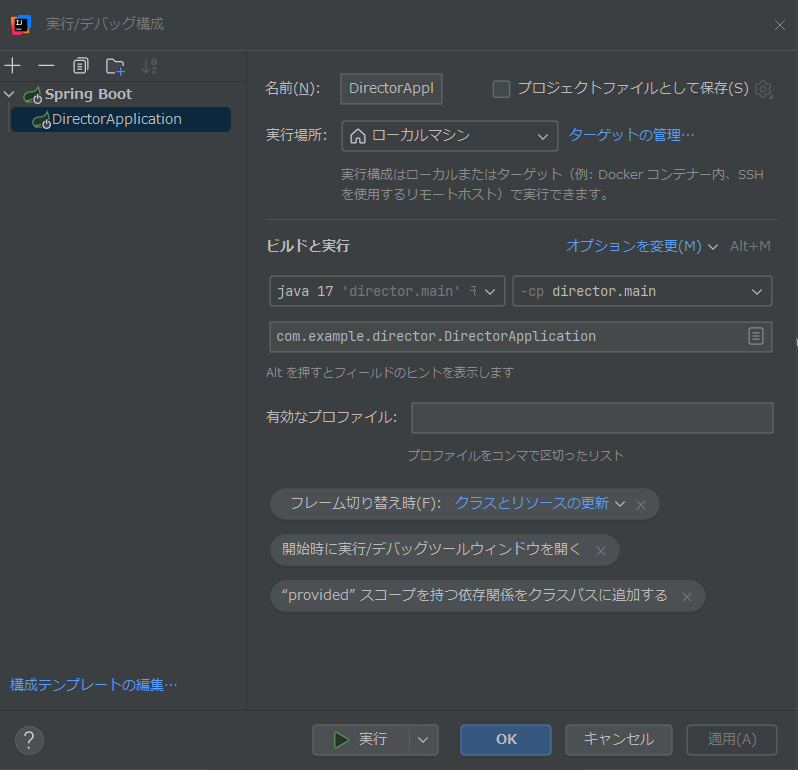
名前がプロジェクト生成時に指定した物になっている事を確認
ビルドと実行でプロジェクト生成時に指定したJDKになっている事を確認
メインクラスがアプリケーション名.mainになっている事を確認
🔧 メインクラスやJDKが自動で設定されない場合は?
IntelliJのバージョンやプロジェクト構成によっては、Run/Debug構成に「メインクラス」や「使用するJDK」が自動で反映されない場合があります。
その場合は以下の手順で手動設定してください:
1. 画面右上の実行ボタン横のドロップダウンをクリックし、「Edit Configurations...」を選択
2. 左上の「+」をクリック → Spring Boot または Gradle を選択
3. 名前欄には、プロジェクト作成時に指定したアプリケーション名など、自分で判別しやすい名前を入力します。
例:プロジェクト名が director なら DirectorApplication など。
4. メインクラスには、src/main/java 以下に自動生成された XXXApplication.java のFQCN(完全修飾名)を指定します。
例:com.example.director.DirectorApplication
これはプロジェクト作成時に入力した「グループ名」+「パッケージ名」+「アプリ名」によって決まります。
- グループ名:
com.example - パッケージ名:
director - アプリ名(クラス名):
DirectorApplication
5. 使用する JDK を「Java 17」などに明示的に指定します(プロジェクト作成時に指定したバージョン)
6. cpにはプロジェクト作成時に入力したアプリケーション名.mainを指定します。
例:director.main
※クラス名がわからない場合は、src/main/java/ 以下のディレクトリをたどり、
@SpringBootApplication が付いているクラスファイルを探すと確実です。
動作確認用コードの記述
実際にbuild,runが通るか試すためのコードを書きます。
/main/java/com/example/director/controller/HelloController.java
※directorは貴方が指定したアプリ名に読み替える
package com.example.director.controller;
// directorは貴方が指定したアプリ名に読み替える
import org.springframework.stereotype.Controller;
import org.springframework.web.bind.annotation.GetMapping;
import org.springframework.ui.Model;

@Controller
public class HelloController {

    // /hello にアクセスしたときにビューを表示
    @GetMapping("/hello")
    public String showHallo(Model model) {
        model.addAttribute("message", "こんにちは、兄弟!");
        return "hello"; // resources/templates/hallo.html を指す
    }
}
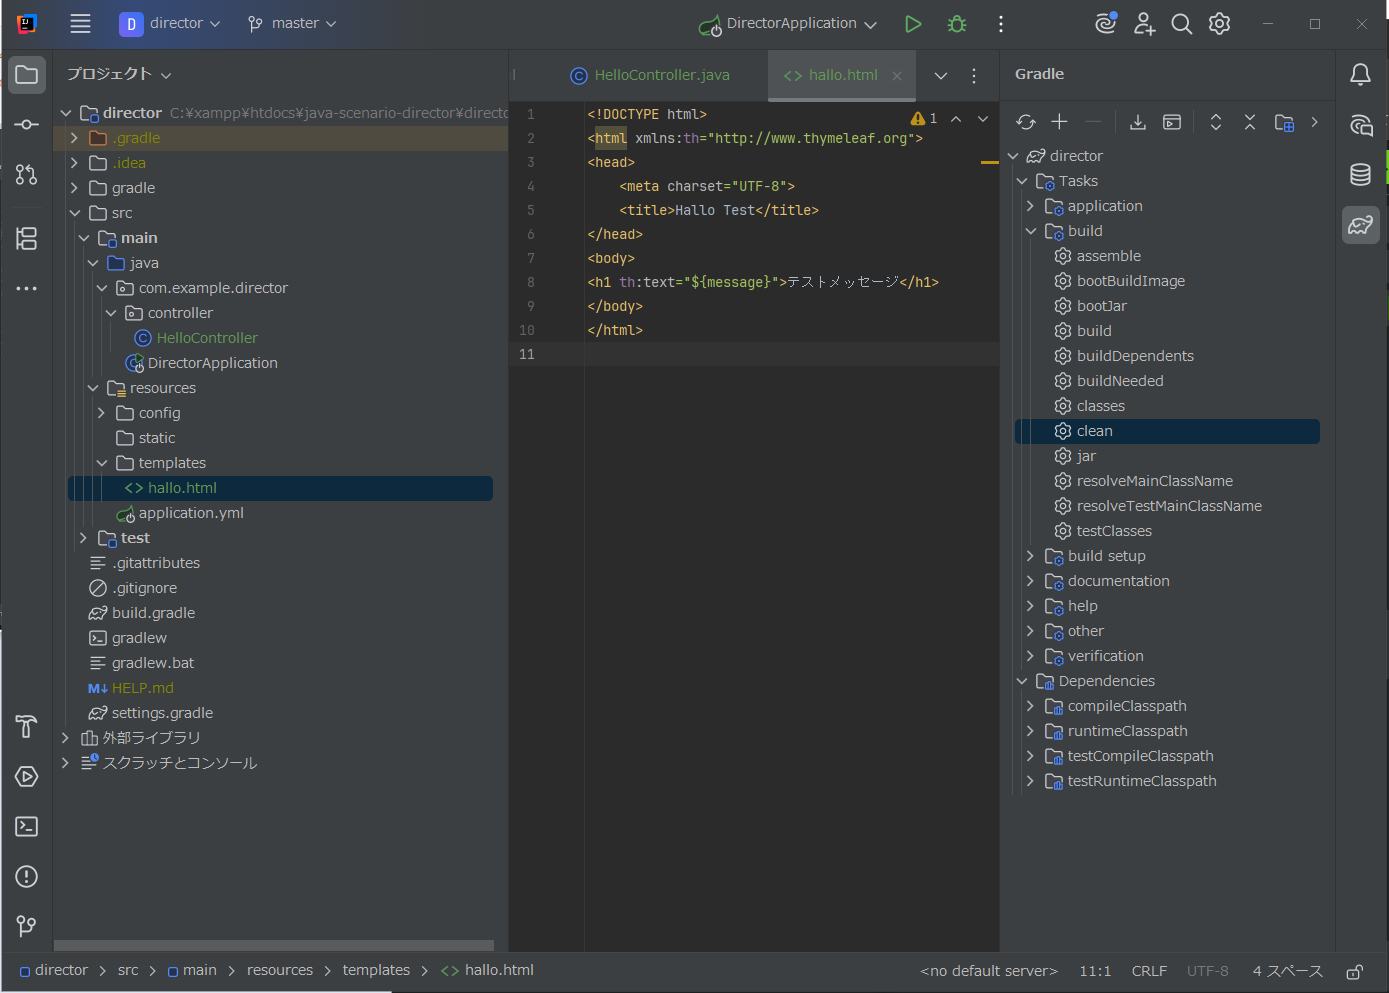
src/main/resources/templates/hello.html
<!DOCTYPE html>
<html xmlns:th="http://www.thymeleaf.org">
<head>
    <meta charset="UTF-8">
    <title>Hallo Test</title>
</head>
<body>
    <h1 th:text="${message}">テストメッセージ</h1>
</body>
</html>
プロジェクトディレクトリ直下/build.gradle
ファイル末尾に以下のコードを張り付けてテストコードをスキップ&DB接続設定
test {
    useJUnitPlatform()
    exclude '**/*'  // テストを全部スキップ(開発初期ならOK)
}
dependencies {
    // このdependencies定義がされている個所を探し、その{}の中に下記のコードを挿入
    implementation 'org.springframework.boot:spring-boot-starter-thymeleaf'
}
実行
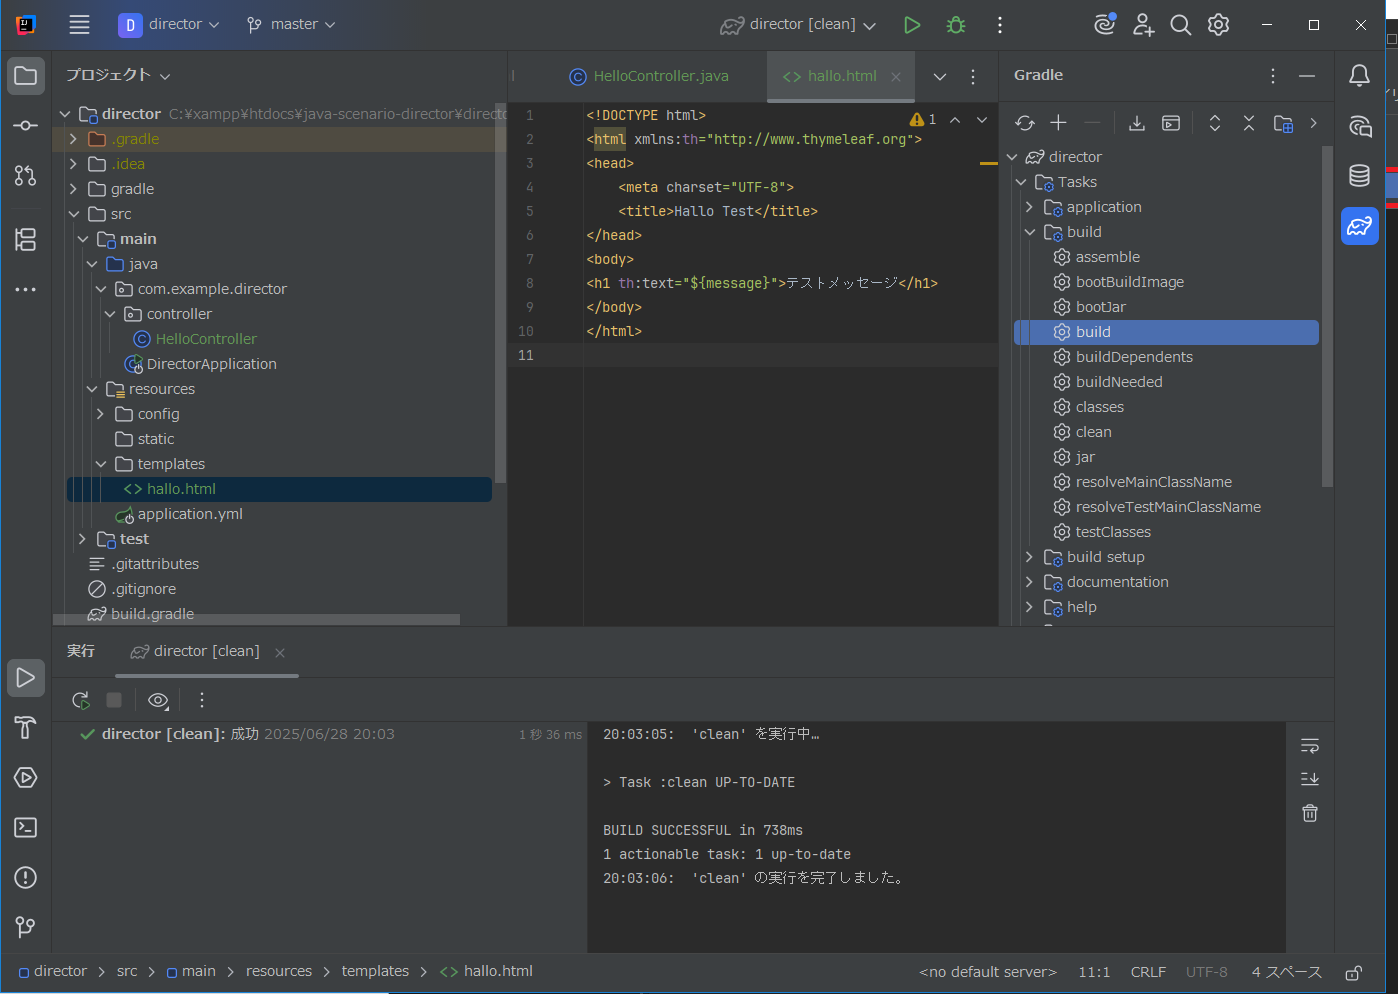
先ほどintellijの右ペインにgradleウィンドウが表示されたのでそれを使います
tasks→build→cleanを選択してダブルクリック
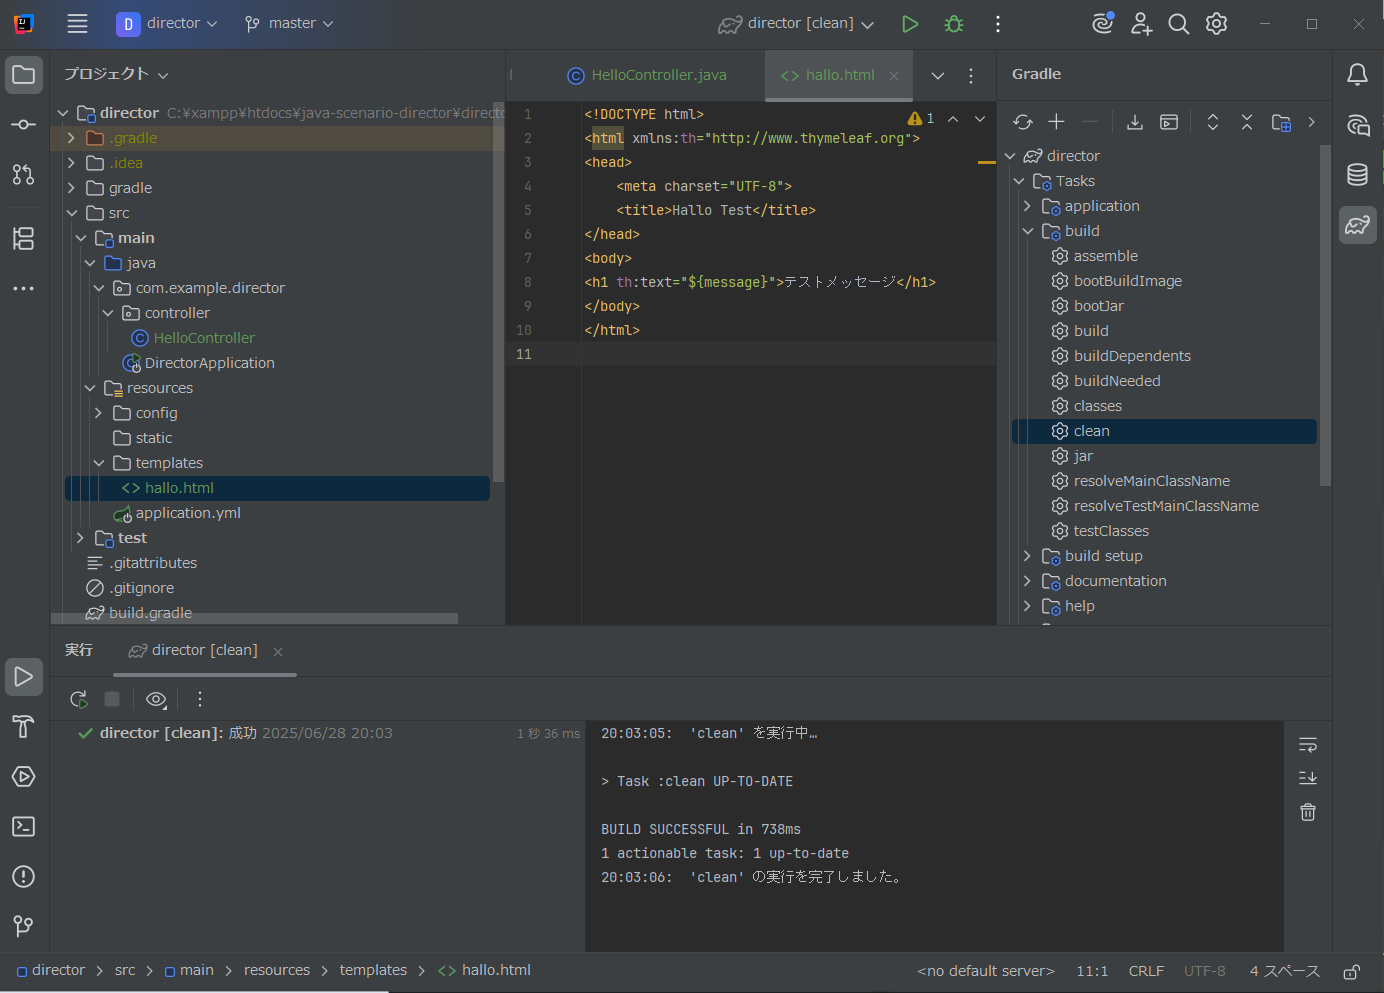
完了すると画面下部のコンソールに完了が表示されます
tasks→build→buildを選択してダブルクリック
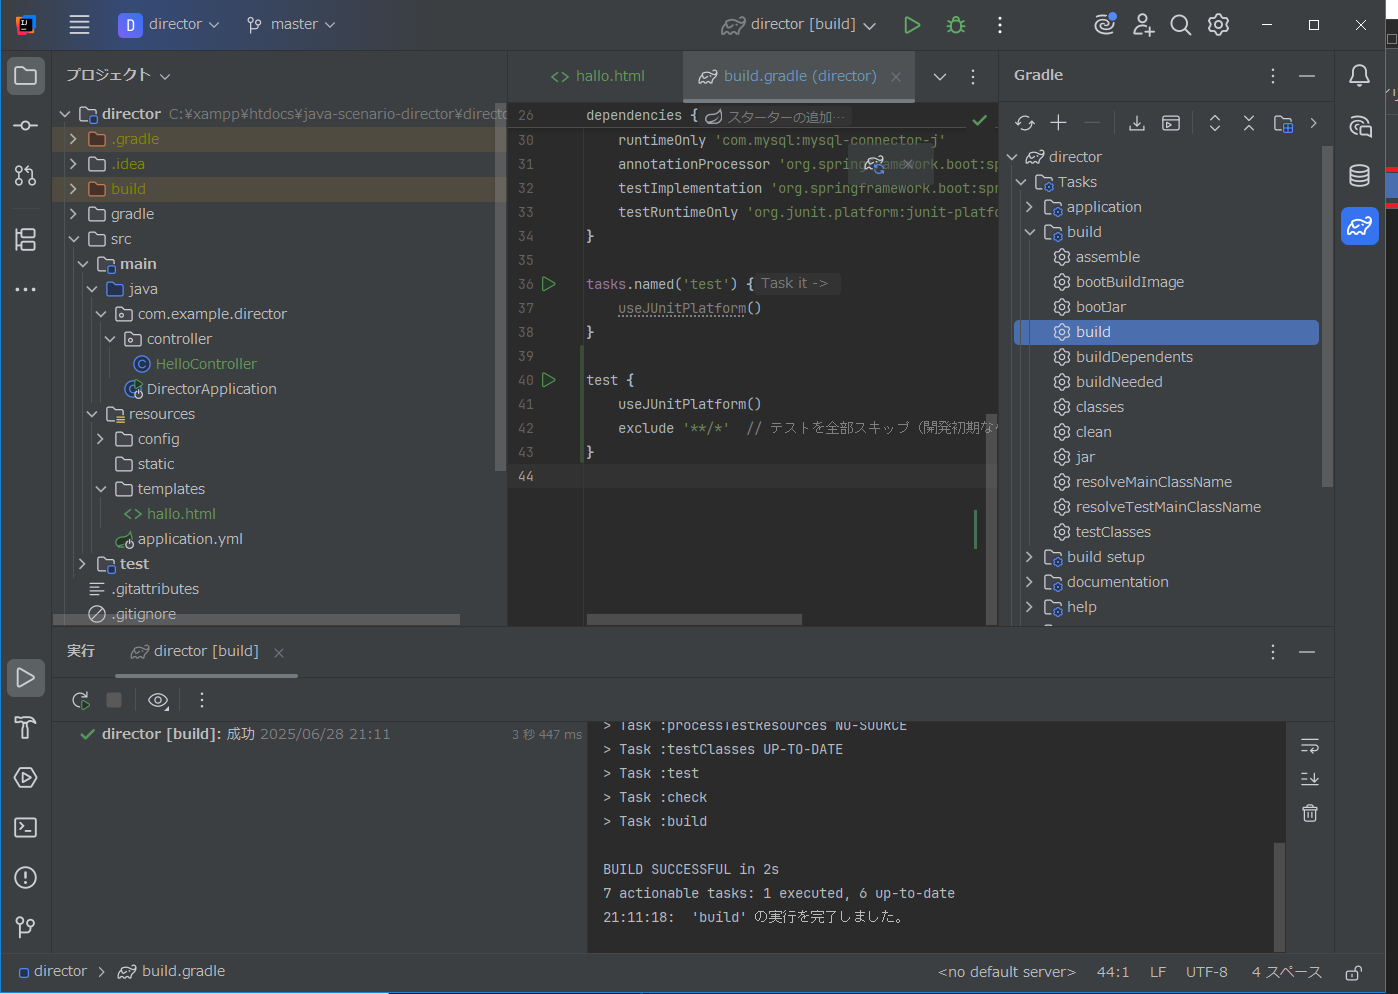
完了すると画面下部のコンソールに完了が表示されます
画面上部中央のタブをクリックし、アプリ名の項目を選びます
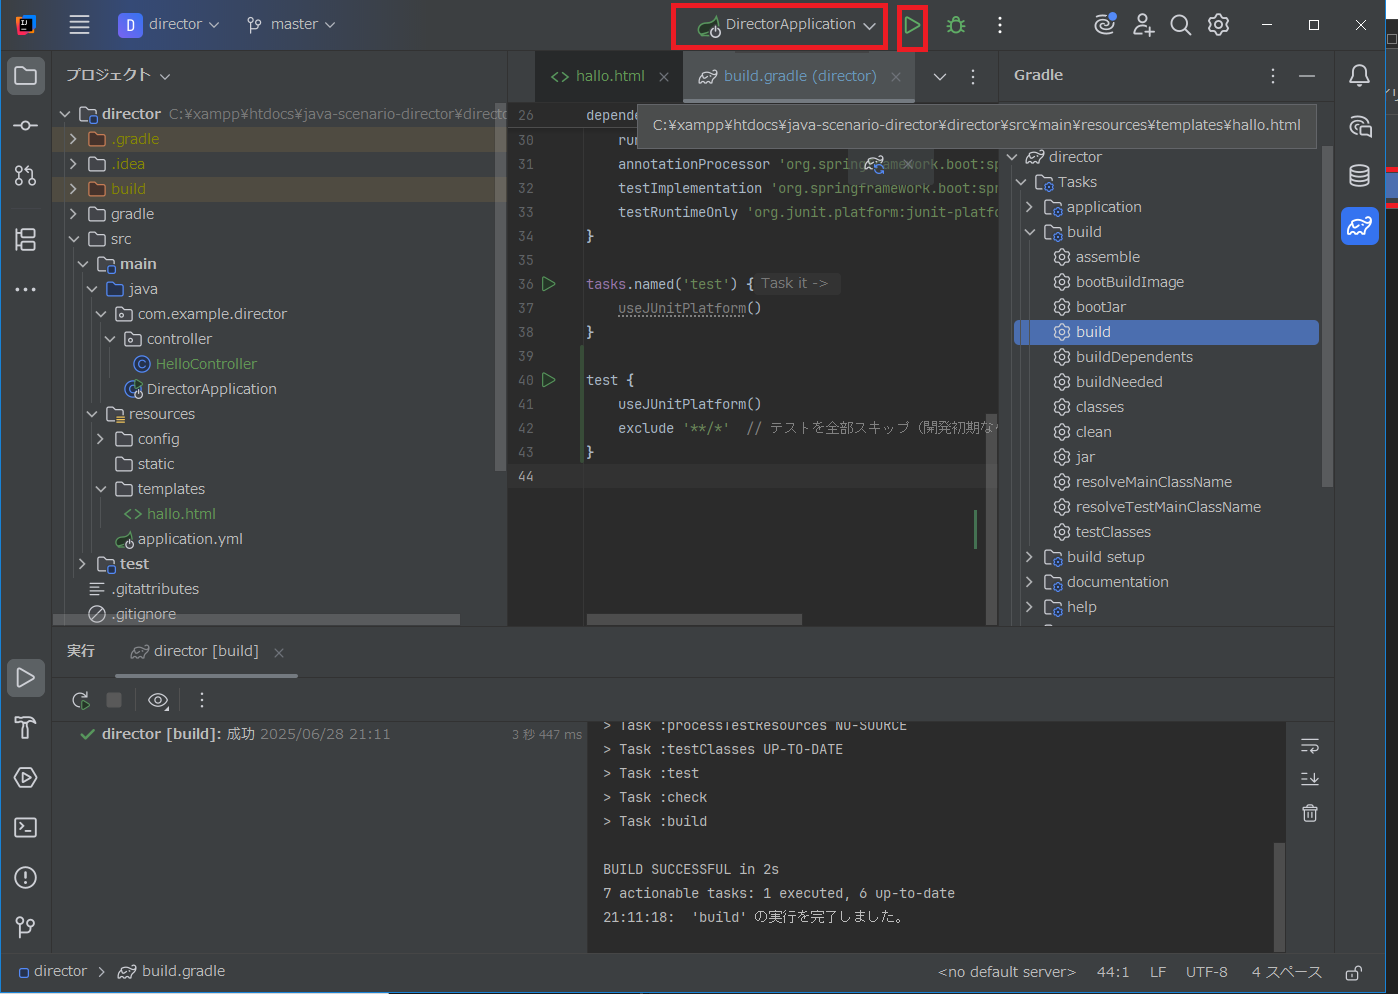
タブがアプリ名になったのを確認して、右側の緑色の三角ボタンをクリックしてrunします
runするとintellijの下部にログ表示ペインが表示されログが表示され、ログの出力が終わります。
Started DirectorApplication in 4.877 seconds (process running for 5.716)
Started アプリ名Applicationで終わるはず。
ブラウザで次のURLを開く
http://localhost:8080/hello
画面が表示される。
以上、お疲れ様!
付録:resources/application.yamlとbuild.gradle全文
resources/application.yaml
spring:
  config:
    import:
      - classpath:config/db-config.yaml
      - classpath:config/google-oauth.yaml
      - classpath:config/paypal-keys.yaml

  thymeleaf:
    prefix: classpath:/templates/
    suffix: .html
    mode: HTML
    cache: false
build.gradle
plugins {
    id 'java'
    id 'org.springframework.boot' version '3.3.13'
    id 'io.spring.dependency-management' version '1.1.7'
}

group = 'com.example'
version = '0.0.1-SNAPSHOT'

java {
    toolchain {
        languageVersion = JavaLanguageVersion.of(17)
    }
}

configurations {
    compileOnly {
        extendsFrom annotationProcessor
    }
}

repositories {
    mavenCentral()
}

dependencies {
    implementation 'org.springframework.boot:spring-boot-starter-data-jpa'
    implementation 'org.springframework.boot:spring-boot-starter-web'
    developmentOnly 'org.springframework.boot:spring-boot-devtools'
    runtimeOnly 'com.mysql:mysql-connector-j'
    annotationProcessor 'org.springframework.boot:spring-boot-configuration-processor'
    testImplementation 'org.springframework.boot:spring-boot-starter-test'
    testRuntimeOnly 'org.junit.platform:junit-platform-launcher'
    implementation 'org.springframework.boot:spring-boot-starter-thymeleaf'
}

tasks.named('test') {
    useJUnitPlatform()
}

test {
    useJUnitPlatform()
    exclude '**/*'  // テストを全部スキップ(開発初期ならOK)
}