はじめに
Unityでpcdファイルを直接開いて表示したかったのでやってみました.
PCL(PointCloudLibrary)を使ってPCDをちょっと変換してから,Unityで開いていきます.
環境
PCLでの前処理
- Ubuntu16.04
Unity
- Windows10
- Unity2019.4.0f1
- 適当なPCDファイル(
ASCIIで保存しといてください.バイナリはちょっと厳しかったっす...)- 以下のサンプルコード使ったらバイナリも変換できました
PCDを普通に開けない理由
- バイナリであることが多い
- 色情報の処理が面倒
- ASCIIに変換してもFloat(4.2108e+06とか)になるから読み込むのが手間
- ヘッダーが邪魔
なので,これらを解決していきます.
PCLを使って(強引に)前処理
サンプルは,PCLのサイトから拝借.
これは既にASCIIなので,開けない理由のひとつ目はクリアしてますが,色情報がFloat(4.2108e+06とか)で面倒です.
なので,まずは(強引に)unsigned intに変換していきます.
cmake_minimum_required(VERSION 2.6 FATAL_ERROR)
project(HELLO_WORLD)
find_package(PCL 1.3 REQUIRED COMPONENTS common io)
find_package(PCL 1.3 REQUIRED COMPONENTS common visualization)
include_directories(${PCL_INCLUDE_DIRS})
link_directories(${PCL_LIBRARY_DIRS})
add_definitions(${PCL_DEFINITIONS})
add_executable(convert_pcd convert_pcd.cpp)
target_link_libraries(convert_pcd ${PCL_COMMON_LIBRARIES} ${PCL_IO_LIBRARIES} ${PCL_VISUALIZATION_LIBRARIES})
# include <iostream>
# include<string.h>
# include <pcl/io/pcd_io.h>

using namespace std;

int main(int argc, char *argv[])
{
	pcl::PointCloud<pcl::PointXYZRGB>::Ptr p_cloud(new pcl::PointCloud<pcl::PointXYZRGB>);

	// 作成したPointCloudを読み込む
  pcl::io::loadPCDFile(argv[1], *p_cloud);

  std::cout << "Loaded "
          << p_cloud->width * p_cloud->height
          << " data points from "<< argv[1]
          << std::endl;

    //変換後の保存用
  pcl::PointCloud<pcl::PointXYZRGB>::Ptr cloud(new pcl::PointCloud<pcl::PointXYZRGB>);
  u_int32_t r = 0, g = 0, b = 0;

    // 点群の変換開始
  cloud->width    = p_cloud->width;
  cloud->height   = p_cloud->height;
  cloud->is_dense = p_cloud->is_dense;
  cloud->points.resize (p_cloud->width * p_cloud->height);

  for (size_t i = 0; i < p_cloud->points.size (); ++i){
    cloud->points[i].x = p_cloud->points[i].x;
    cloud->points[i].y = p_cloud->points[i].y;
    cloud->points[i].z = p_cloud->points[i].z;

//色情報を強引に変更している部分
    r = p_cloud->points[i].r;
    g = p_cloud->points[i].g;
    b = p_cloud->points[i].b;
    cloud->points[i].rgb =  (r << 16) | (g << 8) |b;
//ここまで
  }
  pcl::io::savePCDFileASCII (argv[2], *cloud);

  std::cerr << "Saved " << cloud->points.size () << " data points XYZRGB to " << argv[2] << std::endl;

	return 0;
}
実行は「変換したい点群 出力ファイル名」の順で以下のように
./convert_pcd test_pcd.pcd aaa.pcd
実行後は
# .PCD v0.7 - Point Cloud Data file format
VERSION 0.7
FIELDS x y z rgb
SIZE 4 4 4 4
TYPE F F F F
COUNT 1 1 1 1
WIDTH 213
HEIGHT 1
VIEWPOINT 0 0 0 1 0 0 0
POINTS 213
DATA ascii
0.93773001 0.33763 0 8421600
以下略
というようにTypeがFなのに最後行のrgb値はunsigned intになってます.
強引に変換しないといけない理由は,savePCDFileASCIIのドキュメントに「Floatでしか出力できないのごめんね」と書いてあるからです(2020/6/27現在)
(将来的には対応するかもとも書いてあります)
ちなみに,これを使うとバイナリからASCIIへの変換もできます.
PCDファイルのヘッダー
基本的にPCDファイルのヘッダーは,バージョンによる差異はあるかもしれませんが以下のようになっています.
# .PCD v.7 - Point Cloud Data file format VERSION .7 FIELDS x y z rgb SIZE 4 4 4 4 TYPE F F F F COUNT 1 1 1 1 WIDTH 213 HEIGHT 1 VIEWPOINT 0 0 0 1 0 0 0 POINTS 213 DATA ascii 以下点群の位置+色情報
これらの値の詳細については,PCLのサイトに載っています.
なので,大事な部分だけ説明しますと,
3行目は値がどのように入っているか(この場合 x座標 y座標 z座標 色情報)
5行目は数値の型(この場合全部Float)
10行目は点群の数(この場合は213個)
となっています.
つまり,この11行が値を受け取るのに邪魔です.
(この中に重要な情報が含まれている場合をのぞく)
Unity側の処理
なので,Unity側は以下のように読み取ります.
using System;
using System.IO;
using System.Text;
using UnityEngine;

[RequireComponent(typeof(MeshFilter), typeof(MeshRenderer))]
//MaterialにはSprites-Defaultを指定する

public class PCDImporter : MonoBehaviour
{
    public Material spritesDefaultMat;
    public string PCDpath = "aaa.pcd";

    public static Vector3[] points;
    public static Color[] colors;

    // Start is called before the first frame update
    void Start()
    {
        //PCDファイルの読み込み
        ReadPCDFile(PCDpath);

        //デフォルトマテリアルのセット
        GetComponent<MeshRenderer>().material = spritesDefaultMat;
    }

    // Update is called once per frame
    void Update()
    {
        //スペースキーを押したら処理開始
        if (Input.GetKeyDown(KeyCode.Space))
        {
            CreateMesh(this.gameObject, points, colors);
        }
    }

    // 読み込み関数
    void ReadPCDFile(string dataPath)
    {

        // ファイルを読み込む
        FileInfo fi = new FileInfo(Application.dataPath + "/" + dataPath);

        // 一行毎読み込み(pcdはx,y,z,rgb)
        using (StreamReader sr = new StreamReader(fi.OpenRead(), Encoding.UTF8))
        {
            string txt = sr.ReadToEnd();
            string[] arr = txt.Split('\n');
            string[][] pointXYZRGB = new string[arr.Length - 1][]; //最後の改行の分引く
            int i, pointData_num = 0;

            for (i = 0; i < arr.Length - 1; i++)
            {
                pointXYZRGB[i] = arr[i].Split(' ');

                if (pointXYZRGB[i][0] == "DATA")
                {
                    pointData_num = i + 1;
                }

            }

            Debug.Log("ヘッダーの行数 : " + pointData_num);

            int size = i - pointData_num;

            Debug.Log("点群の数 : " + size.ToString());

            points = new Vector3[size];
            colors = new Color[size];

            int temp = 0;
            long temp_rgb = 0;
            int r = 0, g = 0, b = 0;

            for (i = pointData_num; i < pointXYZRGB.Length; i++)
            {

                temp = i - pointData_num; //ヘッダの分ずらす

                    //値取得(x,-z,y) 右手座標系と左手座標系を変換
                    points[temp].x = Convert.ToSingle(pointXYZRGB[i][0]);
                    points[temp].y = Convert.ToSingle(pointXYZRGB[i][2]) * (-1.0f);
                    points[temp].z = Convert.ToSingle(pointXYZRGB[i][1]);

                //TryParseHtmlString関数も使えるかも
                temp_rgb = Convert.ToInt64(pointXYZRGB[i][3]);

                r = Convert.ToInt32((temp_rgb >> 16) & 0x0000ff);
                g = Convert.ToInt32((temp_rgb >> 8) & 0x0000ff);
                b = Convert.ToInt32((temp_rgb) & 0x0000ff);

                //Unityは0.0f~1.0fで色を表現しているので,変換
                colors[temp].r = r / 255.0f;
                colors[temp].g = g / 255.0f;
                colors[temp].b = b / 255.0f;

                //α値
                colors[temp].a = 1.0f;

            }

        }

    }

    void CreateMesh(GameObject meshObj, Vector3[] pointsVector, Color[] mesh_colors)
    {
        Mesh preMesh = meshObj.GetComponent<MeshFilter>().mesh;

        int[] indecies = new int[pointsVector.Length];
        for (int i = 0; i < pointsVector.Length; ++i)
        {
            indecies[i] = i;
        }

        preMesh.vertices = pointsVector;
        preMesh.colors = mesh_colors;
        preMesh.SetIndices(indecies, MeshTopology.Points, 0);

    }

}
設定は以下の通り
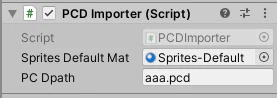
これで,Gameビューをクリックしてスペースキーを押すと可視化が始まります.
PCLのチュートリアル点群を表示するとこんな感じ
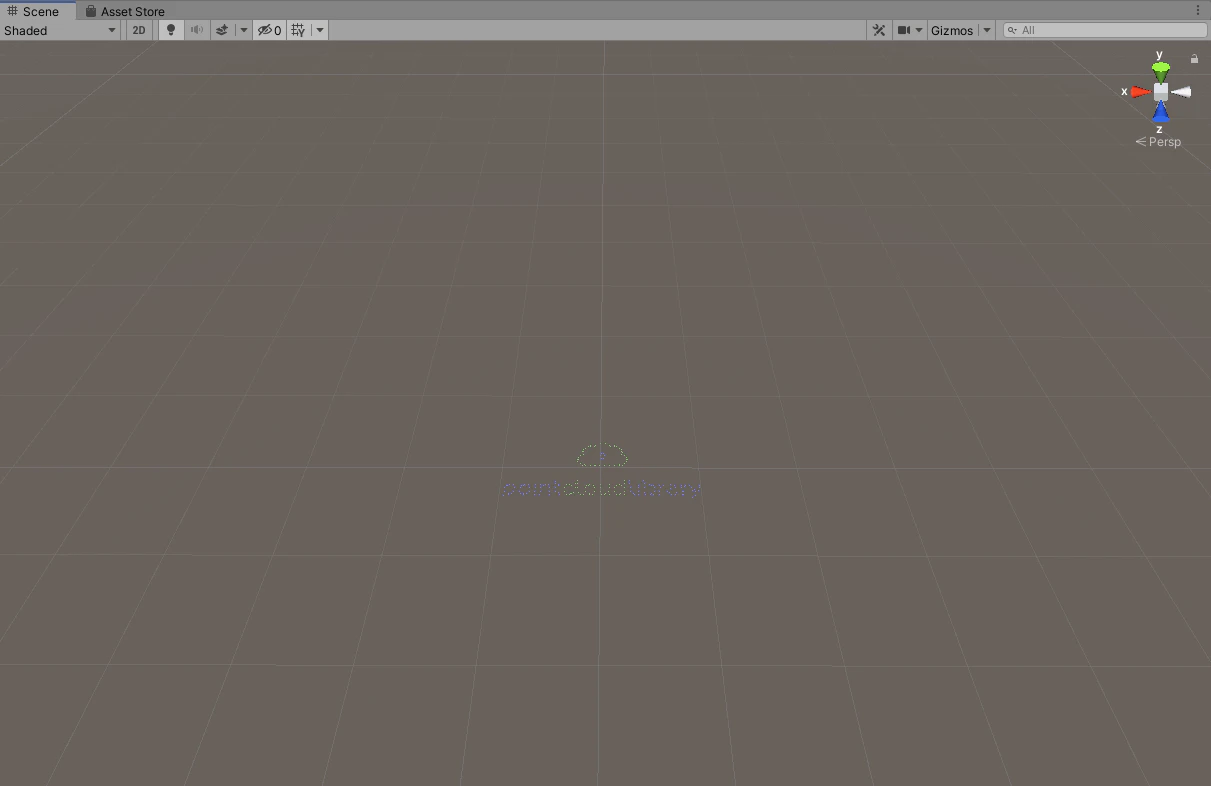
以上です.