数当てゲーム ウィンドウ表示ver
前回作った数当てゲームをウィンドウで表示してゲームらしくする。
表示する方法と実際の起動を4stepで紹介する。
西谷教授の記事
1STEP 大きさを決めて表示してみる
Python.Lesson6-2.py
# coding:utf-8
import tkinter as tk

root=tk.Tk()
root.geometry("400x150")
root.title("数当てゲーム")
root.mainloop()

"""メモ
asを使ってimportすることにより、tkinterをtkとして使うことができる。
400x150の値を変えるとウィンドウの大きさを変えることができる。
4,5行目はウィンドウを表示するときの決まり文句!
"""
実際に表示してみる↓

おお! ちゃんと表示されました。
ちなみに400x150のxは四則演算のかけるマークではなく、小文字のエックスxです
ゲームとして遊ぶためにさらに改良していきます。
2STEP ウィンドウの画面に数字の入力欄とチェックボタンをつける
- 数字の入力欄
Python.Lesson6-3.py
label1 = tk.Label(root, text="数を入力してね", font=("Times", 14))
label1.place(x = 20, y = 20)

editbox1 = tk.Entry(width = 4, font=("Helvetica", 28))
editbox1.place(x = 120, y = 50)

"""メモ
ウィンドウの表示エリアの左上の座標を「0,0」として考える。
"""
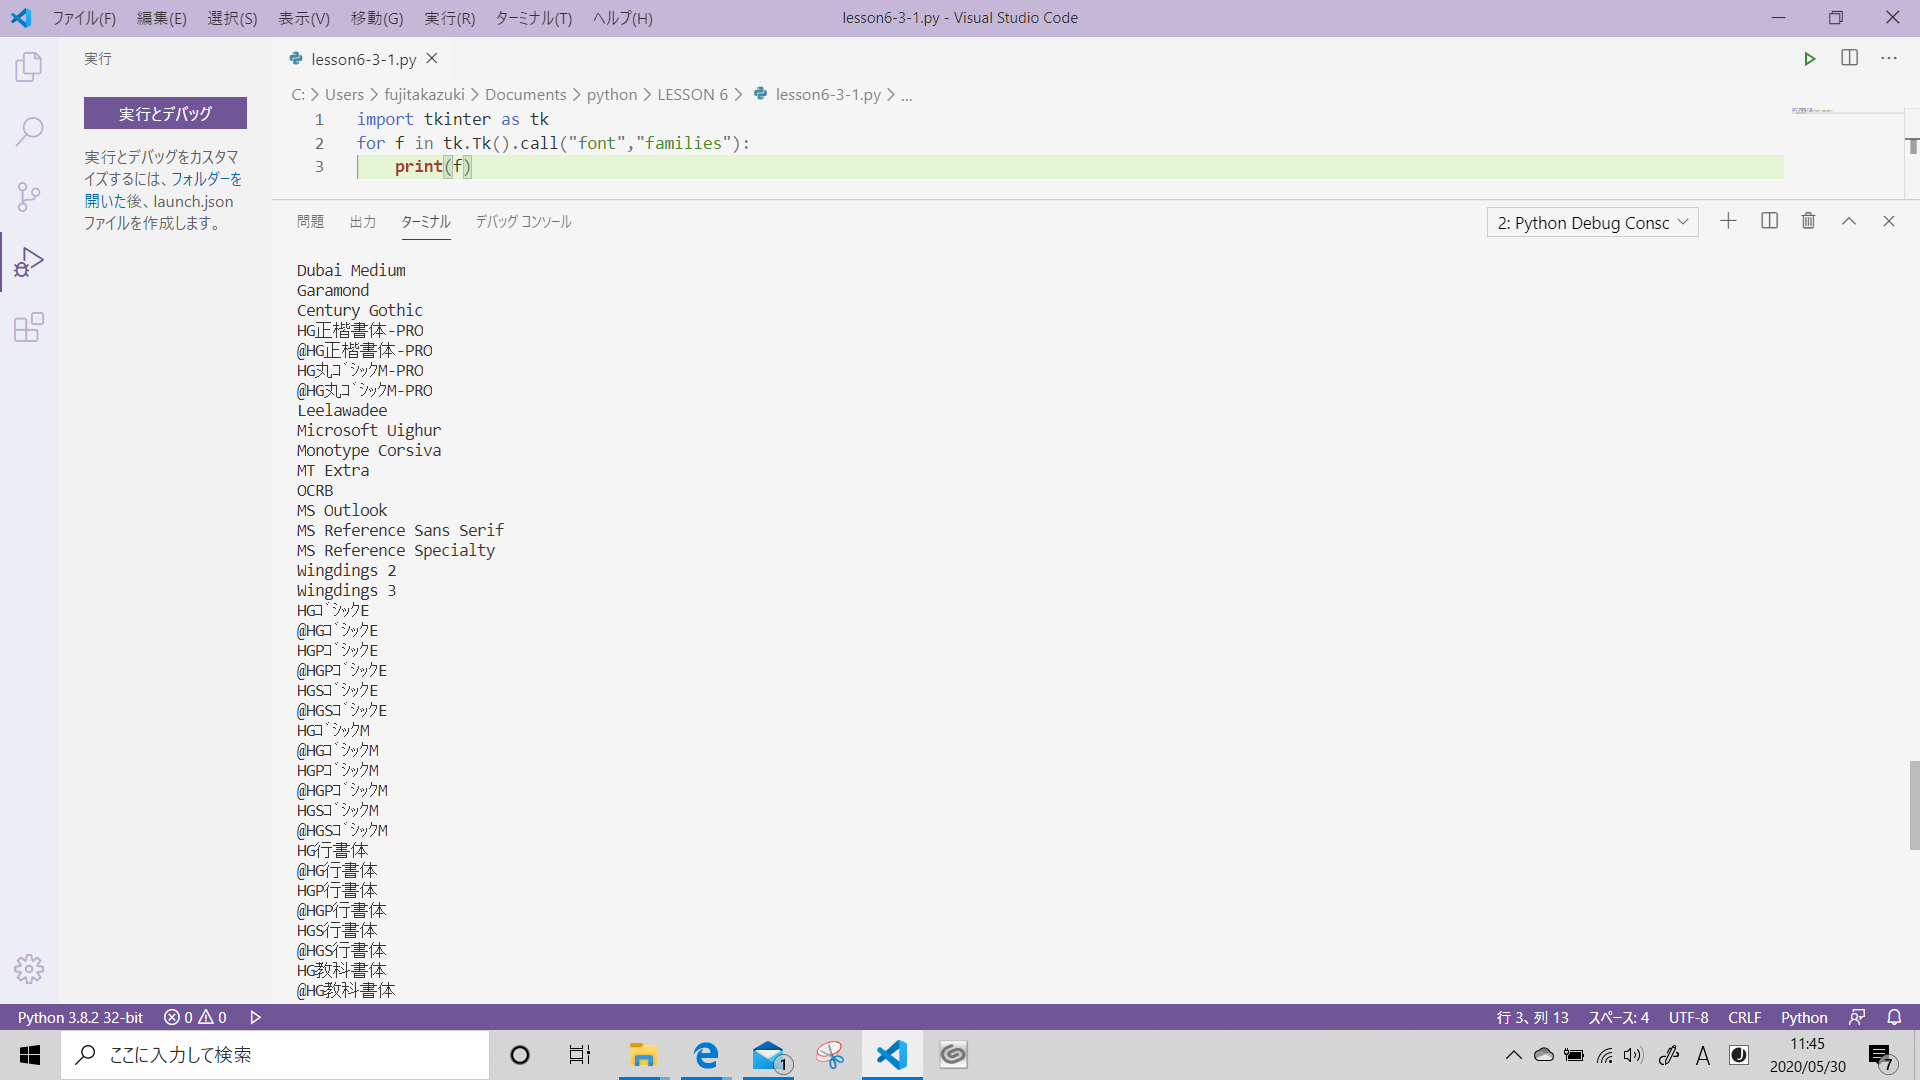
余談ですが、ウィンドウに表示できるフォントの種類は限られており、その種類の一覧はプログラムを実行することで得られます。実際に実行してみたので一部を載せておきます。
一覧の一部↓
話を戻して
- チェックボタンをつける
これはあくまでテストで作ったものなので、ボタンをクリックしても、クリックされたことを伝えるウィンドウが表示されるだけです。
Python.Lesson6-4.py
def ButtonClick():
    mb.showinfo("テスト", "クリックされたよ")


button1 = tk.Button(root, text = "チェック", font=("Helventica", 14), command=ButtonClick)
button1.place(x = 220, y = 60)

"""メモ
内容のかぶるところは省略している。
"""
3STEP 入力履歴
過去にうった値を見れるようにし、またヒット数とブロー数をわかるようにする。
履歴を表示し
Python.Lesson6-6.py
rirekibox = tk.Text(root, font=("Helvetica", 14))
rirekibox.place(x=400, y=0, width=200, height=400)

"""メモ
Textメソッドでは色や余白も指定できる。
"""
入力された数字が違うときヒット数、ブロー数の表示。
Python.Lesson6-6.py
# ヒット数とブロー数を表示
            rirekibox.insert(tk.END, b + " /H:" + str(hit)+ " B:" + str(blow) + "\n")
これで準備は整いました。
4STEP ウィンドウとゲームと組み合わせる
Python.Lesson6-6.py
# coding:utf-8
import random
import tkinter as tk
import tkinter.messagebox as mb

#ボタンクリックの処理
def ButtonClick():
    # テキスト入力された文字列を取得
    b = editbox1.get()

    # Lesson 5-4 のプログラム
    # 4桁の数字かを判断する
    # printの部分が全てメッセージボックスで表示している
    isok = False
    if len(b) != 4:
        mb.showerror("エラー", "4桁の数字を入力してください")
    else:
        kazuok = True
        for i in range (4):
            if (b[i] <"0") or (b[i] > "9") :
                mb.showerror("エラー", "数字ではありません")
                kazuok = False
                break
        if kazuok :
            isok = True

    if isok :
        #4桁の数字であったとき
        #ヒットを判定
        hit = 0
        for i in range(4):
          if a[i] == int(b[i]):
            hit = hit + 1

        #ブローを判定
        blow = 0
        for j in range(4):
          for i in range(4):
            if (int(b[j]) == a[i]) and (a[i] != int(b[i])) and (a[j] != int(b[j])):
                blow = blow + 1
                break

        # ヒットが4なら当たりで終了
        if hit == 4:
            mb.showinfo("当たり", "おめでとうございます。当たりです")
            # 終了
            root.destroy()
        else:
            # ヒット数とブロー数を表示
            rirekibox.insert(tk.END, b + " /H:" + str(hit)+ " B:" + str(blow) + "\n")
# メインのプログラム
# 最初にランダムな4つの数字を製作しておく
a = [random.randint(0, 9),
     random.randint(0, 9),
     random.randint(0, 9),
     random.randint(0, 9)]
# ウィンドウを作る
root=tk.Tk()
root.geometry("650x450")
root.title("数当てゲーム")

# 履歴表示のテキストボックスを作る
rirekibox = tk.Text(root, font=("Helvetica", 14))
rirekibox.place(x=400, y=0, width=200, height=400)

# ラベルを作る
label1 = tk.Label(root, text="数を入力してね", font=("Times", 14))
label1.place(x = 20, y = 20)

# テキストボックスを作る
editbox1 = tk.Entry(width = 4, font=("Helvetica", 28))
editbox1.place(x = 120, y = 60)

# ボタンを作る
button1 = tk.Button(root, text = "チェック", font=("Helventica", 14), command=ButtonClick)
button1.place(x = 220, y = 60)

# ウィンドウを表示する
root.mainloop()
注意 1STEP,2STEPの調整点 上から順にボタンクリックの処理、ウィンドウサイズ
| 変更前 | 変更後 |
|---|---|
| "クリックされたよ"を表示 | テキストに入力された文字列を取得 |
| 400x150 | 650x450 |
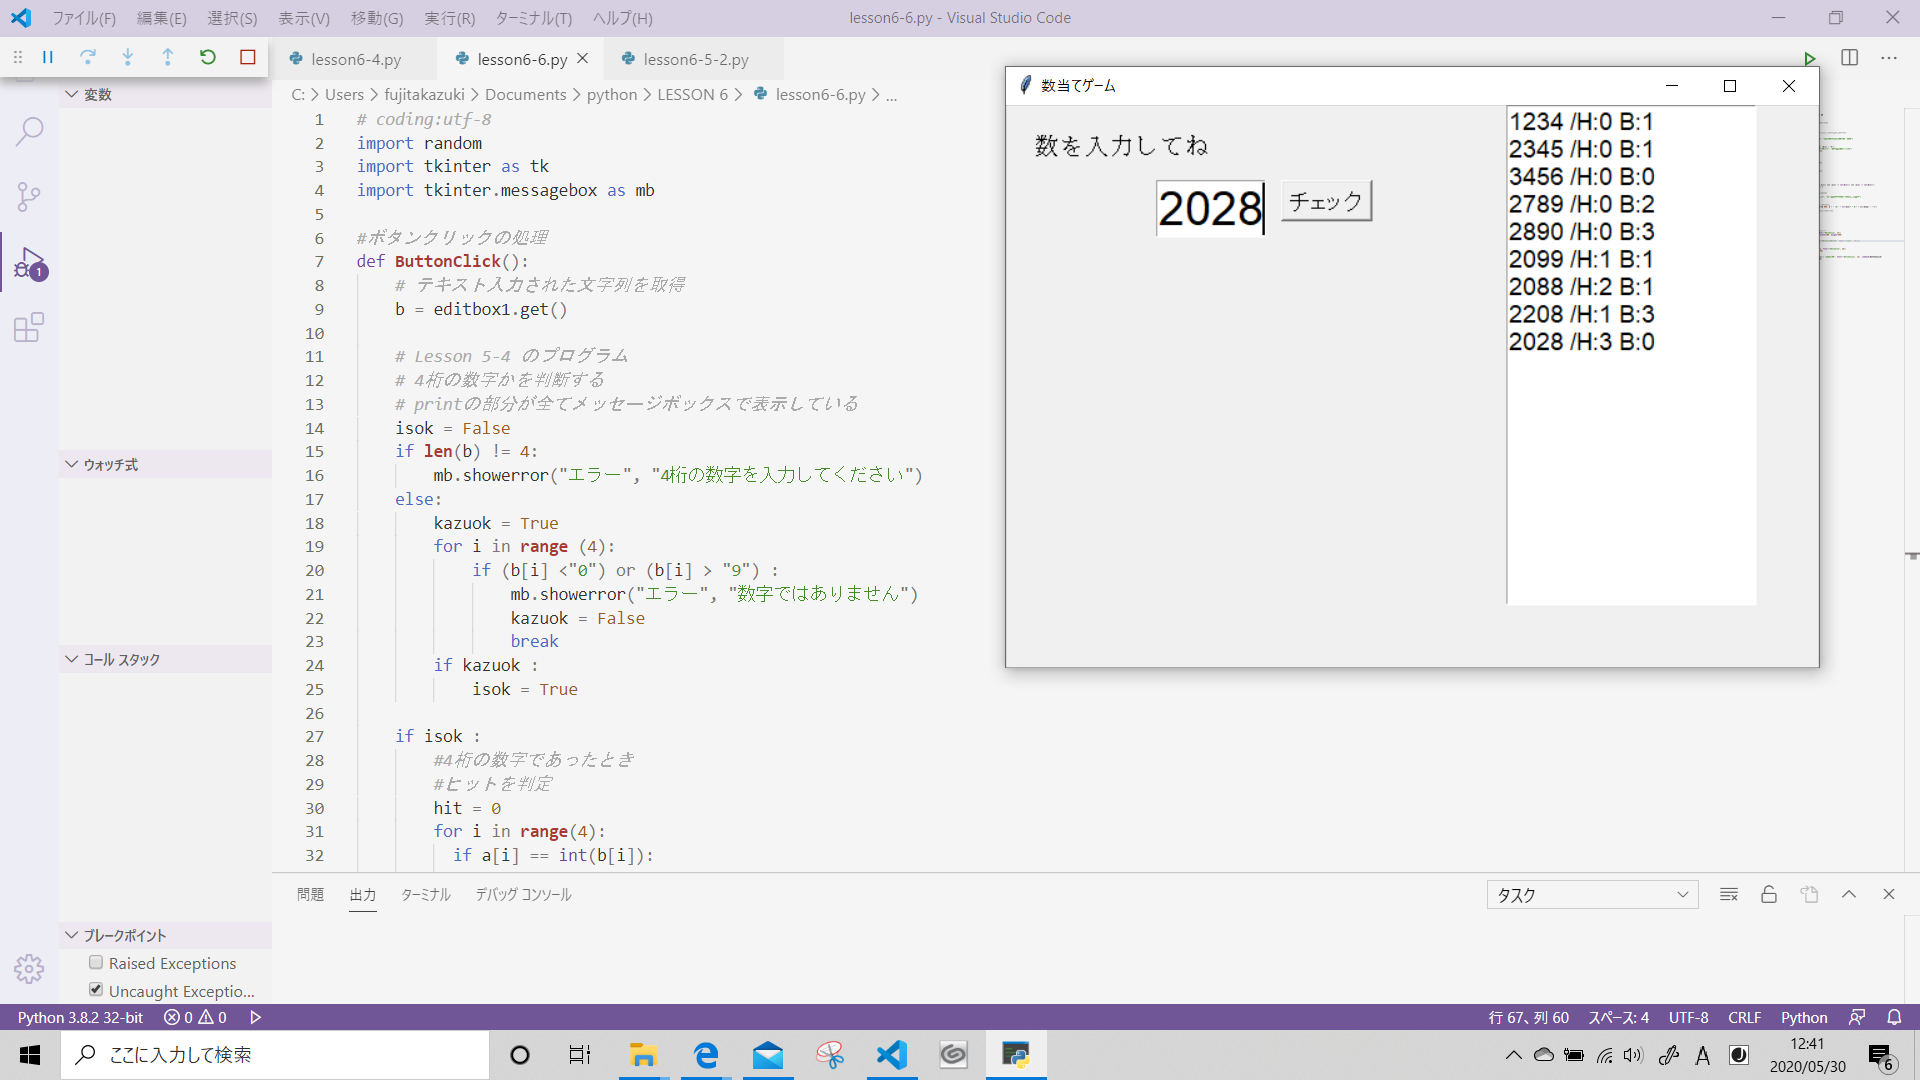
実行の様子
今回新しく学んだ大事なこと
asを使って略してimportすることができる。
messageboxを使えばprintで表示すること以上のことができる。(エラーとinfoの使い分けなど)
エラーの修正をした後はすぐに保存する。でないと、ずっとエラーがという表示が出る。