概要
KubernetesでAirflowを実行した際に、Podがどのような挙動をするのか検証する。
目次
バージョン
DAGを実行
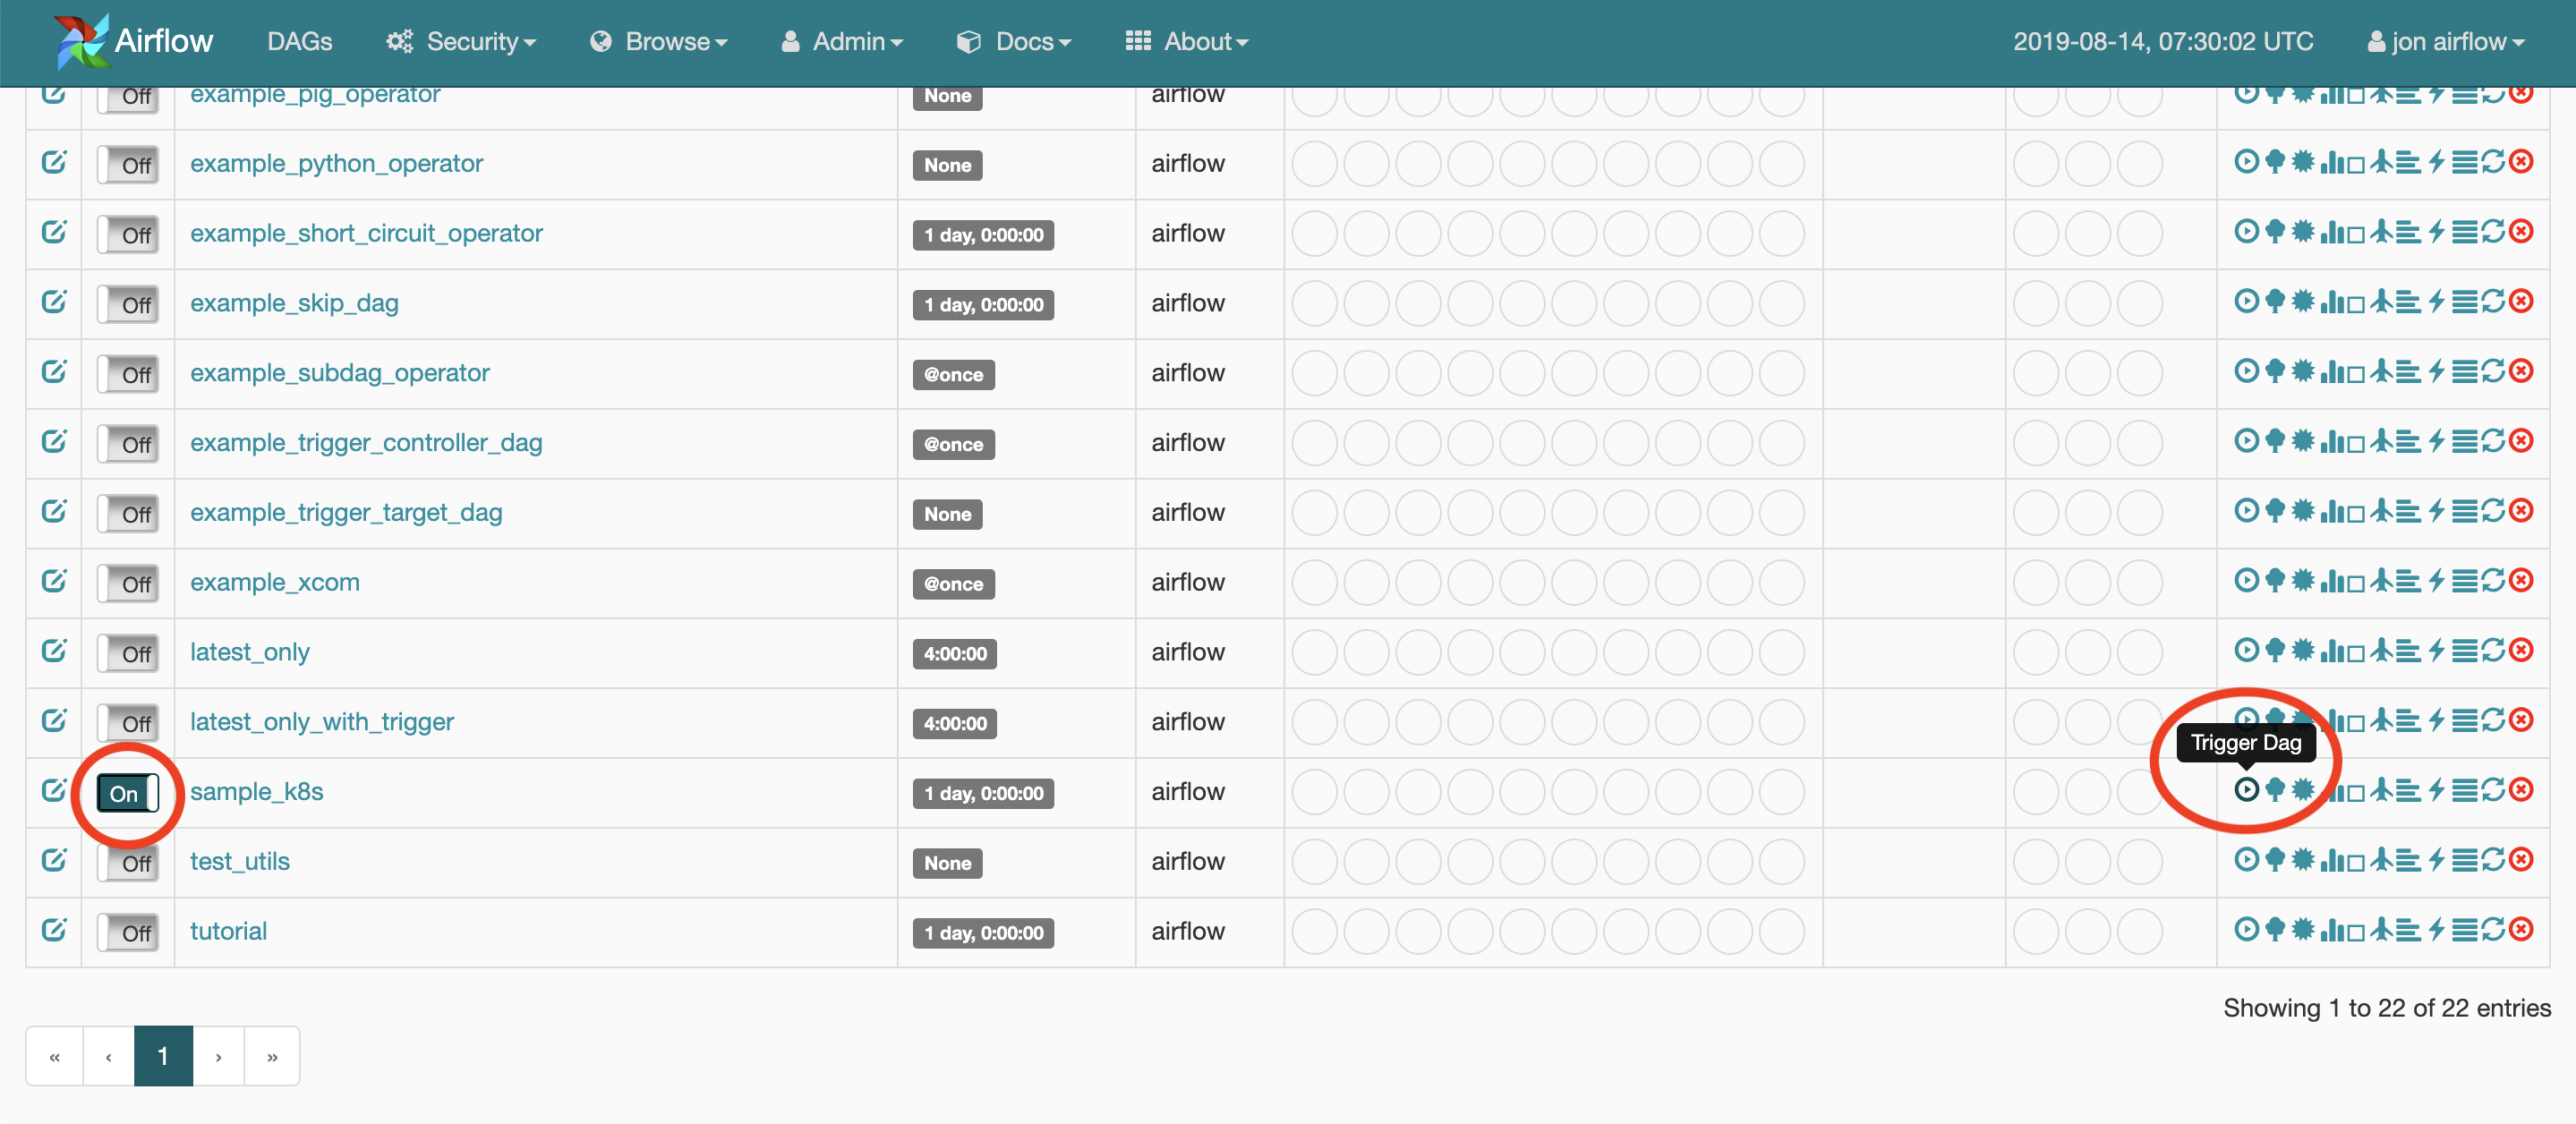
WEB UIからDAGを手動実行する。DAGをOnにしてLinksの列の再生ボタンをクリックする。
DAG実行中のPodの状況を確認する
DAGを実行するとairflow-xxxxとpostgres-airflow-xxxx以外にsamplek8stesttask001-xxxxというPodが起動し、処理が実行される。処理完了後はPodが破棄される。
$ sudo kubectl get pod -w
NAME                                READY   STATUS    RESTARTS   AGE
airflow-75b8fff687-xrsbr            2/2     Running   0          48s
postgres-airflow-84dfd85977-6tpdh   1/1     Running   0          23m
samplek8stesttask001-a3149539979d4f10aee024c4a09e09f6   0/1     Pending   0          0s
samplek8stesttask001-a3149539979d4f10aee024c4a09e09f6   0/1     Pending   0          0s
samplek8stesttask001-a3149539979d4f10aee024c4a09e09f6   0/1     ContainerCreating   0          0s
samplek8stesttask001-a3149539979d4f10aee024c4a09e09f6   1/1     Running             0          2s
samplek8stesttask001-a3149539979d4f10aee024c4a09e09f6   0/1     Completed           0          68s
samplek8stesttask001-a3149539979d4f10aee024c4a09e09f6   0/1     Terminating         0          70s
samplek8stesttask001-a3149539979d4f10aee024c4a09e09f6   0/1     Terminating         0
DAGを実行するPodについて
DAGを実行するPodは、PersistentVolumeのDAGファイルをmountして処理を実行する。
mountされるDAGファイルはいつどこで生成されるのか
参考: 【Airflow on Kubernetes】DockerイメージのbuildとPodのdeployの仕組みについて
webserver, schedulerコンテナがbuildされる際、initContainersがairflow-test-env-init.shを実行され、その中で以下のコマンドが実行されてdagファイルがPersistentVolumeにコピーされる。
(/root/airflow/dags/がPodにmountされる領域)
# 一部抜粋
cp -R example_dags/* /root/airflow/dags/ && \
cp -R contrib/example_dags/example_kubernetes_*.py /root/airflow/dags/ && \
cp -a contrib/example_dags/libs /root/airflow/dags/ && \
PersistentVolumeはvolumes.yamlで定義されており、hostPathとして作成される。
# 一部抜粋
kind: PersistentVolume
apiVersion: v1
metadata:
  name: airflow-dags
spec:
  accessModes:
    - ReadOnlyMany
  capacity:
    storage: 2Gi
  hostPath:
    path: /airflow-dags/
DAGを実行するPodの定義
/root/airflow/airflow.cfgの[kubernetes]のセクションで定義されている情報を元にPodが作成される。airflow.cfgはconfigmaps.template.yamlをベースに生成される。
[kubernetes]
airflow_configmap = airflow-configmap
# {worker_container_repository}:{self.worker_container_tag}でDockerイメージがpullされる
worker_container_repository = airflow
worker_container_tag = latest
worker_container_image_pull_policy = IfNotPresent
delete_worker_pods = True
dags_in_image = False
# DAGファイルをGitでsyncする場合の設定
git_repo = https://github.com/apache/airflow.git
git_branch = master
git_subpath = airflow/contrib/example_dags/
git_user =
git_password =
git_sync_root = /git
git_sync_path = repo
git_dags_folder_mount_point =
# VolumeClaimの設定。mountするvolumeを指定する。
dags_volume_claim = airflow-dags
dags_volume_subpath =
logs_volume_claim = airflow-logs
logs_volume_subpath =
dags_volume_host =
logs_volume_host =
# KubernetesPodOperatorを使う場合、コンテナを同一クラスタ内で起動するかの設定
in_cluster = True
namespace = airflow
gcp_service_account_keys =

# Example affinity and toleration definitions.
affinity = {"nodeAffinity":{"requiredDuringSchedulingIgnoredDuringExecution":{"nodeSelectorTerms":[{"matchExpressions":[{"key":"kubernetes.io/hostname","operator":"NotIn","values":["4e5e6a99-e28a-450b-bba9-e0124853de9b"]}]}]}}}
tolerations = [{ "key": "dedicated", "operator": "Equal", "value": "airflow", "effect": "NoSchedule" }, { "key": "prod", "operator": "Exists" }]

# For cloning DAGs from git repositories into volumes: https://github.com/kubernetes/git-sync
git_sync_container_repository = gcr.io/google-containers/git-sync-amd64
git_sync_container_tag = v2.0.5
git_sync_init_container_name = git-sync-clone

[kubernetes_node_selectors]
# The Key-value pairs to be given to worker pods.
# The worker pods will be scheduled to the nodes of the specified key-value pairs.
# Should be supplied in the format: key = value

[kubernetes_secrets]
SQL_ALCHEMY_CONN = airflow-secrets=sql_alchemy_conn
各項目の説明は以下のコメントアウトを参照。
airflow/config_templates/default_airflow.cfg
DAGを実行するPodを起動する処理の流れ
Airflowのソースコードを見て、Podがどうやって起動されるのかを調べてみた。
- KubeConfig.__init__()でairflow.cfgの値がセットされる
-
KubernetesExecutor.__init__()で
KubeConfigの値がセットされる -
KubernetesExecutor.start()で
KubeConfigの値がAirflowKubernetesSchedulerクラスに渡される -
AirflowKubernetesScheduler.__init__()で
KubeConfigの値がセットされる -
AirflowKubernetesScheduler.run_next()の
pod = self.worker_configuration.make_pod()でKubeConfigの値を加工する -
AirflowKubernetesScheduler.run_next()のPodLauncherクラスの
self.launcher.run_pod_async()に加工されたKubeConfigの値を渡す -
PodLauncher.run_pod_async()の
self._client.create_namespaced_pod()でPodが起動される
DAGを実行中のPodに入ってみる
DAGを実行し、実行中のPodに入ってみる。Podは処理が完了すると破棄されてしまうので、時間がかかる処理を実装するとよい。
処理実行をしているPodを調べる。
$ sudo kubectl get pod -w
NAME                                                    READY   STATUS    RESTARTS   AGE
airflow-58ccbb7c66-qzsn6                                2/2     Running   0          7h8m
postgres-airflow-84dfd85977-6tpdh                       1/1     Running   0          24h
samplek8stesttask001-a3149539979d4f10aee024c4a09e09f6   1/1     Running   0          3s
Podにログインする。
$ sudo kubectl exec -it samplek8stesttask001-a3149539979d4f10aee024c4a09e09f6 /bin/bash
DAGファイル
samplek8stesttask001-xxxxのPodはDAGファイルをmountしていることが確認できる。
root@samplek8stesttask001-a3149539979d4f10aee024c4a09e09f6:/# ls -l /root/airflow/dags/
total 200
# **snip**
-rw-r--r-- 1 root root  1076 Aug 15 01:04 sample_k8s.py
-rw-r--r-- 1 root root  1157 Aug 15 01:04 sample_k8s.pyc
# **snip**
環境変数
環境変数SQL_ALCHEMY_CONNも渡されている。
root@samplek8stesttask001-a3149539979d4f10aee024c4a09e09f6:/# echo $SQL_ALCHEMY_CONN
postgresql+psycopg2://root:root@postgres-airflow:5432/airflow
DAGの実行結果ログを確認する
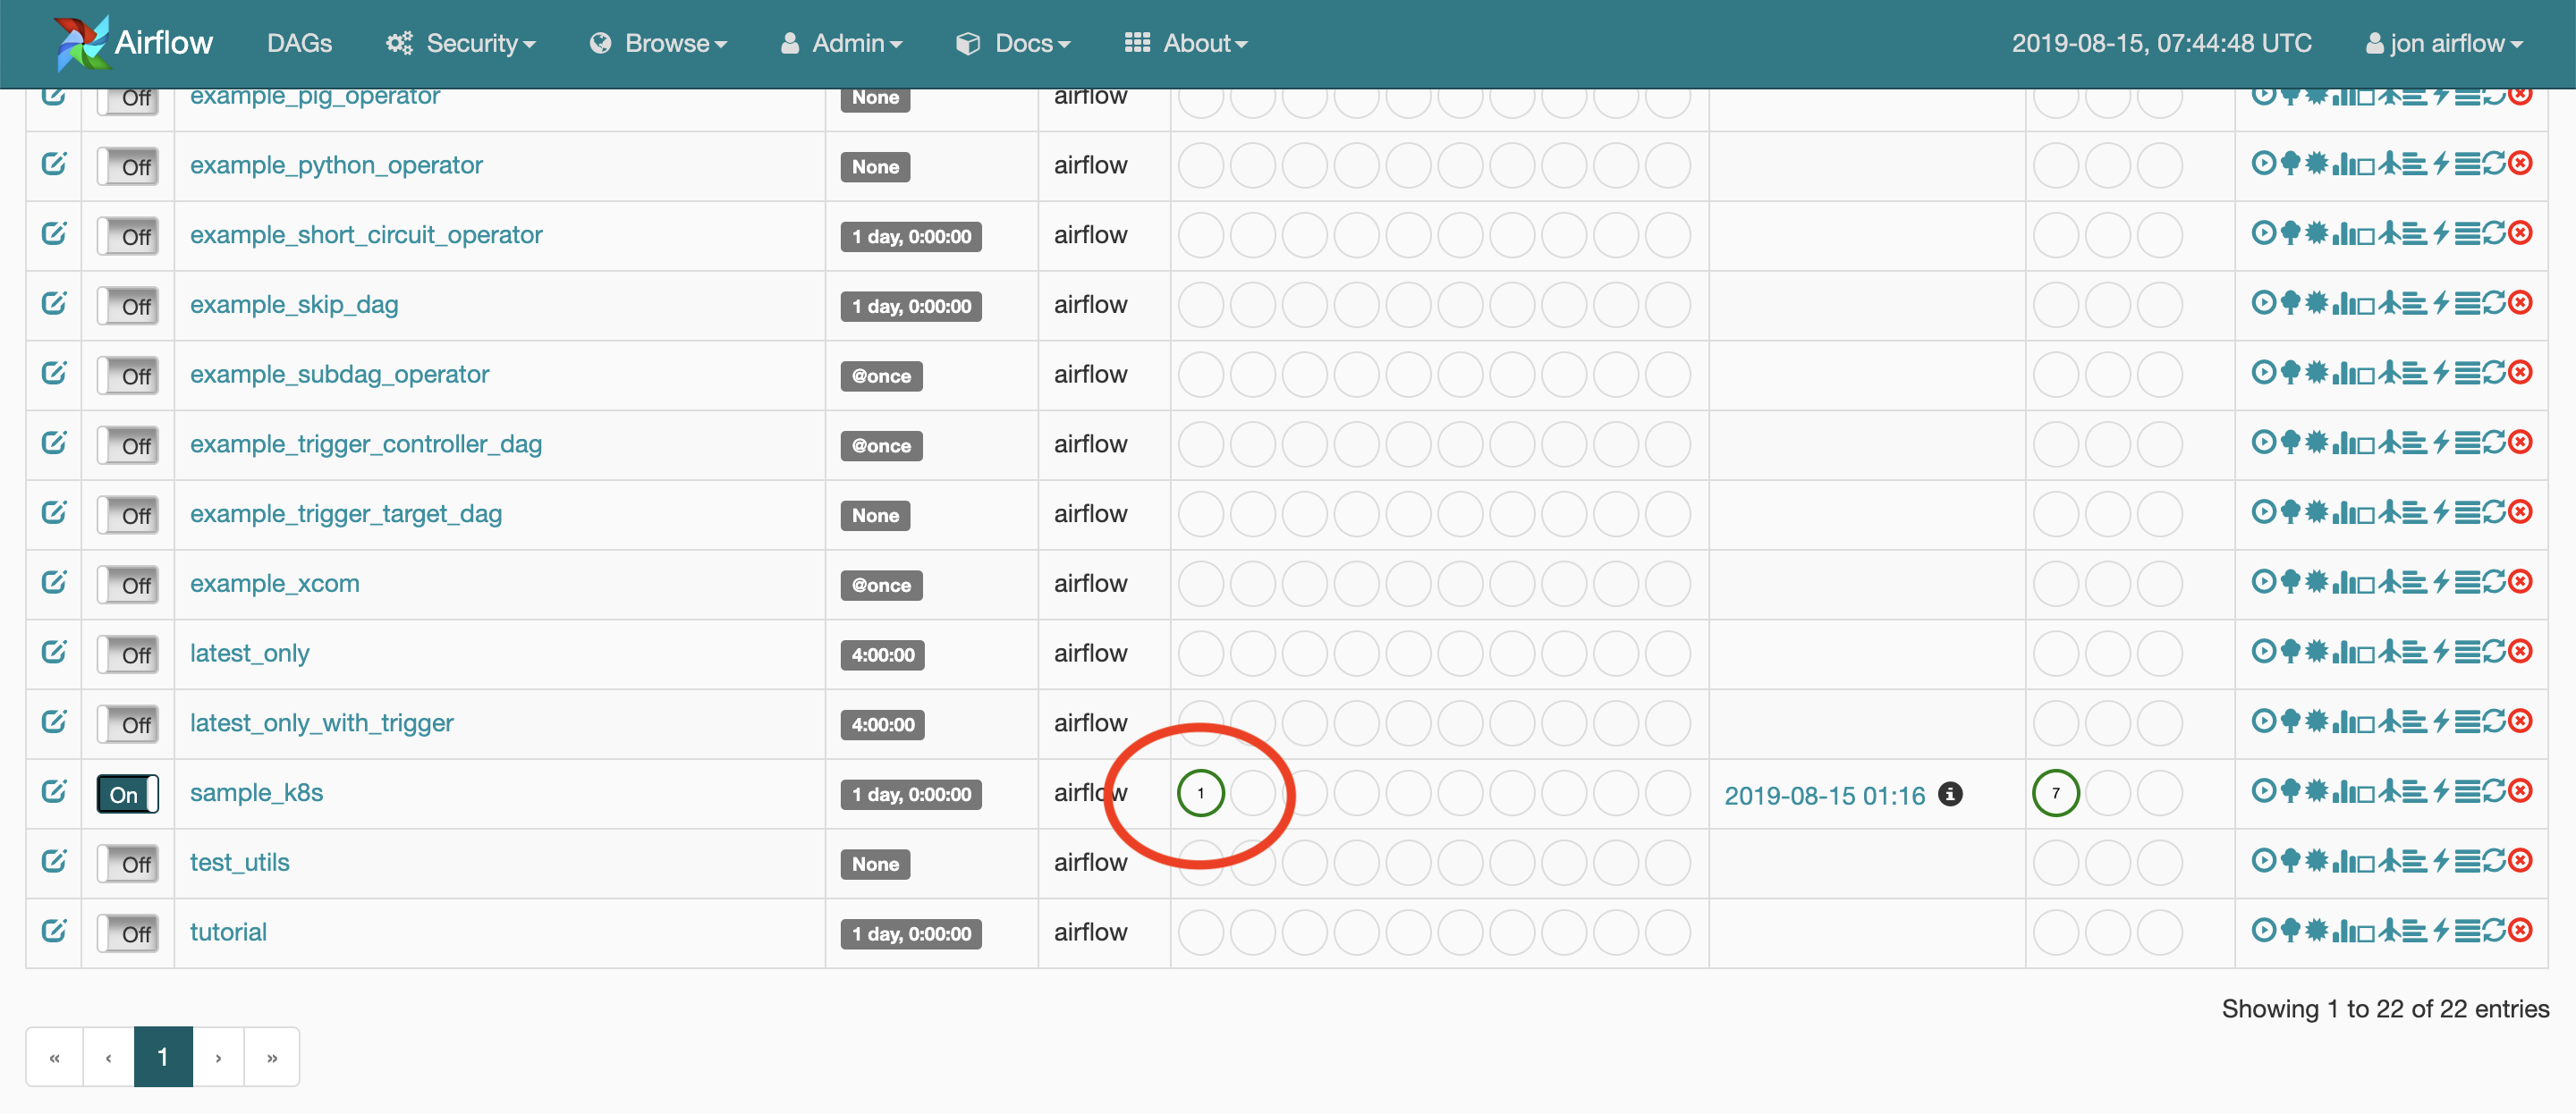
WEB UIでログを見たいDAGの「Recent Tasks」をクリックする。
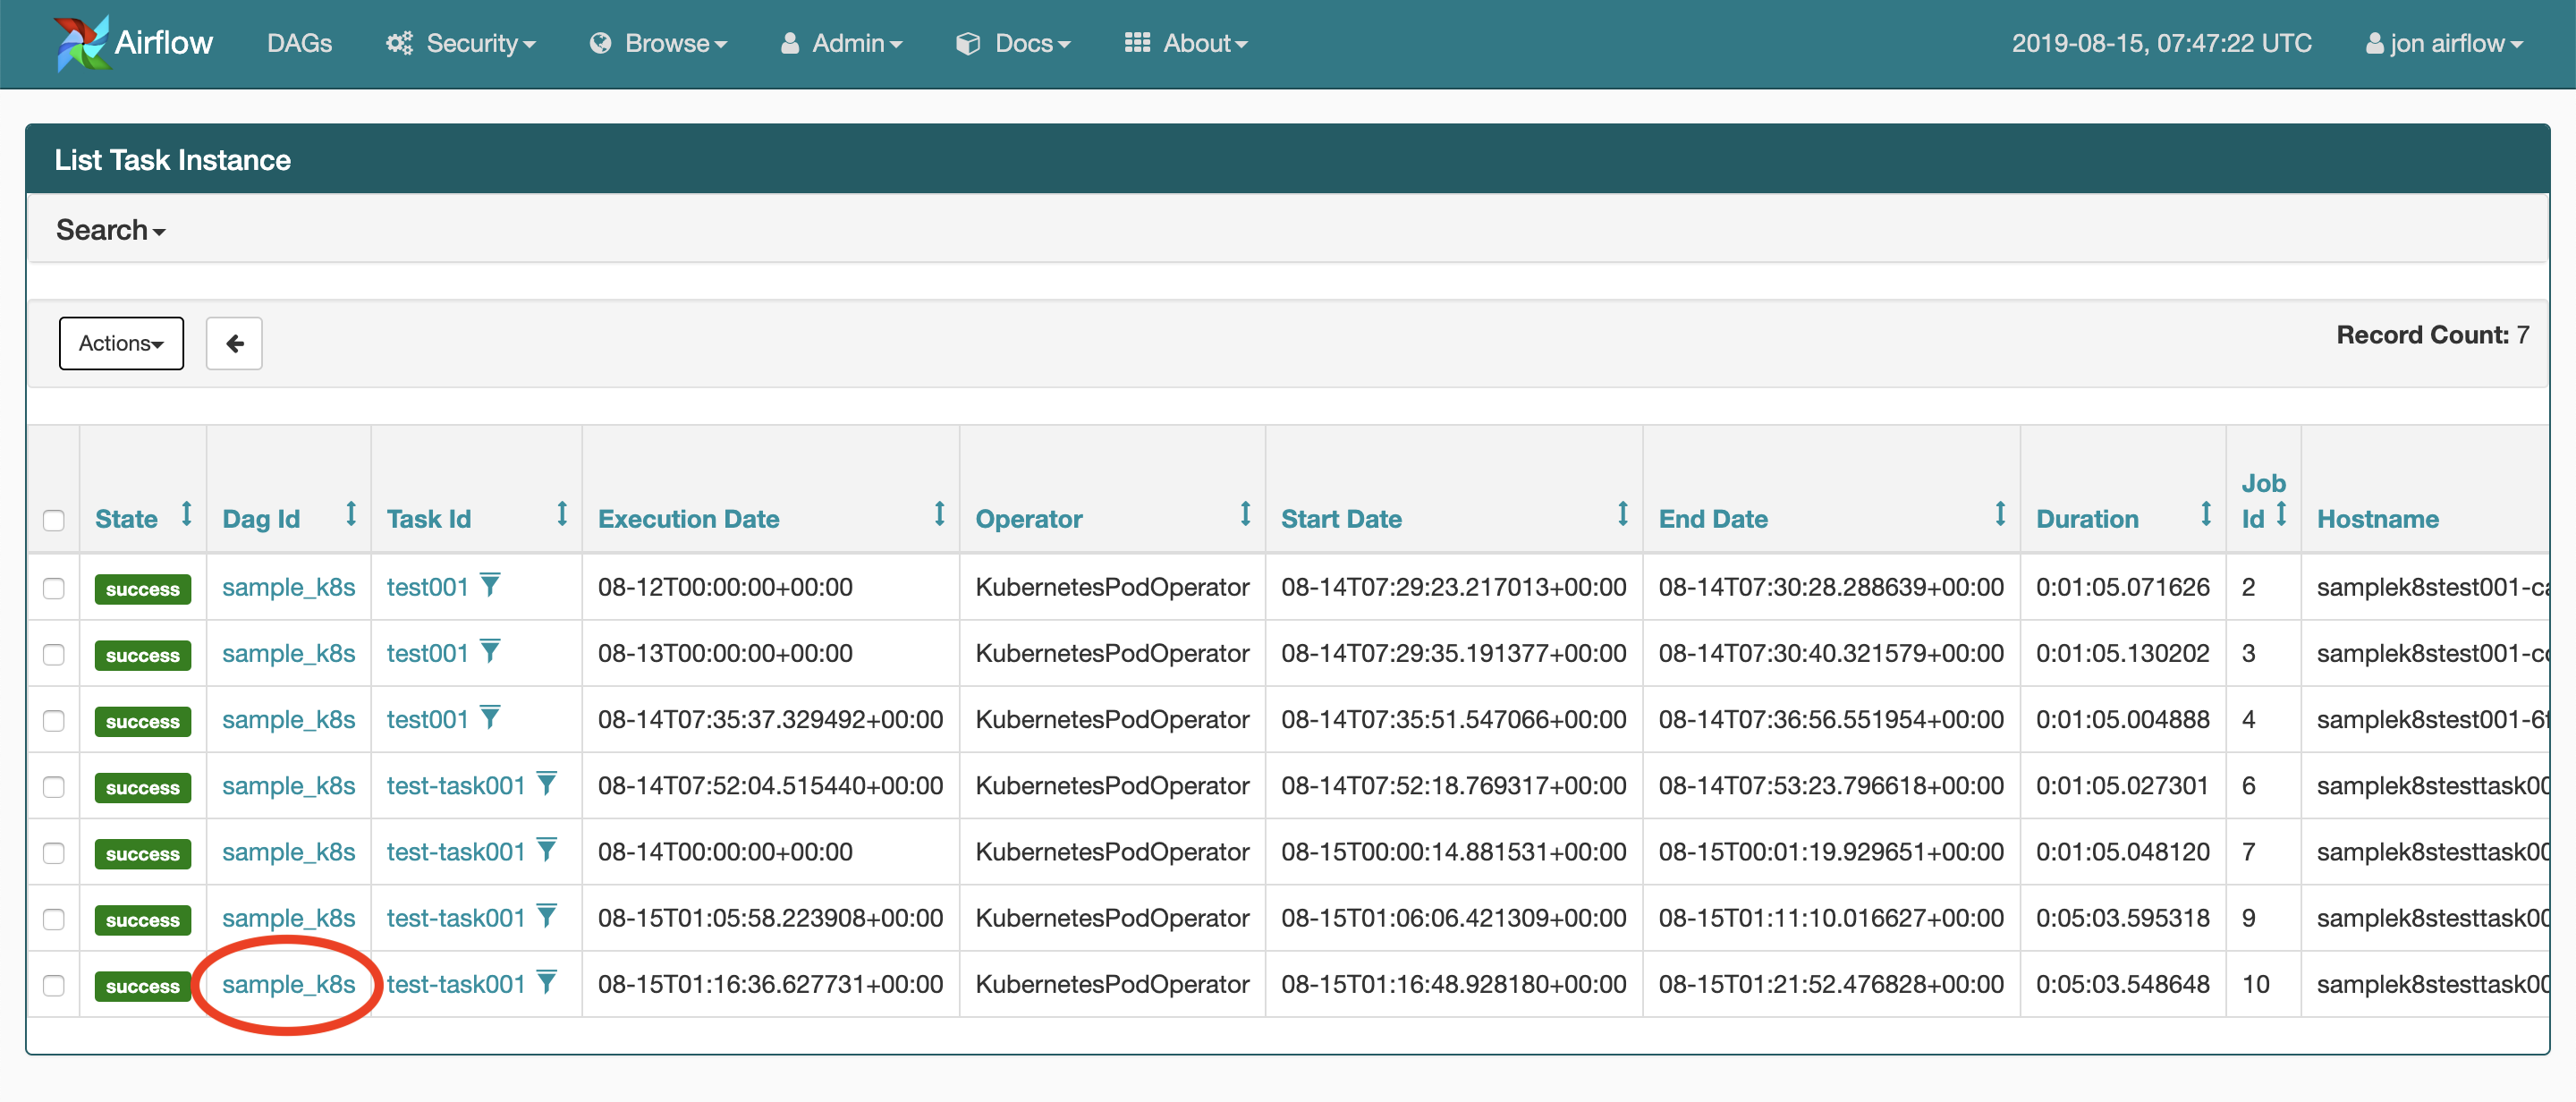
実行結果がいくつか表示されるので、ログを見たい「Dag Id」をクリックする。
すると、以下の画面が開くので、画像の赤丸をクリックするとログがダウンロードされる。
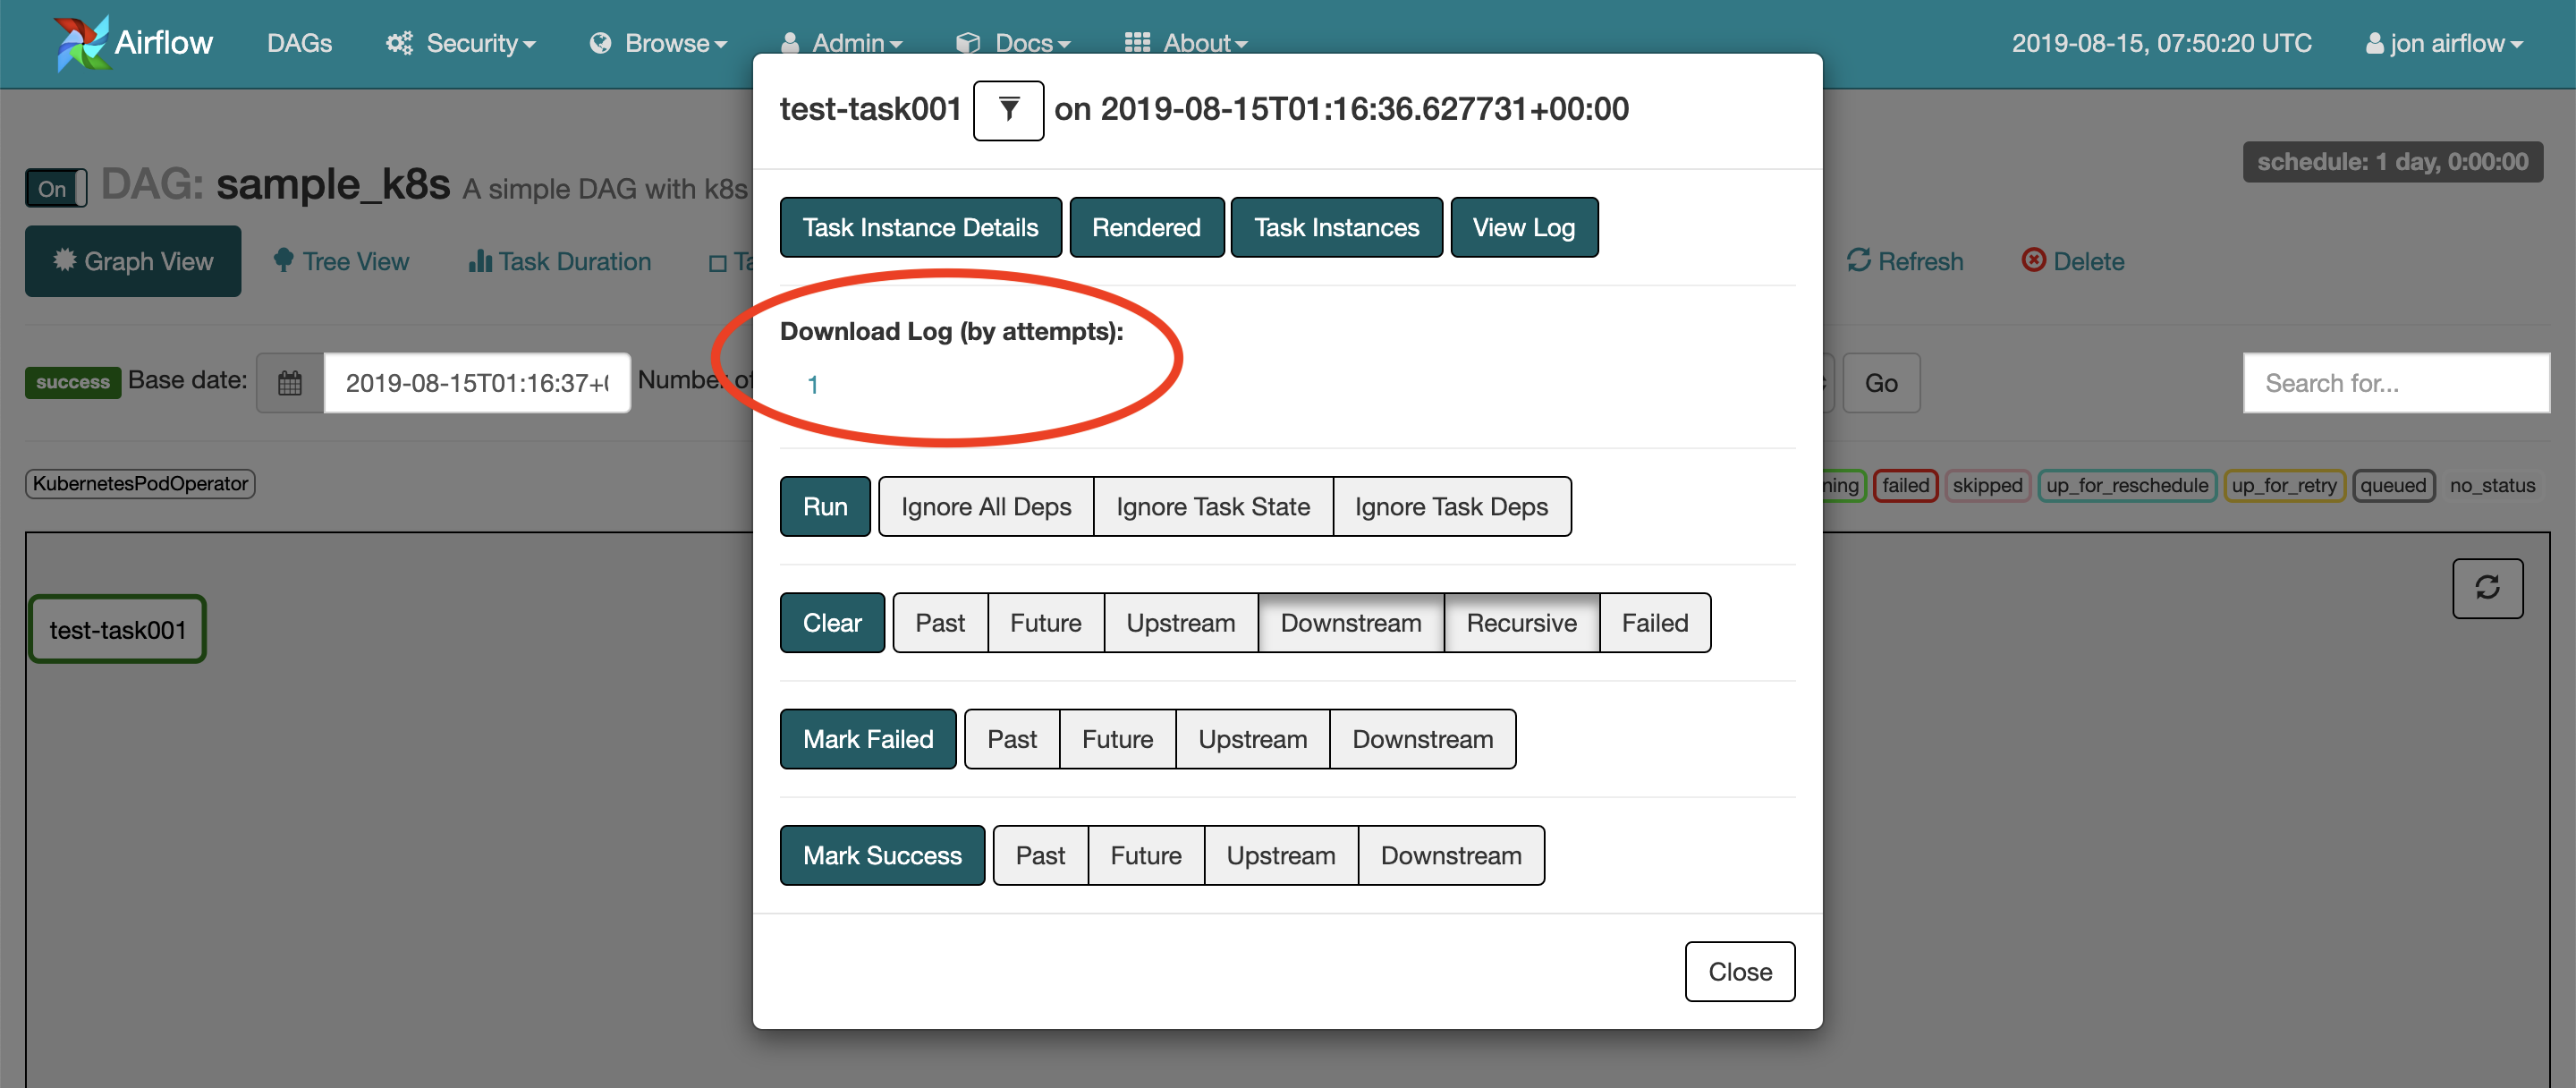
ログを開くと、先頭に以下のような記述があるように、/root/airflow/logs/sample_k8s/の下に同じログがある。
*** Reading local file: /root/airflow/logs/sample_k8s/test-task001/2019-08-15T01:16:36.627731+00:00/1.log
以上
