環境
・Windows 7 Professional 64bit
・Visual Studio 2017 Version 15.9.14
・OpenCV 3.4.1
OpenCVの導入方法などは、下記を参照ください。
Visual Studio 2017 + OpenCV 3.4.1 + CUDA 10.0 + Intel TBB 2018U5 ビルド手順
手順
- Visual Studio 2017 を起動
- ファイル>新規作成>プロジェクト>Visual C++>空のプロジェクト を選択
- ソリューションエクスプローラー>ソースファイル>追加>新しい項目>C++ファイルを新規作成
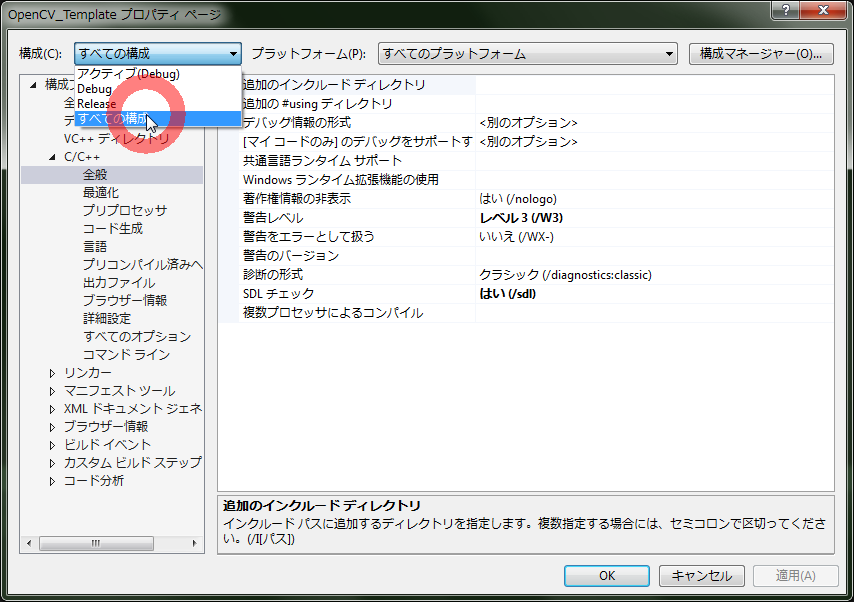
- ソリューションエクスプローラーからプロジェクトのプロパティを開く
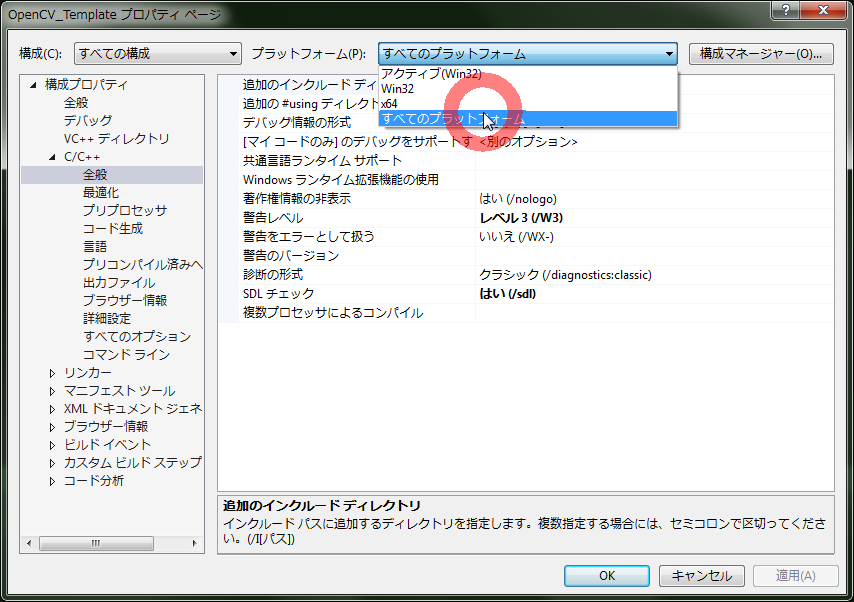
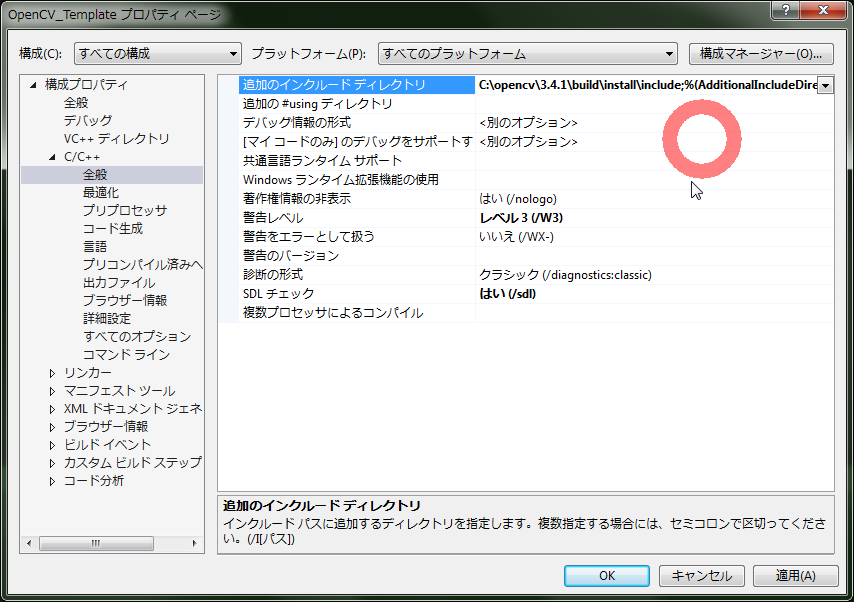
- 構成を"すべての構成" 、プラットフォームを"すべてのプラットフォーム"に設定
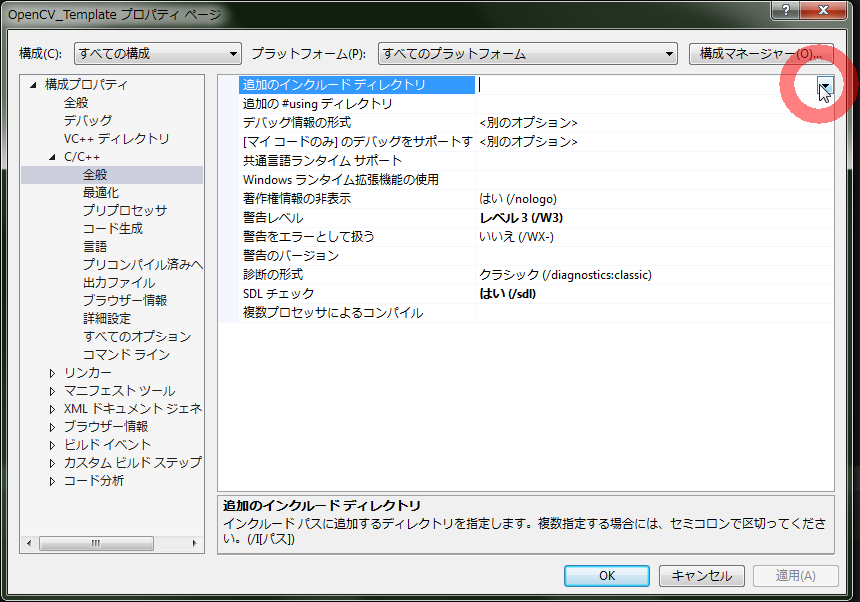
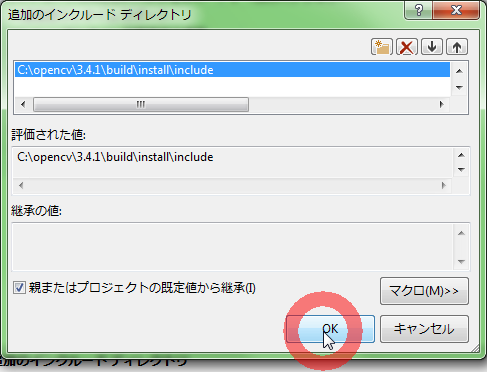
- C/C++>全般>追加のインクルードディレクトリを設定
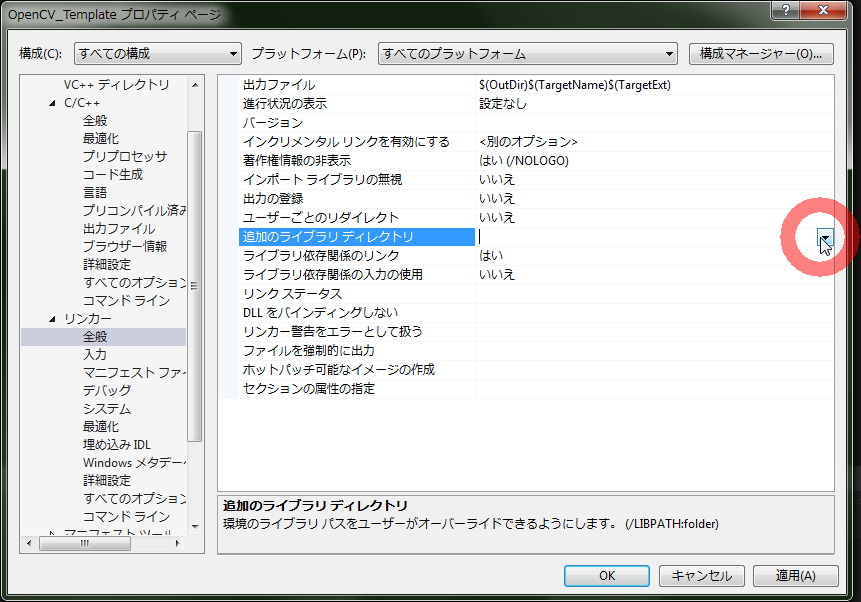
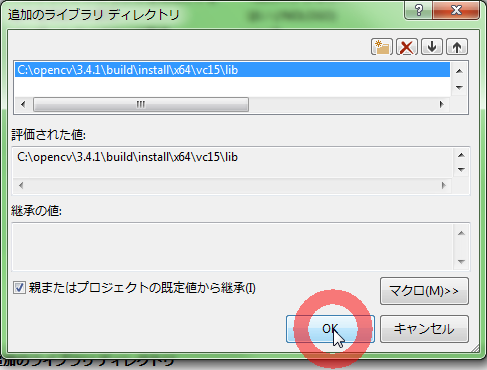
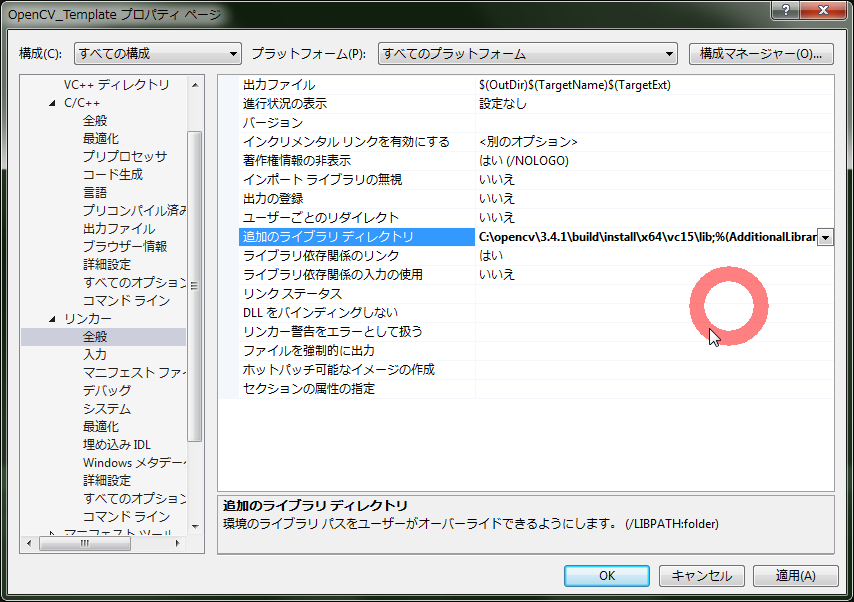
- リンカー>全般>追加のライブラリディレクトリを設定
※x86のライブラリもある方は両方設定してください(私の環境ではx86のCMakeは行っていないので、今回はx64しか設定していません)
- 手順3.で作成したC++ファイルにテスト用のコードでも記述しておきます
main.cpp
# include <iostream>
# include <opencv/cv.hpp>
# include <opencv2/opencv.hpp>
# include <opencv_lib.hpp>

int main()
{
	//OpenCV ビルド情報の表示
	std::cout << cv::getBuildInformation() << std::endl;
	system("pause");

	return 0;
}
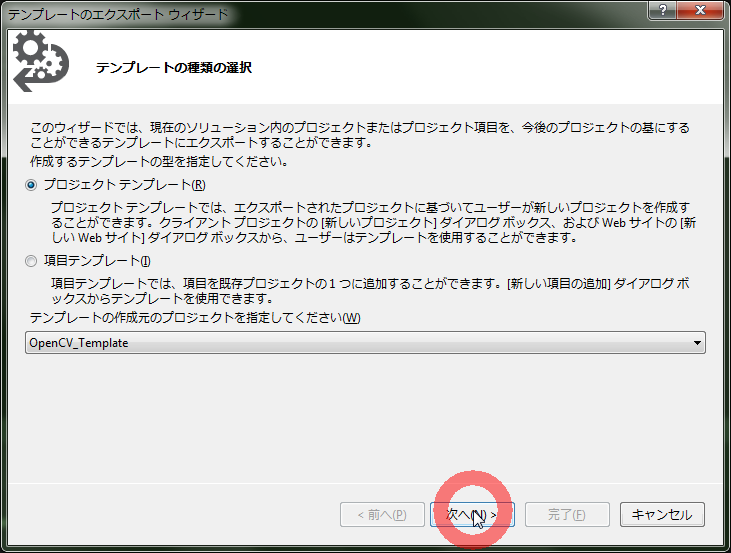
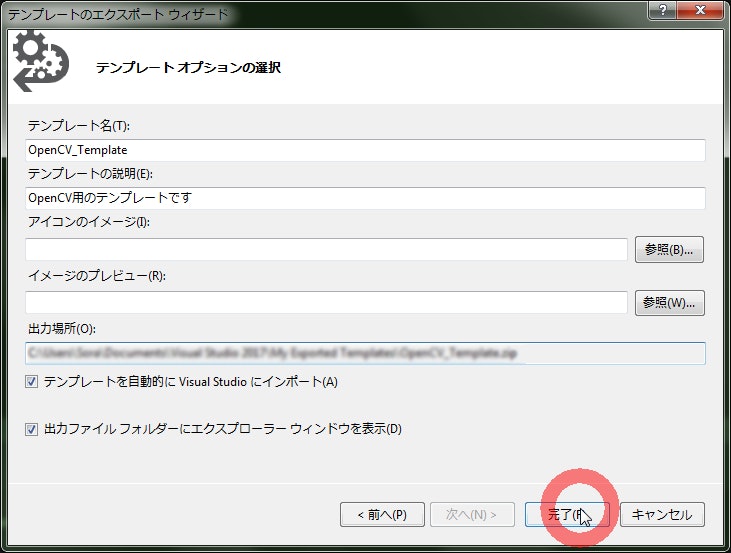
- プロジェクトをテンプレート化します
メインメニュー>プロジェクトテンプレートのエクスポート でテンプレートをするためのウィザードが出てくるので設定します
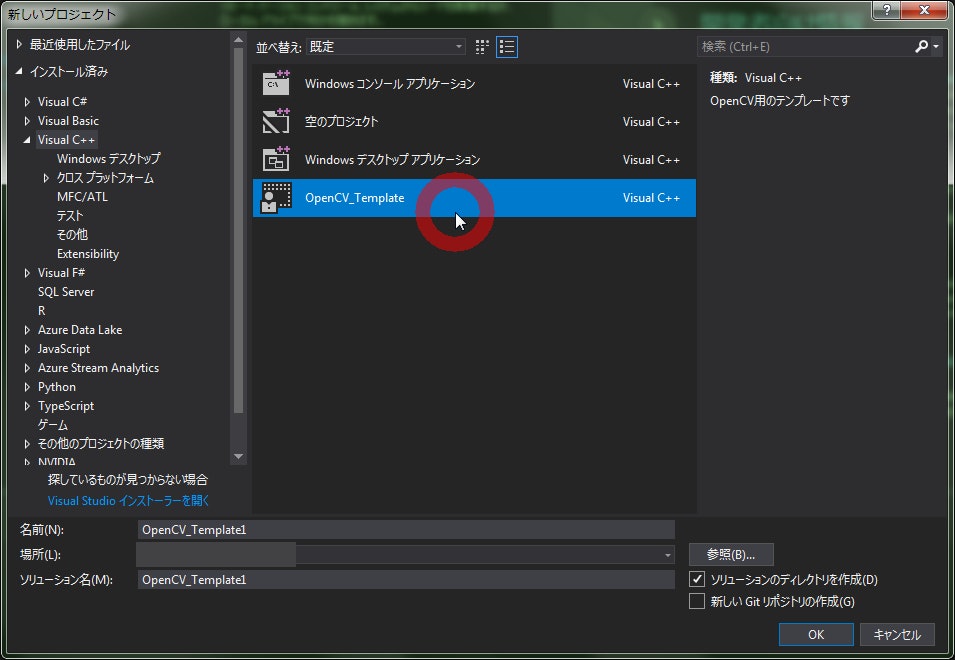
確認
Visual Studio を起動して、プロジェクトの作成に入ると以下のような、テンプレートが読み込まれ一覧に表示される
余談
テンプレートファイルはzip形式なので、コピペなどで簡単にバックアップや移行したりできると思います。