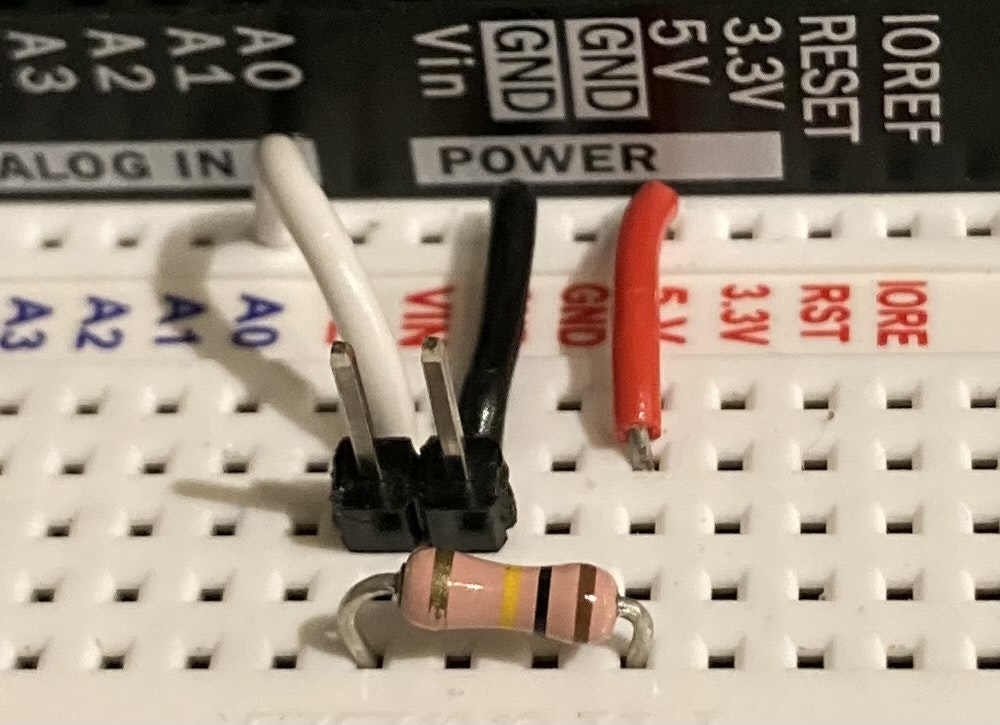
秋葉原にある明和電機のお店で、オタマトーンの胴体部分が300円で売られており、
センサー部分でこの値段は破格な気がしたので購入してみました。
抵抗値を調べてみたところ、非接触時はほぼ無限大、加圧接触時は20k-200kΩ程度でした。
そこで、Arduinoにつないで音を出してみることにしました。
手近にあった100kΩの抵抗を用いて分圧し、Toneで音を鳴らしてみます・

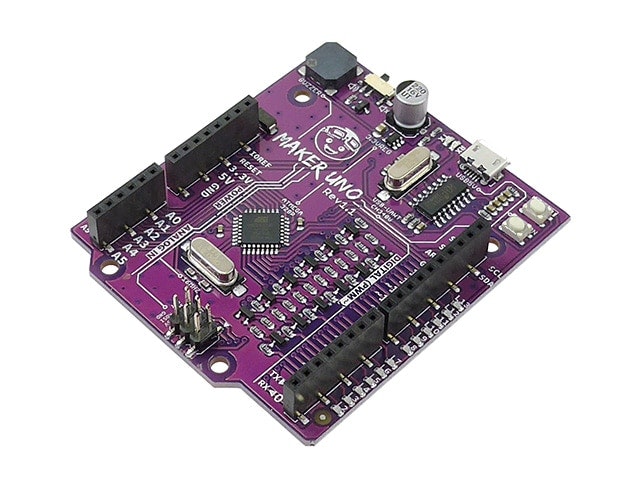
実験に使用したArduino Uno互換機のMAKER UNOはD8ピンがブザーにつながっており、
Tone(8,f)を呼ぶだけで音が出るのでお手軽です。

#include <Arduino.h>
// オタマトーン 20k-200kΩ程度なので100kΩで分圧
//A0=210-670くらい。触っていないときは1023
#define BUZZER_PIN (8)
void setup() {
  //Serial.begin(9600);
  pinMode(BUZZER_PIN,OUTPUT); // buzzer pin
}

void loop() {
  int val = analogRead(A0);
  //Serial.println(val);
  if(val<1000){
    float fv = (float)(max(min(val-200,500),0))*2.f; // 0-1000
    int iv = 220 + (int)((1000.f-fv)*0.6f);
    tone(BUZZER_PIN,iv);
  }else{
    noTone(BUZZER_PIN);
  }
  delay(10);
}
音程を合わせるのはオタマトーン同様難しいですが
オタマトーン純正の胴体だけあって抑えやすく、とてもいい感じです。
おまけ
オタマトーンのかわりに曲げセンサーを付けてみました