始めに
最近、巷でよく聞くようになったReact。ちょっと触ってみようかな?なんて、HPを検索するも
それっぽい情報がないし、いつになったら触れるんだよーってかた必見です。
Reactってそもそも何?
React,Reactってよく聞くけど何?みたいな方多いと思います。 聞いたことあるし、そんなこと知ってるって方は読み飛ばしてもらって構いません。 ここから飛べますじゃあ、早速
ReactはJavaScriptのフレームワークです。
最近注目され始めています。その理由の一つに「リアクティブ」といった機能を搭載している点があげられます。
これは一体どういったことかというと、データの更新に応じて自動的に画面の表示内容を更新するという仕組みのことを言います。
何をいっているかわからない方、後ほどご紹介しますので、「ふ〜ん」程度にとどめておいてください。
開発環境を作る
どんなフレームワークをやるにしてもまずは開発環境ですよね? LaravelだったらHomesteadみたいなReactを動かすために必要なのはNode.jsと
Node.jsのインストール
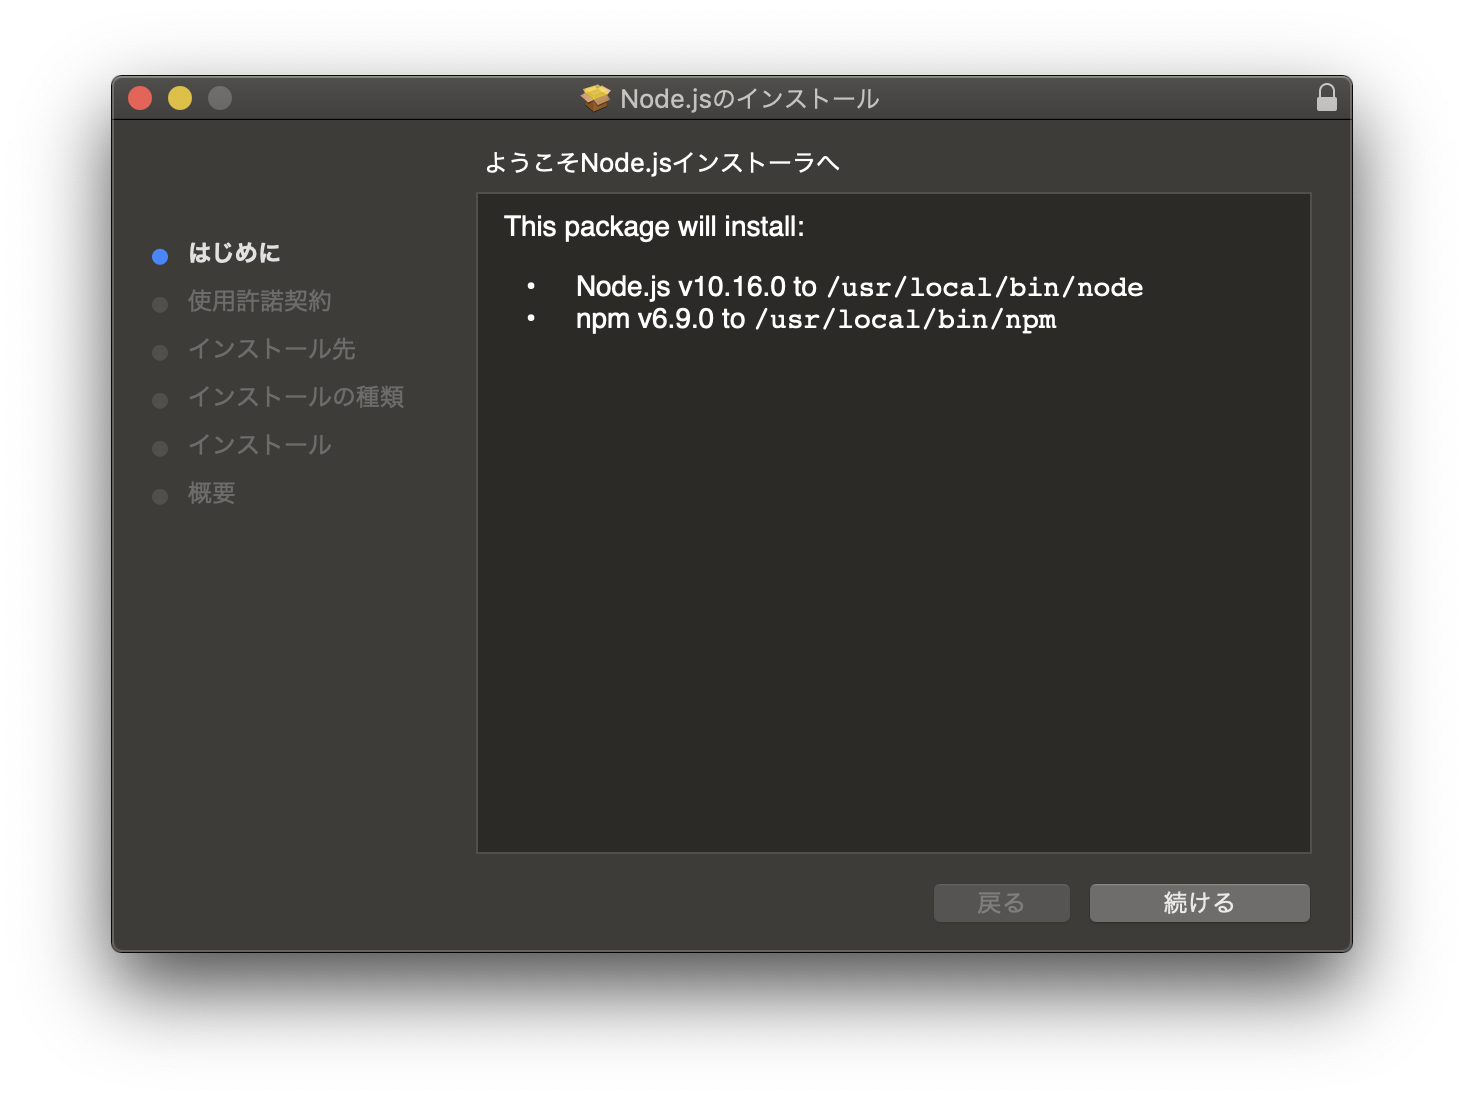
node.jsのインストールはこのリンクからいけます。
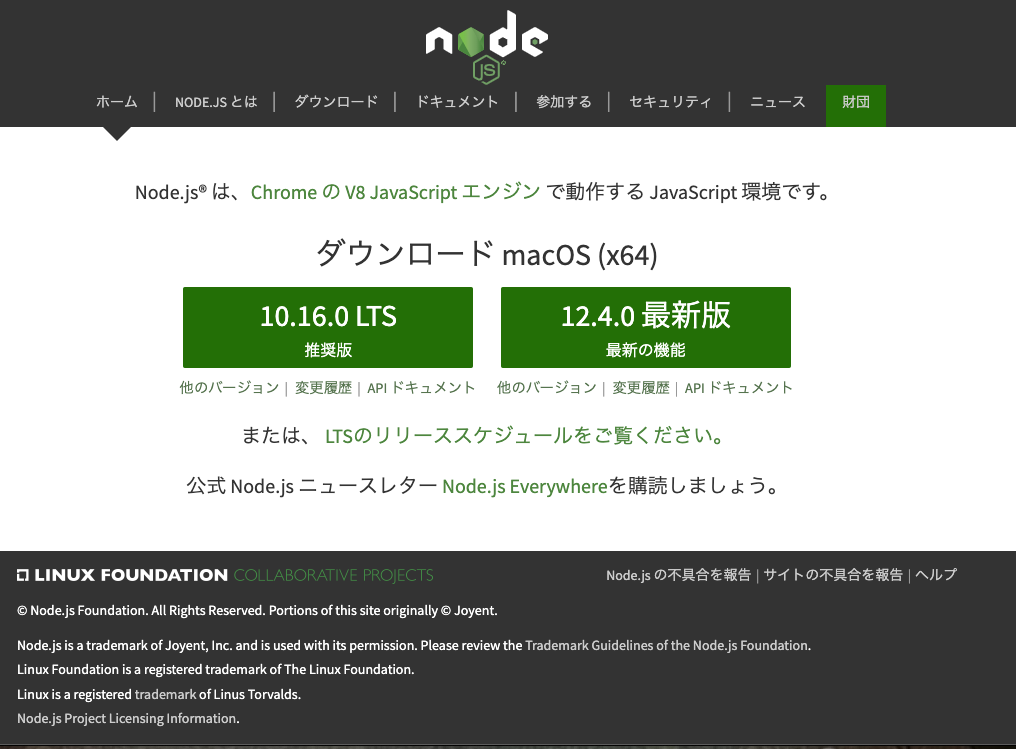
まず見てもらうとLTS版とそうでない版があります。
ここではLTSをインストールしましょう。
10.16.0 LTSをポチッとな。。。。。。。。(ダウンロード中)
ダウンロードが終わったらダブルクリックして開きます。
次は使用許諾契約画面が開きます。読みたい方は呼んでください。
僕は全部英語なので読みません😩
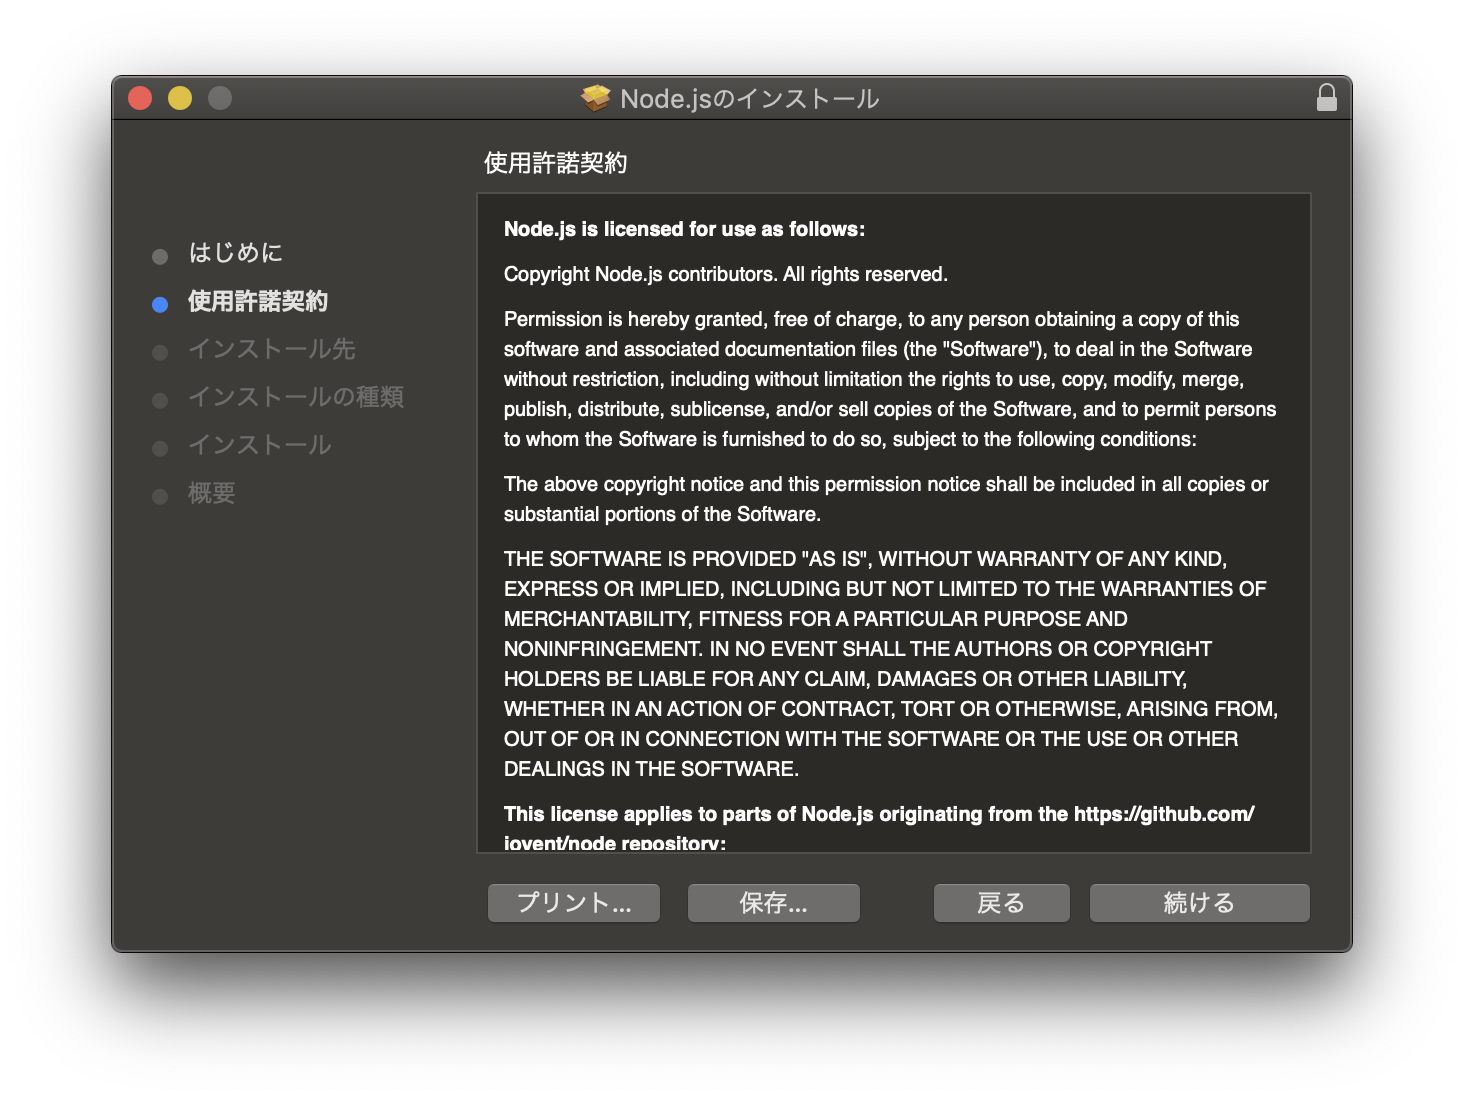
ここで「続ける」を押すとこんな画面が出てきますが、構わず「同意する」を押しましょう⤴︎

次に待ち構えるのは、インストール先の選択ですが、この辺は構わず、続けるをぽちぽちしていきまShow⭐️
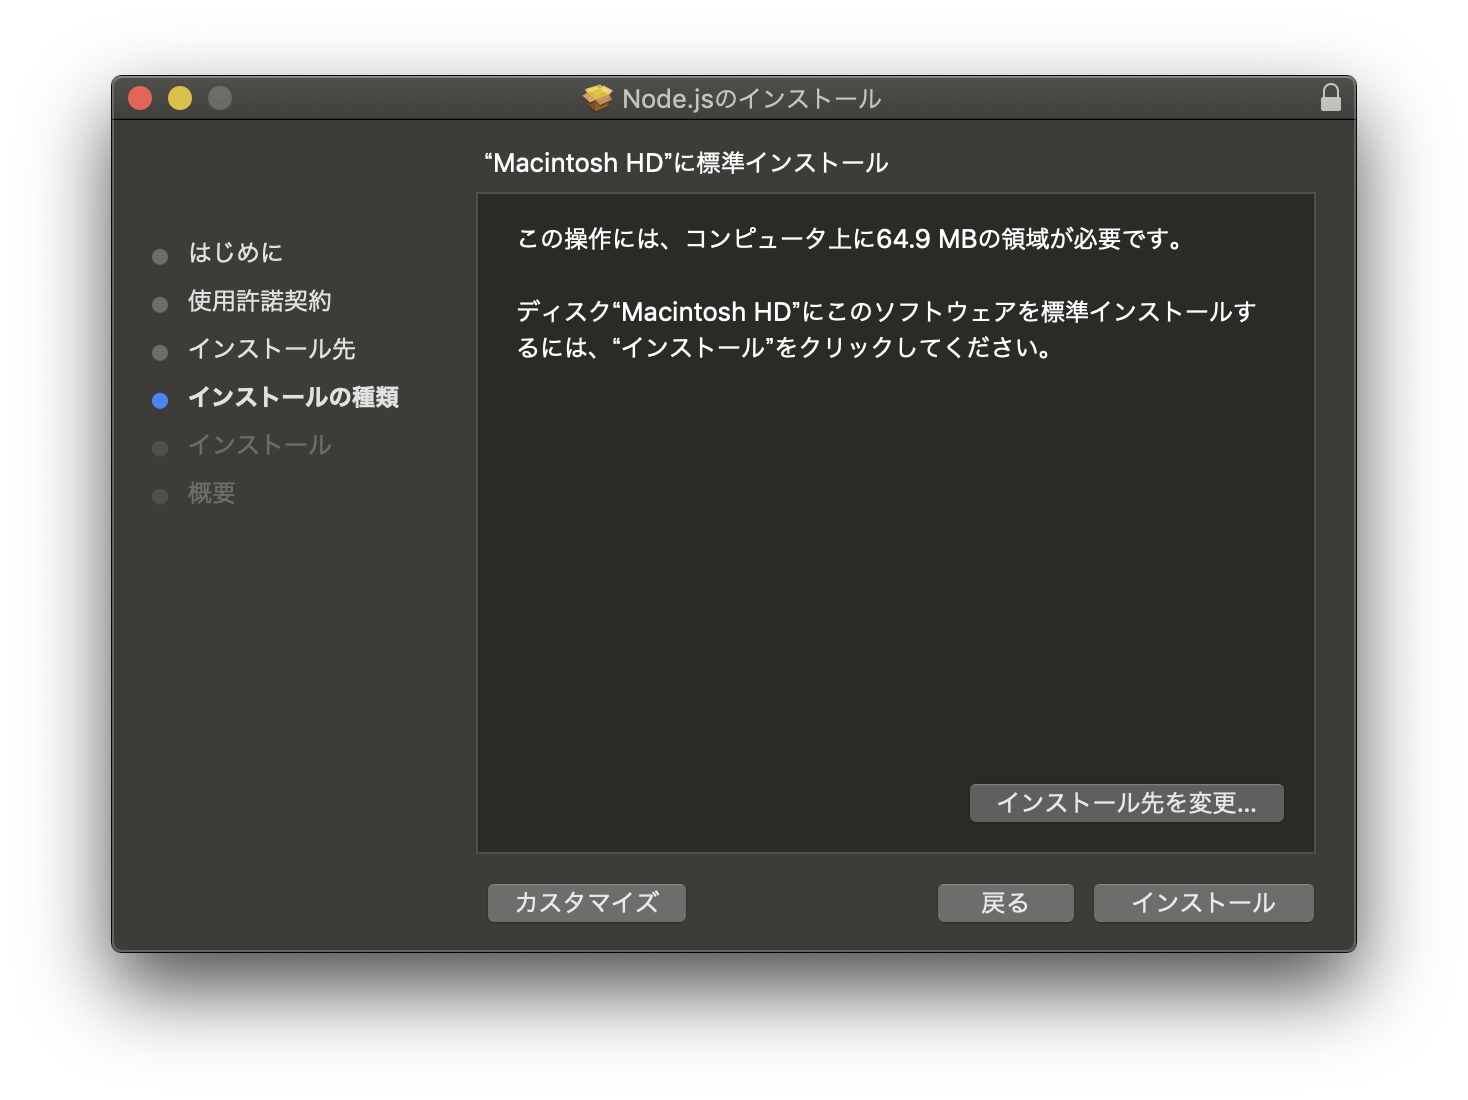
インストールするためにユーザー名とパスワードの入力を求められますが、入力しまShow
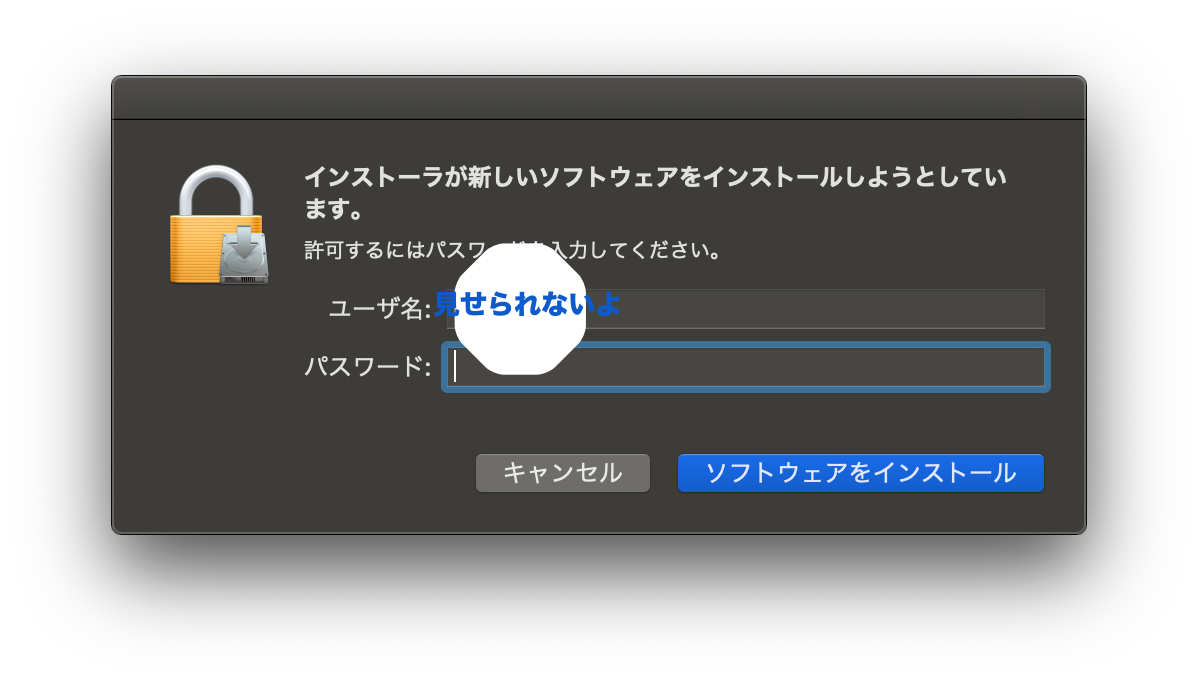
ソフトウェアをインストールをポチッとするとインストールが始まります。(長かった〜😫)
 (インストール中。。。。。。。)

インストールが終わりました。
ここで紹介したのはmacでのインストール方法でしたが、Windowsも基本的なので、Windowsのかたはここを参考にするか別記事をみてください😓
バージョンの確認
terminalもしくはコマンドプロンプトを開いて
$node -v
と打ってみてください。
$node -v
v10.16.0
と帰って来れば成功です。
早速プロジェクトを作ってみよう
Node.jsをインストールしたし、なんかページを表示してみたいな〜と思った方は多いと思います。 そんな方に向けて、一番簡単なプロジェクトの作成方法を教えます。$npx create-react-app react_app
と、terminalもしくはコマンドプロンプトに打ってEnterを押してください。
すると
$ npx create-react-app react_app

Creating a new React app in /Users/tnatsume/react/react_app.

Installing packages. This might take a couple of minutes.
Installing react, react-dom, and react-scripts...

yarn add v1.16.0
[1/4] 🔍  Resolving packages...
warning react-scripts > fsevents@2.0.6: Please update: there are crash fixes
[2/4] 🚚  Fetching packages...
[3/4] 🔗  Linking dependencies...
warning "react-scripts > @typescript-eslint/eslint-plugin@1.6.0" has unmet peer dependency "typescript@*".
warning "react-scripts > @typescript-eslint/parser@1.6.0" has unmet peer dependency "typescript@*".
warning "react-scripts > @typescript-eslint/eslint-plugin > @typescript-eslint/typescript-estree@1.6.0" has unmet peer dependency "typescript@*".
warning "react-scripts > @typescript-eslint/eslint-plugin > tsutils@3.10.0" has unmet peer dependency "typescript@>=2.8.0 || >= 3.2.0-dev || >= 3.3.0-dev || >= 3.4.0-dev".
[4/4] 🔨  Building fresh packages...
success Saved lockfile.
success Saved 11 new dependencies.
info Direct dependencies
├─ react-dom@16.8.6
├─ react-scripts@3.0.1
└─ react@16.8.6
info All dependencies
├─ babel-preset-react-app@9.0.0
├─ eslint-config-react-app@4.0.1
├─ fork-ts-checker-webpack-plugin@1.1.1
├─ microevent.ts@0.1.1
├─ react-app-polyfill@1.0.1
├─ react-dev-utils@9.0.1
├─ react-dom@16.8.6
├─ react-error-overlay@5.1.6
├─ react-scripts@3.0.1
├─ react@16.8.6
└─ worker-rpc@0.1.1
✨  Done in 12.02s.

Initialized a git repository.

Success! Created react_app at /Users/tnatsume/react/react_app
Inside that directory, you can run several commands:

  yarn start
    Starts the development server.

  yarn build
    Bundles the app into static files for production.

  yarn test
    Starts the test runner.

  yarn eject
    Removes this tool and copies build dependencies, configuration files
    and scripts into the app directory. If you do this, you can’t go back!

We suggest that you begin by typing:

  cd react_app
  yarn start

Happy hacking!
と出てきて、プロジェクトが作成されます。
プロジェクトを実行してみよう
terminalもしくはコマンドプロンプトで今作ったフォルダに移動して、npm startと打ってEnterを押しましょう。$ cd react_app/
:react-app$npm start
すると画面上に
Compiled successfully!

You can now view react_app in the browser.

  Local:            http://localhost:3000/
  On Your Network:  http://192.168.1.20:3000/

Note that the development build is not optimized.
To create a production build, use yarn build.
というテキストが表示され、自動的に
localhost:3000が自動的にブラウザーで表示されました。
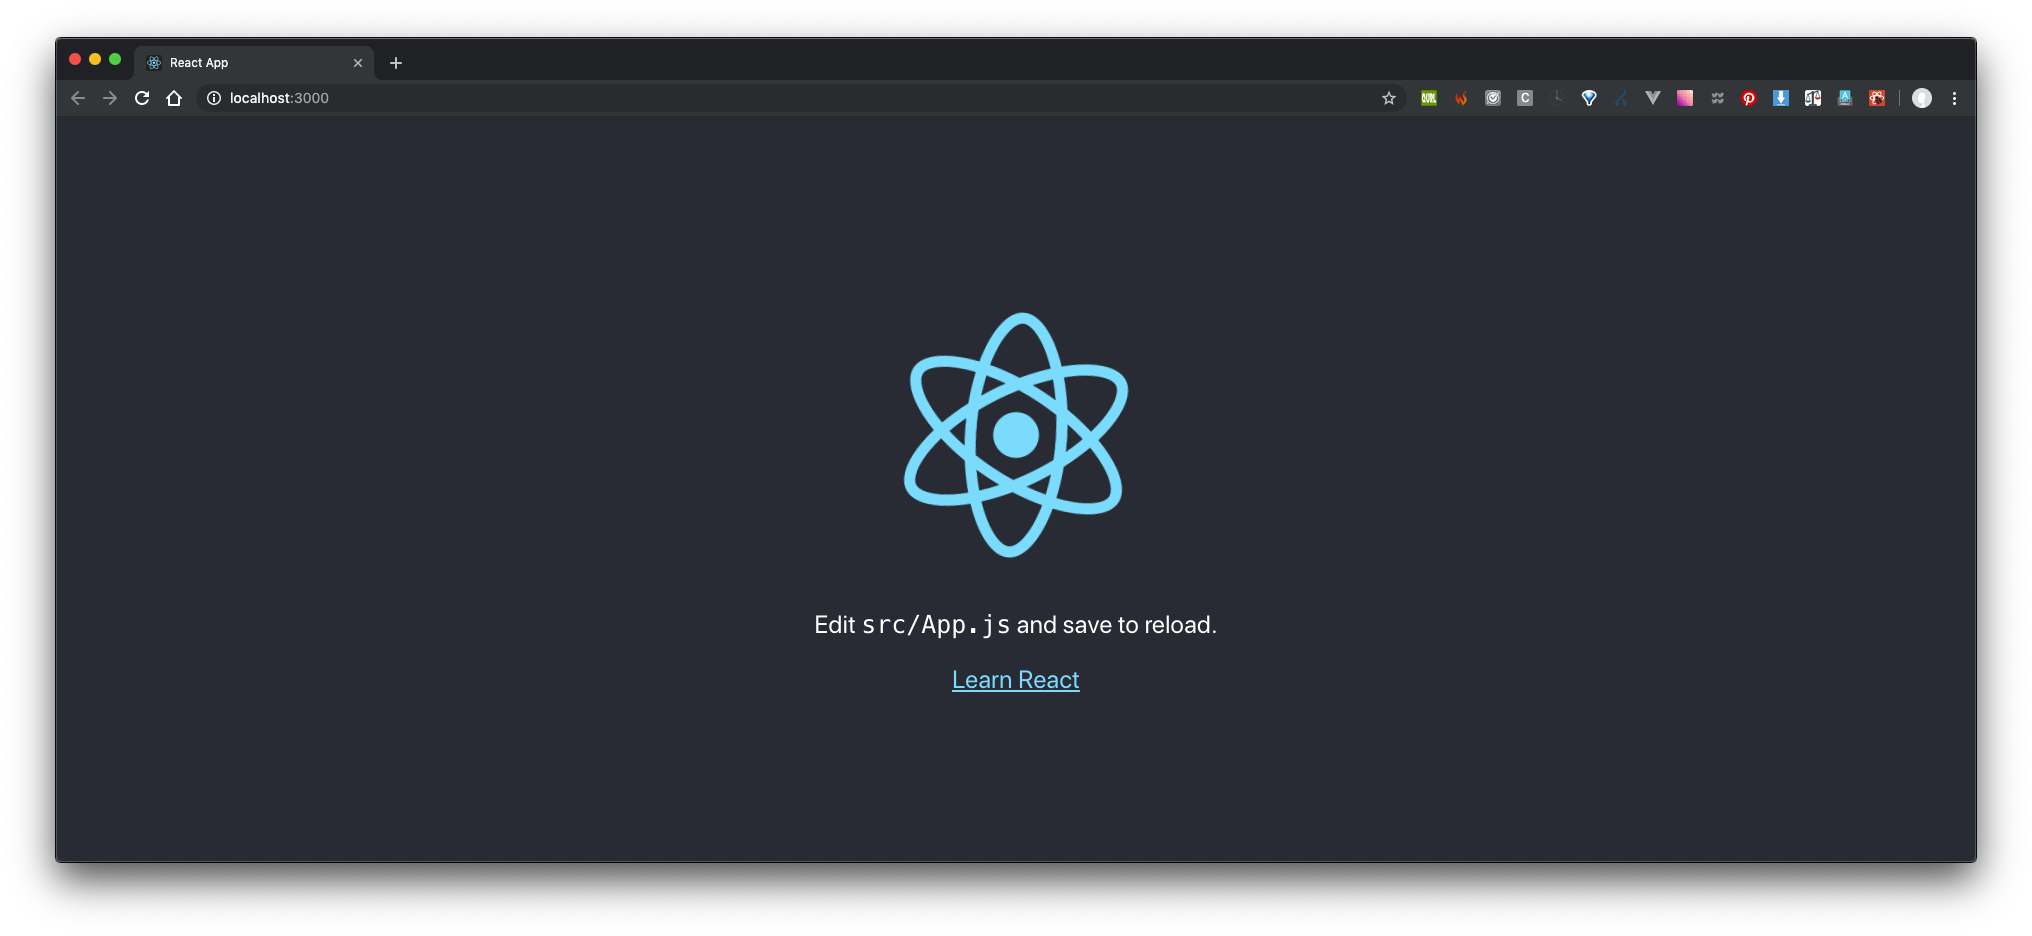
上のログがグルングルン回っていますが、これはcssで設定されていますね。その辺も後でみていきましょう。
これで、一応Reactの始め方の紹介を終わります。この後のことは別記事にしますので、少々お待ちください。
