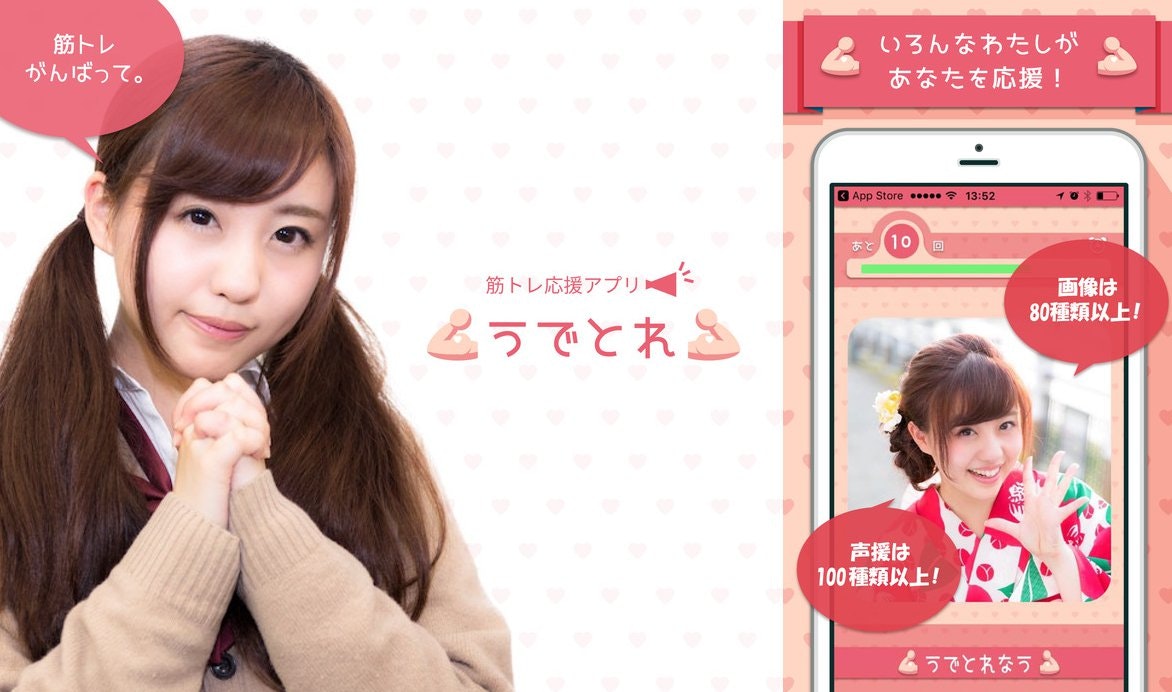
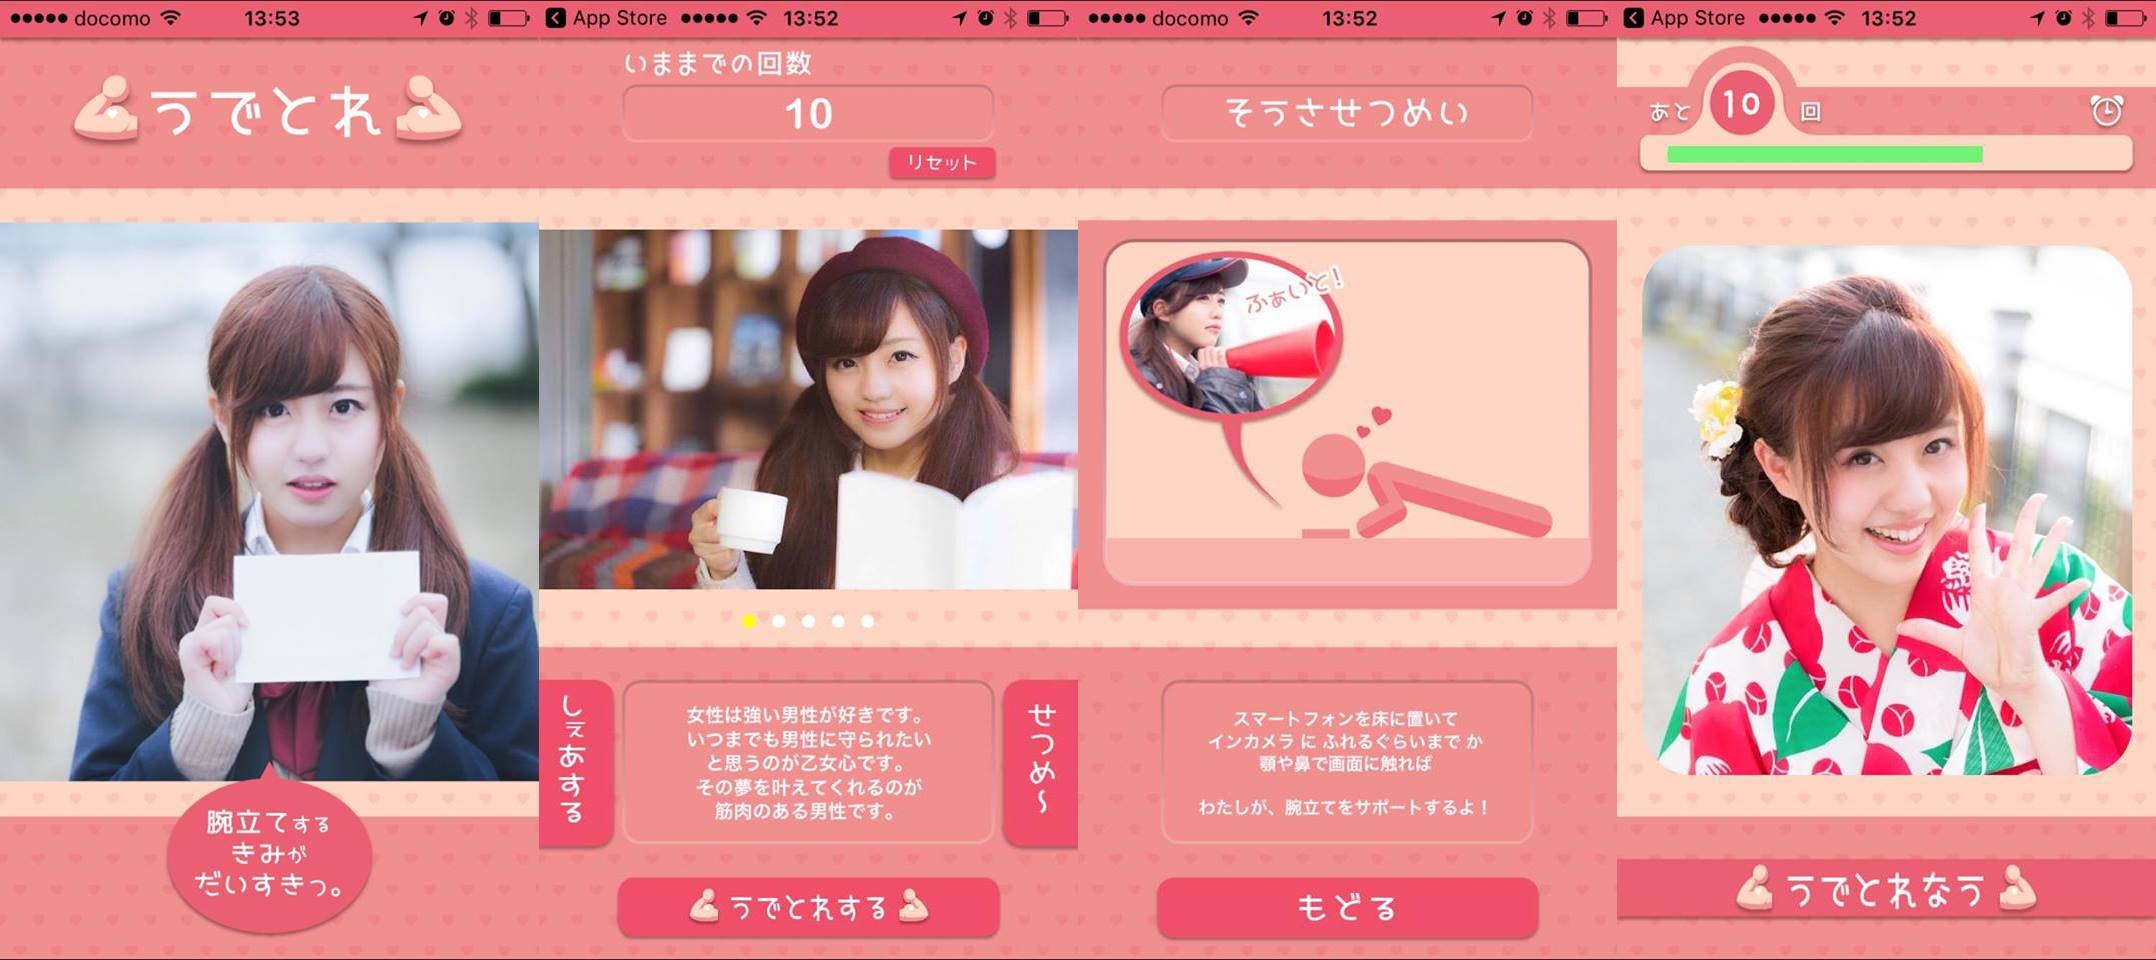
今回は、swiftで「うでトレ」というアプリケーションを作る際に今後も使いそうだと思った部分を箇条書きベースにまとめたいと思います。
うでトレ
APP Store : https://itunes.apple.com/us/app/id1080376827

腕立て促進アプリ「うでトレ」
これで1人で筋トレする時も
かわいい女の子に応援され、回数も数えてもらえます。
【こんな方にオススメ!】
・筋トレが長く続かない!
・学生の頃の部活みたいに誰かに声かけ 応援 してほしい!
・楽しく筋トレしたい!
・かっこいい体が欲しい!
・太い腕を手に入れたい!
【機能】
・main.storyboardのViewを最前面にレイヤー移動
main.storyboardのViewを最前面にレイヤー移動
var fetchedView = self.view.viewWithTag(1) //viewの中のtagが
self.view.bringSubviewToFront(fetchedView!) //fetchedViewを最前面へ
・SNSで今までした回数をみんなにShare
SNSで今までした回数をみんなにShare
@IBAction func SNSAction(sender: AnyObject) {
        //選択肢の上に表示するアラート
        let alert = UIAlertController(title: "SNSに投稿",message: nil, preferredStyle: .ActionSheet)//選択肢設定
        let firstAction = UIAlertAction(title: "Facebook", style: .Default){
            action in
            // Facebookの投稿ダイアログを作って
            let cv = SLComposeViewController(forServiceType: SLServiceTypeFacebook)

            cv.setInitialText("#うでとれ #ゆかちぃ")
            cv.addImage(UIImage(named: "SNS.jpg"))
            // 投稿ダイアログを表示する
            self.presentViewController(cv, animated: true, completion: nil)

        }
        let secondAction = UIAlertAction(title: "Twitter", style: .Default){
            action in
            // Twitterの投稿ダイアログを作って
            let cv = SLComposeViewController(forServiceType: SLServiceTypeTwitter)
            // 文字を追加
            cv.setInitialText("みんな聞いて!\n私の彼は" + String (NSUserDefaults.standardUserDefaults().integerForKey("U") ) + "回も腕立してるの! " + "#うでとれ#ゆかちぃ")
            cv.addImage(UIImage(named: "SNS.jpg"))
            // 投稿ダイアログを表示する
            self.presentViewController(cv, animated: true, completion:nil )
        }
        let cancelAction = UIAlertAction(title: "キャンセル", style: .Default,handler : nil)
        //選択肢をアラートに登録
        alert.addAction(firstAction)
        alert.addAction(secondAction)
        alert.addAction(cancelAction)
        //アラートを表示
        presentViewController(alert, animated: true, completion: nil)
}
・アニメーション
アニメーション
class func AnimationImg(img : UIImageView){
        img.transform = CGAffineTransformMakeScale(0.2, 0.2)
        img.alpha = 0 // imgはUIImageView
        UIView.animateWithDuration(2.0,
            delay: 0.1,
            usingSpringWithDamping: 0.8,
            initialSpringVelocity: 3.0,
            options: UIViewAnimationOptions.AllowUserInteraction,
            animations: {
                img.alpha = 1.0
                img.transform = CGAffineTransformIdentity
            }, completion: nil)
}
・UIAlertControllerに画像をAddSubView
UIAlertControllerにAddSubView
let v = UIImageView(frame: CGRectMake(0 , -190, 270, 180 ))
v.image = UIImage(named: "GJ.jpg")
v.layer.cornerRadius = 20
v.contentMode = UIViewContentMode.ScaleAspectFill
v.clipsToBounds = true
alert.view.addSubview(v)
・アプリアイコン での 3D Touch対応
UIAlertControllerにAddSubView
func application(application: UIApplication, didFinishLaunchingWithOptions launchOptions: [NSObject: AnyObject]?) -> Bool {
        // Override point for customization after application launch.
        let shortcut1 = UIMutableApplicationShortcutItem(type: "com.mycompany.myapp.quick", localizedTitle: "Quick Start", localizedSubtitle: "OP Skip", icon: UIApplicationShortcutIcon(templateImageName: "QS"), userInfo:["value1":"key1"])
        let shortcut2 = UIMutableApplicationShortcutItem(type: "com.mycompany.myapp.reset", localizedTitle: "Data Reset", localizedSubtitle: "腕立て回数の初期化", icon: UIApplicationShortcutIcon(templateImageName: "DR"), userInfo:["value1":"key1"])
        // 登録
        UIApplication.sharedApplication().shortcutItems = [shortcut1,shortcut2]
        return true
    }

func application(application: UIApplication, performActionForShortcutItem shortcutItem: UIApplicationShortcutItem, completionHandler: (Bool) -> Void) {
if let _ : UIApplicationShortcutItem = shortcutItem {
        //3D Touch Action 起動時の分岐
        if shortcutItem.type == "com.mycompany.myapp.quick" {
                //windowを生成
                self.window = UIWindow(frame: UIScreen.mainScreen().bounds)
                //Storyboardを指定
                let storyboard = UIStoryboard(name: "Main", bundle: nil)//Viewcontrollerを指定
                let initialViewController = storyboard.instantiateViewControllerWithIdentifier("Menu")
                //rootViewControllerに入れる
                self.window?.rootViewController = initialViewController
                //表示
                self.window?.makeKeyAndVisible()
        }
        if shortcutItem.type == "com.mycompany.myapp.reset"{
                // 保存データを全削除
                let appDomain:String = NSBundle.mainBundle().bundleIdentifier!
                NSUserDefaults.standardUserDefaults().removePersistentDomainForName(appDomain)
            }
        }
    }
雑文失礼しました。
