はじめに
プログラミング初心者こそChatbotを開発すべき理由とは?[from CodeIQ]をみてLine botを作ってみたいと思いました。
環境
・windows
・Python 3.6.3
・Heroku
概要
・Line developersに登録
・実装
・Herokuの設定
Line developersに登録
Line developersの準備については以下を参照してください。
LINEのBot開発 超入門
実装
コードはこちらに載せておきます。
基本的にはサンプルをベースにしています。
はじめにflaskとline-bot-sdkをインストールします。
pip install flask
pip install line-bot-sdk
サンプルだと最後がapp.run()となっていますが、それだと応答しないので変更します。
from flask import Flask,request,abort
from linebot import LineBotApi,WebhookHandler
from linebot.exceptions import InvalidSignatureError
from linebot.models import MessageEvent,TextMessage,TextSendMessage
import os

app=Flask(__name__)
# 環境変数の取得
YOUR_CHANNEL_ACCESS_TOKEN="アクセストークンを入力"
YOUR_CHANNEL_SECRET="Channel Secretを入力"
line_bot_api=LineBotApi(YOUR_CHANNEL_ACCESS_TOKEN)
handler=WebhookHandler(YOUR_CHANNEL_SECRET)

@app.route("/callback",methods=["POST"])
def callback():
    signature=request.headers["X-Line-Signature"]

    body=request.get_data(as_text=True)
    app.logger.info("Request body"+body)

    try:
        handler.handle(body,signature)
    except InvalidSignatureError:
        abort(400)
    return "OK"

@handler.add(MessageEvent,message=TextMessage)
def handle_message(event):
    line_bot_api.reply_message(event.reply_token,TextSendMessage(text=event.message.text))

if __name__=="__main__":
    port=int(os.getenv("PORT",5000))
    app.run(host="0.0.0.0",port=port)
Herokuの設定
Herokuの準備はHeroku初心者がHello, Herokuをしてみるを参照してください。
アカウント認証まで完了したら、アプリケーションを作成します。
コマンドからheroku createで作れます。
なお、アプリケーション名を入れなかった場合は自動的にアプリケーション名が決められます。
heroku create 任意のアプリケーション名
次に環境変数を設定します。
ここでLine developersで作成したアクセストークンとChannel Secretを使います。
heroku config:set YOUR_CHANNEL_SECRET="Channel Secretの欄の文字列"
heroku config:set YOUR_CHANNEL_ACCESS_TOKEN="アクセストークンの欄の文字列"
設定ファイルの作成
mian.pyと同じ階層にruntime.txtとrequirements.txtとProcfileを作成します。
python-3.6.3
web: python main.py
requirementsは
pip freeze > requirements.txt
で準備ができます。なお、手動でもよいです。
Flask==1.0.2
line-bot-sdk==1.8.0
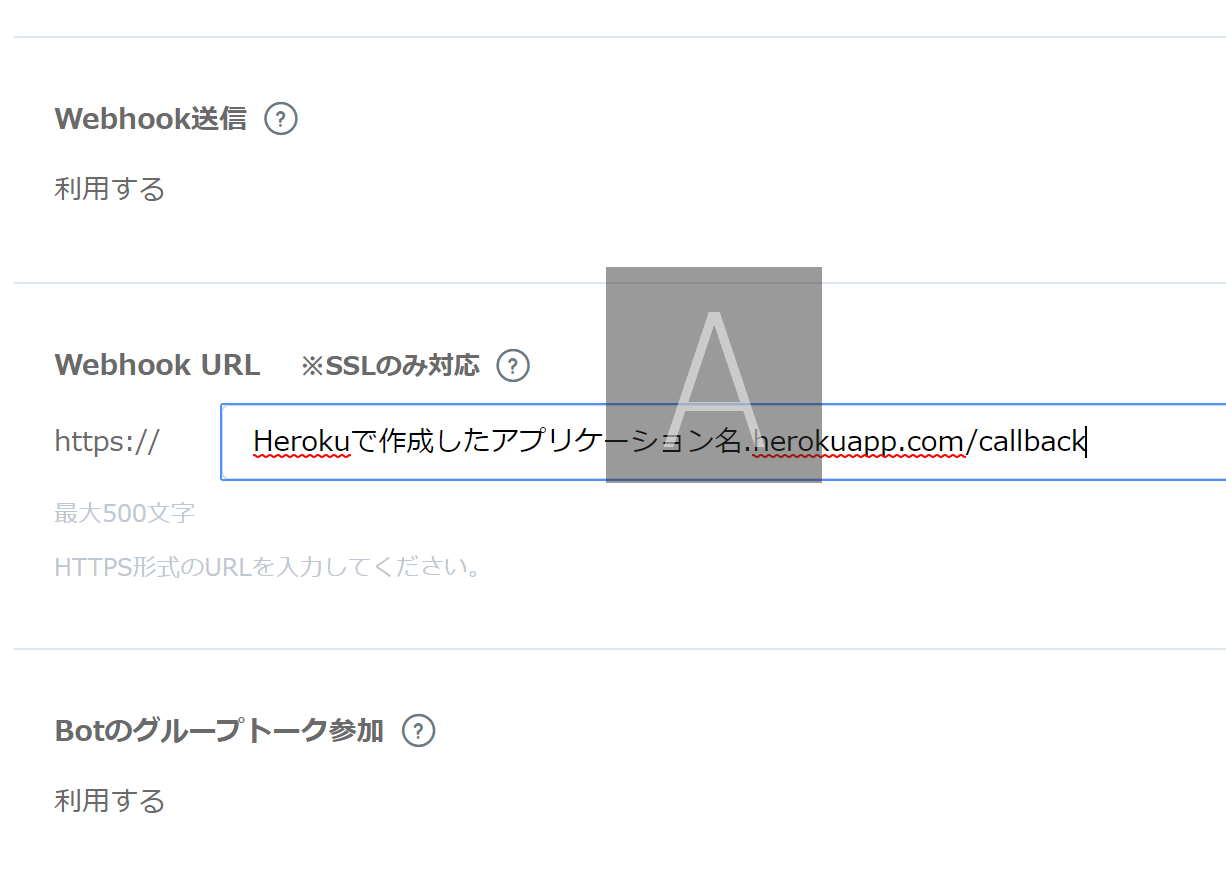
Webhookの設定
Line developersに戻り、Webhook URLを設定します。

ここでは、接続確認は不要です。
ファイルのデプロイ
main.pyなどがある階層で
git init
git add .
git commit -m "first commit"
git push heroku master
を入力します。
コマンドからgitが使えない場合はコマンドラインからGitを使うを参照してください。
うまくいかない場合
heroku logs --tailでエラーを確認してください。
個人的によくあるエラー
git push heroku masterをして以下のようなエラーがでた場合は
fatal: 'heroku' does not appear to be a git repository
fatal: Could not read from remote repository.
heroku git:remote -a herokuで作成したアプリケーション名
を入力してから再びpushすると上手くいくと思います。
注意
自分のアクセストークンをリモートリポジトリにpushしないでください。