はじめに
ChatGPTの利用が一気に加速して、様々なサービスや業務に取り入れる人・企業も増えてきました。
ChatGPTはSlackやLineなどで利用されている方も多いと思いますが、業務でTeamsを利用していて、そこにもChatGPTを利用したいニーズがあり、できるだけ簡単な環境構築(できるだけMicrosoftのサービスを利用しない)をやってみました。
エンドユーザーの要望は翻訳の多言語化で、日本語、英語、中国語、韓国語の中からだいたい2ヶ国語を話人たちのグループですが、Teamsの翻訳機能は設定で1ヶ国語にしかできない&ゲストは利用できないなど不便でした。
そこで、日本語で入力するとボットが英語、中国語、韓国語にChatGPTが翻訳した文章を返すといった機能になります。
今回のボットは多言語翻訳に機能を限定していますが、様々な用途に変更できると思います。
該当する環境
- AWS等からの通知を受け取りたい → Incoming Webhookを利用してください。
- 5秒以内に返答できるBot → Outgoing Webhookを利用してください。
- Bot Frameworkとか利用しないでシンプルにしたい → ぜひこちらを利用してください。
- ChatGPTの細かい設定はまた別途書きたいと思います。今回は環境構築を目的としています。
- AWSのLambdaとAPI Gatewayを利用しています。他のアプリなどでも利用できると思います。
アーキテクチャ

環境構築の流れ
1. Azure botの作成
- Azureアカウント作成(作成方法は他サイトを参考に。無料で作成できます。)
- Azure portalhttps://portal.azure.com/にログインしてください。
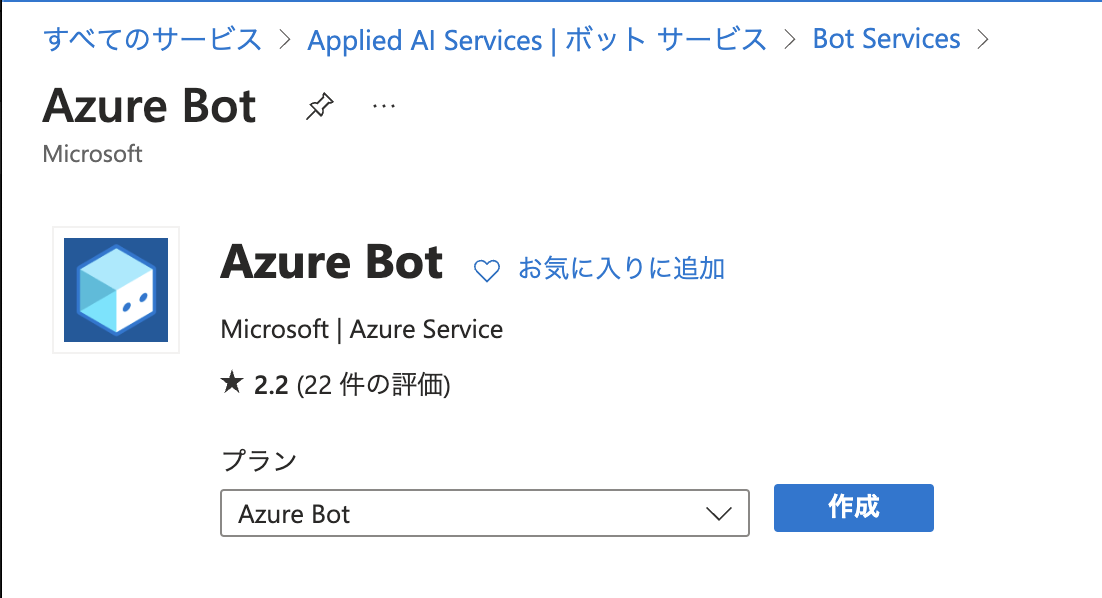
- botの作成
-
Applied AI Services > ボットサービス > 作成


-
リソースグループ名、場所などは適時自分の環境に合わせてください。

-
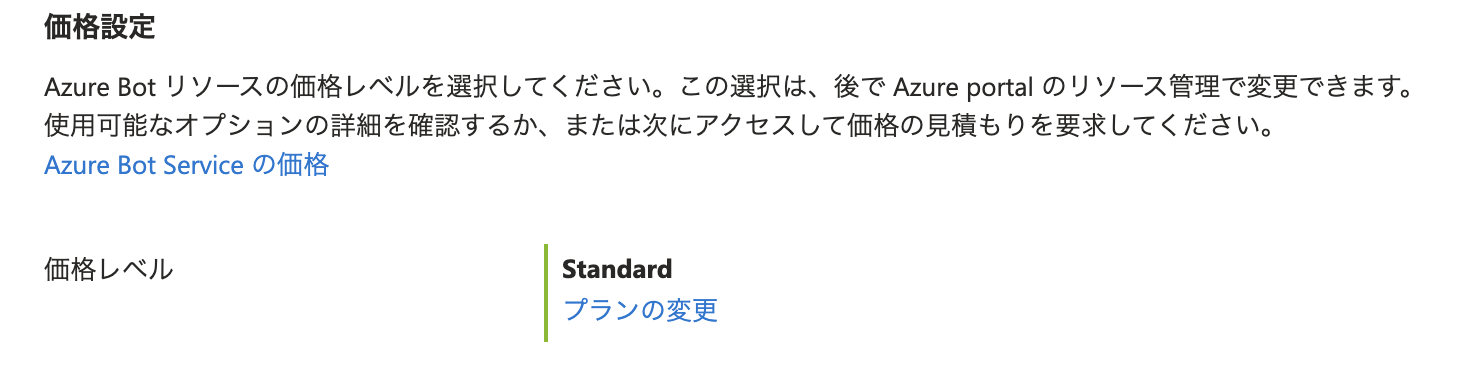
プランの変更から価格はFreeを選択

-
アプリの種類は「シングルテナント」を選択しています。マルチテナントなど他の選択が必要な方はそちらのドキュメントを参照してください。


-
Microsoft アプリIDの新規作成後、画面の手順に従って完了してください。


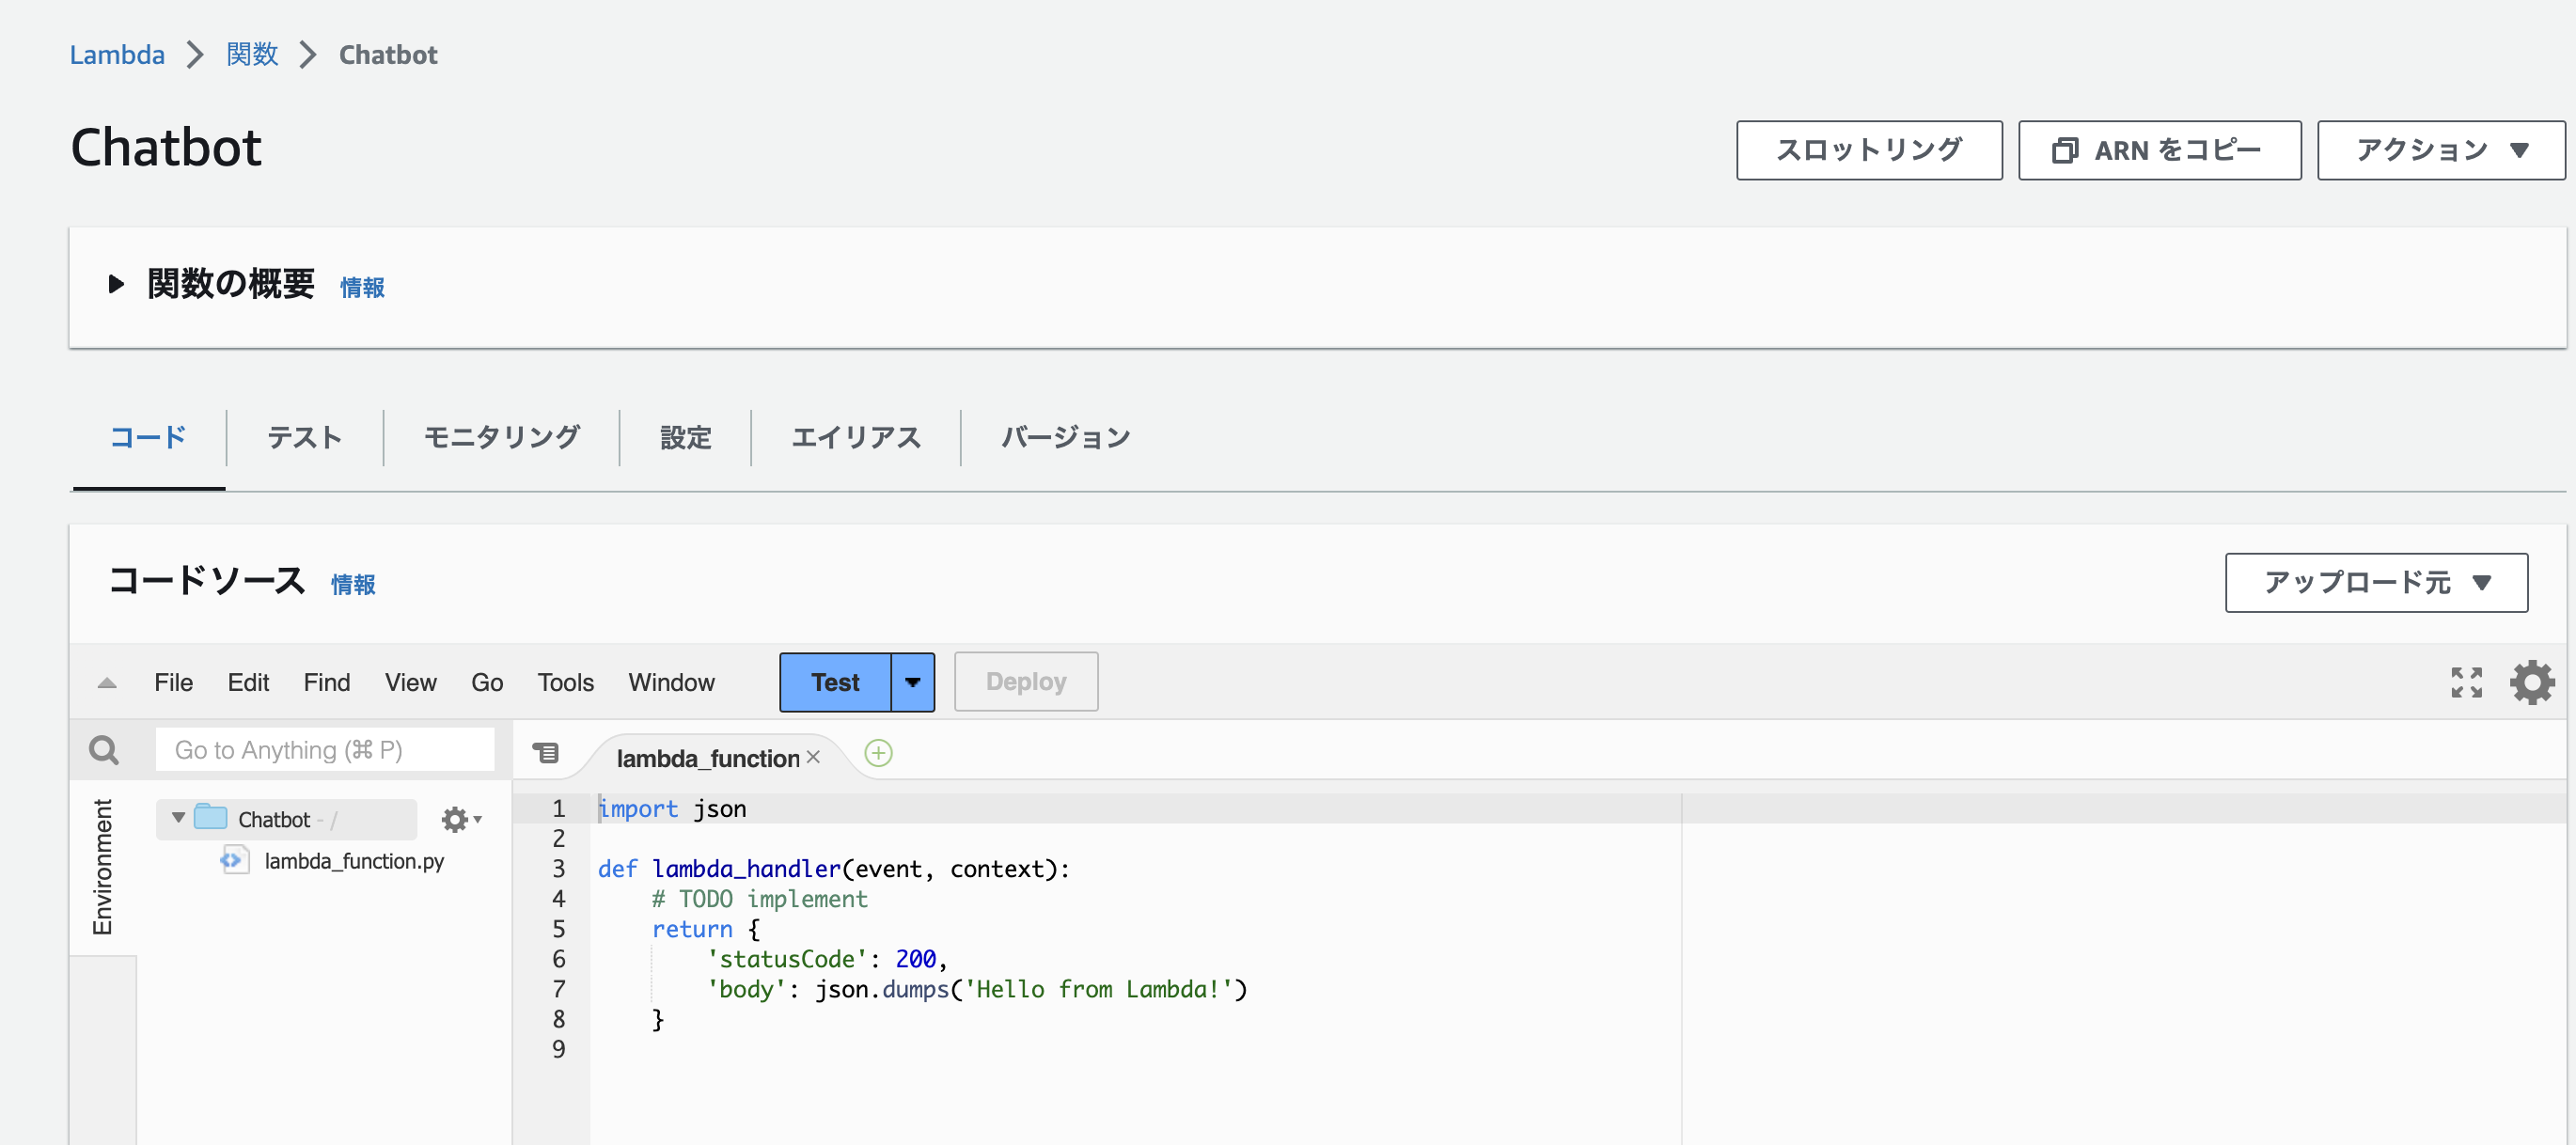
2. Lambdaの作成
-
Lambda > 関数の作成


-
タイムアウトのデフォルトが3秒になっていますが、タイムアウトしやすいので必要に応じて延長しておきましょう。
設定 > 一般設定 > 編集


-
必要なライブラリrequestsの準備
一度ローカルに作業ディレクトリを作成し、そこにライブラリを落としてzip化します。$ mkdir workspace $ cd workspace $ pip3 install requests -t . $ zip -r upload.zip * -
ライブラリをLambdaへアップロード


-
pyファイル作成
以下の3つのファイルを作成してください。
ファイルはこちらに置いておきます。詳細は後半に記載しています。
lambda_function.py
get_message.py
azure_bot.py
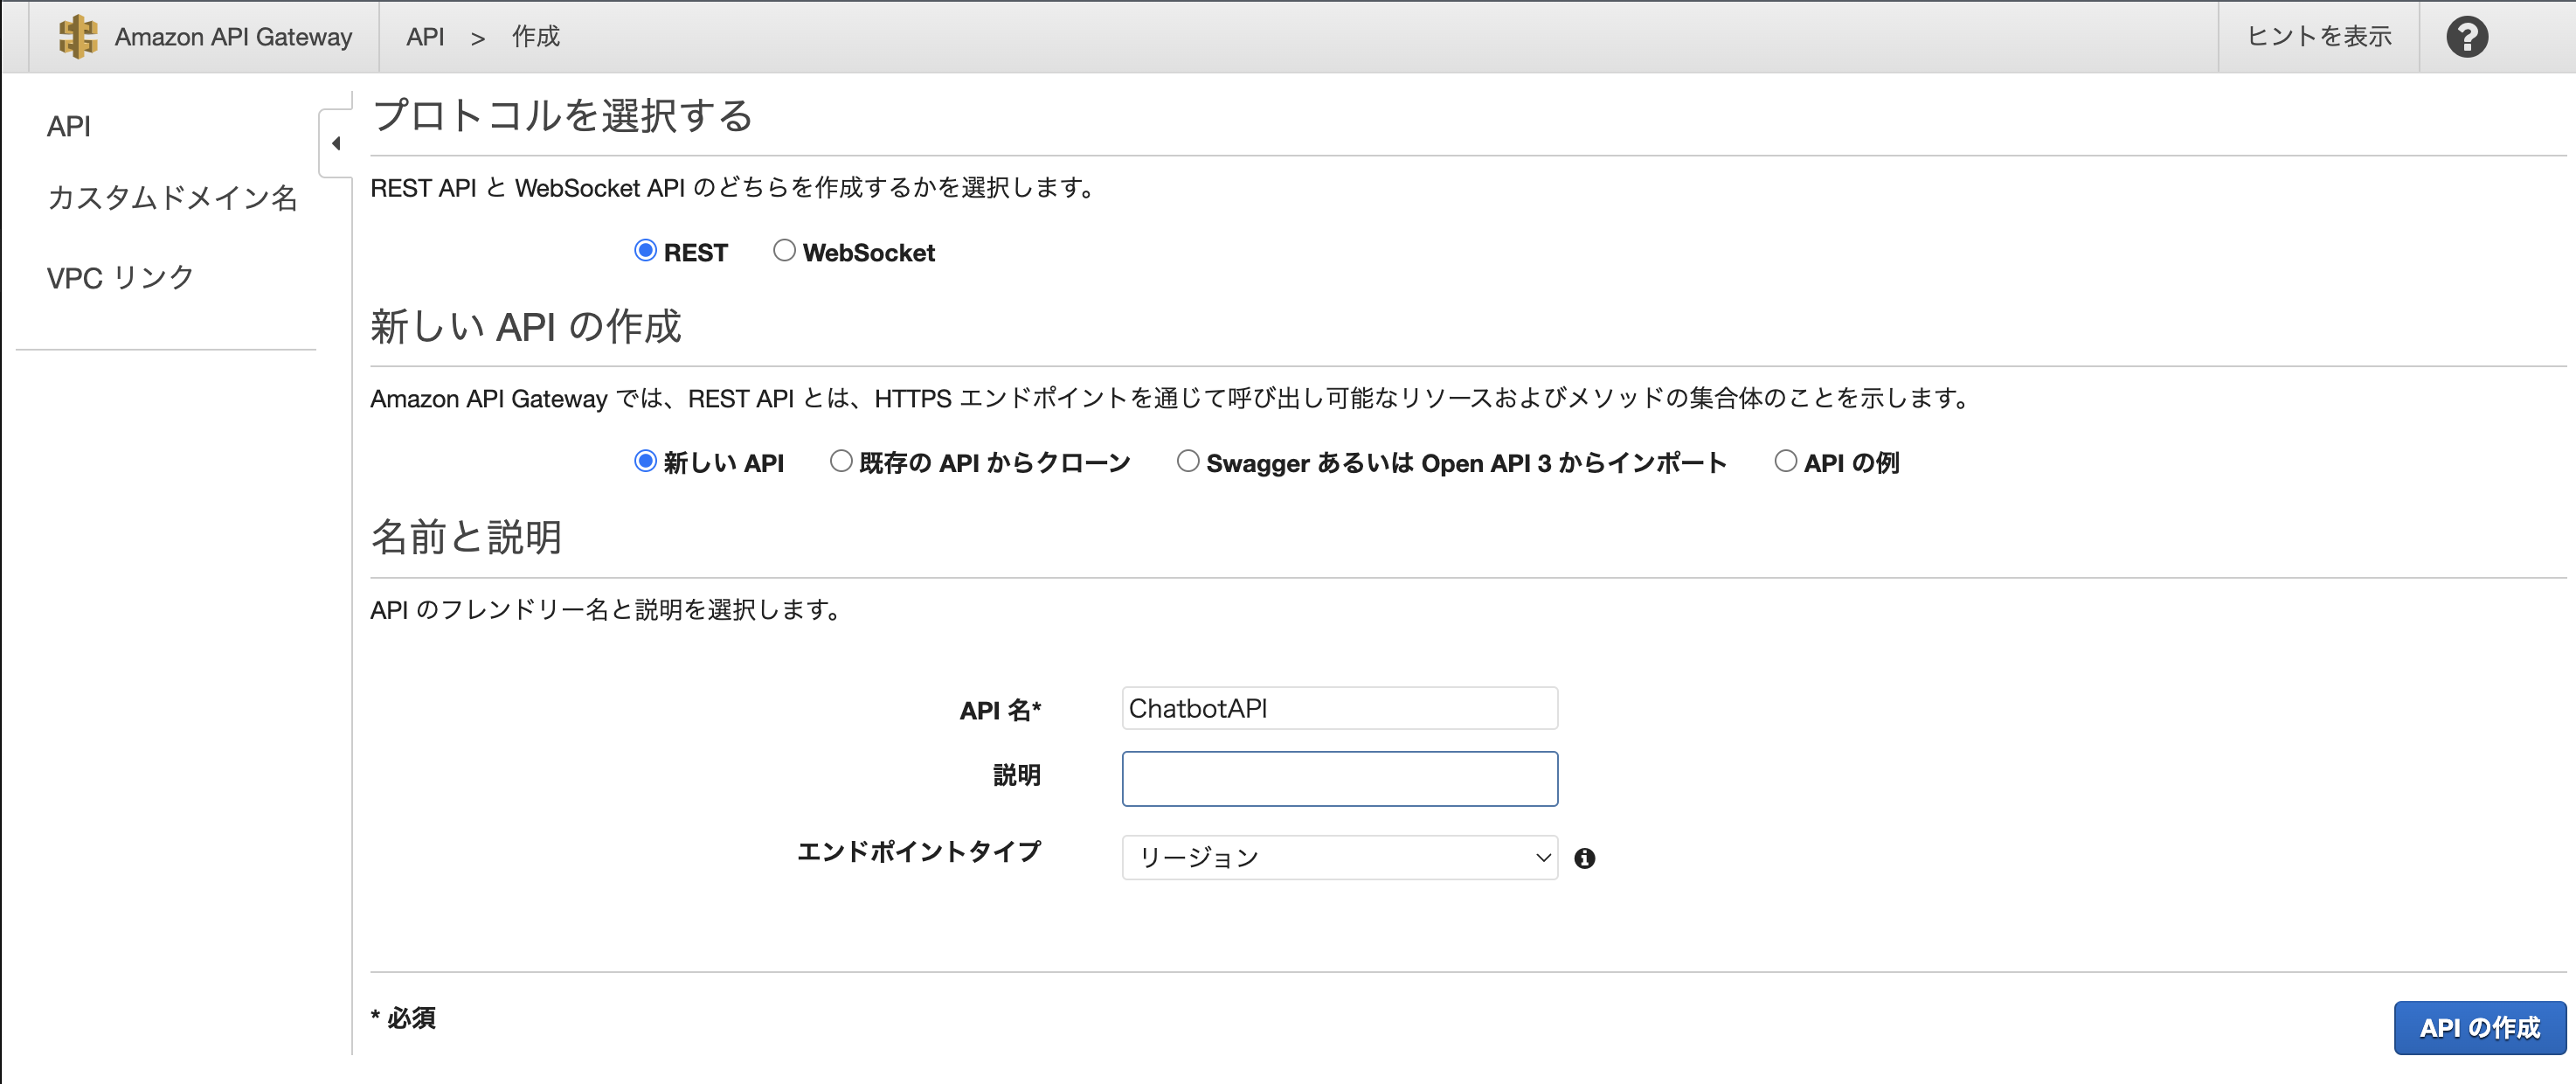
3. API Gatewayの作成
-
API Gateway > APIを作成 > REST API > APIの作成


-
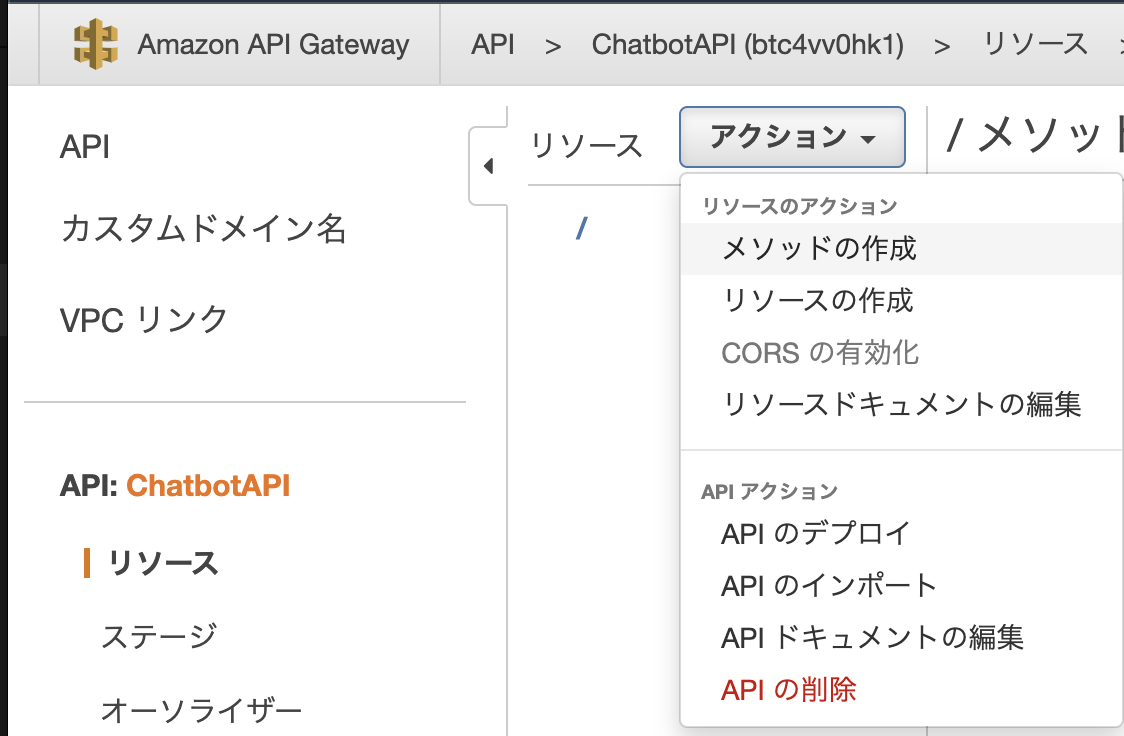
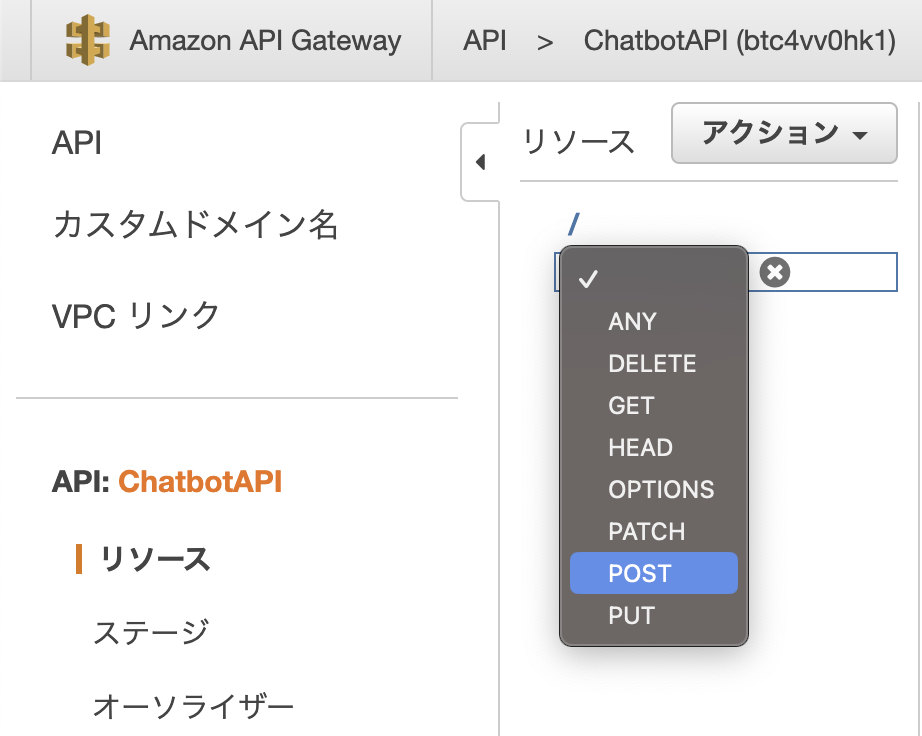
リソース > アクション > メソッドの作成 > POST
関数名は先程作成したLambdaの関数名をセットして保存


作成後のリソース図

-
マッピングテンプレートの追加
総合リクエスト > マッピングテンプレートの追加
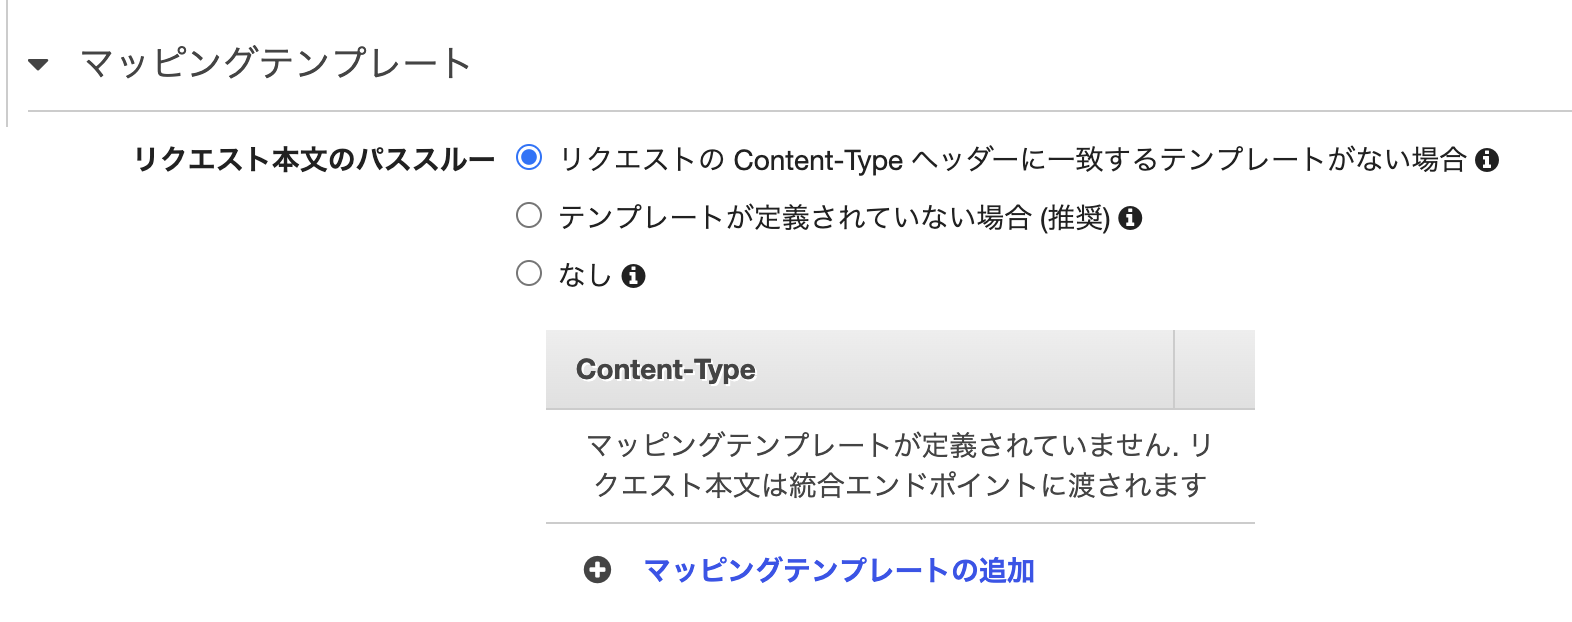

application/x-www-form-urlencoded
  ## convert HTML POST data or HTTP GET query string to JSON

  ## get the raw post data from the AWS built-in variable and give it a nicer name
  #if ($context.httpMethod == "POST")
  #set($rawAPIData = $input.path('$'))
  #elseif ($context.httpMethod == "GET")
  #set($rawAPIData = $input.params().querystring)
  #set($rawAPIData = $rawAPIData.toString())
  #set($rawAPIDataLength = $rawAPIData.length() - 1)
  #set($rawAPIData = $rawAPIData.substring(1, $rawAPIDataLength))
  #set($rawAPIData = $rawAPIData.replace(", ", "&"))
  #else
  #set($rawAPIData = "")
  #end

  ## first we get the number of "&" in the string, this tells us if there is more than one key value pair
  #set($countAmpersands = $rawAPIData.length() - $rawAPIData.replace("&", "").length())

  ## if there are no "&" at all then we have only one key value pair.
  ## we append an ampersand to the string so that we can tokenise it the same way as multiple kv pairs.
  ## the "empty" kv pair to the right of the ampersand will be ignored anyway.
  #if ($countAmpersands == 0)
  #set($rawPostData = $rawAPIData + "&")
  #end

  ## now we tokenise using the ampersand(s)
  #set($tokenisedAmpersand = $rawAPIData.split("&"))

  ## we set up a variable to hold the valid key value pairs
  #set($tokenisedEquals = [])

  ## now we set up a loop to find the valid key value pairs, which must contain only one "="
  #foreach( $kvPair in $tokenisedAmpersand )
  #set($countEquals = $kvPair.length() - $kvPair.replace("=", "").length())
  #if ($countEquals == 1)
  #set($kvTokenised = $kvPair.split("="))
  #if ($kvTokenised[0].length() > 0)
  ## we found a valid key value pair. add it to the list.
  #set($devNull = $tokenisedEquals.add($kvPair))
  #end
  #end
  #end

  ## next we set up our loop inside the output structure "{" and "}"
  {
  #foreach( $kvPair in $tokenisedEquals )
  ## finally we output the JSON for this pair and append a comma if this isn't the last pair
  #set($kvTokenised = $kvPair.split("="))
  "$util.urlDecode($kvTokenised[0])" : #if($kvTokenised[1].length() > 0)"$util.urlDecode($kvTokenised[1])"#{else}""#end#if( $foreach.hasNext ),#end
  #end
  }
こちらの内容については理解できていない部分があります。詳しくは参照元を御覧ください。
-
アクション > APIのデプロイ


-
APIを呼び出すurlが記載されています。

-
ログの設定をします。
ステージ > ログ/トレース > CloudWatchメトリクスを有効化にチェックして保存

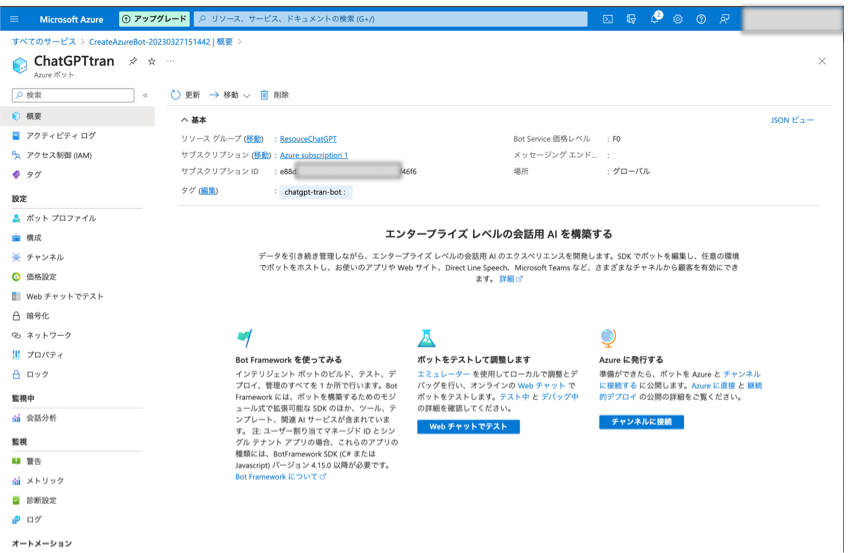
4. 各種設定
ざっと作成だけしてきましたが、詳細の設定をしていきましょう。
- Azureの設定
-
エンドポイント
API Gatewayを作成したときのAPIのurlを入力します。

-
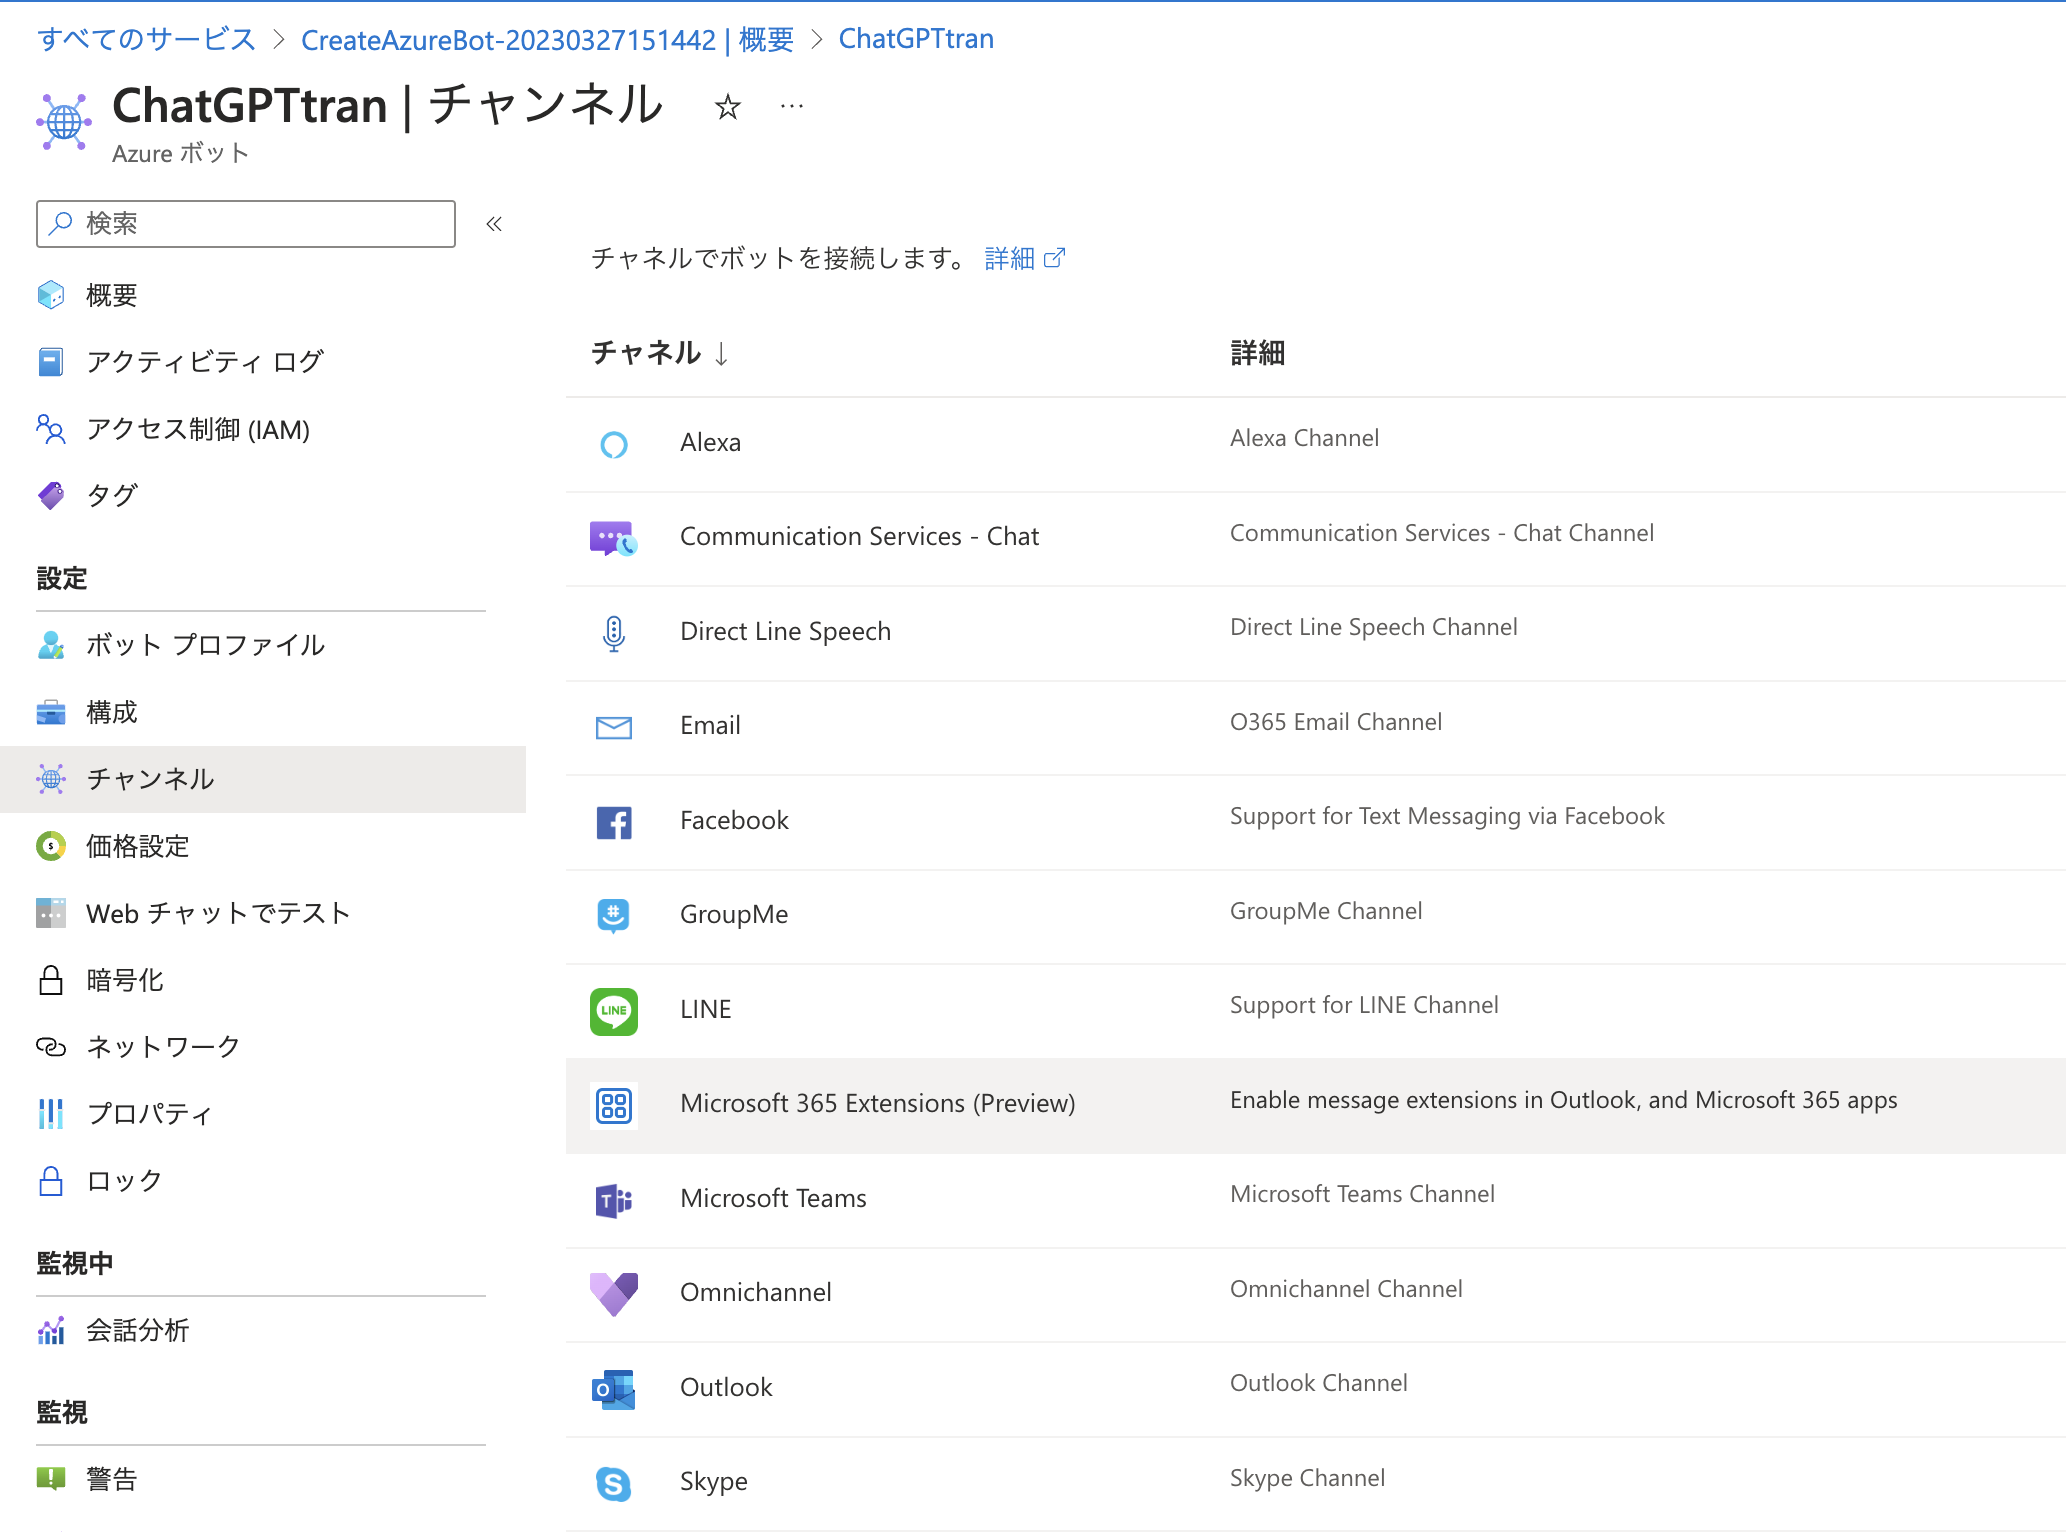
Teamsの追加
Teamsで使用できるようにします。
チャネル > Microsoft Teamsを追加
-
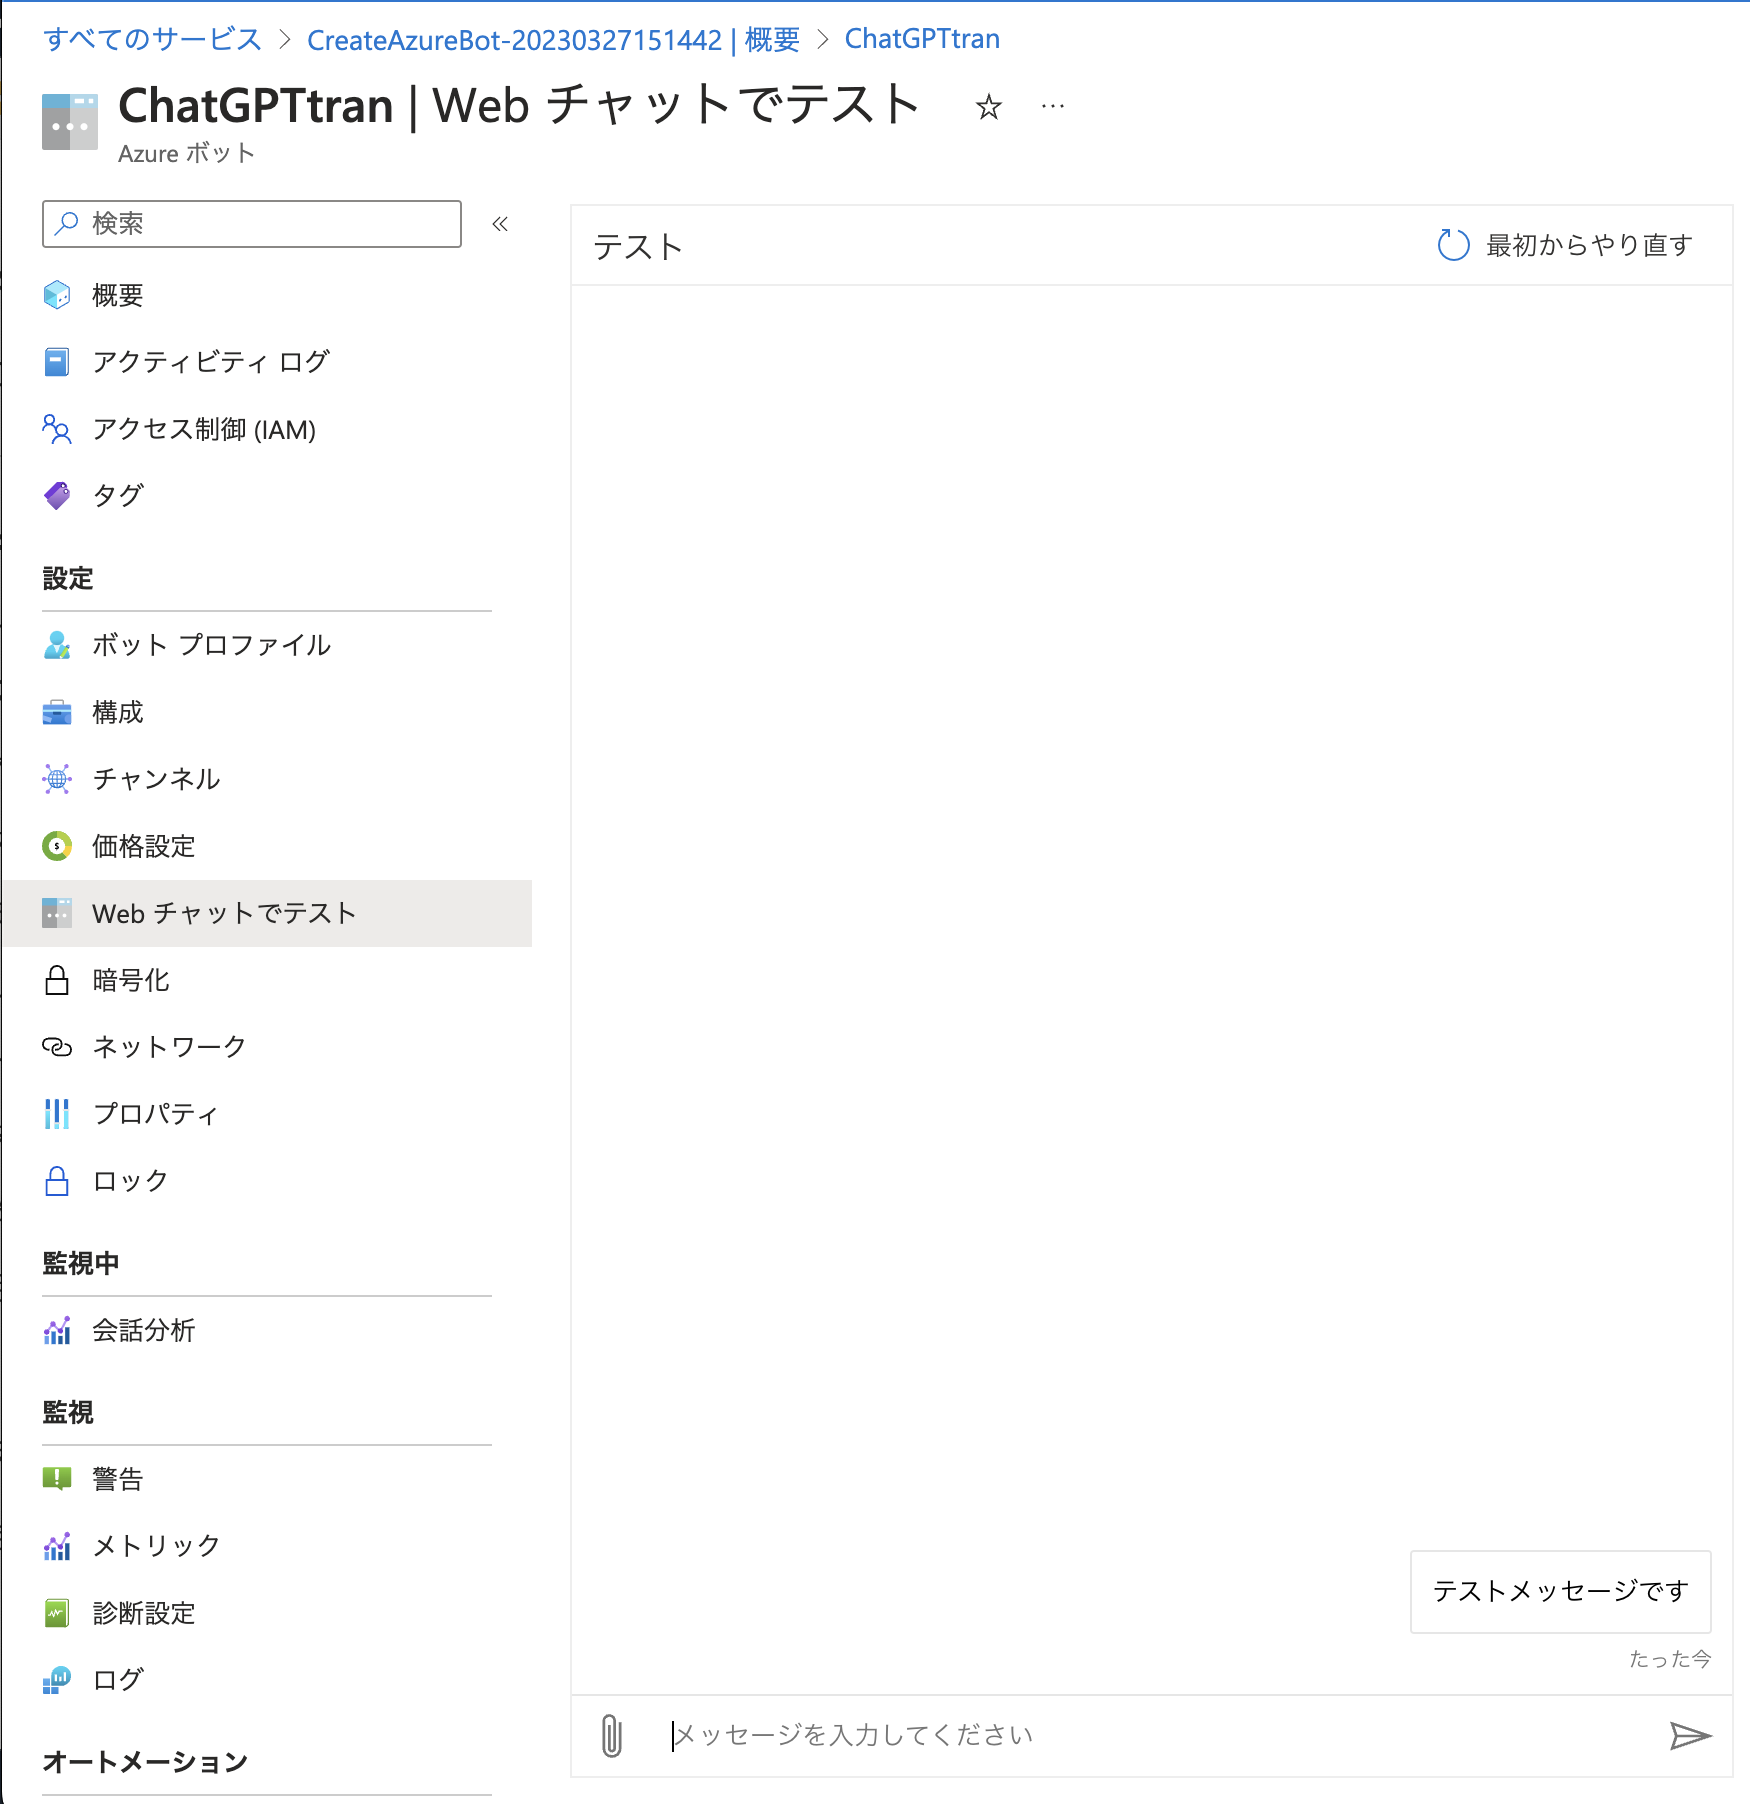
リクエストログの取得
webチャットでテスト > 適当なメッセージを送信
2.CloudWatchのログを確認
-
ログに記載されている情報を確認しましょう。
CloudWatch > ロググループ >

ロググループが作成されているはずなので、ログリストから先程のテストメッセージを送った際のログを確認します。

-
以下のような情報が含まれています。
  (ffd456b5-b5e8-4660-b745-2e6045b6a2a3) Method request body before transformations: {
  "type": "message",
  "id": "Kfag***************0000",
  "timestamp": "2023-03-28T09:55:25.6099948Z",
  "localTimestamp": "2023-03-28T18:55:25.35+09:00",
  "localTimezone": "Asia/Tokyo",
  "serviceUrl": "https://webchat.botframework.com/",
  "channelId": "webchat",
  "from": {
      "id": "1a07***-*********109f",
      "name": ""
  },
  "conversation": {
      "id": "Kfag*************9-as"
  },
  "recipient": {
      "id": "ChatGPTtran@*******TE",
      "name": "ChatGPTtran"
  },
  "textFormat": "plain",
  "locale": "ja",
  "text": "テストメッセージです",
  "attachments": [],
  "entities": [
      {
          "type": "ClientCapabilities",
          "requiresBotState": true,
          "supportsListening": true,
          "supportsTts": true
      }
  ],
  "channelData": {
      "clientActivityID": "1679997325338d317w4yr9p"
  }
  }
5. Lambda関数の修正
ここで改めて関数を確認していきましょう。
-
APIを呼び出した際に実行される関数です。
lambda_function.py
import logging
import traceback
import os
import get_message
import azure_bot
import json

logger = logging.getLogger(__name__)
logger.setLevel(logging.ERROR)


def lambda_handler(event, context):
    try:
        logger.debug(event)
        bot_name = os.environ.get('BOT_NAME', '')
        text = event['text'].replace(bot_name, '').replace('@', '').strip()
        # ChatGPTへの指示文
        order_text = '以下の文章を日本語、英語、中国語、韓国語に翻訳してください。それぞれの言語の間は改行をいれてください。\n'
        msg = order_text + text
        msg = get_message.chatgpt_response(msg)

        azure_bot.response_azure(event, msg)

        response = {
            'statusCode': 200,
            'body': json.dumps('Hello from Lambda!')
        }

        return response

    except:
        logger.error(traceback.format_exc())
        return traceback.format_exc()
翻訳機能だけに限定したBotにしているので、シンプルにユーザーからの文章の先頭に翻訳する指示文を追加しています。
-
文章をChatGPTへ送信して、翻訳文を受け取っています。
get_message.py
 import logging
 import requests
 import traceback
 import json
 import os
 from datetime import datetime

 logger = logging.getLogger(__name__)
 logger.setLevel(logging.ERROR)


 def chatgpt_response(text):
      apikey = os.environ.get('CHATGPT_API_KEY', 'sk-Hl*****************************BbBo')
      openai_endpoint = 'https://api.openai.com/v1/chat/completions'

      system_content = '\
      あなたはChatbotとして、翻訳をします。\
      以下の制約条件を厳密に守って翻訳をしてください。\
      \
      制約条件: \
      * Chatbotの自身を示す一人称は、Chattranです。\
      * Chattranは日本語、英語、韓国語、中国語を話します。\
      * Chattranは翻訳文だけを返答します。\
      \
      Chattranの行動指針:\
      * Userが日本語で話しかけてきた場合、文章を中国語と英語と韓国語に翻訳して各言語の間に改行を入れ返答します。\
      * Userが英語で話しかけてきた場合、文章を日本語と中国語と韓国語に翻訳して各言語の間に改行を入れ返答します。\
      '

      payload = {
          'model': 'gpt-3.5-turbo',
          'messages': [
              {'role': 'system', 'content': system_content},
              {'role': 'user', 'content': text}
          ]
      }

      headers = {
          'Content-type': 'application/json',
          'Authorization': 'Bearer '+ apikey
      }

      try:
          response = requests.post(
              openai_endpoint,
              data=json.dumps(payload),
              headers=headers
          )
          data = response.json()
          logger.debug(data)
          return_text = data['choices'][0]['message']['content']

             return return_text

         except:
             logger.error(traceback.format_exc())
             return traceback.format_exc()
API keyはChatGPTからAPI keyを取得してください。
system_contentは、機能やコンプラなどに合わせて適時修正が必要です。
また、アウトプットのフォーマットなどもここで指定てきますが、なかなか思うようなアウトプットにするには内容を工夫する必要があります。
シンプルな内容にしていますので、必要に応じて修正してください。 -
認証アプリからのJTWトークンの取得及び、Bot Connectorへのレスポンスの送信を行います。
Create a bot with the Bot Connector service with the Bot Connector API
Authentication with the Bot Connector API
API reference for the Bot Framework Connector serviceazure_bot.py
 import requests
 import json
 import logging

 logger = logging.getLogger(__name__)
 logger.setLevel(logging.ERROR)


 def response_azure(event, message):
     access_token = fetch_access_token()

     id = event['id']
     recipient_id = event['recipient']['id']
     recipient_name = event['recipient']['name']
     conversatoin_id = event['conversation']['id']
     base_url = event['serviceUrl']
     # conversatoin_name = event['conversation']['name']

     data = {
         "type": "message",
         "from": {
             "id": recipient_id,
             "name": recipient_name
         },
         "conversation": {
             "id": conversatoin_id
         },
         "recipient": {
             "id": recipient_id,
             "name": recipient_name
         },
         "text": message,
         "replyToId" : id
         }
     json_data = json.dumps(data)

     headers = {
         'Authorization': f'Bearer {access_token}',
         'Content-type': 'application/json'
     }

     url = f'{base_url}v3/conversations/{conversatoin_id}/activities/{id}'
     response = requests.post(url, data=json_data, headers=headers)
     logger.debug(response)

     print(response)

 def fetch_access_token():
     tenant_id = '7d25*************************f325'
     params = {
         'grant_type': 'client_credentials',
         'client_id': '142f*****************************89b3',
         'client_secret': 'JMN8********************************ecgP',
         'scope': 'https://api.botframework.com/.default'
     }
     url = f'https://login.microsoftonline.com/{tenant_id}/oauth2/v2.0/token'
     response = requests.post(url, data=params)

     access_token = json.loads(response.text)['access_token']
     return access_token
公式のドキュメントではevent['conversation']['name']があるのですが、何故かリクエストには含まれていませんでした。
JTWトークンを取得する際に必要になるのが
-
tenant_id
こちらはMicrosft 365の管理センターで確認できます。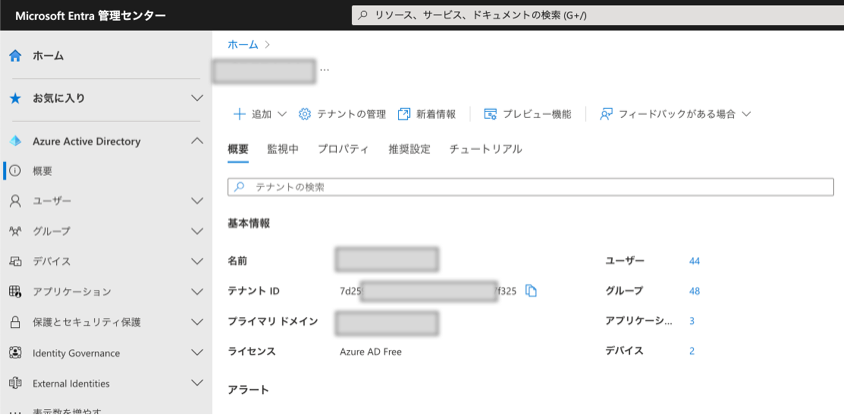
-
client_id
Azure bot > 構成 > Microsoft App IDのことです。
-
client_secret
こちらが意味不明だったのですが、こちらの値のことでした。

しかし、Botを作成したときにこの値を取得できていません。
ということで、新しくIDを作成して値を取得することにします。
Microsoft App ID > パスワードの管理 > クライアントシークレット > 新しいシークレット
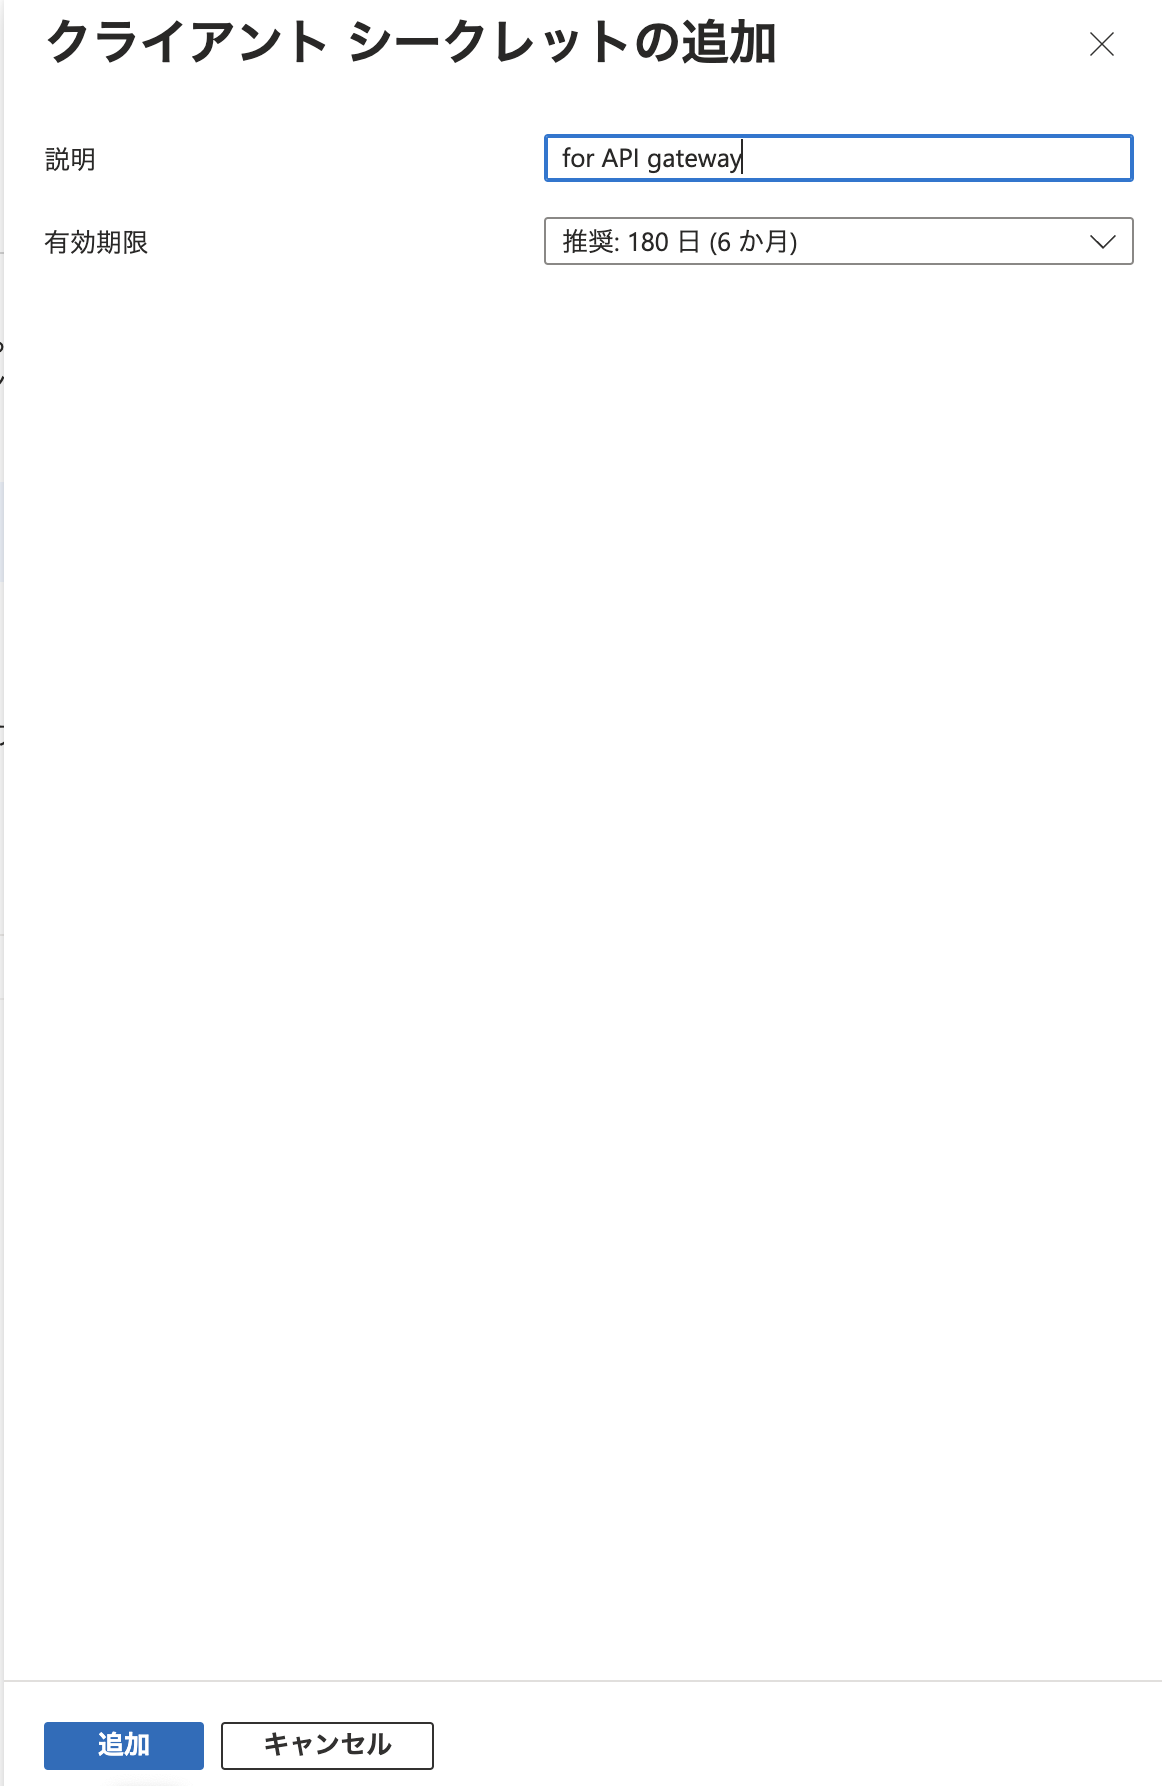
作成時に表示された値を記録してください。(こちら期限があるので、継続して利用していくためには更新が必要ですね。)

注)これらの変数はセキュリティの必要性に応じてAWSの環境変数を設定して利用してください。
-
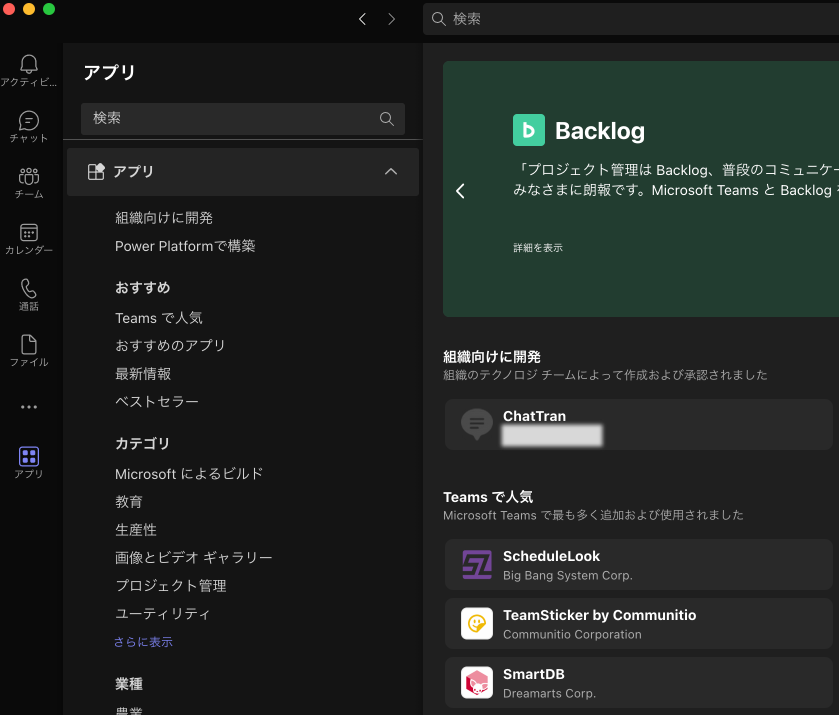
6. Teamsへの登録
ようやくTeams側で使う最終段階に入ってきました。
Teamsで使うには、まずアプリ登録が必要ですが、そう簡単にいかないのが仕様です。
Create Teams app package
ドキュメントを見ると、必要なのがマニュフェストの作成とアイコン画像を32pxと192pxの2つのサイズです。
-
マニュフェストに関してはこちら。
App manifest schema for Teams{ "$schema": "https://developer.microsoft.com/json-schemas/teams/v1.15/MicrosoftTeams.schema.json", "manifestVersion": "1.15", "version": "0.1.0", "id": "142f*************************89b3", "developer": { "name": "DeveloperName", "websiteUrl": "https://github.com/derek-wkwk/teams-bot-chatgpt.git", "privacyUrl": "https://github.com/derek-wkwk/teams-bot-chatgpt.git", "termsOfUseUrl": "https://github.com/derek-wkwk/teams-bot-chatgpt.git" }, "name": { "short": "ChatTran" }, "description": { "short": "Translation bot", "full": "Translation chat bot for teams." }, "icons": { "outline": "32.png", "color": "192.png" }, "accentColor": "#FF4749", "bots": [ { "botId": "142f*************************89b3", "scopes": [ "team", "personal", "groupchat" ], "needsChannelSelector": false, "isNotificationOnly": false, "supportsFiles": false, "supportsCalling": false, "supportsVideo": false } ], "permissions": [ "identity", "messageTeamMembers" ], "devicePermissions": [ "notifications" ], "validDomains": [ "crediai.com" ], "defaultInstallScope": "team", "defaultGroupCapability": { "team": "bot", "groupchat": "bot" } }idとbotIdには上記のclient_id(App ID) をセットしています。
ドキュメントを見たのですが、別々のIDのようですがどれのことかわかっていないため、両方同じにしています。とりあえずこれで動作しています。。ようやくファイルの準備ができました。これらをまとめてzip化します。(upload.zip)
-
Teamsへ登録
今度はTeamsアプリなどから
アプリ管理 > アプリをアップロード

管理者ではない場合、手順が異なるかもしれません。管理者にお願いしましょう。

アップロード後、多少時間かかりますがこちらのように登録されます。
必要なチームやチャットに追加してください。

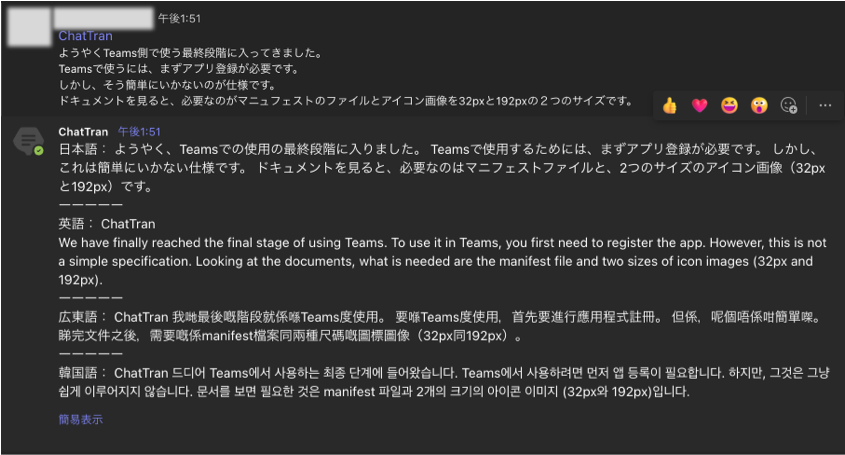
7. 使ってみた
追加したチーム内で、ボットにメンションすると、その文が翻訳されて返されてきました。
最後に
ChatGPTの利用が急速に進んでいて、様々なサービスが始まっています。私も業務で取り入れたりしながらその進化に驚いている毎日です。
今回は、どちらかというとChatGPTの要素が少ないですが、いざTeamsで利用しようとした時に、公式ドキュメントがあれだし、サービスのつながりが不明瞭だしでかなり苦労しました。
取り急ぎ仕上げたため、後ほど細部は修正していく予定ですが、間違いがあればすぐに修正しますのでよろしくお願いいたします。
参考サイト
Microsoft Teamsで(Bot frameworkを使わずに)ボットを作るには
slackのbotをAWS Lambda(Python)+API Gatewayで構築