概要
Ubuntu24.04でDepth-Anythingの環境を作った手順。
使ったコマンドとサンプルをただ動かしただけです。
環境
- Ubuntu 24.04.LTS
- Python 3.12.3 (venvで仮想環境化して使用)
pipのリスト(付属のrequirements.txtから落としただけ)
aiofiles 23.2.1
altair 5.4.1
annotated-types 0.7.0
anyio 4.4.0
attrs 24.2.0
certifi 2024.8.30
charset-normalizer 3.3.2
click 8.1.7
contourpy 1.3.0
cycler 0.12.1
fastapi 0.114.0
ffmpy 0.4.0
filelock 3.16.0
fonttools 4.53.1
fsspec 2024.9.0
gradio 4.14.0
gradio_client 0.8.0
gradio_imageslider 0.0.20
h11 0.14.0
httpcore 1.0.5
httpx 0.27.2
huggingface-hub 0.24.6
idna 3.8
importlib_resources 6.4.4
Jinja2 3.1.4
jsonschema 4.23.0
jsonschema-specifications 2023.12.1
kiwisolver 1.4.7
markdown-it-py 3.0.0
MarkupSafe 2.1.5
matplotlib 3.9.2
mdurl 0.1.2
mpmath 1.3.0
narwhals 1.6.2
networkx 3.3
numpy 1.26.4
nvidia-cublas-cu12 12.1.3.1
nvidia-cuda-cupti-cu12 12.1.105
nvidia-cuda-nvrtc-cu12 12.1.105
nvidia-cuda-runtime-cu12 12.1.105
nvidia-cudnn-cu12 9.1.0.70
nvidia-cufft-cu12 11.0.2.54
nvidia-curand-cu12 10.3.2.106
nvidia-cusolver-cu12 11.4.5.107
nvidia-cusparse-cu12 12.1.0.106
nvidia-nccl-cu12 2.20.5
nvidia-nvjitlink-cu12 12.6.68
nvidia-nvtx-cu12 12.1.105
opencv-python 4.10.0.84
orjson 3.10.7
packaging 24.1
pandas 2.2.2
pillow 10.4.0
pip 24.0
pydantic 2.9.0
pydantic_core 2.23.2
pydub 0.25.1
Pygments 2.18.0
pyparsing 3.1.4
python-dateutil 2.9.0.post0
python-multipart 0.0.9
pytz 2024.1
PyYAML 6.0.2
referencing 0.35.1
requests 2.32.3
rich 13.8.0
rpds-py 0.20.0
semantic-version 2.10.0
setuptools 74.1.2
shellingham 1.5.4
six 1.16.0
sniffio 1.3.1
starlette 0.38.5
sympy 1.13.2
tomlkit 0.12.0
torch 2.4.1
torchvision 0.19.1
tqdm 4.66.5
triton 3.0.0
typer 0.12.5
typing_extensions 4.12.2
tzdata 2024.1
urllib3 2.2.2
uvicorn 0.30.6
websockets 11.0.3
参考URL
公式 Apache-2.0 licenseだそうです.
https://github.com/LiheYoung/Depth-Anything?tab=readme-ov-file
コマンド手順(ちょっと順番が怪しいです, 環境見ながら動かしてみてください)
Git, venv, Pythonのインストールは省略.
基本的にはreadme.mdをそのままさらってます.
#Gitクローン
git clone https://github.com/LiheYoung/Depth-Anything

#仮想環境作成(pip環境を個別にしときたいので)
python -m venv Depth-Anything

#仮想環境Active
source ./Depth-Anything/bin/activate

#クローンしたフォルダに移動
cd Depth-Anything

#pipで諸々をインストール
pip install -r requirements.txt

#サンプルコード実行
python run.py --encoder vitl --img-path assets/examples --outdir depth_vis
実行結果
assets/examplesディレクトリ内の画像を, 深度をつけてdepth_visディレクトリに出力してます
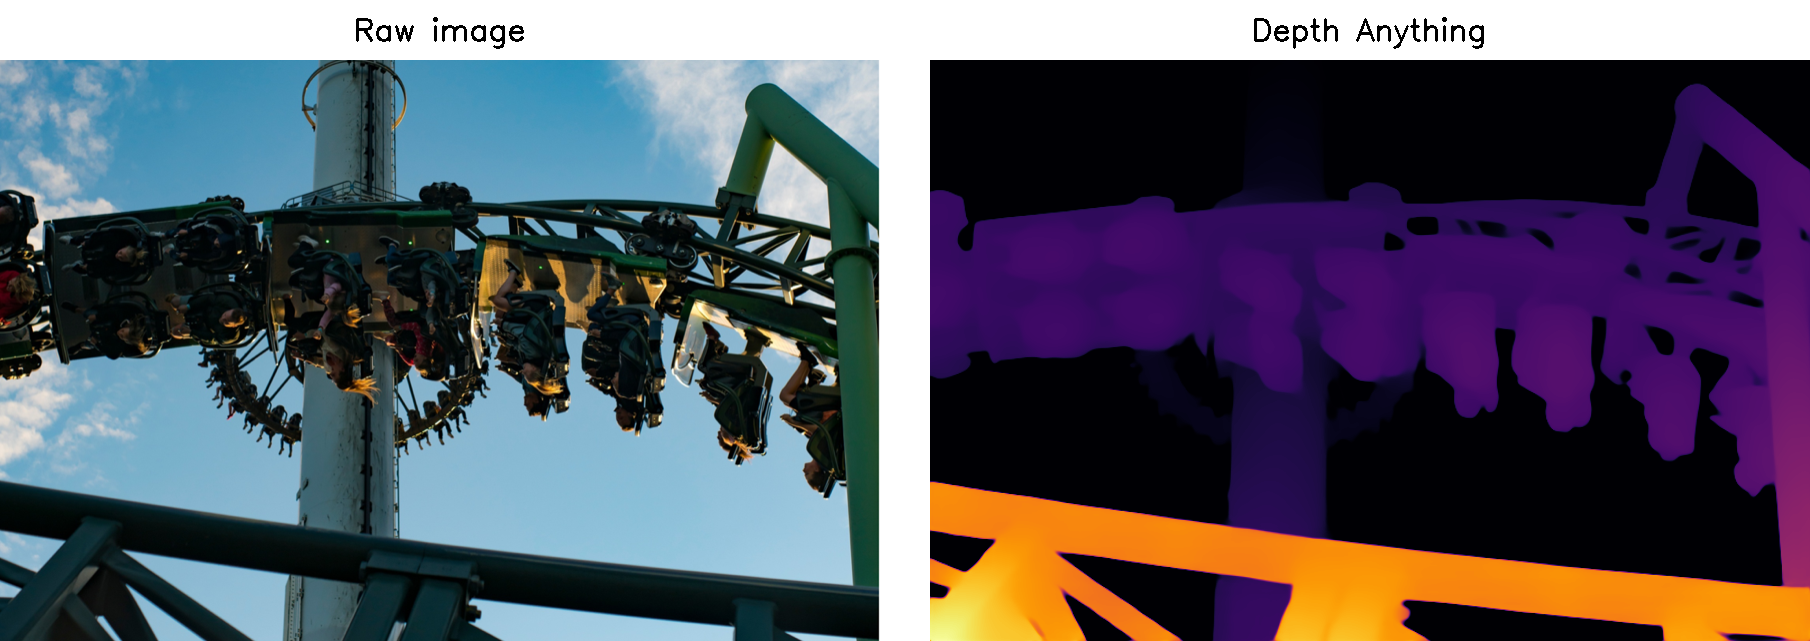
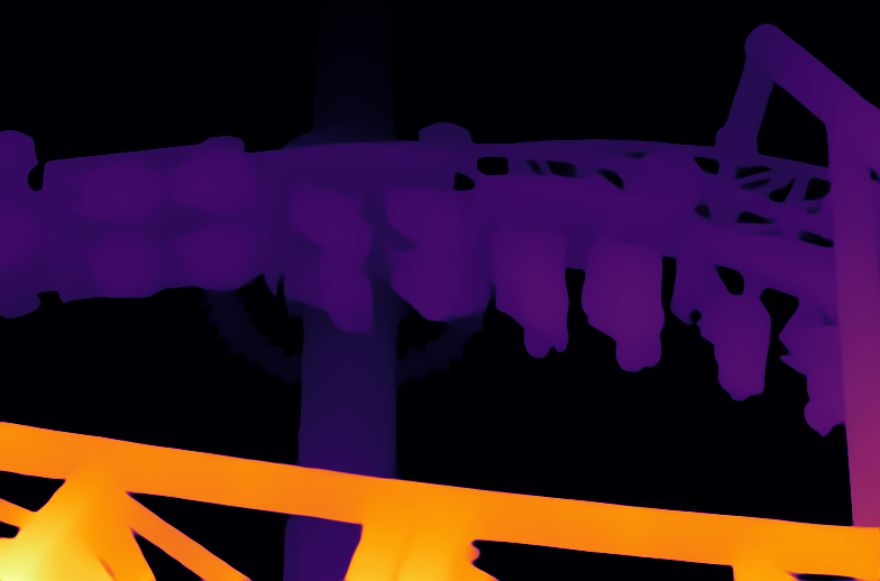
Row Image(元画像)を並べてほしくないときはこちら(--pred-onlyをつけてるだけ)
python run.py --encoder vitl --img-path assets/examples --outdir depth_vis --pred-only
所感
Blenderでどうも深度マップから画像に深度をつけて凹凸感をつけられるようなので
そのうち試してみます。
もしくは深度をcsvとかで出力して, .objでメッシュ化も出来るかも