この記事は,フラー株式会社 Advent Calendar 2021の9日目の記事です。
8日目の記事は@inoriko711さんによるきらめく星(の力で憧れの私)描くよでした。
はじめに
僕はフラー株式会社でAndroidエンジニアのアルバイトのオンボーディング(研修)期間中にPokéAPIを使ったポケモン図鑑アプリ作りました。これがそのアプリです。恥ずかしいからみないでください。MVVMとかあまりよくわからないまま適当に作ったと思います。
もう,バイトを始めて8ヶ月くらい経ちました1。色々なライブラリやMVVMとは何か,Jetpack Compose... などの色々なことを触れることができたので,改めて簡単なポケモン図鑑Androidアプリを作ります。今回はJetpack ComposeによるAndroid MVVMアーキテクチャ入門を全面的にパクリって参考にしてComposeを使ったポケモン図鑑を作成します2。ちゃんと説明するのがめんどくさいので参考書やこれ(今回書いたコード)を見てください。
PokéAPIとは
PokéAPIはポケモンに関する大量のデータ(ポケモン,技,タイプ,特性,ゲームバージョン,図鑑説明,アイテムなど)があります。詳しくはPokéAPI/Aboutを確認してください。
例えば https://pokeapi.co/api/v2/pokemon/ditto/ のようにAPIを叩くと,メタモンに関するデータが取得できます。APIの叩き方や取得できるデータについてはPokéAPI/Docを確認してください。とっても詳しく書いてあります。
仕様を決める
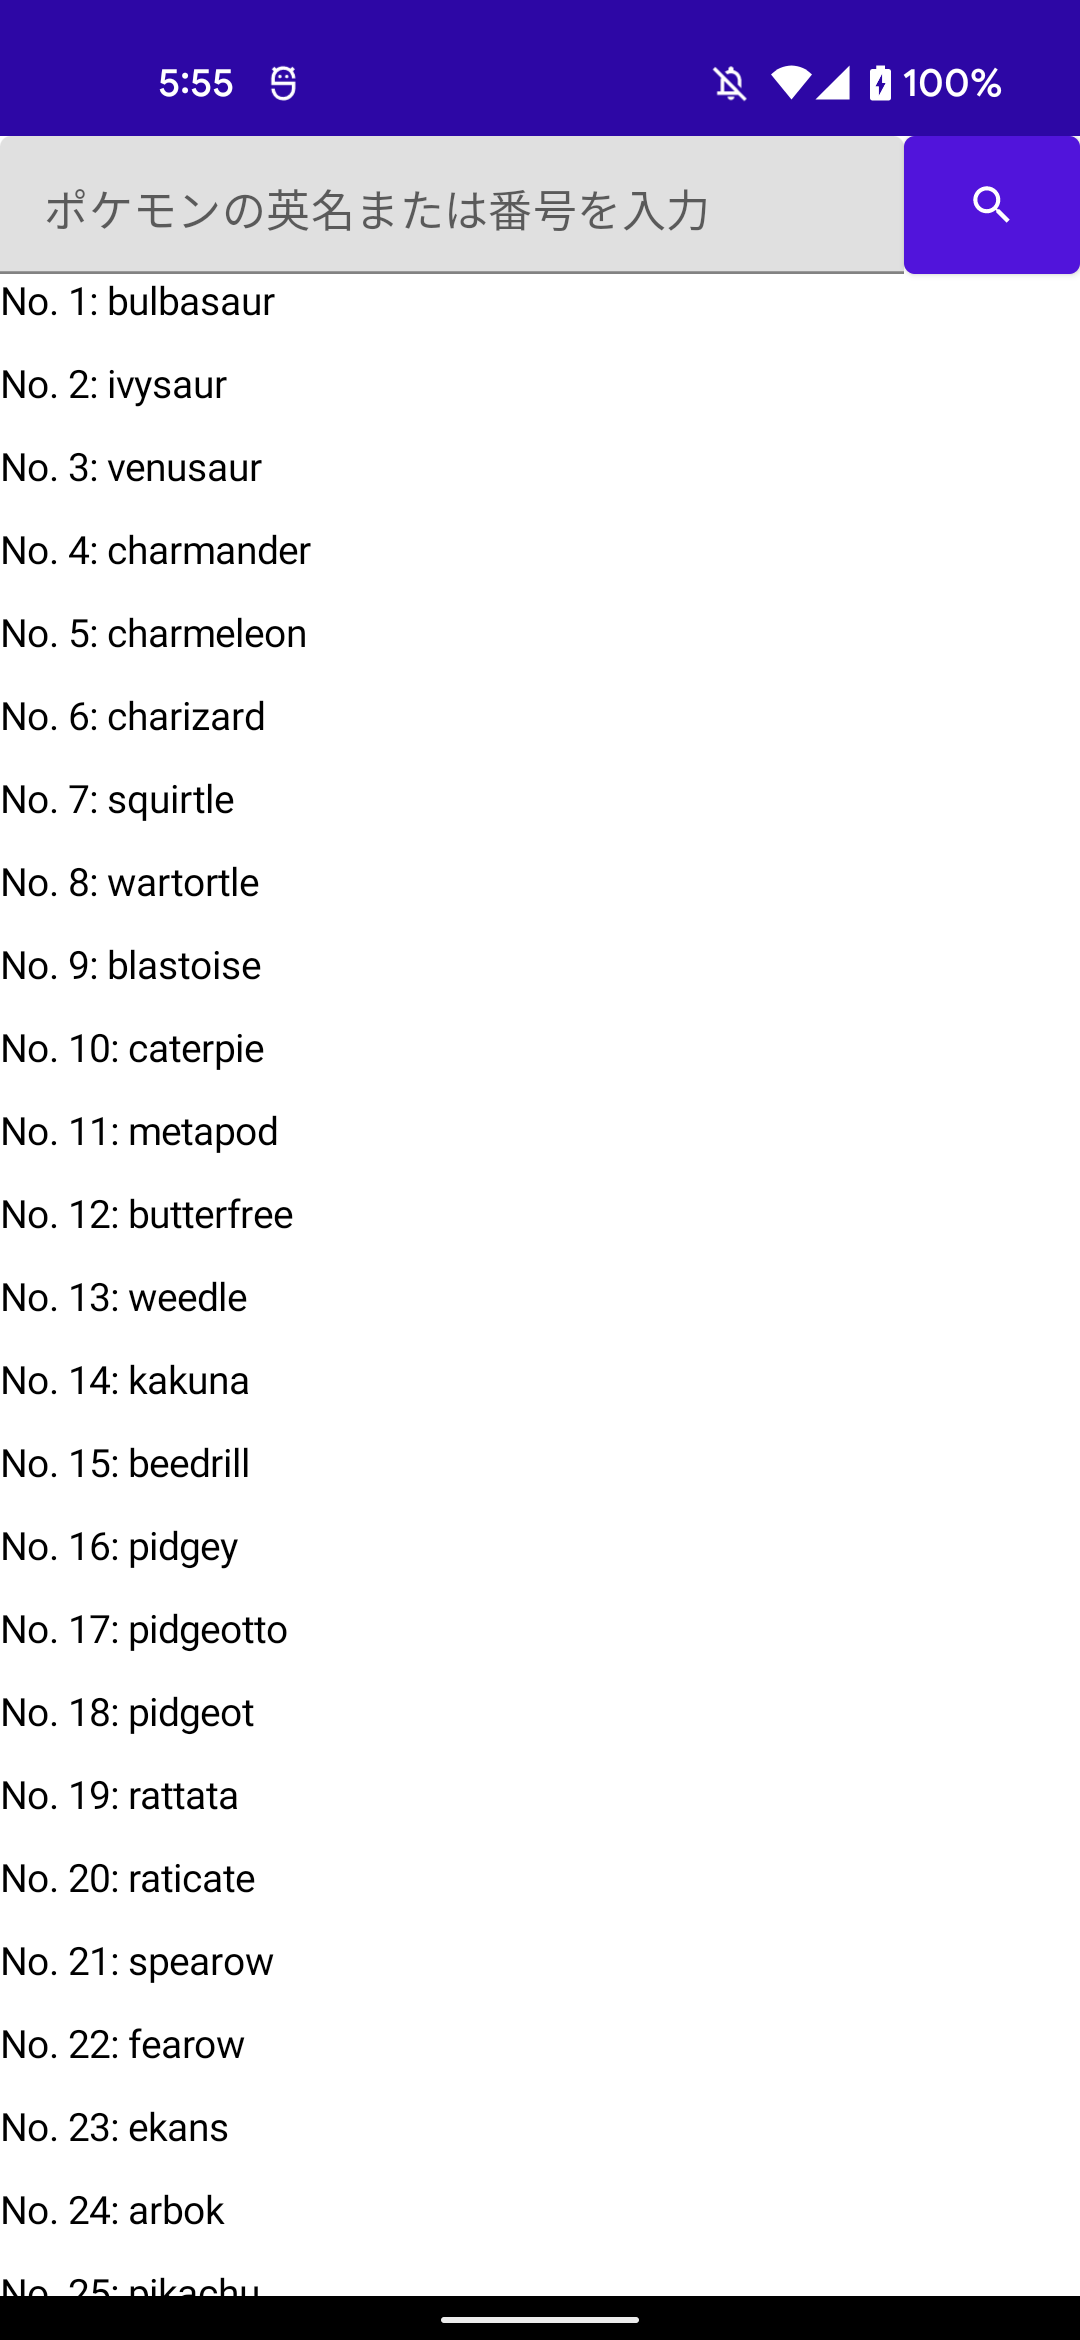
| ポケモン図鑑(リスト) | ポケモン詳細 |
|---|---|
 |
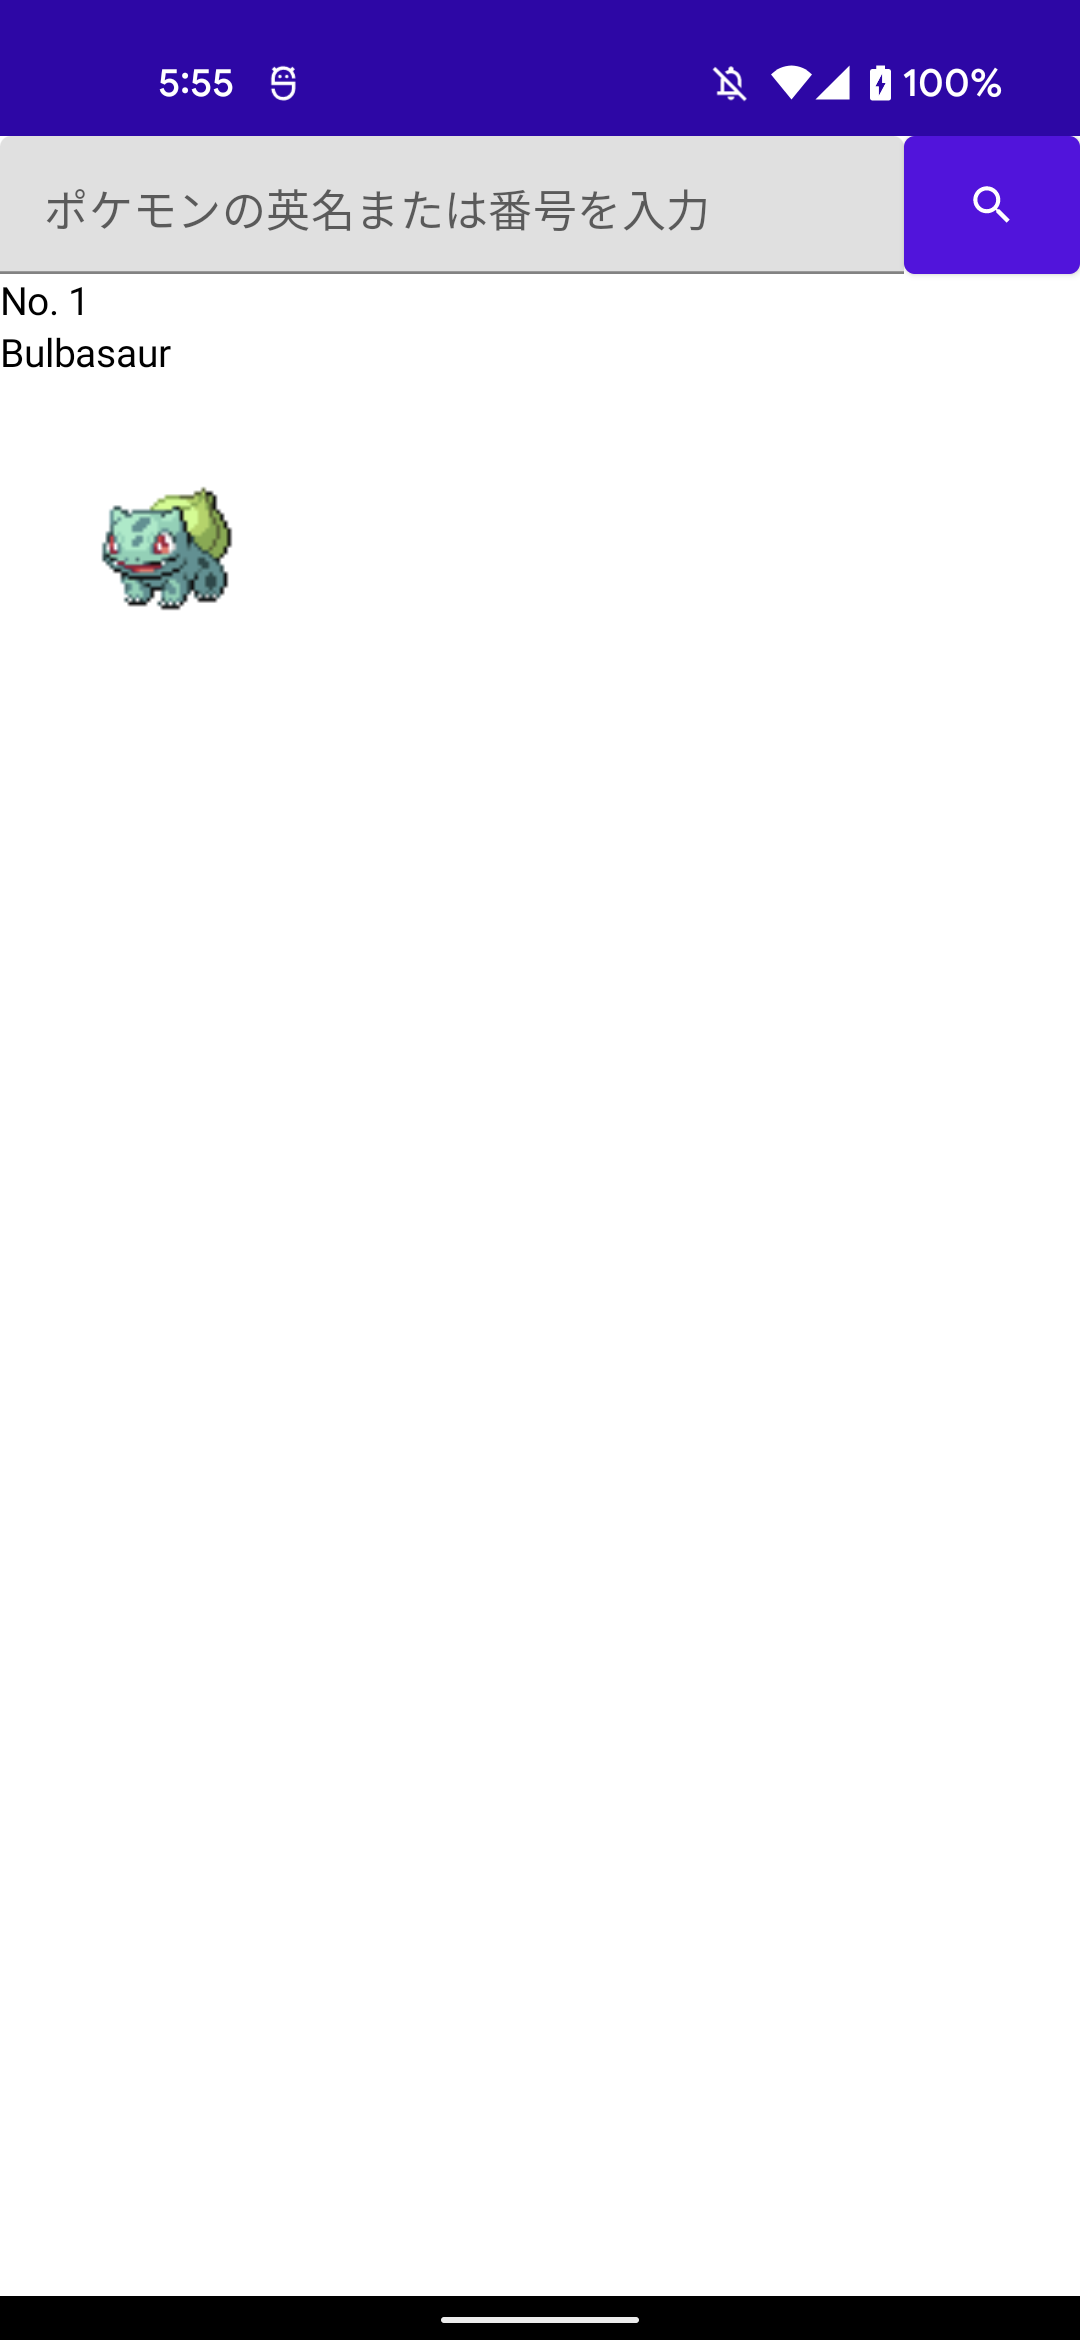 |
↑のように,番号順でポケモンが並んでいて,ポケモンをタップすることで,そのポケモンの詳細画面を表示しようと思います。詳細画面には,
- 全国図鑑でのポケモンの番号
- ポケモンの名前(英名)
- ポケモンの画像(正面から1種類だけ)
を表示しようと思います。
タイプや図鑑説明はpokemon-speciesを別途叩かないといけないので,めんどくさいのでやりません。
いざ作成
基本的な流れはAndroid MVVMアーキテクチャ入門の通りに進めていきます。特に変えた点を説明していきます。わからないところはこれを見て気合いで乗り越えてください。
Android StudioのNew ProjectからEmpty Comose Activityを選択してプロジェクトを作成してください。
ライブラリ
build.gradle / app/build.gradle には以下のものを追加します。簡単に説明するとOkHttpとRetrofitでAPIを叩き,Kotlin SerializationでJsonをパースします。Coilはポケモンの画像を表示するために使います。ViewModelはViewModel用で(あたりまえ体操)ComposeでUIの実装をします。HiltはDIライブラリです。
buildscript {
    ...
    dependencies {
        ...
        classpath "org.jetbrains.kotlin:kotlin-serialization:1.5.31"
        classpath "com.google.dagger:hilt-android-gradle-plugin:2.37"
    }
}
dependencies {
    ...
    implementation "androidx.lifecycle:lifecycle-viewmodel-compose:2.4.0"
    implementation "com.squareup.okhttp3:okhttp:4.9.2"
    implementation "com.squareup.retrofit2:retrofit:2.9.0"
    implementation "org.jetbrains.kotlinx:kotlinx-serialization-json:1.2.2"
    implementation "com.jakewharton.retrofit:retrofit2-kotlinx-serialization-converter:0.8.0"
    implementation "com.google.dagger:hilt-android:2.39.1"
    implementation "io.coil-kt:coil-compose:1.4.0"
    kapt "com.google.dagger:hilt-compiler:2.39.1"
}
API
PokéAPIを叩きましょう。全国図鑑のリストを返す pokedex/national とポケモンの情報を取得する pokemon/{name} が叩けるようにします。{name} でわかると思いますが,getPokeApiPokemon はポケモンの名前または番号を引数とします。それぞれ PokeApiPokedex と PokeApiPokemon を戻り値とします。
Porovider と Module 及び RemoteDataSource... の説明は書略します。
interface ApiClient {
    @GET("pokedex/national")
    suspend fun getPokeApiPokedex(): Response<PokeApiPokedex>

    @GET("pokemon/{name}")
    suspend fun getPokeApiPokemon(@Path("name") name: String): Response<PokeApiPokemon>
}
data class
ポケモン図鑑(リスト)用と,ポケモンの詳細用のデータクラスを作成します。Retrofitの依存関係を含んだAPI側と,依存関係を含まないデータクラスを両方作成します。
ここではめんどくさいので Pokemon の説明だけをします。
まずAPIからの情報のうち,id, name, sprites を取得します。sprites はポケモンの画像色々な画像のURLです。取得したデータを使うときは,一度依存関係のない Pokemon にデータを変換して使います。
@Serializable
data class PokeApiPokemon(
    @SerialName("id") val id: Int,
    @SerialName("name") val name: String,
    @SerialName("sprites") val sprites: PokeApiSprites,
)

@Serializable
data class PokeApiSprites(
    @SerialName("back_default") val back_default: String,
    @SerialName("front_default") val front_default: String,
)
data class Pokemon(
    val id: Int,
    val name: String,
    val frontImage: NetworkImage,
)
Repository
そんなに参考書と変えてないので省略です。
UI
ポケモン図鑑の情報を取得するために,MainViewModel に次のコードを書きます。
fun getPokedex() {
        viewModelScope.launch {
            uiState.value = UiState.Loading
            runCatching {
                pokemonRepository.getPokedex()
            }.onSuccess {
                uiState.value = UiState.SuccessPokedex(pokedex = it)
            }.onFailure {
                uiState.value = UiState.Failure
            }
        }
    }
ポケモン図鑑(リスト)が表示される PokedexView と,ポケモンの詳細が表示される PokemonDetailView を作ります。
PokedexView は全てのポケモンを並べて表示するので,LazyColumn を使います。Text は番号と名前を適当にくっつけたものとして,タップすると onPokemonTapped を呼び出しViewModelに伝えます。ViewModelではポケモンの情報を取得します。
@Composable
fun PokedexView(pokedex: Pokedex, onPokemonTapped: (name: String) -> Unit) {
    LazyColumn {
        pokedex.pokemonEntries.forEach { pokemonEntry ->
            item {
                Text(
                    text = "No. " + pokemonEntry.entryNumber.toString() +
                            ": " + pokemonEntry.pokemonSpecies.name,
                    modifier = Modifier
                        .height(30.dp)
                        .clickable { onPokemonTapped(pokemonEntry.entryNumber.toString()) },
                )
            }
        }
    }
}
PokemonDetailView では id や name の他にポケモンの正面の画像を表示します。painter = rememberImagePainter(URL) でURLにある画像を簡単に表示しています。BackHandler で戻るボタンが押されたときに backHome() します。実際には getPokedex() を呼び出しています。
@Composable
fun PokemonDetailView(pokemon: Pokemon, backHome: () -> Unit) {
    Column {
        Text(
            text = "No. " + pokemon.id.toString()
        )
        Text(
            text = pokemon.name.replaceFirstChar {
                if (it.isLowerCase()) it.titlecase(Locale.getDefault()) else it.toString()
            }
        )
        Image(
            painter = rememberImagePainter(pokemon.frontImage.url.value),
            contentDescription = null,
            modifier = Modifier.size(128.dp)
        )
    }
    BackHandler(enabled = true) {
        backHome()
    }
}
最後に
Composeはすごく便利です。ポケモン図鑑表示みたいに複数のものを並べるのも簡単ですし,データへのアクセスもXMLを使うときより簡単に感じます。
時間の関係で結構適当なアプリ / 記事になってしまい残念です。アプリ修正して,丁寧な説明を追加して個人ブログに載せたいな〜と思ってます。めんどくさいからやらない気がするけど...
文献
-
週に2日くらいです。合計300時間くらいですね。 ↩
-
完成度が高いComposeを使ったポケモン図鑑をみたい人は,zsoltk/compose-pokedex (GitHub) が参考になると思います。 ↩