4
6

Delete article

Deleted articles cannot be recovered.

Draft of this article would be also deleted.

Are you sure you want to delete this article?

More than 5 years have passed since last update.

Xcode11でUIScrollViewのAutoLayoutの制約をかける

Last updated at Posted at 2020-03-15

はじめに

UIScrollViewのAutoLayoutの制約をかける場合、かけ方にクセがあり、かつ作業途中でエラーが発生するため、少し手こずるんですよね。
ここではXcode11でUIScrollViewのAutoLayoutの制約をかける方法を記載します。

チュートリアル

環境

  • Xcode11

手順

1. ScrollViewを配置

ViewControllerのView上にScrollViewを配置します。
スクリーンショット 2020-03-15 14.39.08.png

2. ScrollViewにAutoLayoutの制約をかける

ViewController上のSafeAreaとScrollViewの両方を選択します。
スクリーンショット 2020-03-15 15.12.24.png
画面右下のAlignボタンを選択し、Top/Bottom/Trailling/Leadingの4辺に制約をかけます。
ここでは0を設定します。
スクリーンショット 2020-03-22 20.36.47.png
かけた後IB上でエラーが発生しますが、一旦無視して下さい。
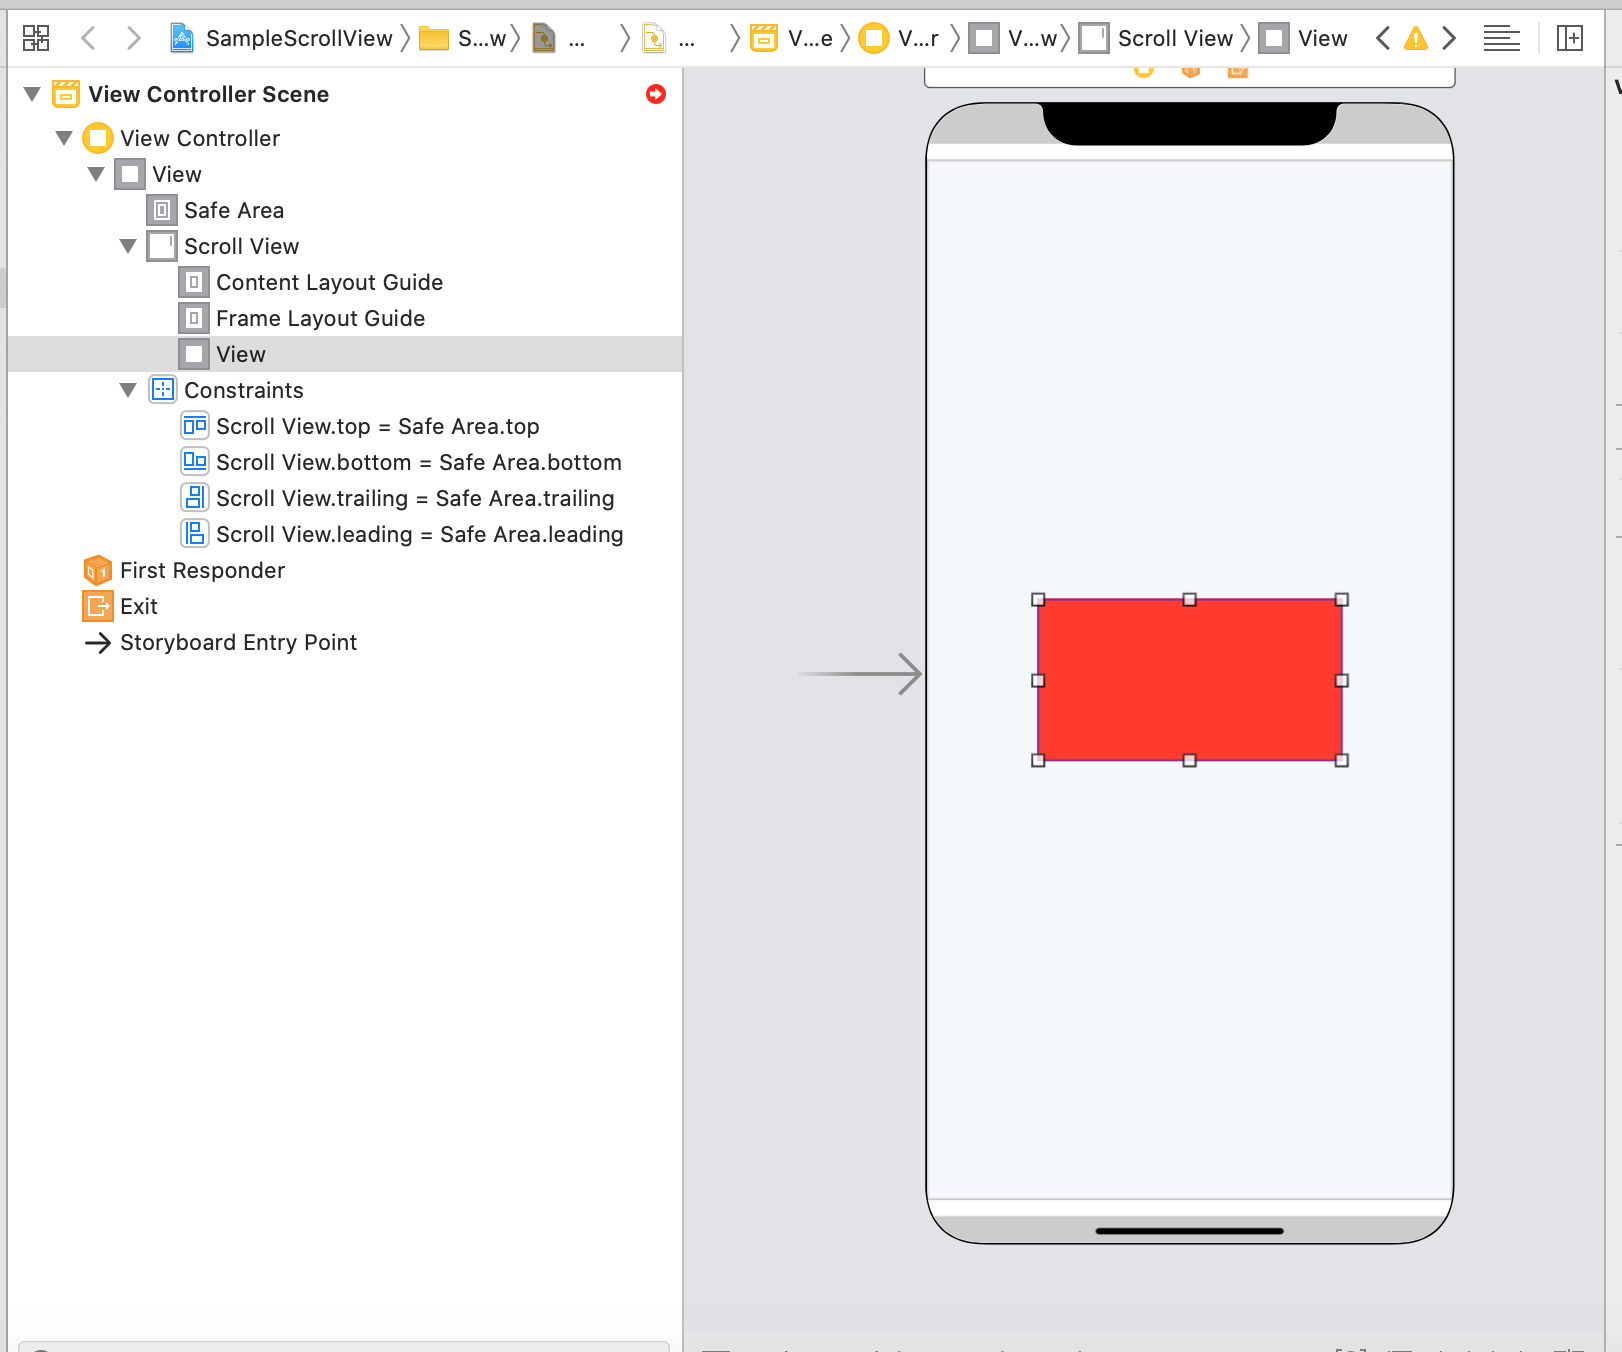
スクリーンショット 2020-03-15 14.44.39.png

3. Viewを配置

ScrollView上にViewを配置します。
ここではScrollViewとの違いを分かりやすくするため、Viewの背景色を赤色に設定しています。
スクリーンショット 2020-03-15 15.00.33.png

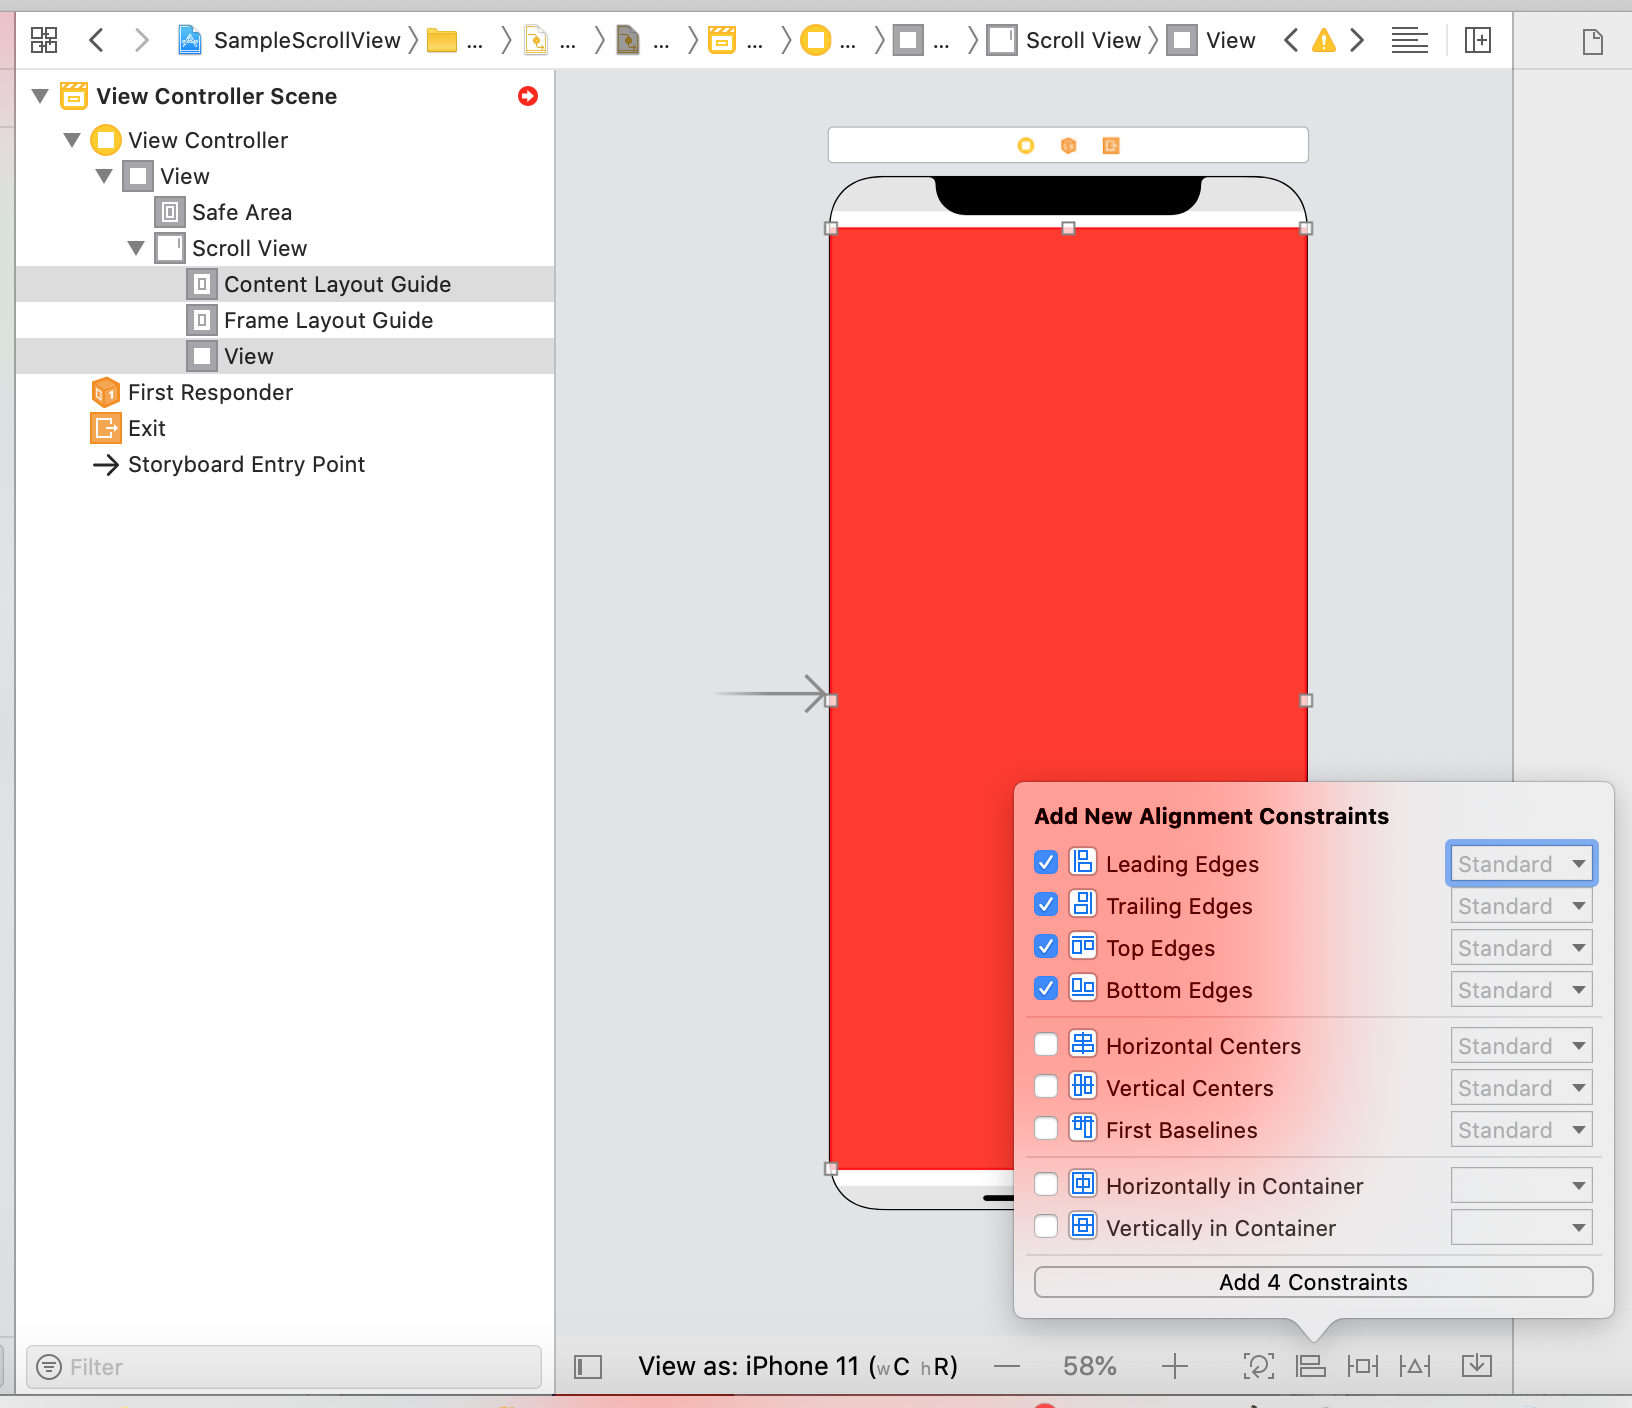
4. ViewのAutoLayoutの制約をかける

ScrollViewのContentLayoutGuideとViewの両方を選択し、画面右下のAlignボタンから、Top/Bottom/Trailling/Leadingの4辺に制約をかけます。
スクリーンショット 2020-03-22 20.38.21.png
次にViewを選択しながら右クリックでScrollViewのFrameLayoutGuideへドラッグ&ドロップし、Equal Widthを選択します。
スクリーンショット 2020-03-15 16.16.34.png
最後にViewを選択し、画面右下のAdd new constraintsボタンから、Heightに制約をかけます。
ここでは1000を設定します。
スクリーンショット 2020-03-15 16.24.24.png
以上です。

4
6
0

Register as a new user and use Qiita more conveniently

  1. You get articles that match your needs
  2. You can efficiently read back useful information
  3. You can use dark theme
What you can do with signing up
4
6

Delete article

Deleted articles cannot be recovered.

Draft of this article would be also deleted.

Are you sure you want to delete this article?