はじめに
NW監視の学習として、監視用ツールとして良く使われている「Zabbix」とネットワーク監視方法で良く使われている「snmp」と「snmptrap」の監視環境を構築をしてみる。それらの内容を数回に分けて掲載していく。
■掲載内容
1 - ゼロから始めるZabbix -構築- (本記事)
2 - ゼロから始めるZabbix -SNMP-
3 - ゼロから始めるZabbix -SNMPTrap-
Zabbixとは?
Zabbix はアレクセイ・ウラジシェフ(Alexei Vladishev)によって作られた、ネットワーク管理ソフトウェアである。様々なネットワークサービス、サーバ 、その他のネットワークハードウェアのステータスを監視・追跡できる。現在はウラジシェフが設立したZabbix社によって開発が継続されている。(フリー百科事典『ウィキペディア(Wikipedia)』より)
■筆者のZabbixに対する認識
・オープンソースのネットワーク管理ソフトウェア
・色々なプラットフォームに対応している
・GUIで操作が可能
・全世界で30万以上インストールして使用されている為、調べるにあたり情報が多い
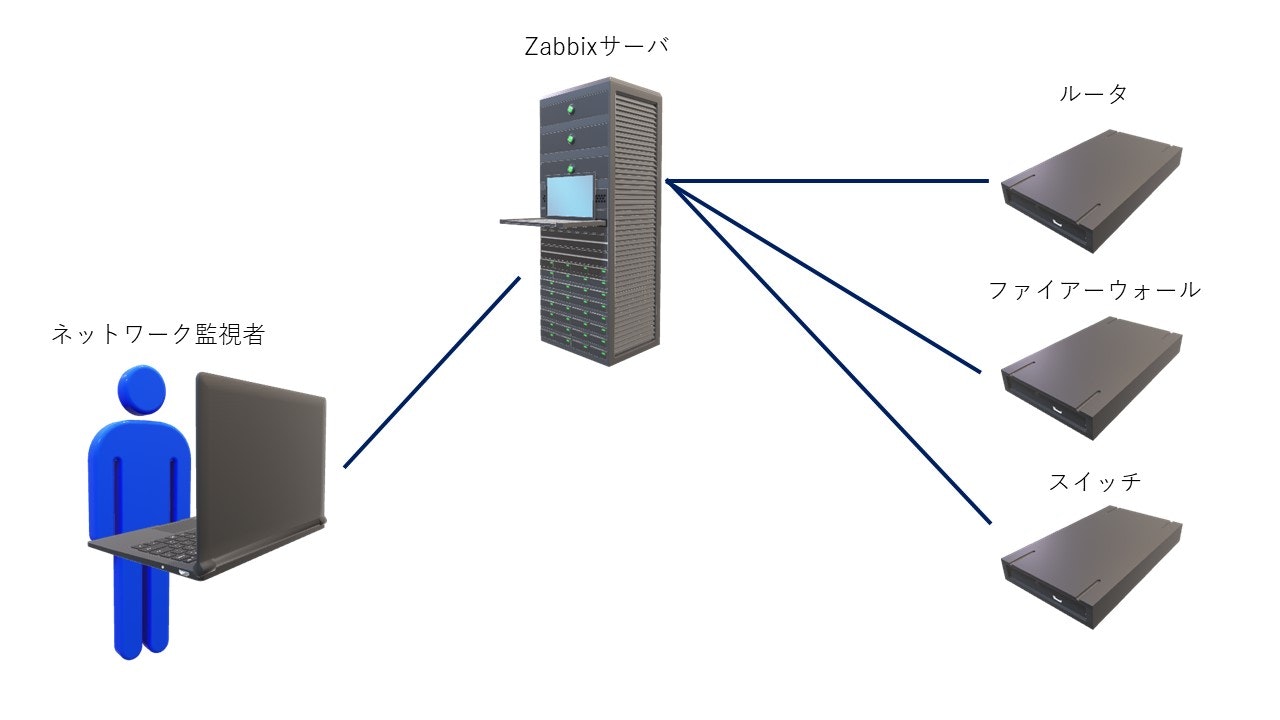
構築環境
・Centos 7
・zabbix 4.0 LTS
2020/3/5現在の最新バージョンは4.4になるが、
LTS(Long Term Support)バージョンの最新は4.0を選択。
作業
1.Zabbixリポジトリをインストール
# rpm -Uvh https://repo.zabbix.com/zabbix/4.0/rhel/7/x86_64/zabbix-release-4.0-2.el7.noarch.rpm
Retrieving https://repo.zabbix.com/zabbix/4.0/rhel/7/x86_64/zabbix-release-4.0-2.el7.noarch.rpm
warning: /var/tmp/rpm-tmp.kt5NZI: Header V4 RSA/SHA512 Signature, key ID a14fe591: NOKEY
Preparing...                          ################################# [100%]
Updating / installing...
   1:zabbix-release-4.0-2.el7         ################################# [100%]
2.Zabbix server(本体)、frontend(Webインターフェース)、agent(自分を監視するエージェント)をインストール
2-1 yumコマンドを実施
# yum install zabbix-server-mysql zabbix-web-mysql zabbix-agent
※ログが多いので選択項目以外は省略

2-2 yを押下しenter
Total download size: 13 M
Installed size: 47 M
Is this ok [y/d/N]: y

2-3 yを押下しenter
Retrieving key from file:///etc/pki/rpm-gpg/RPM-GPG-KEY-ZABBIX
Importing GPG key 0x79EA5ED4:
 Userid     : "Zabbix SIA <packager@zabbix.com>"
 Fingerprint: fbab d5fb 2025 5eca b22e e194 d13d 58e4 79ea 5ed4
 Package    : zabbix-release-4.0-2.el7.noarch (installed)
 From       : /etc/pki/rpm-gpg/RPM-GPG-KEY-ZABBIX
Is this ok [y/N]: y

2-4 yを押下しenter
Retrieving key from file:///etc/pki/rpm-gpg/RPM-GPG-KEY-CentOS-7
Importing GPG key 0xF4A80EB5:
 Userid     : "CentOS-7 Key (CentOS 7 Official Signing Key) <security@centos.org>"
 Fingerprint: 6341 ab27 53d7 8a78 a7c2 7bb1 24c6 a8a7 f4a8 0eb5
 Package    : centos-release-7-6.1810.2.el7.centos.x86_64 (@anaconda)
 From       : /etc/pki/rpm-gpg/RPM-GPG-KEY-CentOS-7
Is this ok [y/N]: y
3.Webインターフェースで日本語フォントを使用できるようにするためにzabbix-web-japaneseをインストール
3-1 yumコマンドを実施
# yum install zabbix-web-japanese
※ログが多いので選択項目以外は省略

3-2 yを押下しenter
Total download size: 2.2 M
Installed size: 4.0 M
Is this ok [y/d/N]: y
4.MariaDBサーバをインストール
※CentOS7からは、標準ではDBのパッケージはMysqlではなく、
MariaDBを使用しているとのことで、MariaDBをインストールする
4-1 yumコマンドを実施
# yum install mariadb mariadb-server
※ログが多いので選択項目以外は省略

4-2 yを押下しenter
Total download size: 2.2 M
Installed size: 4.0 M
Is this ok [y/d/N]: y
5.MariaDB設定
server.cnfの[mysqld]に下記設定を追加
※Zabbixで日本語が文字化けしないように文字コードをutf8に設定。
※innodb~はONにするとファイルI/O分散や、DBAの管理性向上が見込まれるので設定。
# vi /etc/my.cnf.d/server.cnf

[mysqld]
character-set-server = utf8
collation-server     = utf8_bin
skip-character-set-client-handshake
innodb_file_per_table
6.MariaDBの起動
6-1 MariaDBの起動
# systemctl start mariadb

6-2 MariaDBのenable化
# systemctl enable mariadb
Created symlink from /etc/systemd/system/multi-user.target.wants/mariadb.service to /usr/lib/systemd/system/mariadb.service.
7.初期パスワード設定
7-1 mysql_secure_installationを実行
# mysql_secure_installation
※ログが多いので選択項目以外は省略

7-2 MariaDBのrootパスワードを設定している場合は入力。していない場合はenterを押下。
Enter current password for root (enter for none):

7-3 rootパスワードを設定しますか。
Set root password? [Y/n] Y

7-4 新しいパスワードを(任意)を入力
New password:【rootパスワード】

7-5 新しいパスワードを(任意)を再度入力
Re-enter new password:【rootパスワード】

7-6 匿名ユーザの削除をしますか。
Remove anonymous users? [Y/n] Y

7-7 リモートからの root ログインを禁止しますか?
Disallow root login remotely? [Y/n] n

7-8 テストデータベースとそのアクセスを削除しますか。
Remove test database and access to it? [Y/n] Y

7-9 設定を反映してリロードしますか。
Reload privilege tables now? [Y/n] Y
8.初期DBとユーザの作成
8-1 DBにログイン
# mysql -uroot -p
Enter password:【rootパスワード】(7-4で設定したパスワードを使用)

8-2 DBを作成
> create database 【DB名】;
Query OK, 1 row affected (0.00 sec)

8-3 作成したDBを確認
> show databases;
+--------------------+
| Database           |
+--------------------+
| information_schema |
| mysql              |
| performance_schema |
|【DB名】            |
+--------------------+
4 rows in set (0.00 sec)

8-3 作成したDBにアクセスするユーザを作成
> grant all privileges on 【DB名】.* to 【DBユーザ名】@localhost identified by '【DBパスワード】';
Query OK, 0 rows affected (0.00 sec)

8-4 作成したホストとユーザが紐づいたことを確認
> select user, host from mysql.user;
+----------------+------------+
| user           | host       |
+----------------+------------+
| root           | 127.0.0.1  |
| root           | ::1        |
| root           | localhost  |
|【DBユーザ名】  | localhost  |
+----------------+------------+
4 rows in set (0.00 sec)

8-5 DBから抜ける
> exit
9.初期データをインポート
9-1 zabbix-server-mysql-X.X.X のファイル名(バージョン)を確認
# ls -l /usr/share/doc | grep zabbix-server-mysql
drwxr-xr-x   2 root root  100 Mar 13 15:40 zabbix-server-mysql-4.0.18

⇒zabbix-server-mysql-4.0.18だということが分かる

9-2上記のファイル名を4.0.18に置き換え、DB名を入れて実行
# zcat /usr/share/doc/zabbix-server-mysql-4.0.18/create.sql.gz | mysql -u【DBユーザ名】 -p 【DB名】
Enter password:【DBパスワード】
10.Zabbixサーバのデータベース設定
10-1 viでファイルを開き、下記を変更する
# vi /etc/zabbix/zabbix_server.conf

10-2 DBHostのコメントアウトを取る
[before]
# DBHost=localhost
[after]
DBHost=localhost

10-3 DBNameがzabbixではない場合は修正
[before]
DBName=zabbix
[after]
DBName=【DB名】

10-4 DBuserがzabbixではない場合は修正
[before]
DBUser=zabbix
[after]
DBUser=【DBユーザー名】

10-5  DBPasswordのコメントアウトを取り、設定したパスワードを入力
[before]
# DBPassword=
[after]
DBPassword=【DBパスワード】

10-6  StatsAllowedIPを下記の様に変更
[before]
# StatsAllowedIP=
[after]
StatsAllowedIP=127.0.0.1
11.zabbixフロントエンドのタイムゾーン設定
11-1 viでzabbix.confを開く
# vi /etc/httpd/conf.d/zabbix.conf

11-2 php_value date.timezone を下記の様に変更
[before]
 # php_value date.timezone Europe/Riga
[after]
php_value date.timezone Asia/Tokyo
12.各種デーモンを起動
12-1 Zabbixサーバを起動
# systemctl start zabbix-server

12-2 Zabbixエージェンントを起動
# systemctl start zabbix-agent

12-3 Webサーバを起動
# systemctl start httpd

12-4 Zabbixサーバをenable化
# systemctl enable zabbix-server
Created symlink from /etc/systemd/system/multi-user.target.wants/zabbix-server.service to /usr/lib/systemd/system/zabbix-server.service.

12-5 Zabbixエージェントをenable化
# systemctl enable zabbix-agent
Created symlink from /etc/systemd/system/multi-user.target.wants/zabbix-agent.service to /usr/lib/systemd/system/zabbix-agent.service.

12-6 Webサーバをenable化
# systemctl enable httpd
Created symlink from /etc/systemd/system/multi-user.target.wants/httpd.service to /usr/lib/systemd/system/httpd.service.
13.Webインターフェースを開く
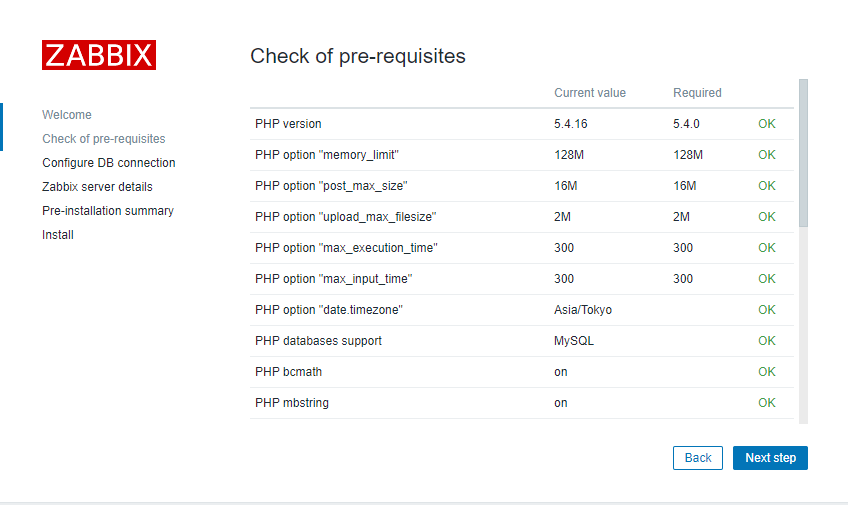
インストールしたzabbixのページにを下記手順でアクセスし、Next stepを押下
アドレス:http://【自分のIP】/zabbix
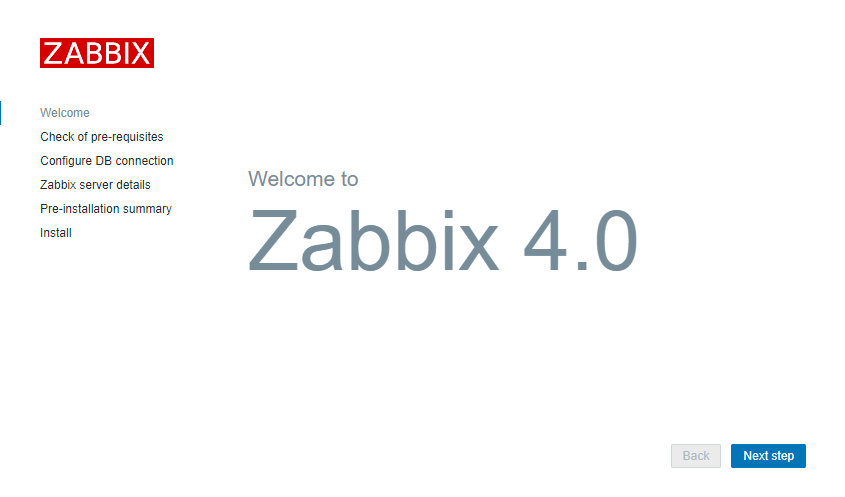
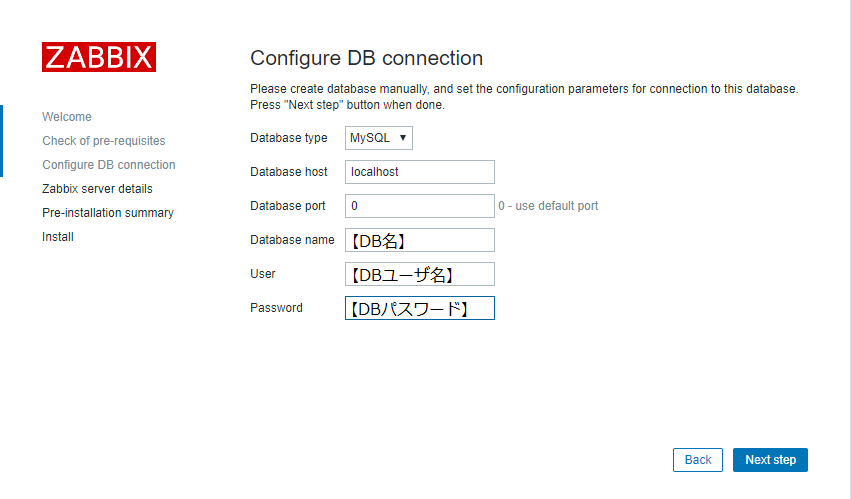
15.下記を入力し、Next stepを押下
| 項目 | 値 |
|---|---|
| Database name | 【DB名】 |
| User | 【DBユーザ名】 |
| Password | 【DBパスワード】 |
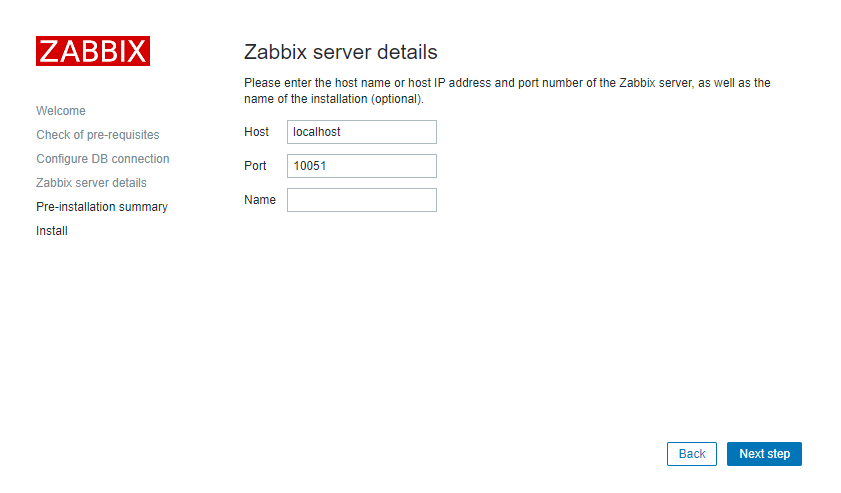
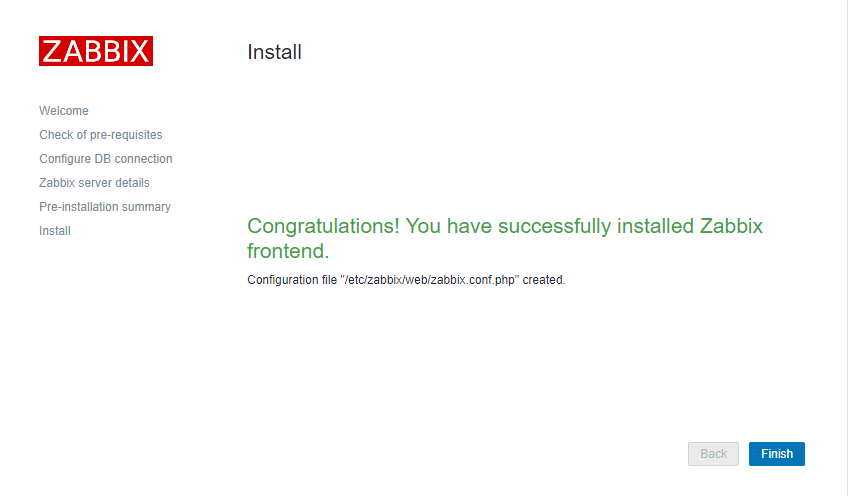
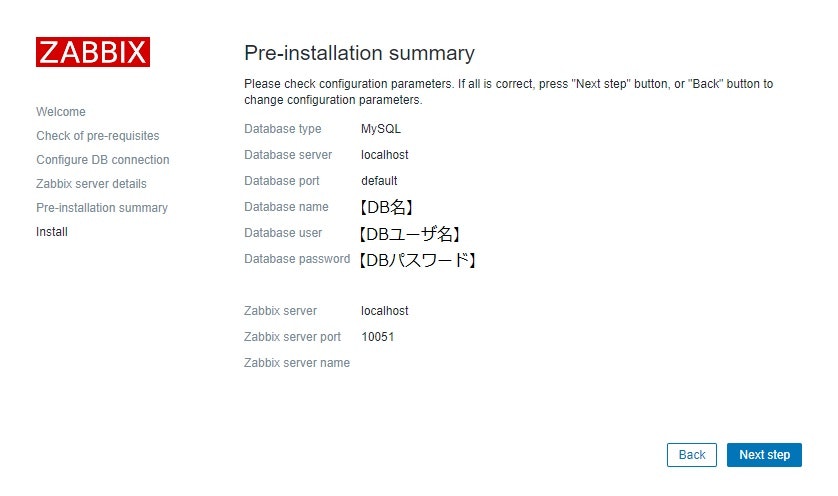
17.入力した内容に不備がないことを確認し、Next stepを押下
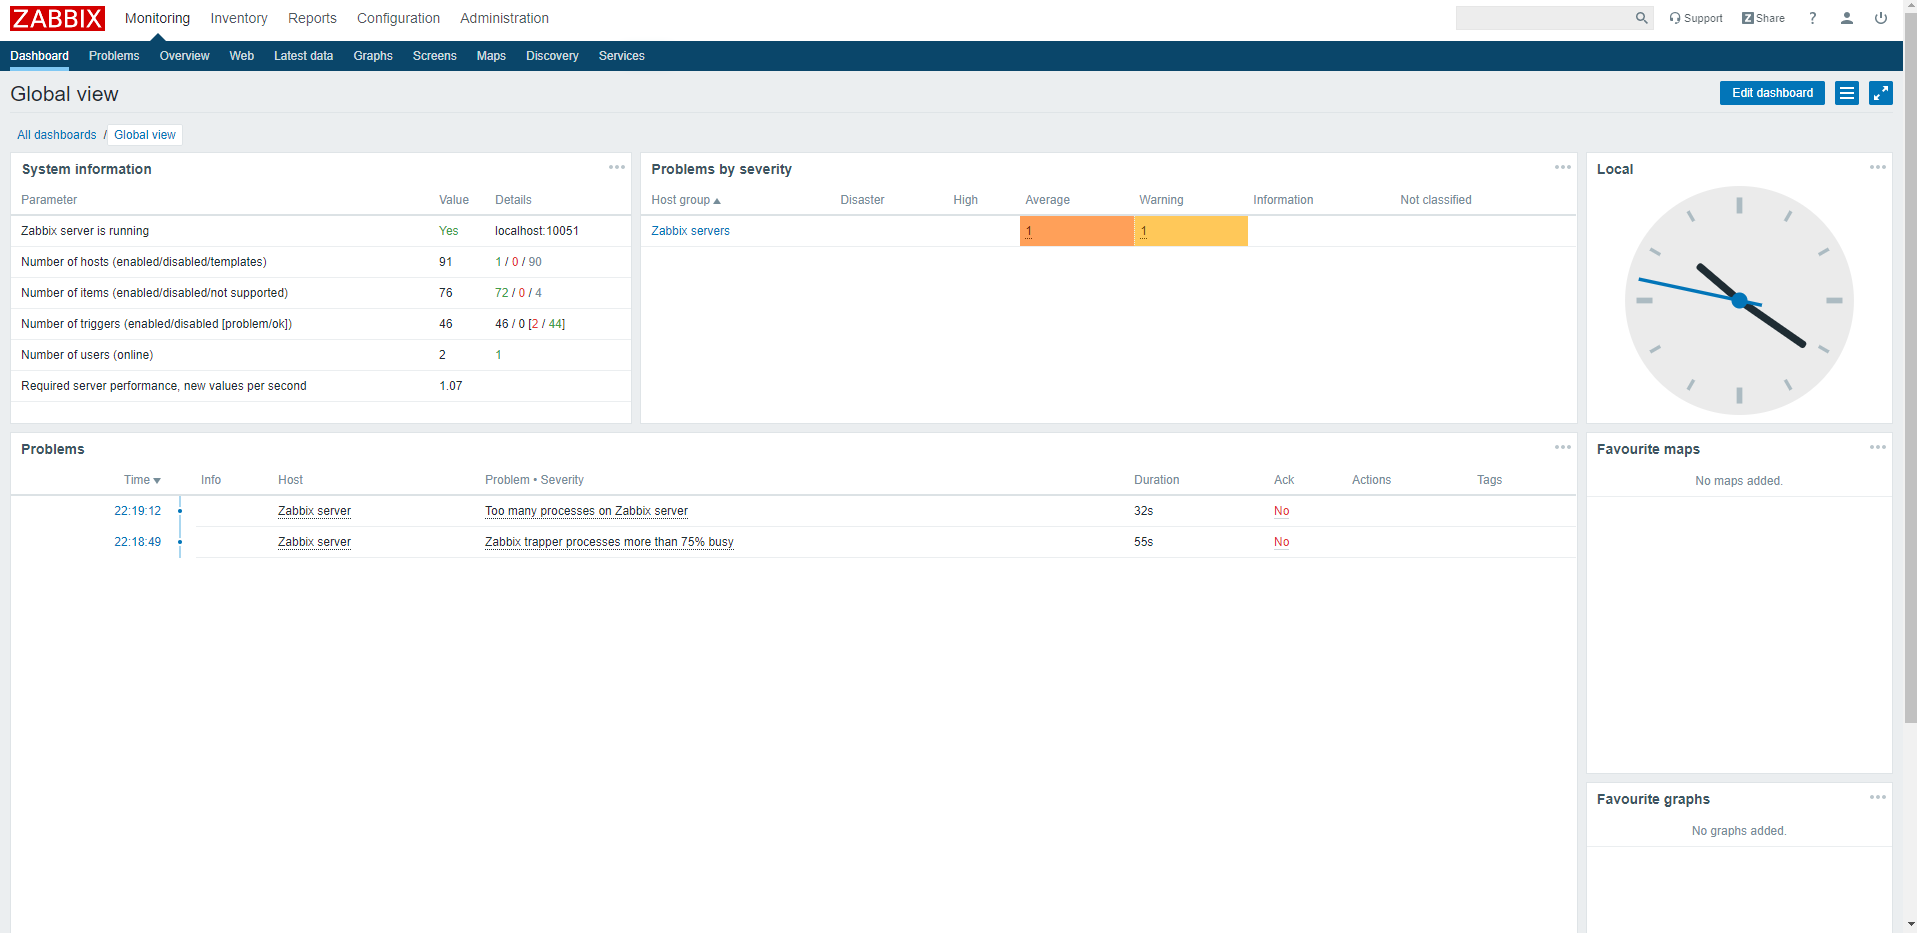
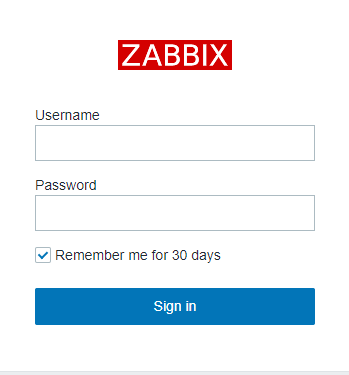
19.下記を入力してログイン
| 種別 | 値 |
|---|---|
| USERNAME | Admin |
| PASSWORD | zabbix |
おわりに
Zabbixをサーバーにインストールすることが出来た。
これだけでは何も監視は出来ない為、監視対象を登録し、機器情報を受け取る設定が必要。
その為、次回は監視対象の登録と、監視をする上で必要なSNMPの設定を学習していく。
参考文献
Zabbix公式
Zabbixwiki
【3分でわかるシリーズ】CentOSとは?
Zabbix 3.0をCentOS 7にインストール
MariaDB
Zabbix用サーバでのMySQL my.cnf 設定
