herokuアドオンの追加方法
1.以下のコマンドを実行しherokuにログインする。
ターミナル
heroku login
この際、以下のコメントが返ってくる。「何かキーを押してブラウザでログインしよう」ということなので、適当にエンターキーでも押してみる。
ターミナル
heroku: Press any key to open up the browser to login or q to exit:
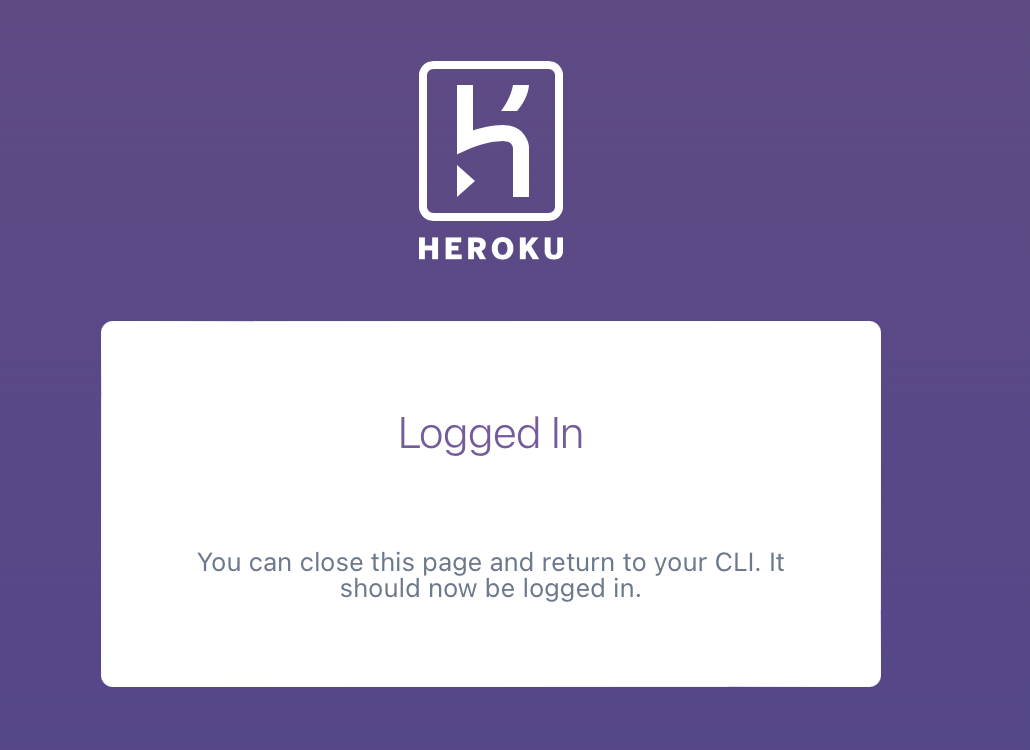
すると、ブラウザが立ち上がり、メールアドレス、パスワードの入力フォームが立ち上がるので、入力する。以下の画面が表示されてログイン完了。
また、dockerで環境を構築している場合は、以下のコマンドも実行し、heroku上のContainer Registoryへのログインも行っておく。
ターミナル
heroku container:login
2.ログインした状態のままターミナルに戻り、以下のコマンドを実行し、対象となるherokuアプリを作成
ターミナル
heroku create アプリ名
3.次のコマンドを実行してアドオンを追加。今回はherokuでmysqlを使用するためのJAWSDBというアドオンを追加している。(JAWSDBなどのアドオンでは利用に際してクレジットカード情報の登録が必要となるので、herokuのアカウント情報から必要に応じて登録のこと。)
heroku addons:create jawsdb:kitefin
また、herokuのページから直接アドオンを追加する場合、作成したアプリのResourcesのAdd-onsの項目で、アドオンを検索して追加することができる。↓
