32
26

Delete article

Deleted articles cannot be recovered.

Draft of this article would be also deleted.

Are you sure you want to delete this article?

More than 5 years have passed since last update.

.ipa file を実機にインストールする方法(iTunes 12.7)

Last updated at Posted at 2017-09-29

##はじめに
先日 .ipa fileをiTunes(12.7)経由でインストールしようと思ったら少し手間取ったのでメモとして残しておきたいと思います。

Ad hoc
iOS バージョン:11.0
Xcode バージョン:9.0
iTunes バージョン: 12.7
Swift バージョン:Swift3 - Swift4(funcに@objcを追加)

以前のiTunesではAppというサイドメニューがあり、そこへipa fileをドラッグ&ドロップすれば問題なくインストールできました。
しかし、iTunes12.7からサイドメニューにあったAppが無くなっていました。

そこで使うのが、"Apple Configurator 2.3" です。
下記リンクからオフィシャルサイトで確認してみてください。
https://itunes.apple.com/us/app/apple-configurator-2/id1037126344?mt=12
##簡単な使い方

1, Apple Configuratorをインストールします。
Screen Shot 2017-09-29 at 3.12.06 PM.png

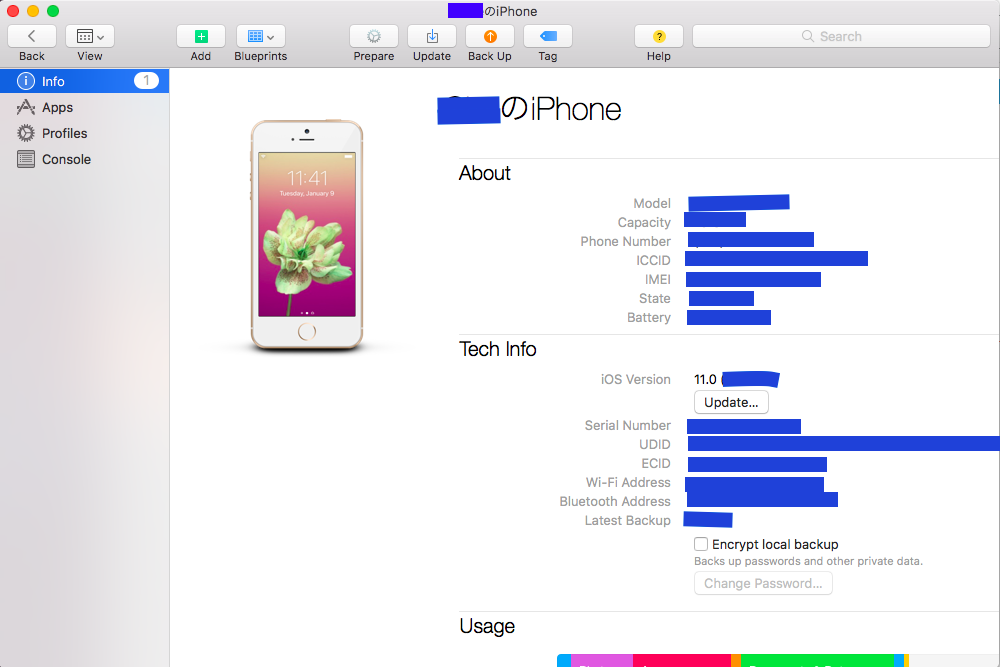
2, 自分のiOSデバイスをUSBでMacに接続します。
Screen Shot 2017-09-29 at 3.05.34 PM.png

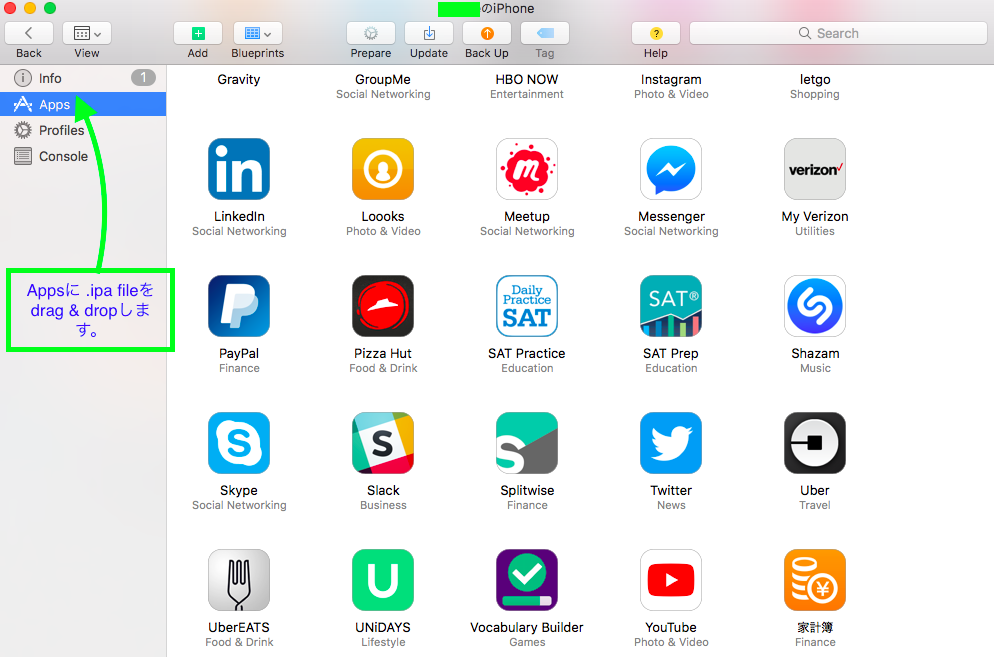
3,フォルダーから作成した.ipa fileをAppsにドラッグ&ドロップします。
Screen Shot 2017-09-29 at 3.15.58 PM.png

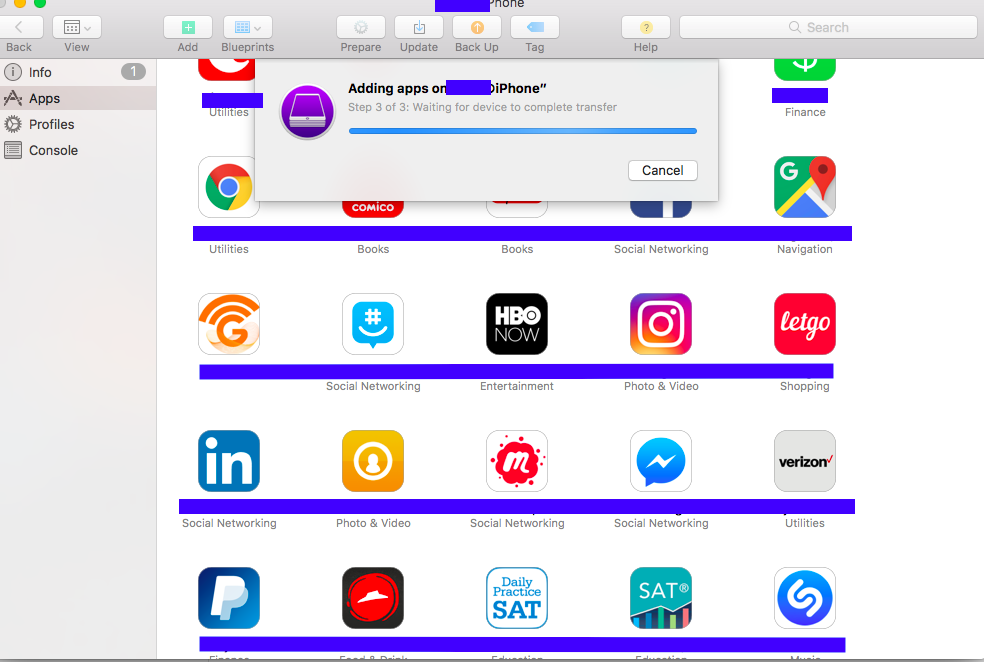
4, うまくインストールが行けば、インストールの状況が表示されます。
Screen Shot 2017-09-29 at 3.22.22 PM.png

5, iOSデバイスを確認してインストールされていれば、完了です。

*もしインストールがうまくいかなかった場合。
.ipa fileに登録したデバイスのUDIDを確認してみてください。

##まとめ
今後、さらに詳しい内容を投稿できれば引き続き編集していきたいと思います。
32
26
0

Register as a new user and use Qiita more conveniently

  1. You get articles that match your needs
  2. You can efficiently read back useful information
  3. You can use dark theme
What you can do with signing up
32
26

Delete article

Deleted articles cannot be recovered.

Draft of this article would be also deleted.

Are you sure you want to delete this article?