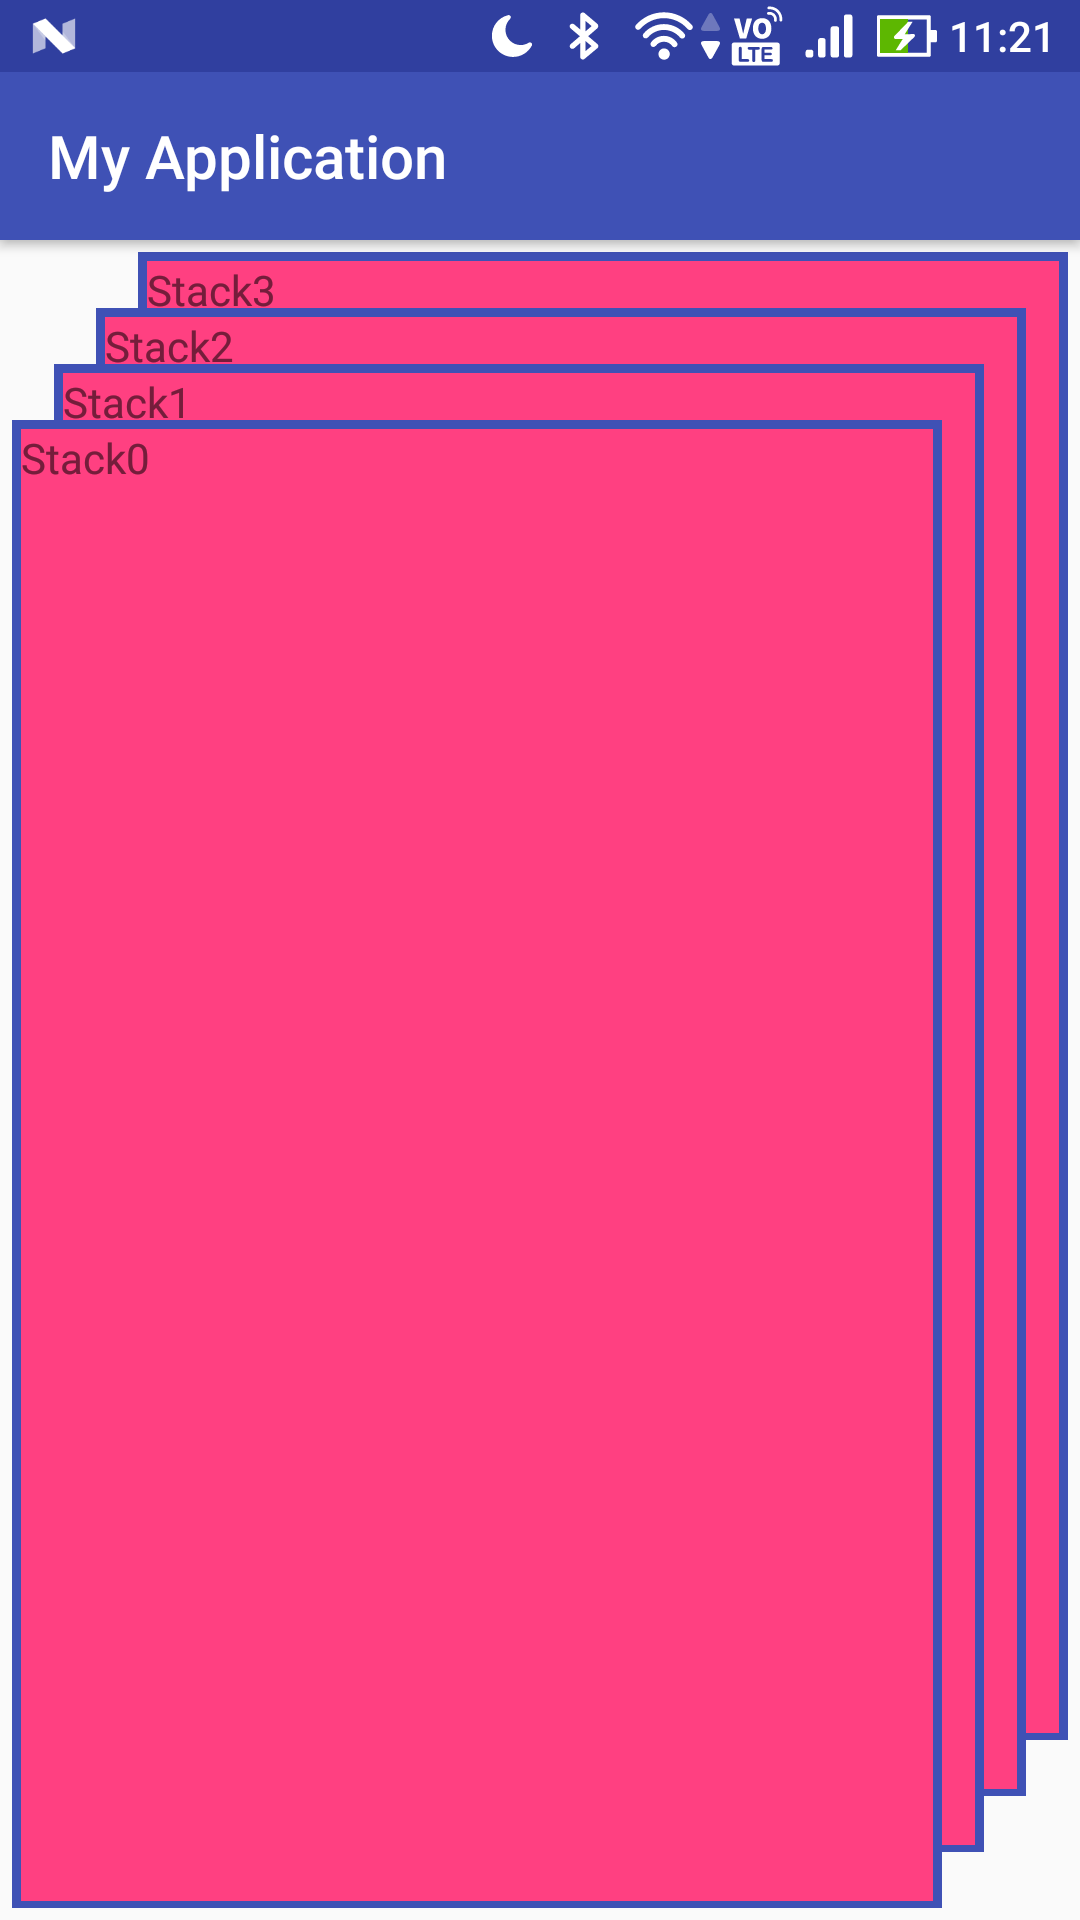
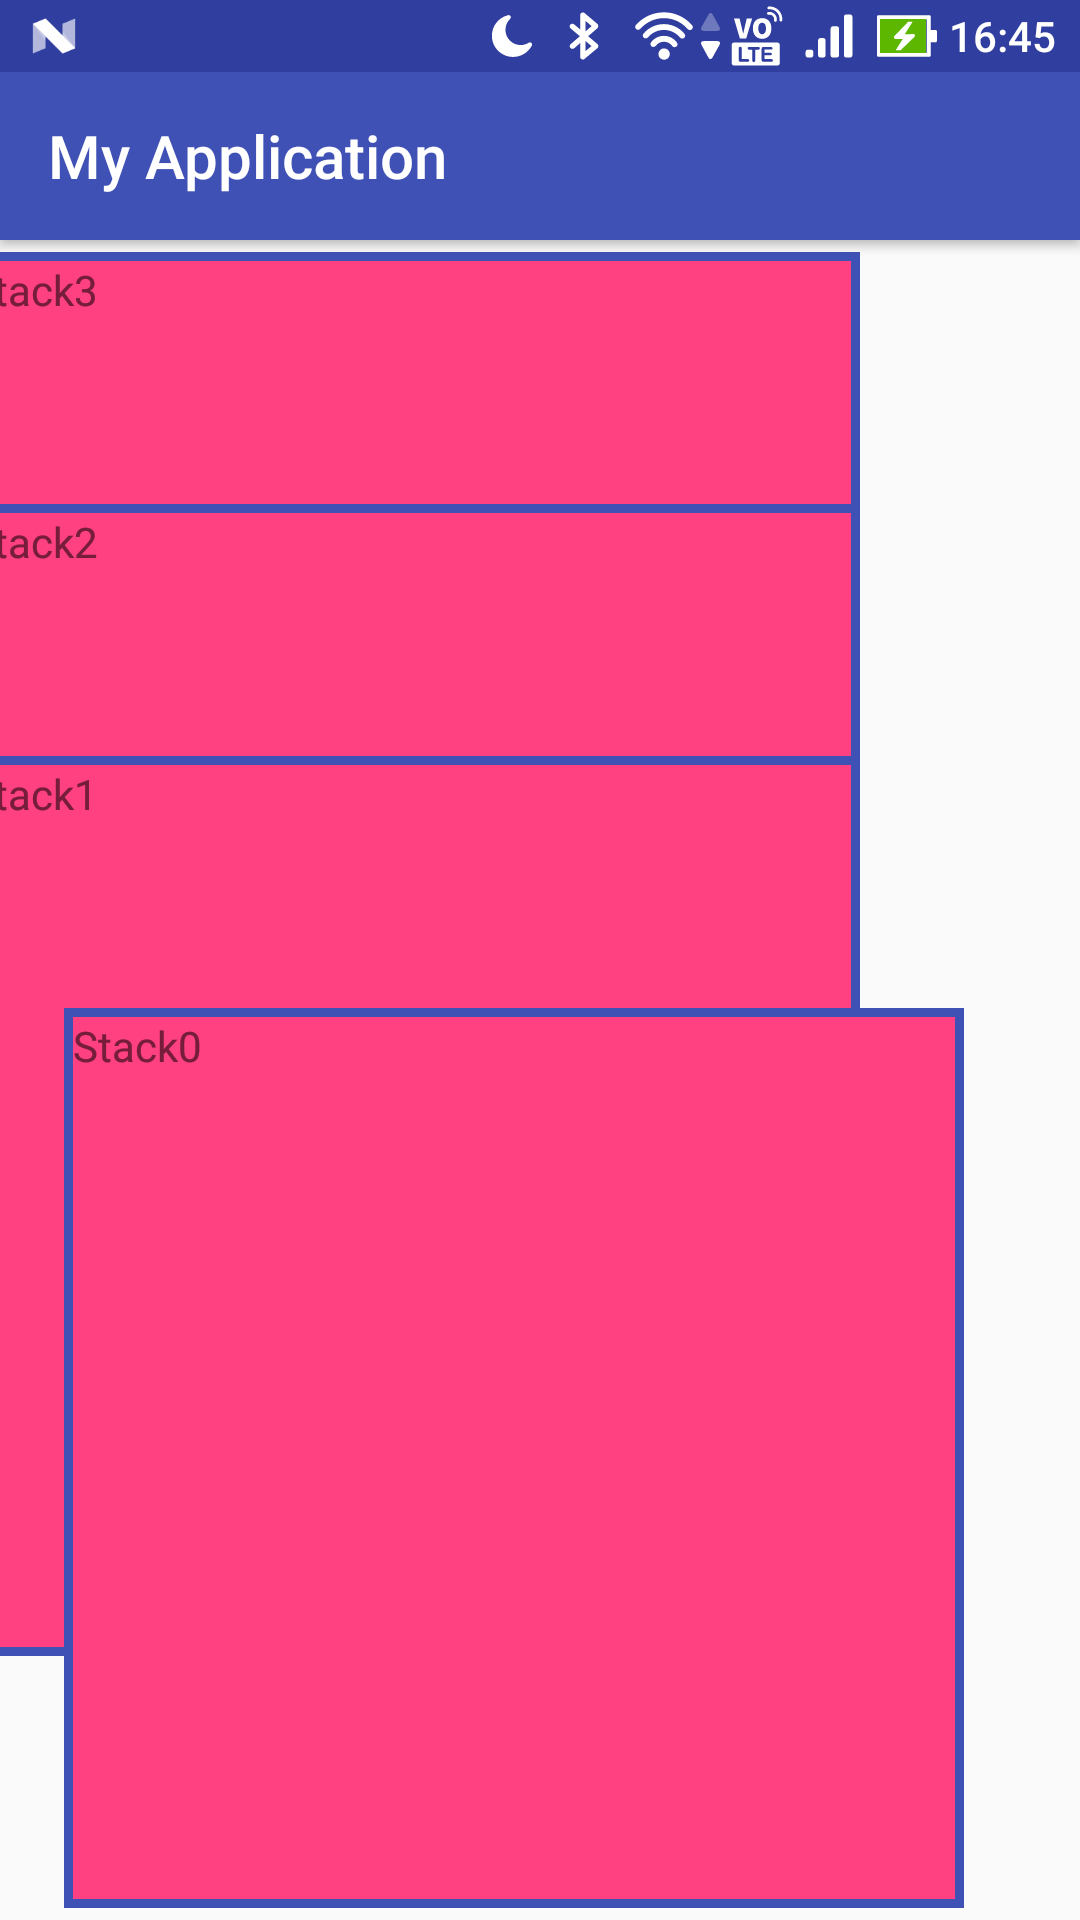
はじめに結論ですが、StackViewは名前からアプリ利用(使用)履歴と言われる画面のようなUIを実装するのに使いそうな印象を受けますが、StackViewを使って実現することはできません。
名前につられて無駄骨を折る人が増えないために、今回はAndroidのStackViewについてまとめます。
まずはStackViewを表示させてみる
val stackView = findViewById<StackView>(R.id.my_stack_view)
stackView.adapter = object: BaseAdapter() {
    override fun getCount(): Int {
        return 10
    }

    override fun getItem(position: Int): Any? {
        return null
    }

    override fun getItemId(position: Int): Long {
        return 0
    }

    override fun getView(position: Int, convertView: View?, parent: ViewGroup): View {
        val v = LayoutInflater.from(this@MainActivity).inflate(R.layout.layout_stack_child, null)
        val text = v.findViewById<TextView>(R.id.stack_text)
        text.text = "Stack" + position

        return v
    }
}
実際に使うわけでなしと言い訳しつつ...
こんな感じで実装すると実機では↓のような表示をされます。
子ビューの表示をそれっぽくする
上で作ったStackViewの子ビューはxmlでwidth/heightをmatch_parentにしてもdp指定をしても表示している要素(今回の場合はTextViewの文字列)のサイズしか表示してくれません。
そこで下記のようにLayoutParamsで直接変更してみます。
override fun getView(position: Int, convertView: View?, parent: ViewGroup): View {
    val v = LayoutInflater.from(this@MainActivity).inflate(R.layout.layout_stack_child, null)
    v.layoutParams = ViewGroup.LayoutParams(windowWidth,windowHeight)
    val text = v.findViewById<TextView>(R.id.stack_text)
    text.text = "Stack" + position

    return v
}
ここまで実装して動かしてみると、アプリ利用(使用)履歴画面のような動きが実装されていることがわかります。
あとは子ビューの左右位置が揃えば完成しそうです。
StackViewをカスタマイズする
子ビューを直接いじってもこれ以上はレイアウトを調整できないのでStackViewをオーバーライドしてカスタマイズを進めます。
override fun onLayout(changed: Boolean, left: Int, top: Int, right: Int, bottom: Int) {
    super.onLayout(changed, left, top, right, bottom)
    val childCount = childCount
    for (i in 0 until childCount) {
        val child = getChildAt(childCount - (i + 1))
        if(child !is ImageView){
            child.layout(leftBase * (i - 1), child.top, customRight, customBottom)
        }
    }
}
少し解説すると、leftBaseは右にずれて行くViewの位置を左に揃えるための値です。
customRight/customBottomはStackView#StackFrameのサイズが大きすぎると手前のViewが小さくカットされてしまうのを防ぐために設定します。
また、childがImageViewでは無いという条件になっているのはStackView#StackFrameがprivateクラスなためです。
BaseAdapterのgetViewで設定したwidth/heightをcustomRight/customBottomに合わせて調整すると↓のように表示されます。
出来たと思ったのに...
ついにアプリ利用(使用)履歴画面のようなUIが実現したかと思うとここで大きな落とし穴にハマります。
ドラッグすると表示が崩れます。
落胆とともに調べてみるとStack Overflowに同じようなことをしようとしている人が質問していました。
回答を見てみると、StackViewはandroid.widgetパッケージでのみ使用可能なクラスを使っているので、メソッドをオーバーライドしたりカスタムStackViewを0から作ることも出来ないとのこと...
まとめ
Stack Overflowを見た方はご存知と思いますが、回答の中にやりたいことを実現するライブラリへのリンクもありました。
回答の中ではViewPagerを利用しているようなことが書いてあったので、自分でアプリ利用(使用)履歴画面を作ってみたい方はこれに倣ってViewPagerを利用してみてください。


