7
3

Delete article

Deleted articles cannot be recovered.

Draft of this article would be also deleted.

Are you sure you want to delete this article?

More than 5 years have passed since last update.

【python初学者向け】さくっとMicrosoft Azure Notebooks上でpython書いてみた

Last updated at Posted at 2019-05-10

はじめに

Microsoft Azure Notebooks上でのJupyter Notebookの起動が、想像以上に簡単だったので手順をメモしておきます。

対象者

  • python初学者
    • オンラインで学習中
    • Anacondaより簡単に環境設定を済ませたい
    • 環境設定で挫折した
  • 初学者にpythonの学習環境を用意しようとしている人
  • Microsoft Azure Notebookって何?という人

ゴール

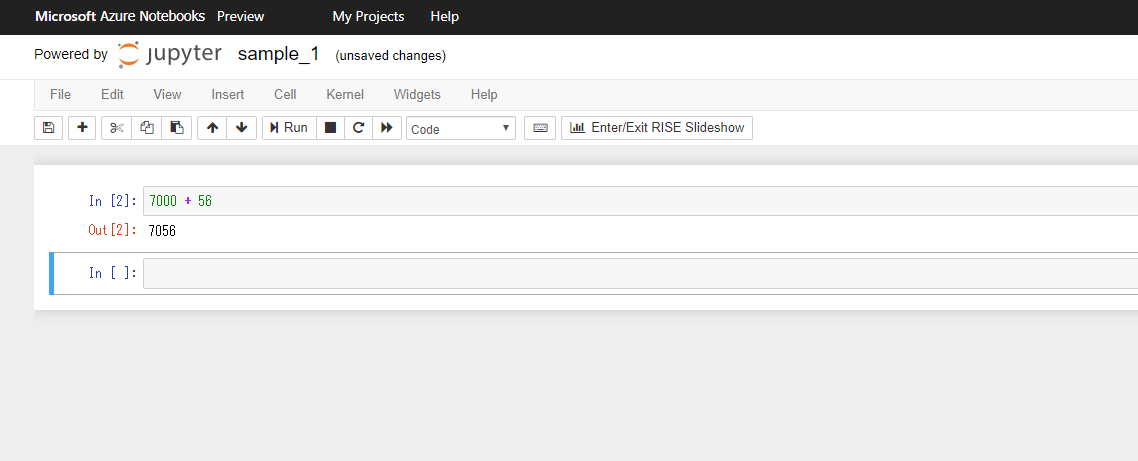
Azure Notebookを立ち上げ、コードセルに足し算を記述、実行できる。

Microsoft Azure Notebooksとは?

Microsoftが提供しているクラウドサービスであるAzure上でpythonを実行できる、Jupyter Notebookライクなサービスです。
Azure Notebooks

実行環境

  • Windows 10
  • Microsoftアカウント サインイン済
    • ※アカウント未作成の方は、まずこちらから設定を。

手順

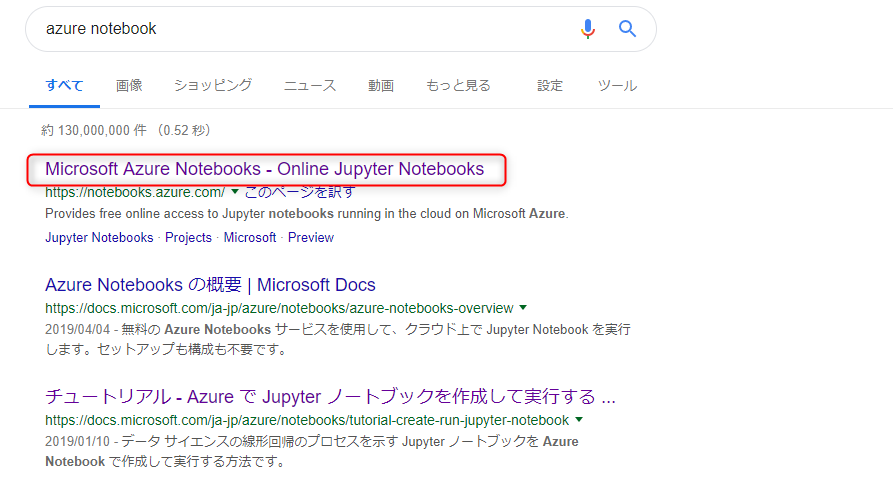
  1. 検索サービスでAzure Notebooksで検索、Microsoft Azure Notebooksをクリック
    1.png

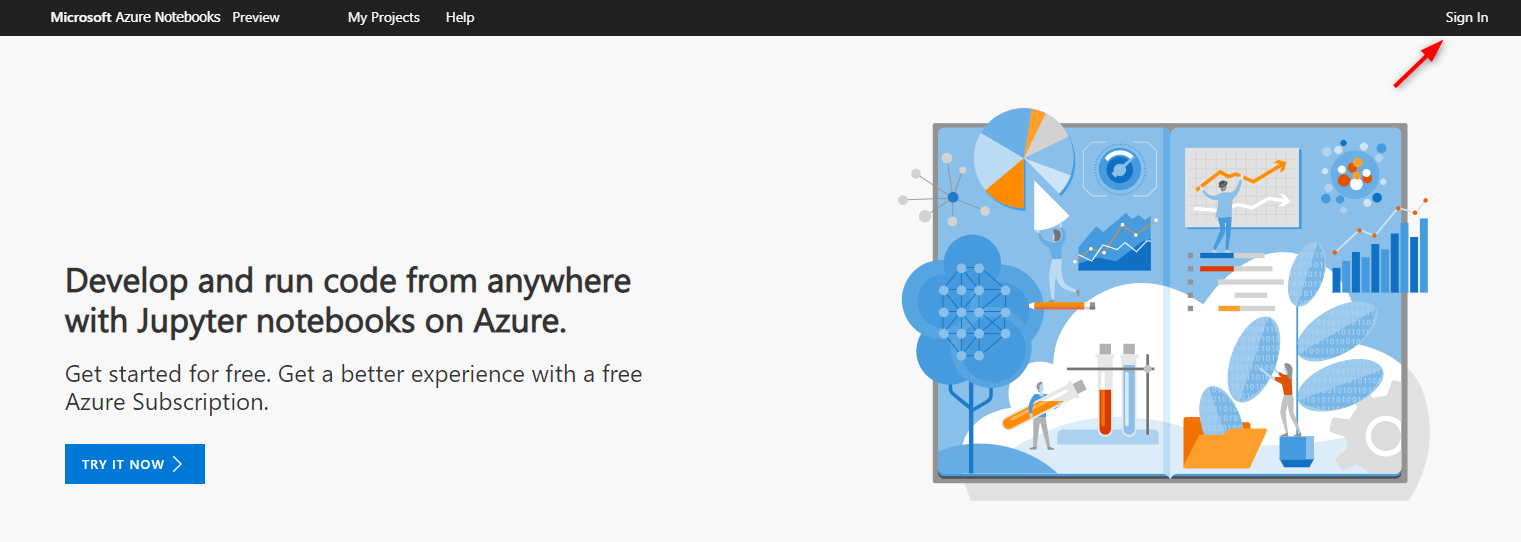
2.日本語の案内に従った後、下記画面でSign Inをクリック
2.png

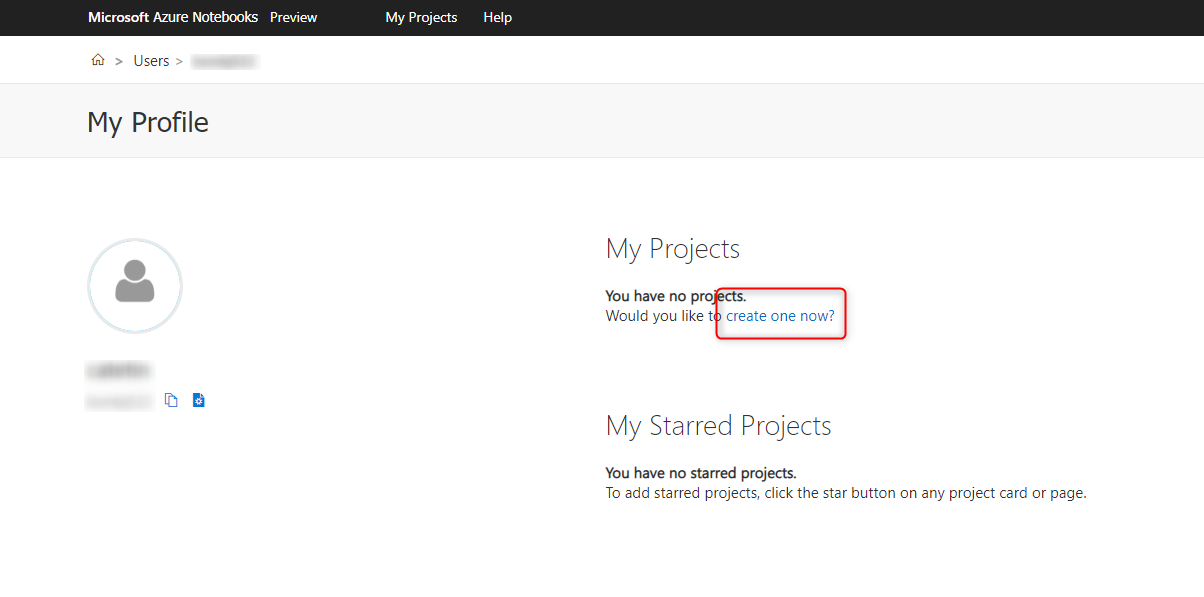
3.create one now?をクリック
3.png

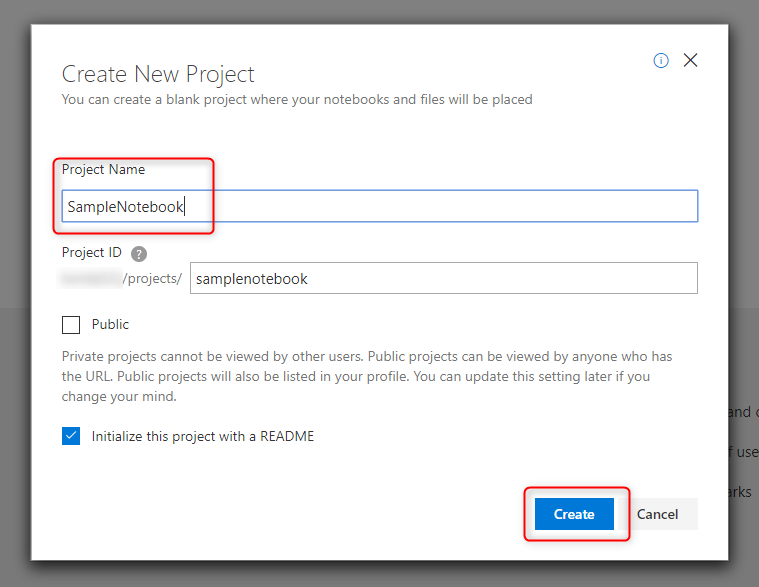
4.Project Nameを入力、Createをクリック
4.png

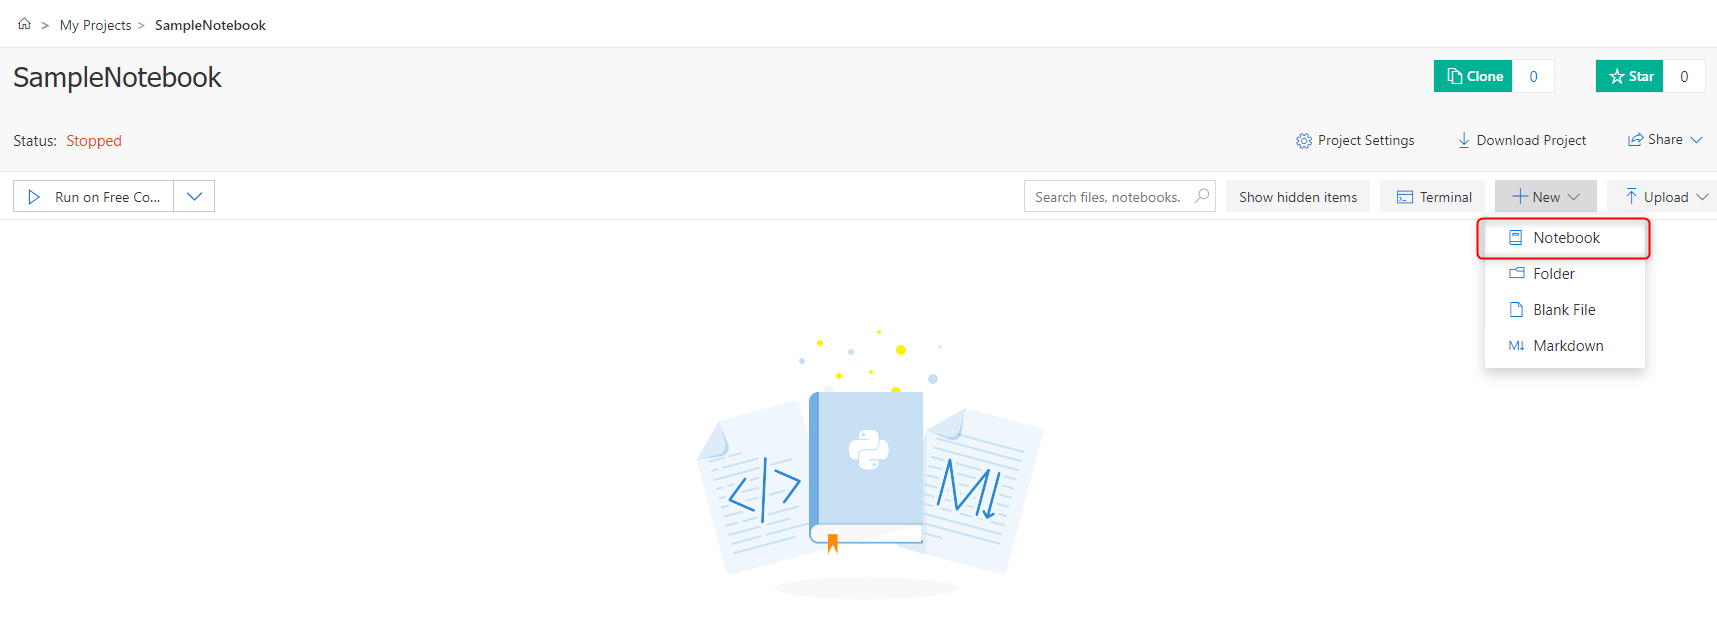
5.左上の+Newタブから、Notebookをクリック
5.png

6.Notebook Nameを入力、Pythonのバージョンを選択、Createをクリック
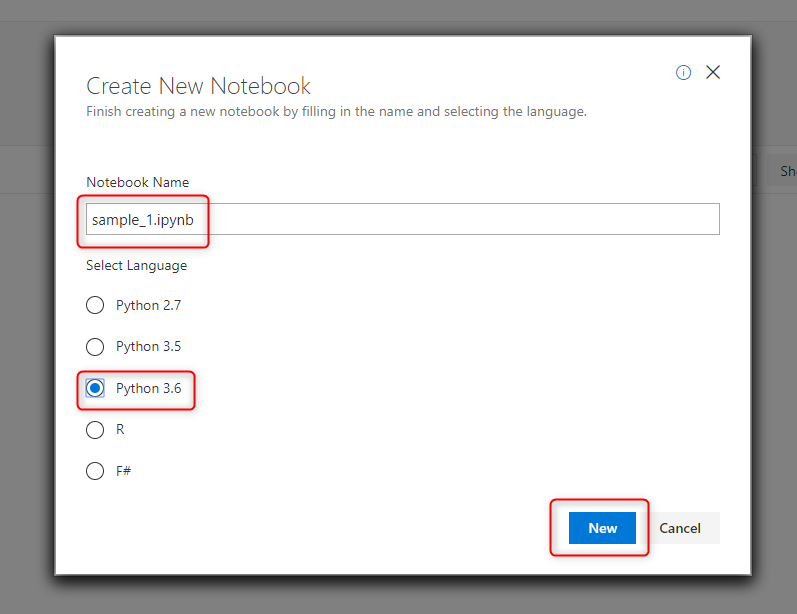
6.png

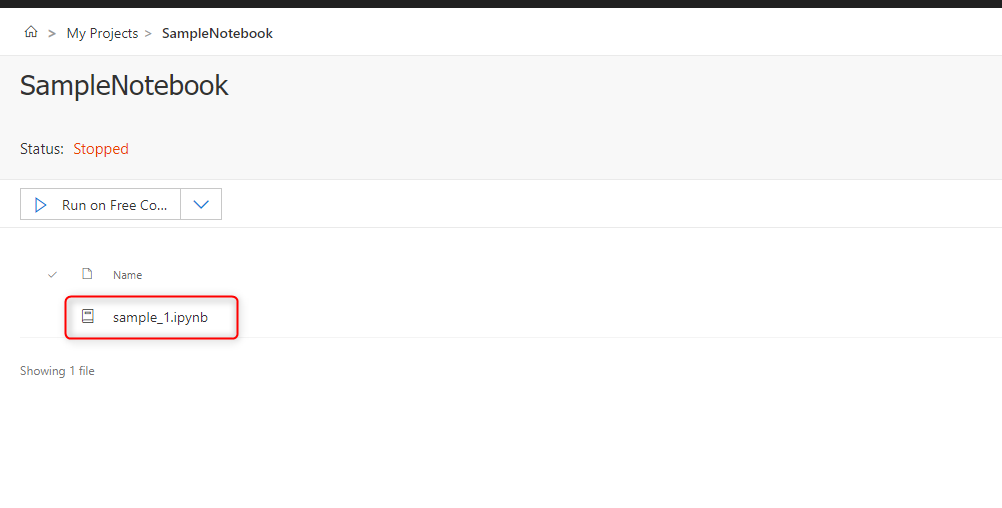
7.作成したNotebookをクリック
7.png

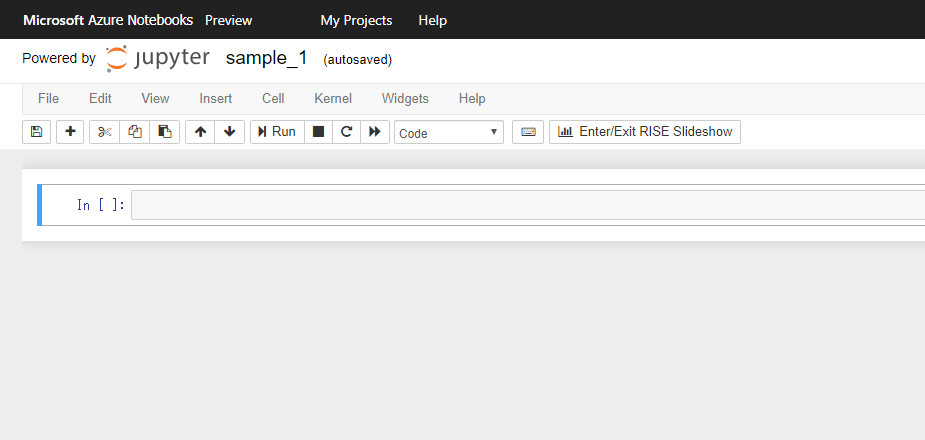
  1. 完成!
    8.png

  2. 足し算できる!
    9.png

まとめ

Microsoftアカウントの設定が済んでいれば、たったこれだけのステップで環境が立ち上がります。
簡単なのでぜひお試しを!
7
3
0

Register as a new user and use Qiita more conveniently

  1. You get articles that match your needs
  2. You can efficiently read back useful information
  3. You can use dark theme
What you can do with signing up
7
3

Delete article

Deleted articles cannot be recovered.

Draft of this article would be also deleted.

Are you sure you want to delete this article?