E2Eテストの環境構築、及びサンプル実装を行いました。
E2Eテストとは
エンドユーザーがサービスを利用する視点でのテストで、システム稼働時に近い形で動かします。
今回はWebを想定し、ブラウザで動くE2Eテスト環境を構築しました。
参考URL
E2Eテスト(インテグレーションテスト)の利点と不利点
※今回はテストの一部で下記のページを使用しています。
https://www.nginx.com/welcome-to-nginx/
使用ツール
Cucumber.js
BDD(ビヘイビア駆動開発)フレームワークのCucumberを扱うjsライブラリ。
featureと呼ばれるファイルにエンドユーザーが行う振る舞いを書いて、その振る舞いをベースにシステムが実行されていくものです。
Gherkinという言語を使って振る舞いを記述します。
GitHub: https://github.com/cucumber/cucumber-js
BDDとは?という方は下記の記事あたりが参考になるかも知れません。
https://www.atmarkit.co.jp/ait/articles/1403/25/news033.html
Puppeteer
Chrome及びHeadless Chromeを操作するライブラリ。
Seleniumと似たようなものですが、PuppeteerはWeb Driverを別途でインストールする必要がありません。
GitHub: https://github.com/puppeteer/puppeteer
chai
テストのアサーション用ライブラリ。
今回は特定のHTMLタグ内の文字列が想定したものであるかどうかのチェックで使います。
GitHub: https://github.com/chaijs/chai
環境構築手順
Node.jsのバージョン切り替え
nodebrewを使用し、v13.9.0にしました。
$ nodebrew install v13.9.0
$ nodebrew use v13.9.0
package.json作成
今回はパッケージインストールにyarnを使用します。
$ yarn init
各種パッケージインストール
puppeteer、cucumber、chaiを入れます。
$ yarn add puppeteer --dev
$ yarn add cucumber --dev
$ yarn add chai --dev
実行コマンドエイリアス追加
package.jsonにcucumberからのテスト実行用のコマンドを追加します。
{
  "name": "e2e_test",
  "version": "1.0.0",
  "main": "index.js",
  "license": "MIT",
  "scripts": {
    "e2e_test": "./node_modules/.bin/cucumber-js" // 追加
  },
  "devDependencies": {
    "chai": "^4.2.0",
    "cucumber": "^6.0.5",
    "puppeteer": "^2.1.1"
  }
}
E2Eテスト対象用のサーバーを起動
今回はサンプルとしてnginxのサーバーを立ち上げます。
デフォルトのページを表示し、そのページ及び遷移後のページを使用したE2Eテストを実行します。
別のshellから、Dockerでサーバーを起動。
$ docker run -p 8080:80 nginx
画面表示
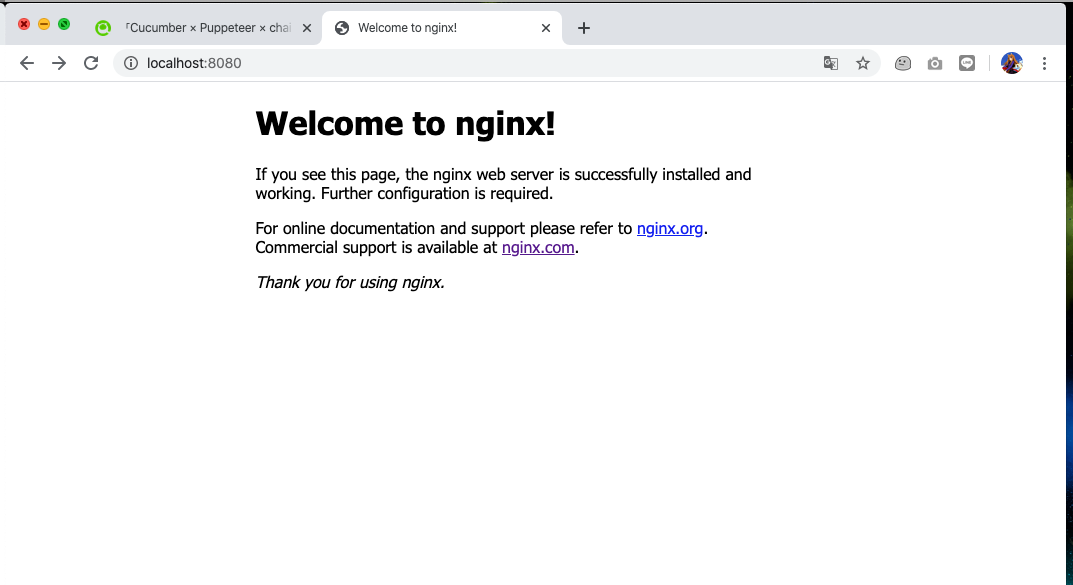
http://localhost:8080 にアクセスします。

nginxの初期画面が表示されました。
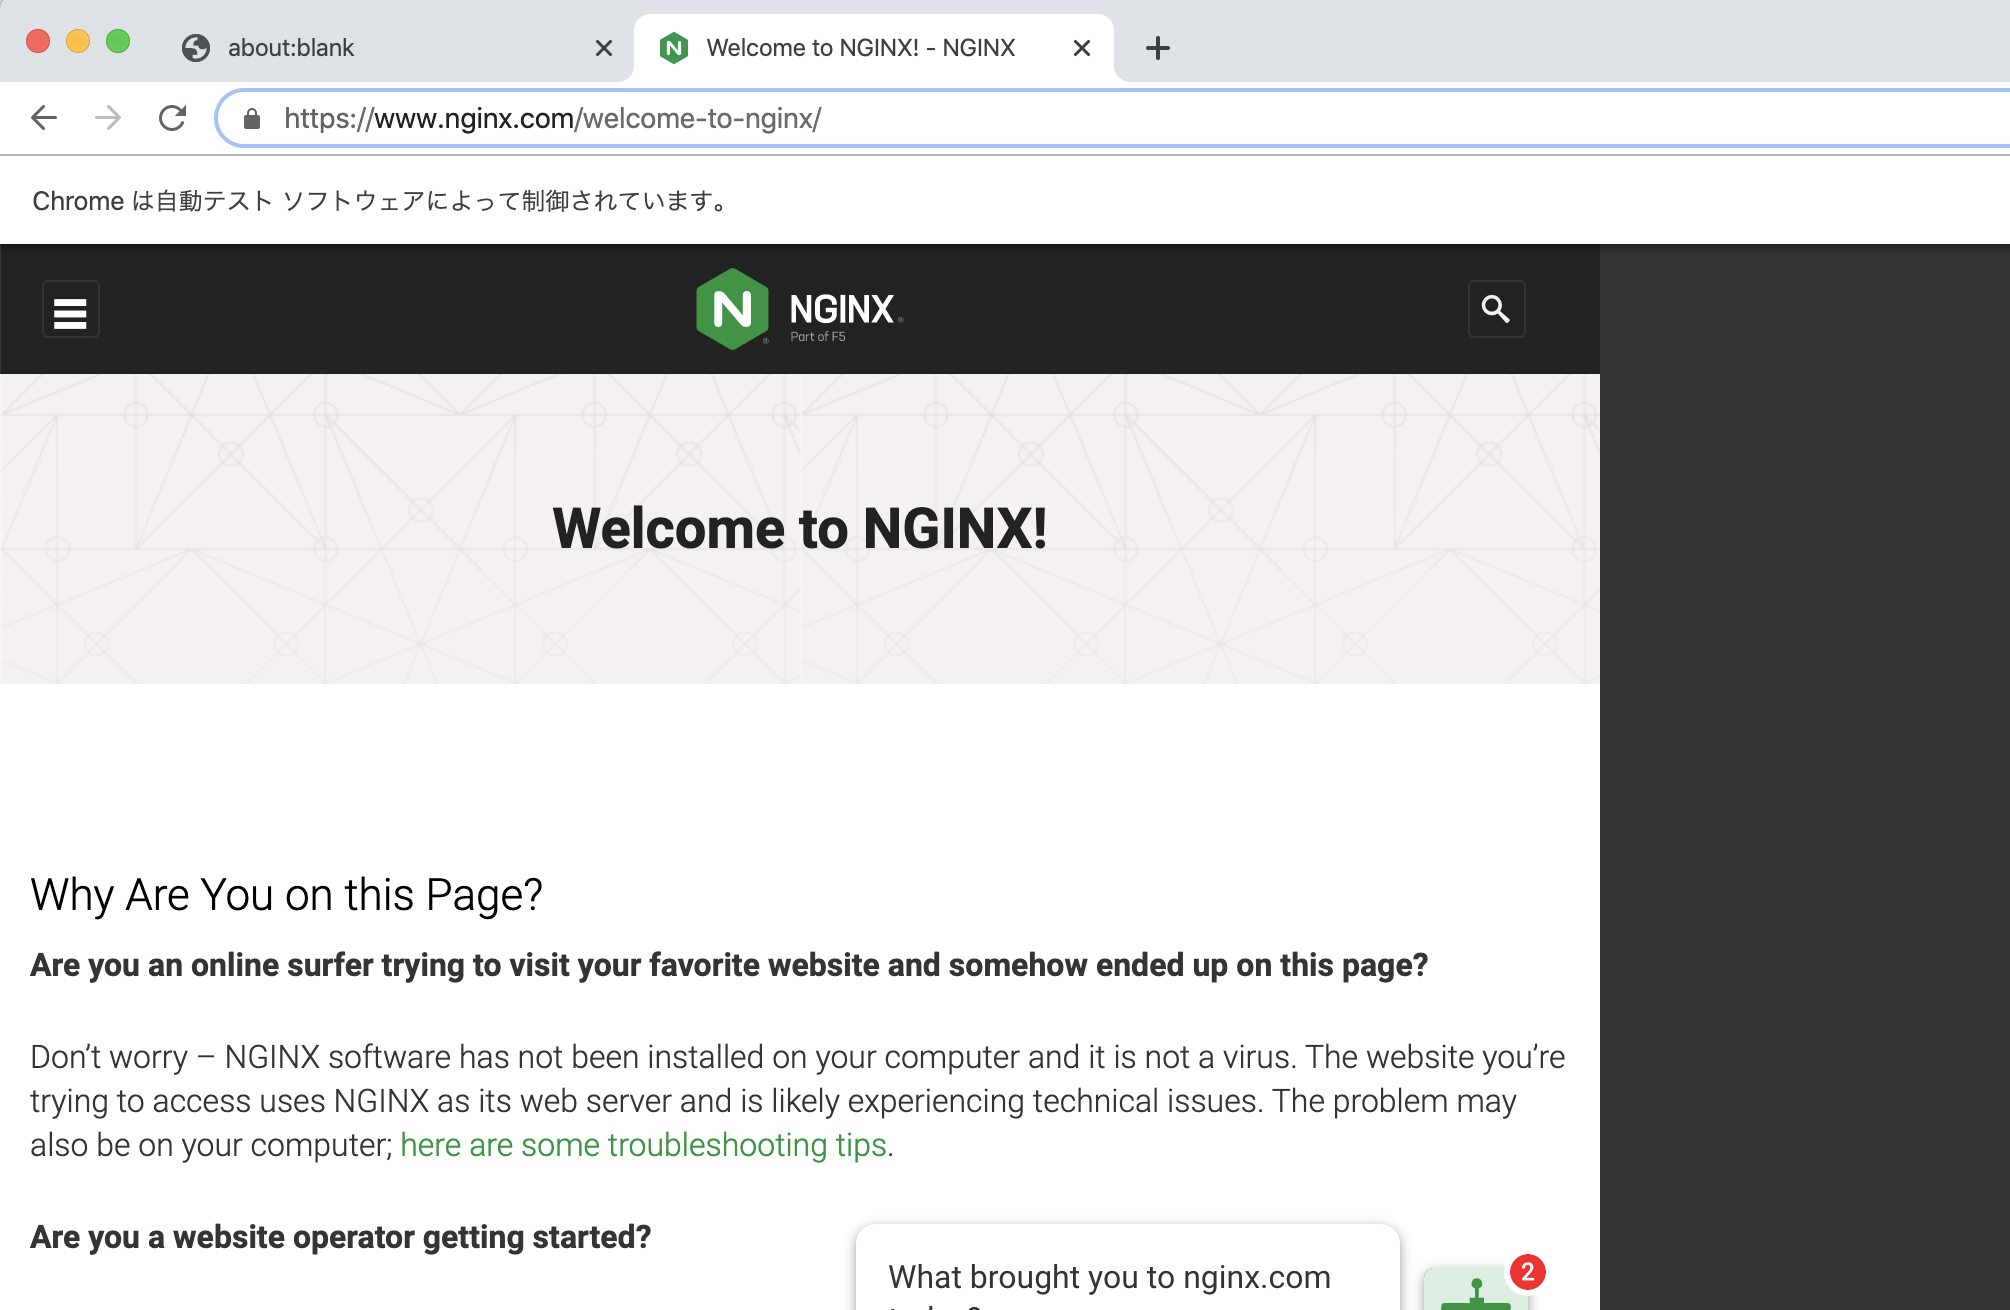
「nginx.com」をクリックすると、下記のように公式ページに飛びます。

今回はここまでの動作を、エンドユーザーが行う動作としたテストを書いてみましょう。
下記のシナリオとします。
- シナリオ名: nginxの初期表示画面から公式ページに飛ぶことができる
- 前提条件: nginxの初期表示画面が表示されている
- アクション: nginx.com のリンクをクリックする
- 結果: 遷移したページに Welcome to NGINX! が表示されている。
実装
featureファイル
まずは、featuresディレクトリを作り、nginx.featureというファイルを作成します。
このファイルにはエンドユーザーが辿るシナリオを書きます。
Feature: nginx画面
  エンドユーザーがnginxの様々なページで動作を行うシナリオ

  Scenario: nginxの初期画面から公式ページに飛ぶことができる
    Given nginxの初期画面が表示されている
    When "nginx.com" のリンクをクリックする
    Then 遷移したページに "Welcome to NGINX!" が表示されている
cucumber.jsの実行時には、featuresディレクトリが自動的に読み込まれ、その中の〇〇.featureファイルが自動実行される仕組みになっています。
この状態で実行すると、下記のようにコンソール上に「シナリオに対する実装の定義部分がないですよ」と怒られます。
$ ./node_modules/.bin/cucumber-js
UUU

Warnings:

1) Scenario: nginxの初期画面から公式ページに飛ぶことができる # features/nginx.feature:4
   ? Given nginxの初期画面が表示されている
       Undefined. Implement with the following snippet:

         Given('nginxの初期画面が表示されている', function () {
           // Write code here that turns the phrase above into concrete actions
           return 'pending';
         });

   ? When "nginx.com" のリンクをクリックする
       Undefined. Implement with the following snippet:

         When('{string} のリンクをクリックする', function (string) {
           // Write code here that turns the phrase above into concrete actions
           return 'pending';
         });

   ? Then 遷移したページに "Welcome to NGINX!" が表示されている
       Undefined. Implement with the following snippet:

         Then('遷移したページに {string} が表示されている', function (string) {
           // Write code here that turns the phrase above into concrete actions
           return 'pending';
         });


1 scenario (1 undefined)
3 steps (3 undefined)
0m00.000s
error Command failed with exit code 1.
ここに表示されたsnippetをアクション実装用のファイルにコピペしていけばOKです。
アクション実装
step_definitionsというディレクトリを作り、その中にnginx_steps.jsというファイルを作ります。
ここに、先ほど表示されたsnippetを貼り付けていきます。
GivenなどのメソッドのImportも忘れずに追加しましょう。
const { Given, When, Then } = require("cucumber");

Given('nginxの初期画面が表示されている', function () {
  // Write code here that turns the phrase above into concrete actions
  return 'pending';
});

When('{string} のリンクをクリックする', function (string) {
  // Write code here that turns the phrase above into concrete actions
  return 'pending';
});

Then('遷移したページに {string} が表示されている', function (string) {
  // Write code here that turns the phrase above into concrete actions
  return 'pending';
});
これでOKです。
実行すると先ほどとは異なり、Givenの時点でPendingが返されテストの進行が止まります。
$ yarn run e2e_test
yarn run v1.22.0
$ ./node_modules/.bin/cucumber-js
P--

Warnings:

1) Scenario: nginxの初期画面から公式ページに飛ぶことができる # features/nginx.feature:4
   ? Given nginxの初期画面が表示されている # features/step_definitions/nginx_steps.js:3
       Pending
   - When "nginx.com" のリンクをクリックする # features/step_definitions/nginx_steps.js:8
   - Then 遷移したページに "Welcome to NGINX!" が表示されている # features/step_definitions/nginx_steps.js:13

1 scenario (1 pending)
3 steps (1 pending, 2 skipped)
0m00.000s
error Command failed with exit code 1.
ちなみにcucumberのシナリオ上で 遷移したページに "Welcome to NGINX!" が表示されている のように"" で括って記述した部分は、シナリオ実行時に引数としてメソッドに渡されます。
そのため、step_definitions/nginx_steps.js のWhenとThenには対応する部分が {string} として引数で定義されています。
puppeteer実装
Given
まずは、nginx初期表示です。
とりあえずpuppeteerで画面を表示するところまで書いてみます。
const { Given, When, Then } = require("cucumber");
const puppeteer = require('puppeteer');

var page = null;

Given('nginxの初期画面が表示されている', async function () { // awaitを使うのでasyncを追加。
  const browser = await puppeteer.launch({headless: false}); // ブラウザを表示するのでheadlessをfalseに
  page = await browser.newPage();
  await page.goto('http://localhost:8080'); // http://localhost:8080に遷移
});

// 以下省略
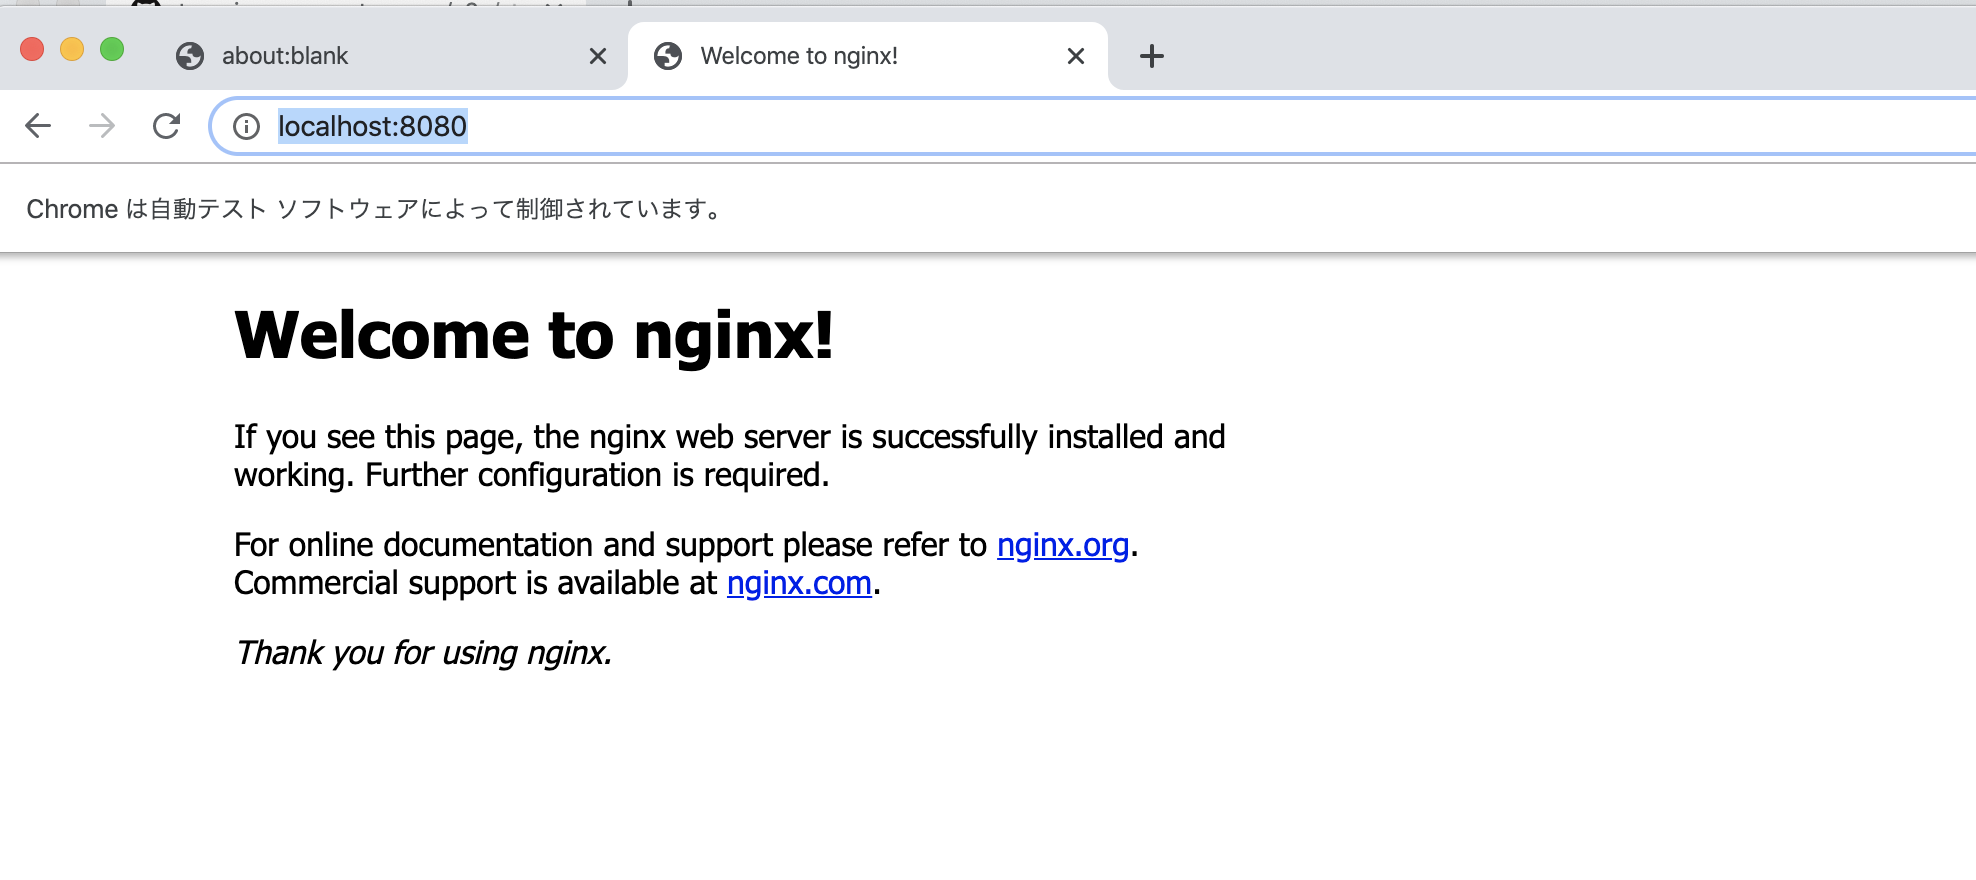
この状態で $ yarn run e2e_test をすると、下記のように自動でブラウザが立ち上がりnginx初期画面が表示されます。

しかし、この状態ではGivenの中で「表示されているのがnginxの初期画面であること」は保証できていません。
そのため画面に表示された要素に対してアサーションをかけます。
const { Given, When, Then } = require("cucumber");
const puppeteer = require('puppeteer');
const { assert } = require('chai');

var page = null;

Given('nginxの初期画面が表示されている', async function () {
  const browser = await puppeteer.launch({headless: false});
  page = await browser.newPage();
  await page.goto('http://localhost:8080');

  // h1タグ内の文字列を取得
  const h1Text = await page.$eval('h1', item => {
    return item.textContent;
  });

  assert.equal(h1Text, 'Welcome to nginx!');  // h1タグ内の文字列が「Welcome to nginx!」であるかのアサーション
});


// 以下省略
これでGiven内のチェックの実装ができました。
実行すると下記のように、Givenのテストはパスし、WhenでPendingとなります。
$ yarn run e2e_test
yarn run v1.22.0
$ ./node_modules/.bin/cucumber-js
.P-

Warnings:

1) Scenario: nginxの初期画面から公式ページに飛ぶことができる # features/nginx.feature:4
   ✔ Given nginxの初期画面が表示されている # features/step_definitions/nginx_steps.js:5
   ? When "nginx.com" のリンクをクリックする # features/step_definitions/nginx_steps.js:18
       Pending
   - Then 遷移したページに "Welcome to NGINX!" が表示されている # features/step_definitions/nginx_steps.js:23

1 scenario (1 pending)
3 steps (1 pending, 1 skipped, 1 passed)
0m01.351s
When
「nginx.com」をクリックします。
// Givenは省略

When('{string} のリンクをクリックする', async function (linkText) {
    const linkXpath = `//a[text() = "${linkText}"]`; // nginx.comリンクのxpathを取得
    await page.waitForXPath(linkXpath);
    await (await page.$x(linkXpath))[0].click(); // リンクをクリック
});

// 以下両略
実行すると、下記のようにnginx公式ページまで遷移できることが確認できました。

なお、指定したテキストを持つリンクをクリックする方法は下記を参考に実装しております。
PuppeteerでinnerTextを使って要素を選択する
Then
最後です。
公式ページに遷移するリンクは、Whenのclick()メソッドで動作が保証できているので、遷移先のページに「Welcome to NGINX!」が表示されているかをチェックしましょう。
(ちなみに初期画面のnginxは小文字ですが、公式ページのNGINXは大文字です)
// 省略

Then('遷移したページに {string} が表示されている', async function (pageTitleText) {
    await page.waitForNavigation({ waitUntil: "domcontentloaded" }); // ページのローディングが終わるまで待つ

    // h1タグ内の文字列を取得
    const h1Text = await page.$eval('h1', item => {
        return item.textContent;
    });

  assert.equal(h1Text, pageTitleText);  // h1タグ内の文字列が「Welcome to NGINX!」であるかのアサーション
});
この状態で実行すると、全ての条件実行とアサーションまで完了し、テストが完了している出力がされます。
$ yarn run e2e_test
yarn run v1.22.0
$ ./node_modules/.bin/cucumber-js
...

1 scenario (1 passed)
3 steps (3 passed)
0m04.815s
以上で実装と確認は終了です!
完成したファイル
features/nginx.feature
Feature: nginx画面
  エンドユーザーがnginxの様々なページで動作を行うシナリオ

  Scenario: nginxの初期画面から公式ページに飛ぶことができる
    Given nginxの初期画面が表示されている
    When "nginx.com" のリンクをクリックする
    Then 遷移したページに "Welcome to NGINX!" が表示されている
step_definitions/nginx_steps.js
const { Given, When, Then } = require("cucumber");
const puppeteer = require('puppeteer');
const { assert } = require('chai');

var page = null;

Given('nginxの初期表示画面が表示されている', async function () {
  const browser = await puppeteer.launch({headless: false});
  page = await browser.newPage();
  await page.goto('http://localhost:8080');

  // h1タグ内の文字列を取得
  const h1Text = await page.$eval('h1', item => {
    return item.textContent;
  });

  assert.equal(h1Text, 'Welcome to nginx!');  // h1タグ内の文字列が「Welcome to nginx!」であるかのアサーション
});

When('{string} のリンクをクリックする', async function (linkText) {
    const linkXpath = `//a[text() = "${linkText}"]`; // nginx.comリンクのxpathを取得
    await page.waitForXPath(linkXpath);
    await (await page.$x(linkXpath))[0].click(); // リンクをクリック
});

Then('遷移したページに {string} が表示されている', async function (pageTitleText) {
    await page.waitForNavigation({ waitUntil: "domcontentloaded" }); // ページのローディングが終わるまで待つ

    // h1タグ内の文字列を取得
    const h1Text = await page.$eval('h1', item => {
        return item.textContent;
    });

  assert.equal(h1Text, pageTitleText);  // h1タグ内の文字列が「Welcome to NGINX!」であるかのアサーション
});
最後に
BDDフレームワークを使えば振る舞いに対してメソッドを自動出力し、わかりやすい形ながらも工数をあまりかけずに実装することができます。
さらに、BDDフレームワークを使用してテストを書いた場合、featureファイル「エンドユーザーがどんなことをするサービスか」を表すドキュメントになるので、チーム開発においてプロダクトのコア機能の認識も取りやすくなるメリットがあります。
是非参考にしてみてください。