2019/08現在の情報であることに留意すること。
新人教育用に、Linux + VSCodeで、C++開発環境を構築する。
最小構成であればもっと簡単に構築できるが、
一般的な大規模開発環境の勉強が目的のため、
CMakeを使用して構築を行う。
※ディリクトリとフォルダの呼称が混在しているので注意。
Unix系はディリクトリ、Windows系はフォルダと呼ぶがどちらも同じ。
VSCodeはMicroSoftが開発元のため、Linuxでもディリクトリをフォルダと呼んでいる。
前提条件(サンプル環境)
Linux環境が使用可能であること(ここでは、Linux Mintを使用)
- Linuxのバージョン確認
~$ lsb_release -a
No LSB modules are available.
Distributor ID:	LinuxMint
Description:	Linux Mint 19.2 Tina
Release:	19.2
Codename:	tina
- リポジトリ一覧を更新
~$ sudo apt update
- パッケージの更新
~$ sudo apt upgrade
C/C++ビルド環境のインストール
以下のコマンドで、ビルド環境をインストール
~$ sudo apt install build-essential
コンパイラのバージョン確認
~$ gcc --version
gcc (Ubuntu 7.4.0-1ubuntu1~18.04.1) 7.4.0
Copyright (C) 2017 Free Software Foundation, Inc.
デバッガのバージョン確認
~$ gdb --version
GNU gdb (Ubuntu 8.1-0ubuntu3) 8.1.0.20180409-git
Copyright (C) 2018 Free Software Foundation, Inc.
License GPLv3+: GNU GPL version 3 or later <http://gnu.org/licenses/gpl.html>
CMakeのインストール
~$ sudo apt install cmake
CMakeのバージョン確認
~$ cmake --version
cmake version 3.10.2

CMake suite meintained and support by Kitware (kitware.com/cmake).
必要なアプリのインストール
VSCodeのインストール
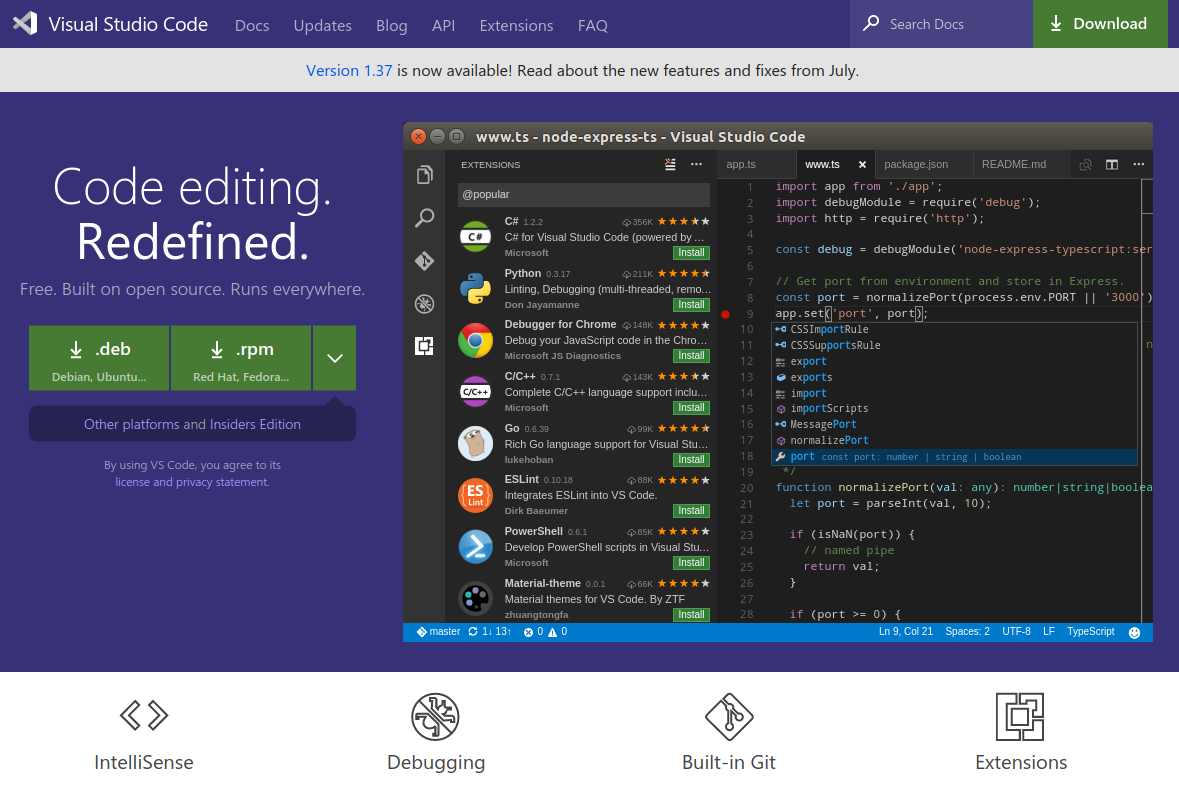
以下のサイトから、.debファイルをダウンロード
https://code.visualstudio.com/

ダウンロードした.debファイルをGUI上でダブルクリックすれば、自動的にインストールが始まる。
エクステンションのインストール
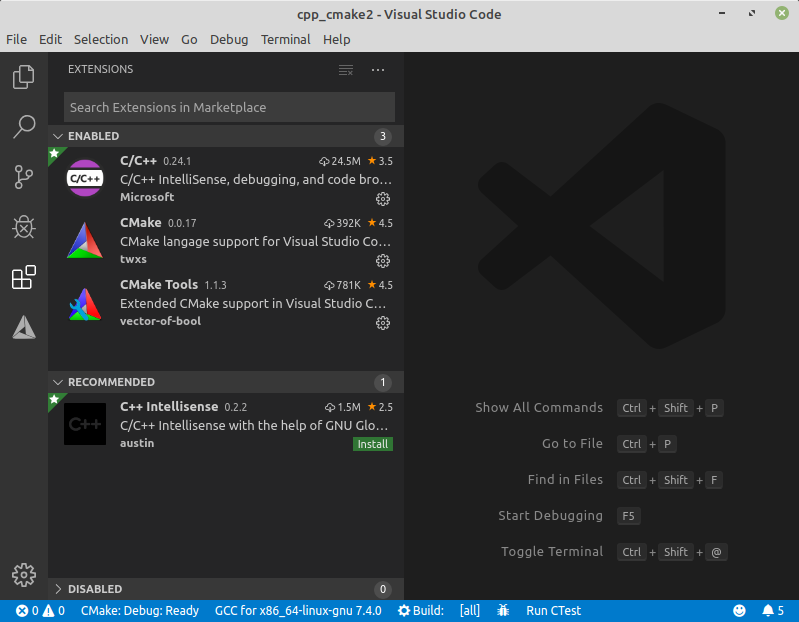
[Ctrl+Shift+X] で"Extensions"を開き、"C/C++", "CMake", "CMake Tools"の、3つのエクステンションをインストールする。

ワークスペースの作成
ワークスペース(ビルドおよびデバッグを行う場所)を作成する。
ここでは例として、"home"ディリクトリ下に"cpp_cmake"ディリクトリを作成し、ワークスペースとする。
ワークスペース用ディリクトリの作成
"home"ディリクトリ下に"cpp_cmake"ディリクトリを作成する。
~$ mkdir cpp_cmake
VSCodeから開く
VSCodeのメニュー画面から、[File] -> [Open Folder]で、作成した"cpp_cmake"を開く。
ビルドおよびデバッグ環境の設定
"GCC"でビルドおよび"GDB"でデバッグできるよう、環境の設定を行う。
環境設定は、JSONファイルに記述するが、ここでは自動的に作成する。
ビルド環境ファイルの設定
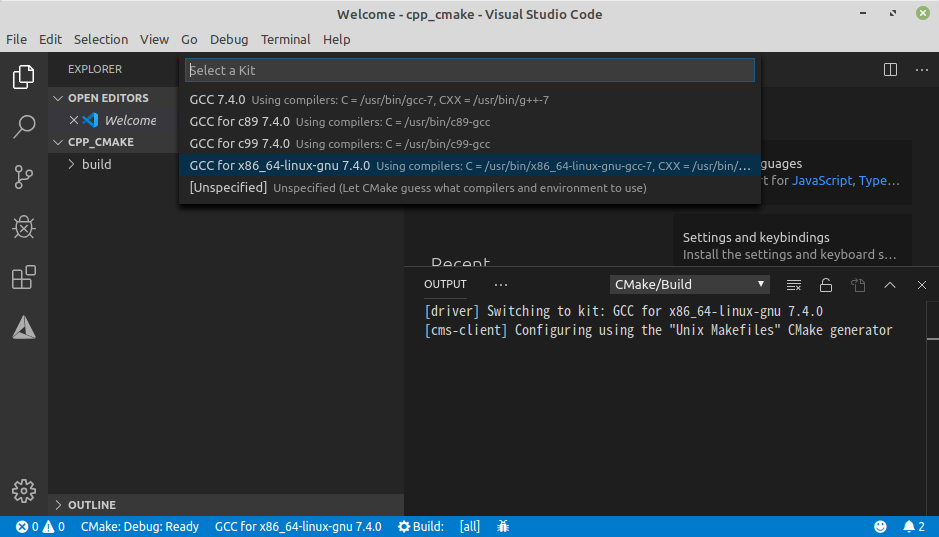
- [Ctrl+Shift+P]で、コマンドパレットを開く。
- "Cmake:QuickStart"を選択。
- "GCC for x86_64-linux-gnu 7.4.0"を選択。
- プロジェクト名を求められるので、"cpp_cmake"と入力
- "Executable"を選択。
ここまでで、必要な設定ファイルとサンプルとなる"main.cpp"が自動生成される。
[
{
  "directory": "/home/ユーザー名/cpp_cmake/build",
  "command": "/usr/bin/x86_64-linux-gnu-g++-7    -g   -o CMakeFiles/cpp_cmake.dir/main.cpp.o -c /home/ユーザー名/cpp_cmake/main.cpp",
  "file": "/home/ユーザー名/cpp_cmake/main.cpp"
}
]
[Shift+F7]で、"all META"を選択すると、ビルドが開始される。
デバッグ環境ファイルの設定
GDBでバッグするための設定を行う
-
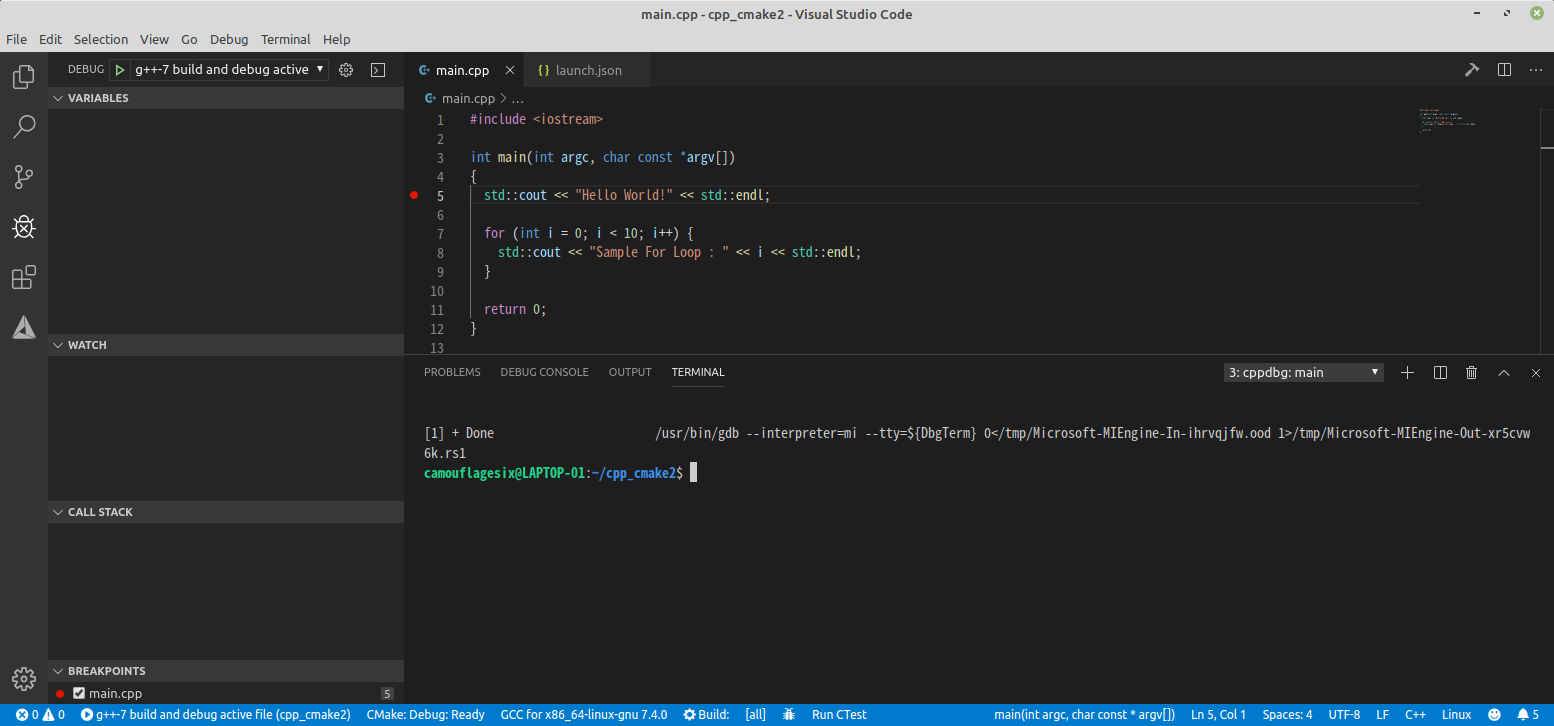
"Main.cpp"を開き、"Break point"(F9)を設定する。
※"Main.cpp"を開いている状態でないと、デバッグできないので注意 -
[Ctrl+Shift+D]で、Debugウィンドウを開く。
最初は設定がないので、"No Configulation"と表示されている。 -
"Start Debugging"ボタンを押す。
-
"C++(GDB/LLBB)"を選択
-
"g++-7"を選択
".vscode"フォルダ下に、"launch.json"と、"tasks.json"が自動的に作成される。
"Break point"で、デバッガーが停止すれば成功。
以下、自動生成された、"launch.json"と、"tasks.json"を記載する。
ディリクトリ構成などを変更する場合は、修正する必要がある。
   "version": "0.2.0",
    "configurations": [
        {
            "name": "g++-7 build and debug active file",
            "type": "cppdbg",
            "request": "launch",
            "program": "${fileDirname}/${fileBasenameNoExtension}",
            "args": [],
            "stopAtEntry": false,
            "cwd": "${workspaceFolder}",
            "environment": [],
            "externalConsole": false,
            "MIMode": "gdb",
            "setupCommands": [
                {
                    "description": "Enable pretty-printing for gdb",
                    "text": "-enable-pretty-printing",
                    "ignoreFailures": true
                }
            ],
            "preLaunchTask": "g++-7 build active file",
            "miDebuggerPath": "/usr/bin/gdb"
        }
    ]
}
{
    "tasks": [
        {
            "type": "shell",
            "label": "g++-7 build active file",
            "command": "/usr/bin/g++-7",
            "args": [
                "-g",
                "${file}",
                "-o",
                "${fileDirname}/${fileBasenameNoExtension}"
            ],
            "options": {
                "cwd": "/usr/bin"
            }
        }
    ],
    "version": "2.0.0"
}

