Phaser3ってなに?
簡単に言うと、WEBゲームが作れるフレームワークです。
環境
- Node.js (https://nodejs.org/ja/)
- Vite (https://ja.vitejs.dev/)
- Phaser3 (https://phaser.io/)
- TypesScript (https://www.typescriptlang.org/)
Viteのプロジェクト作成
$ npm init vite@latest
$ yarn create vite
実行すると質問されるので、以下のように回答。
Project nameは自分の好きな名前で入力します。
Select a frameworkは自分の環境に合わせて選択してください。今回はVanillaを選択しています。
Select a variantはTypeScriptを選択します。
$ ✔ Project name: … my-project
$ ✔ Select a framework: › Vanilla
$ ✔ Select a variant: › TypeScript
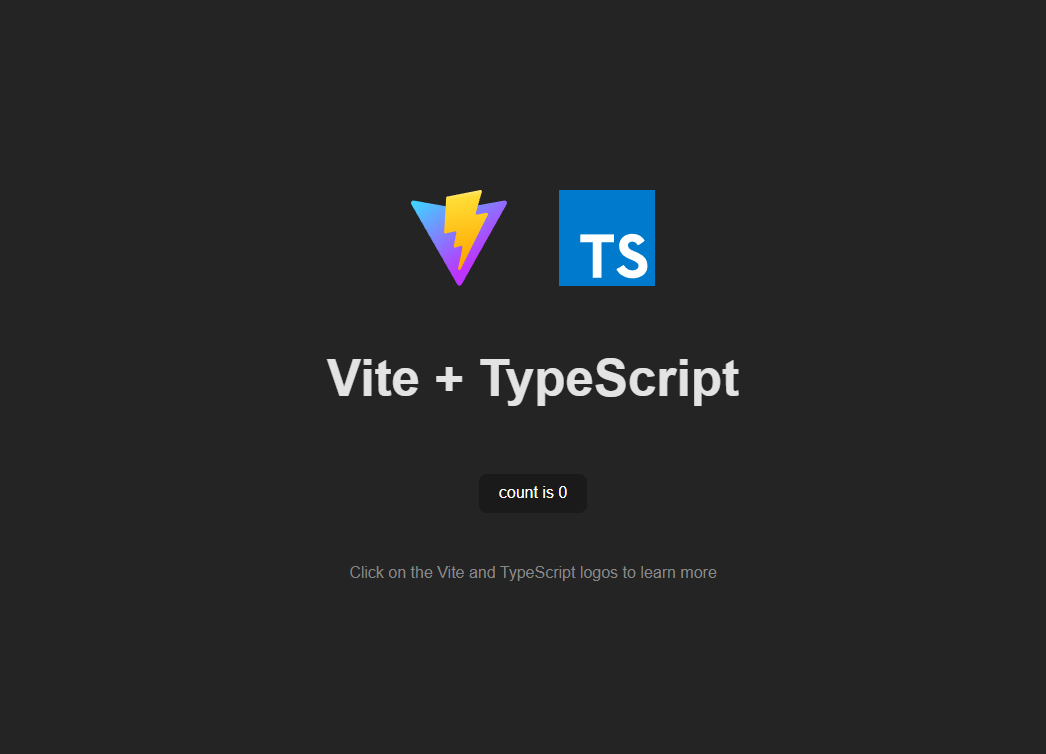
カレントディレクトリを作ったプロジェクトに移動して、起動確認をします。
$ cd my-project
$ npm install
$ npm run dev
$ cd my-project
$ yarn
$ yarn dev
TypeScriptとPhaserのインストール
最初にTypeScriptをインストールします。
$ npm install typescript --save-dev
$ yarn add typescript -dev
次にPhaserをインストールします。
$ npm install phaser --save
$ yarn add phaser
viteの設定
configファイルは自動で生成されないので、自分で作成する必要があります。
ので、プロジェクトルート内にvite.config.tsファイルを作成します。
生成後のプロジェクトディレクトリ
my-project/
    ├─ node_modules/
    ├─ public/
    ├─ src/
    ├─ .gitignore
    ├─ index.html
    ├─ package.json
    ├─ tsconfig.json
+   └─ vite.config.ts
作成したvite.config.tsを編集します。
import { defineConfig } from 'vite';

export default defineConfig({
    build: {
        assetsInlineLimit: 0,
    },
});
assetsInlineLimitを0にすることで、スプライトなどのアセットをロードしたときにBase64 URLへのインライン化を無効にします。
(https://ja.vitejs.dev/config/build-options.html#build-assetsinlinelimit)
実行
実行する前にphaserが動くようにするのと、不要なファイルを削除します。
不要なファイル削除
my-project/
    ├─ node_modules/
    ├─ public/
-   │    └─ vite.svg
    ├─ src/
-   │    ├─counter.ts
    │    ├─main.ts
-   │    ├─style.css
-   │    ├─typescript.svg
-   │    └─vite-env.d.ts
    ├─ .gitignore
    ├─ index.html
    ├─ package.json
    ├─ tsconfig.json
    └─ vite.config.ts
最初にindex.htmlを編集します。
<!DOCTYPE html>
<html lang="ja">
  <head>
    <meta charset="UTF-8" />
    <meta name="viewport" content="width=device-width, initial-scale=1.0" />
    <title>Vite + TS + Phaser</title>
    <style>
      body {
        margin: 0;
      }
    </style>
  </head>
  <body>
    <div id="app"></div>
    <script type="module" src="/src/main.ts"></script>
  </body>
</html>
主な変更としてstyleタグを追加しています。
次にsrc/main.tsを編集します。
もともと記述されていたコードはすべて消してしまって大丈夫です。
import Phaser from 'phaser';

class TestScene extends Phaser.Scene {
	constructor() {
		super('testScene');
	}
	preload() {
		this.load.setBaseURL('https://labs.phaser.io');

		this.load.image('sky', 'assets/skies/space3.png');
		this.load.image('logo', 'assets/sprites/phaser3-logo.png');
		this.load.image('red', 'assets/particles/red.png');
	}

	create() {
		this.add.image(400, 300, 'sky');

		const particles = this.add.particles('red');

		const emitter = particles.createEmitter({
			speed: 100,
			scale: { start: 1, end: 0 },
			blendMode: 'ADD',
		});

		const logo = this.physics.add.image(400, 100, 'logo');

		logo.setVelocity(100, 200);
		logo.setBounce(1, 1);
		logo.setCollideWorldBounds(true);

		emitter.startFollow(logo);
	}
}

const config: Phaser.Types.Core.GameConfig = {
	type: Phaser.AUTO,
	width: 800,
	height: 600,
	parent: 'app',
	physics: {
		default: 'arcade',
		arcade: {
			gravity: { y: 200 },
		},
	},
	scene: TestScene,
};

new Phaser.Game(config);
Phaser公式から公開されているHello World!を使用しました。
(https://phaser.io/tutorials/getting-started-phaser3/part5)
ビルド
ビルドすることで、静的サイトで使用することができます。
$ npm run build
$ yarn build
完了すると、プロジェクトルート内にdistフォルダが生成されます。
ビルドしたものを実行することもできます。
$ npm run preview
$ yarn preview
GitHub Pagesにアップロードする
ここではGitHub Pagesにアップロードするための設定や便利なものを紹介します。
レポジトリの作り方や、GitHub Pagesの設定方法などは個々で調べてください。
vite.config.tsの追加項目
import { defineConfig } from 'vite';

export default defineConfig({
	build: {
		assetsInlineLimit: 0,
	},
+	base: '/<REPO>/',
});
ただしこちらは、https://github.com/<USERNAME>/<REPO>が対象のリポジトリである場合です。詳しくは公式ページをご覧ください。(https://ja.vitejs.dev/guide/static-deploy.html#github-pages)
gh-pagesパッケージを使う
gh-pagesというパッケージを使うことで、distフォルダ内をgh-pagesブランチにアップロードすることができます。
インストール
$ npm install gh-pages --save-dev
package.jsonへの追加
{
    "scripts": {
        "deploy": "gh-pages -d dist"
    }
}
最後に
$ npm run deploy
$ yarn deploy
上記を実行することで、gh-pagesブランチにアップロードすることができます。
リポジトリの設定から表示するブランチをgh-pagesのルートに設定することで閲覧できるようになります。
ここまでお疲れさまでした。
参考
これらを構築するにあたって参考にしたサイトがいくつかあるので紹介させていただきます。こちらも参考にしていただければと思います。

