<< その1](https://qiita.com/Butterthon/items/95b05c15bce419846f27) | [その3 >>
Vue.jsの設定
vueを使えるようにするため、vue-cliをインストール
(concentratio)concentratio$ npm install -g vue-cli
vue initでプロジェクトを作成するので、vue-initをインストール
(concentratio)concentratio$ npm install -g @vue/cli-init
フロント用のプロジェクトを作成
プロジェクトルート直下にフロント用のディレクトリ「frontend」を作成する。
最初の質問(プロジェクト名の設定)だけ「concentratio」を入力して、後の質問は全部enterでOK。
(concentratio)concentratio$ $ vue init webpack frontend
すると、こうなります
concentratio # プロジェクトルートディレクトリ
├── config
│   ├── __init__.py
│   ├── settings.py
│   ├── urls.py
│   └── wsgi.py
├── frontend # フロント用のプロジェクト(中に色々作られている)
└── manage.py
vue.jsの開発用サーバを起動
frontendディレクトリ直下に移動し、npm run serverを実行してhttp://localhost:8080にアクセス。
(concentratio)concentratio$ frontend
(concentratio)frontend$ npm run dev
npm run devでブラウザも起動するようにする
.
..
...
    autoOpenBrowser: true, // false → trueに変更する
...
..
.
これで自動でブラウザも立ち上がるようになります。
ESLintの設定
公式を確認して、任意でfrontend/.eslintrc.jsの設定を書き換えてください。
結構ガチガチにできます。
ガチガチにするとかなりうざいですが、開発者のコードが統一化されるので便利です。
prettierをインストール
(concentratio)frontend$ npm install --save prettier-eslint eslint-plugin-prettier eslint-config-prettier
eslintrc.jsを編集
// https://eslint.org/docs/user-guide/configuring

module.exports = {
  ...
  ..
  .
  extends: [
    // https://github.com/vuejs/eslint-plugin-vue#priority-a-essential-error-prevention
    // consider switching to `plugin:vue/strongly-recommended` or `plugin:vue/recommended` for stricter rules.
    'plugin:vue/essential',
    // https://github.com/standard/standard/blob/master/docs/RULES-en.md
    'standard',
    'plugin:prettier/recommended' // 追記
  ],
  // required to lint *.vue files
  plugins: [
    'vue'
  ],
  ...
  ..
  .
}
TypeScriptを使えるようにする。
typescriptをインストール
(concentratio)frontend$ npm install --save typescript@3.7.4
ts-loaderをインストール
(concentratio)frontend$ npm install --save ts-loader@3.5.0
※webpackが3系なので、ts-loaderもそれに対応した3.5.0をいれています。
webpack rules に ts-loader 相関を添付
webpack.base.conf.jsを編集
module.exports = {
  ...
  ..
  .
  resolve: {
    extensions: ['.js', '.vue', '.json', '.ts'], // '.ts'を追加
    ...
    ..
    .
  },
  module: {
    rules: [
      ...
      ..
      .
      // 以下を追加
      {
        test: /\.ts$/,
        exclude: /node_modules|vue\/src/,
        loader: 'ts-loader',
        options: {
          appendTsSuffixTo: [/\.vue$/]
        }
      }
      ...
      ..
      .
    ]
  },
  ...
  ..
  .
}
d.tsファイルを作成する
frontend/src直下にsfc.d.tsファイルを作成し、コードを記述します。
declare module "*" {
  import Vue from 'vue'
  export default Vue
}
tsconfig.json を作成する
frontend直下に作成。
{
  "compilerOptions": {
    "allowSyntheticDefaultImports": true,
    "lib": [
      "dom",
      "es5",
      "es2015.promise"
    ],
    "module": "es2015",
    "moduleResolution": "node",
    "isolatedModules": false,
    "target": "es5"
  },
  "include": [
    "./src/**/*.ts"
  ]
}
main.jsをmain.tsに書き換える
まず、webpack.base.conf.jsを編集
.
..
...
module.exports = {
  context: path.resolve(__dirname, '../'),
  entry: {
    app: './src/main.ts' // main.jsをmain.tsに変更する
  },
  ...
  ..
  .
}
router/index.jsをindex.tsに書き換える
main.ts内のエラーを解消するため。
npm run devできればOK!
vuetifyのインストール
Vue.jsのマテリアルデザインコンポーネントフレームワークです。
これ使うだけでそれっぽい画面を作れるようになります。
vue materialという同じくマテリアルデザインコンポーネントフレームワークを提供しているものも存在しますが、issueが長い期間放置されていたりするのでオススメしません。。。
(concentratio)frontend$ npm install --save vuetify
--save オプションを付けると package.jsonの中に記載されているライブラリ情報もインストールされます。
Djangoでいうところの、pip3 install -r requirements.txtのような感じでしょうか。
package.jsonを共有すれば、開発者間で同じライブラリをインストールすることができます。
vuetifyをプラグインとして登録
// The Vue build version to load with the `import` command
// (runtime-only or standalone) has been set in webpack.base.conf with an alias.
import Vue from "vue";
import App from "./App";
import router from "./router";
import Vuetify from "vuetify"; // 追加
import "vuetify/dist/vuetify.min.css"; // 追加

Vue.config.productionTip = false;

Vue.use(Vuetify); // 追加

/* eslint-disable no-new */
new Vue({
  el: '#app',
  router,
  components: { App },
  template: '<App/>',
  vuetify: new Vuetify() // 追加(※)
})
App.vue内のdivタグをv-appで囲む
(元々divタグについていたid="app"はv-appのほうに書く)
<template>
  <v-app id="app">
    <div>
      <img src="./assets/logo.png">
      <router-view/>
    </div>
  </v-app>
</template>

<script>
export default {
  name: 'App'
}
</script>

<style>
# app {
  font-family: 'Avenir', Helvetica, Arial, sans-serif;
  -webkit-font-smoothing: antialiased;
  -moz-osx-font-smoothing: grayscale;
  text-align: center;
  color: #2c3e50;
  margin-top: 60px;
}
</style>
マテリアルデザインコンポーネントを使用する
<template>
  <v-app id="app">
    <div>
      <img src="./assets/logo.png">
      <router-view/>

      <!-- 追加 -->
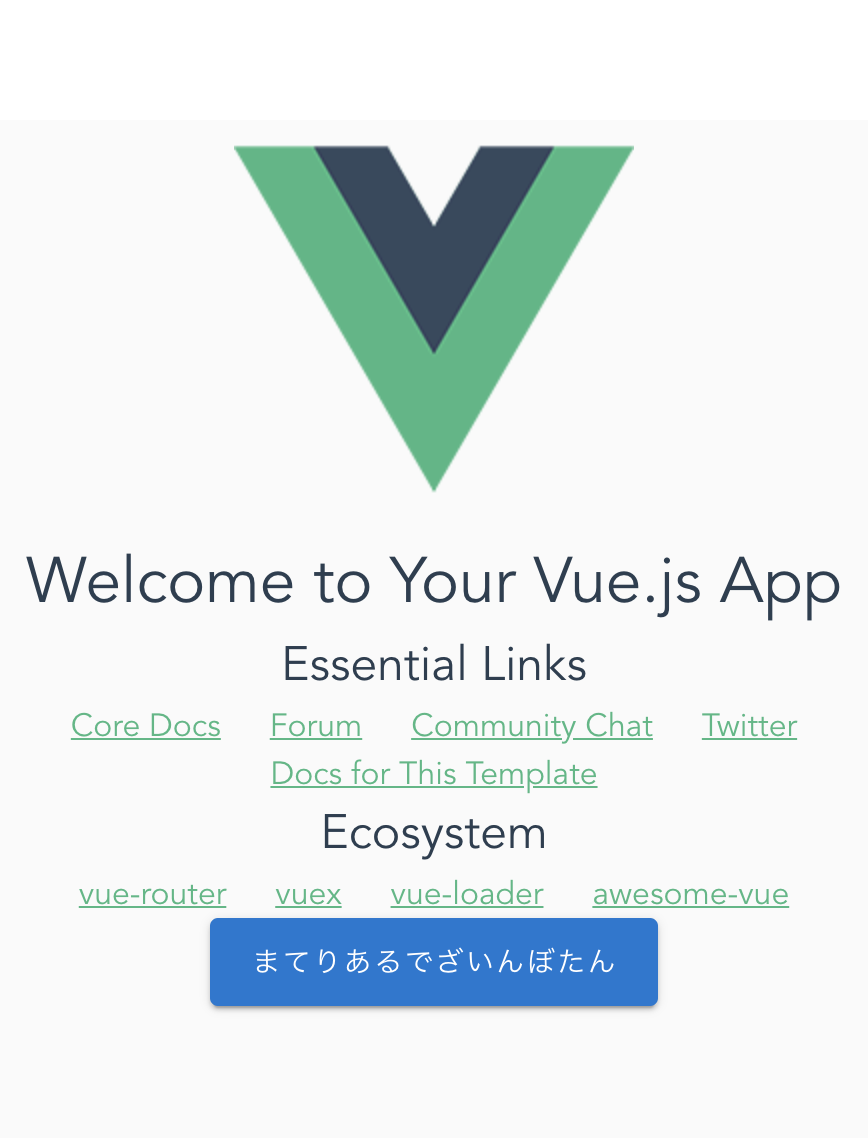
      <v-btn large color="primary">まてりあるでざいんぼたん</v-btn>
    </div>
  </v-app>
</template>

<script>
export default {
  name: 'App'
}
</script>

<style>
# app {
  font-family: 'Avenir', Helvetica, Arial, sans-serif;
  -webkit-font-smoothing: antialiased;
  -moz-osx-font-smoothing: grayscale;
  text-align: center;
  color: #2c3e50;
  margin-top: 60px;
}
</style>
vuetifyのマテリアルデザインアイコンを使ってみる
Vuetify2.X系はコレやらないとv-iconが使えないと思います。
$ npm install --save @mdi/font material-design-icons-iconfont
main.tsに追記
// The Vue build version to load with the `import` command
// (runtime-only or standalone) has been set in webpack.base.conf with an alias.
import Vue from 'vue'
import App from './App.vue'
import router from './router'
import Vuetify from "vuetify";
import "vuetify/dist/vuetify.min.css";
import 'material-design-icons-iconfont/dist/material-design-icons.css' # 追加
import '@mdi/font/css/materialdesignicons.css' # 追加

Vue.config.productionTip = false

Vue.use(Vuetify);

/* eslint-disable no-new */
new Vue({
  el: '#app',
  router,
  components: { App },
  template: '<App/>',
  vuetify: new Vuetify(),
})
あとはv-iconタグ使ってお好きなアイコンを表示させてください!
トップページを作成
PlayScreen.vueを作成
concentratio # プロジェクトルートディレクトリ
├── config
│   ├── ...
│
├── frontend
│   ├── ...
│   ├── ..
│   ├── .
│   └── views
│         └──PlayScreen.vue
└── manage.py
コマンドラインからtouch PlayScreen.vueとかしちゃうと、作成したvueファイルにソースコードを打っていってもうまく読み込んでくれないので、IDE上で作成したほうがいいかも?
<template>
  <div>
    トップページ
  </div>
</template>

<script>
export default {
  name: "PlayScreen"
}
</script>
router/index.tsを書き換える
import Vue from 'vue'
import Router from 'vue-router'
import PlayScreen from '@/views/PlayScreen.vue'

Vue.use(Router)

export default new Router({
  routes: [
    {
      path: '/',
      name: 'PlayScreen',
      component: PlayScreen
    }
  ]
})

