vueとkonva.jsを使った記事が全然ないので作ってみました。
(vue-konvaを使ってる記事はちょいちょいあるんですけどね。)
はじめに
その1では、お絵描きできるCanvasの実装まで行います。
その1の内容はこのデモページをvue用に書き換えただけです。
また、MacOSを使って実装してます。
最終的な完成画面イメージはこんなん。
モードでペン、消しゴム、直線を切り替えられるようにして、各種ボタン押下時はそれに応じた処理ができればなと。

バージョン情報
vue・・・2系
node・・・11.14.0
npm・・・6.7.0
vueプロジェクト作成
「vue init webpack <プロジェクト名>」でvueのプロジェクトを作成します。
最初の質問(Project Name)だけ、vueプロジェクトを作成するプロジェクトの名前を指定してあげて、あとはエンターで問題ないです。
(僕はkonvastudyというプロジェクトに作成したので、「konvastudy」としました。)
$ vue init webpack konvaproject

? Project name konvastudy
? Project description A Vue.js project
? Author Butterthon <~.0805@gmail.com>
? Vue build standalone
? Install vue-router? Yes
? Use ESLint to lint your code? Yes
? Pick an ESLint preset Standard
? Set up unit tests Yes
? Pick a test runner jest
? Setup e2e tests with Nightwatch? Yes
? Should we run `npm install` for you after the project has been created? (recommended) npm
作成できたら、vueプロジェクトのディレクトリに移動してサーバーを起動してみます。
ブラウザが立ち上がって、以下のような画面が表示されれば成功です。
$ cd konvaproject
$ npm run dev
キャンバスの外側を作る
冒頭の完成イメージでいう、モードやペンの色、各種ボタンのことです。
その前に、Vue Materialやkonvaを使う準備をしましょう。
Vue Materialは色々なUIコンポーネントが提供されており、それっぽいデザインが簡単に作れるので便利。
Vue Materialの公式ページはここから
npm install --save vuex vue-material@1.0.0-beta-10.2 babel-plugin-transform-object-rest-spread vue-style-loader ts-loader@3.5.0 css-loader sass-loader node-sass konva
上記プラグインをinstallしたら、main.jsに以下を追記します。
...
..
.
import VueMetarial from 'vue-material'
import 'vue-material/dist/vue-material.min.css'
import 'vue-material/dist/theme/default.css'

Vue.use(VueMetarial)

...
..
.
では外側の作成に入っていきます。
src直下に「paint」フォルダを作成し、その中にCallCanvas.vueを用意します。
中身はこんな感じ
<template>
    <div>
        <div class="md-layout md-gutter" style="margin-left: 340px">
          <div class="md-layout-item">
            <md-field style="float: left">
              <label for="mode">モード</label>
              <md-select v-model="mode" name="mode" id="mode">
                <md-option value="brush">ペン</md-option>
                <md-option value="eraser">消しゴム</md-option>
                <md-option value="line">直線</md-option>
              </md-select>
            </md-field>

            <md-field style="float: left">
              <label for="brushColor">ペンの色</label>
              <md-input type="color" v-model="brushColor" />
            </md-field>

            <md-field style="float: left; margin-top: -8px">
              <md-button class="md-dense md-raised md-primary">
                戻る
              </md-button>
            </md-field>

            <md-field style="float: left; margin-top: -8px">
              <md-button class="md-dense md-raised md-primary">
                進む
              </md-button>
            </md-field>

            <md-field style="float: left; margin-top: -8px">
              <md-button class="md-dense md-raised md-primary">
                  リセット
              </md-button>
            </md-field>

            <md-field style="float: left; margin-top: -8px">
              <md-button class="md-dense md-raised md-primary">
                  保存
              </md-button>
            </md-field>
          </div>
        </div>
    </div>
</template>

<script>
export default {
  name: 'CallCanvas',
  data: () => ({
    mode: '',
    brushColor: '',
    defaultMode: 'brush',
    defaultBrushColor: '#FFFFFF'
  }),
  mounted: function() {
    this.init();
  },
  methods: {
    // モードとペンの色を初期状態にする
    init: function() {
      this.mode = this.defaultMode;
      this.brushColor = this.defaultBrushColor;
    }
  }
}
</script>

<style lang="scss" scoped>
  .md-field {
    max-width: 110px;
  }
</style>
てっとり早くサーバー立ち上げたときに確認したいので、サーバー立ち上げて最初に表示される「HelloWorld.vue」を修正します。
<template>
  <div>
    <!-- componentに追加したものはタグとして使用できるようになる -->
    <CallCanvas />
  </div>
</template>

<script>
import CallCanvas from '../paint/CallCanvas.vue' // 作成したCallCanvas.vueをインポート

export default {
  name: 'HelloWorld',
  components: {
    CallCanvas // componentsにインポートしたCallCanvasを追加する。
  }
}
</script>
サーバー起動して確かめます(npm run devを実行)。
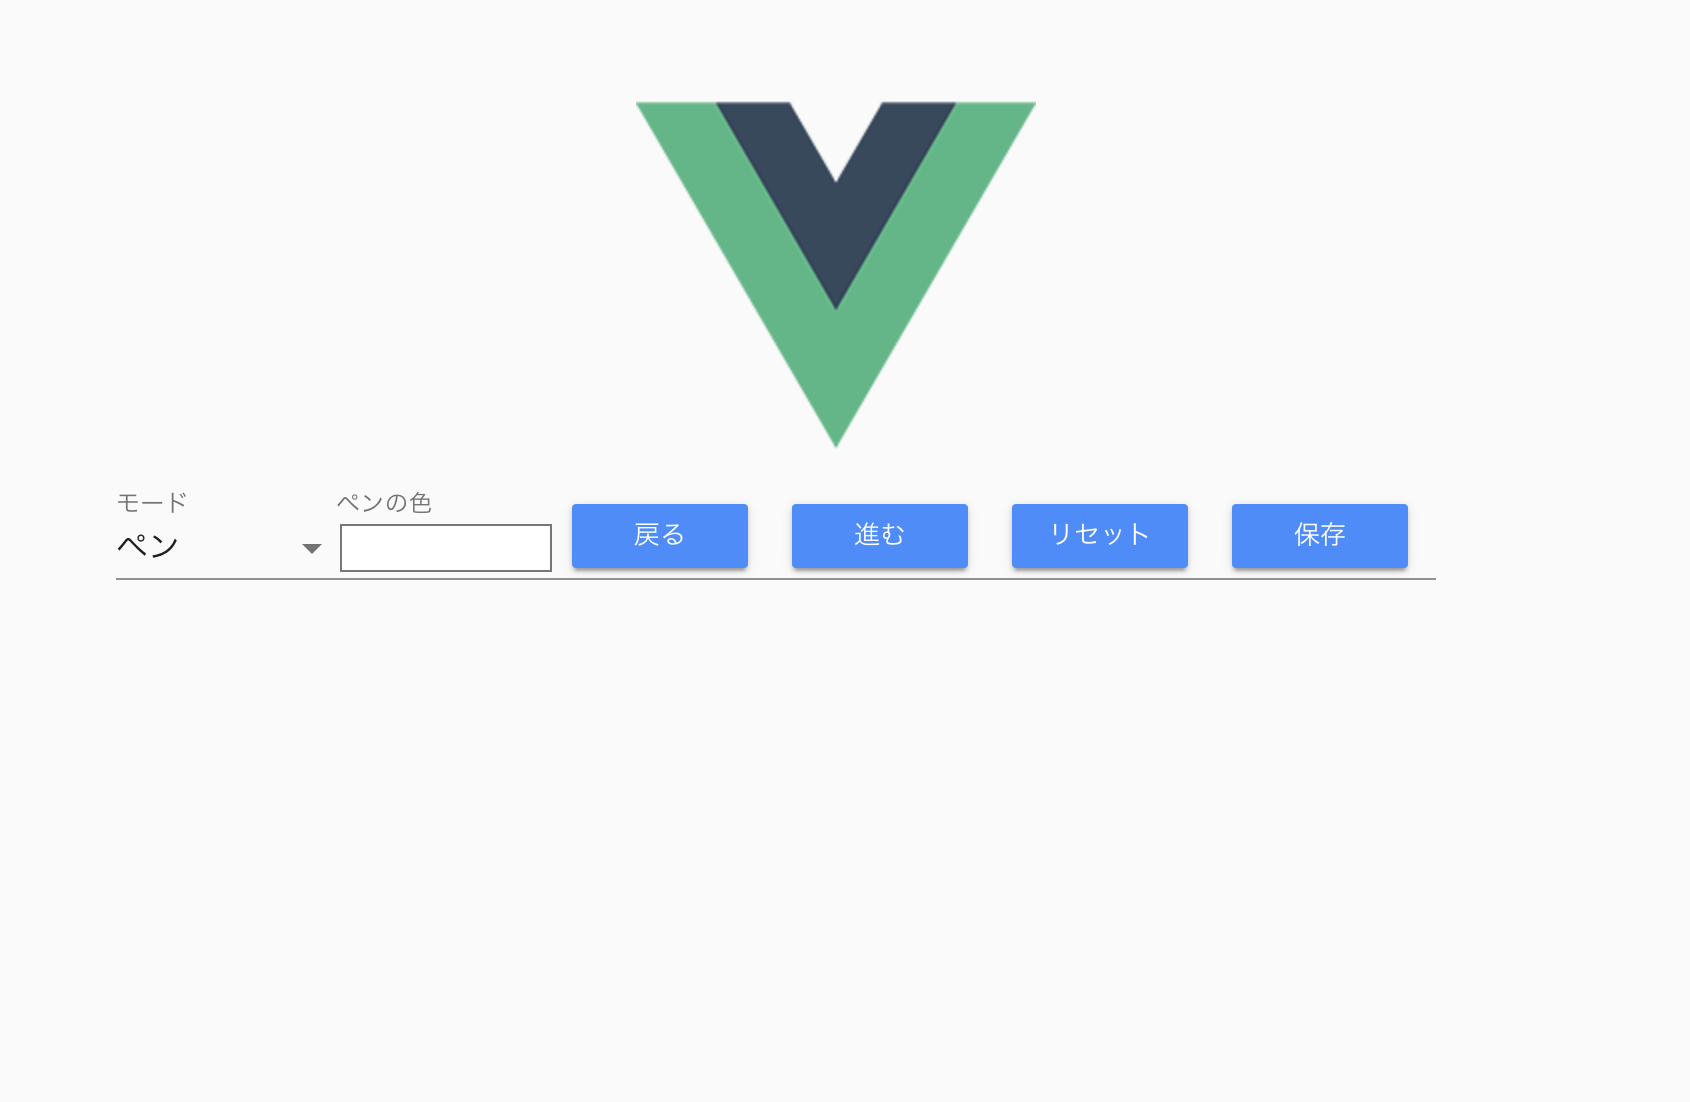
バッチグー。
ロゴが邪魔な人はApp.vueから該当する行を削除したら消えます。
Canvasを実装してお絵描きしてみる
CallCanvas.vueと同じフォルダに、「FreeDrawing.vue」を用意します。
中身はこんな感じ(propsやthis.$emit(...)は今は気にしなくていいです。)
<template>
  <div>
    <div ref="container">
      <canvas
        :width="width/2"
        :height="height/2"
        ref="canvas">
      </canvas>
    </div>
  </div>
</template>

<script>
import Konva from 'konva';

export default {
  name: 'FreeDrawing',
  // propsは親の「CallCanvas.vue」から値を受け取るためのプロパティ
  props: {
    mode: {
      type: String,
      default: ''
    },
    brushColor: {
      type: String,
      default: ''
    },
    backgroundImage: {
      type: String,
      default: ''
    }
  },
  data: () => ({
    width: window.innerWidth,
    height: window.innerHeight,
    stage: null,
    canvas: null,
    context: null,
    drawingLayer: null,
    drawingScope: null,
    lastPointerPosition: {},
    localPos: {
      x: 0,
      y: 0
    },
    pos: null,
    isPaint: false
  }),
  mounted: function () {
    var container = this.$refs.container;
    this.stage = new Konva.Stage({
      container,
      width: this.width,
      height: this.height
    })
    this.drawingLayer = new Konva.Layer()
    this.stage.add(this.drawingLayer)

    this.canvas = this.$refs.canvas
    this.drawingScope = new Konva.Image({
      image: this.canvas,
      x: this.width / 4,
      y: 5,
      stroke: 'black'
    })
    this.drawingLayer.add(this.drawingScope)
    this.stage.draw()

    this.context = this.canvas.getContext('2d')
    this.context.strokeStyle = this.brushColor
    this.context.lineJoin = 'round'
    this.context.lineWidth = 5

    // イベント追加
    this.drawingScope.on('mousedown', this.mousedown)
    this.stage.addEventListener('mouseup', this.mouseup)
    this.stage.addEventListener('mousemove', this.mousemove)
    this.drawingScope.on('touchstart', this.mousedown)
    this.stage.addEventListener('touchend', this.mouseup)
    this.stage.addEventListener('touchmove', this.mousemove)
  },
  methods: {
    mousedown: function () {
      this.isPaint = true

      // マウスダウン時の座標を取得しておく
      this.lastPointerPosition = this.stage.getPointerPosition()
    },
    mouseup: function () {
      this.isPaint = false
    },
    mousemove: function () {
      if (!this.isPaint) {
        return;
      }
      // ペンモード時
      if (this.isTargetMode('brush') || this.isTargetMode('line')) {
        this.context.globalCompositeOperation = 'source-over';
      }
      // 消しゴムモード時
      if (this.isTargetMode('eraser')) {
        this.context.globalCompositeOperation = 'destination-out';
      }

      this.context.beginPath()

      this.localPos.x = this.lastPointerPosition.x - this.drawingScope.x()
      this.localPos.y = this.lastPointerPosition.y - this.drawingScope.y()

      // 描画開始座標を指定する
      this.context.moveTo(this.localPos.x, this.localPos.y)

      this.pos = this.stage.getPointerPosition()
      this.localPos.x = this.pos.x - this.drawingScope.x()
      this.localPos.y = this.pos.y - this.drawingScope.y()

      // 描画開始座標から、lineToに指定された座標まで描画する
      this.context.lineTo(this.localPos.x, this.localPos.y)
      this.context.closePath()
      this.context.stroke()
      this.drawingLayer.draw()

      this.lastPointerPosition = this.pos
    },
    onClearCanvas: function () {
      this.context.globalCompositeOperation = 'destination-out'
      this.context.fillRect(0, 0, this.width, this.height)
      this.drawingLayer.draw()

      this.$emit('on-reset')
    },
    // 現在のモードが指定されたモードと一致するかどうか
    isTargetMode: function (targetMode) {
      return this.mode === targetMode
    }
  },
  watch: {
    // ペンの色変更
    brushColor: function () {
      this.context.strokeStyle = this.brushColor
    }
  }
}
</script>
これをCallCanvas.vueに組み込みます。
・FreeDrawing.vueをインポート
・インポートしたものをcomponentsに指定する
・templateに記述する(厳密にはそのなかのdivタグ内)
<template>
    <div>
        ...
        ..
        .
        <FreeDrawing />
    </div>
</template>

<script>
import FreeDrawing from './FreeDrawing.vue'

export default {
  name: 'CallCanvas',
  components: {
    FreeDrawing
  },
  ...
  ..
  .
}
</script>

...
..
.
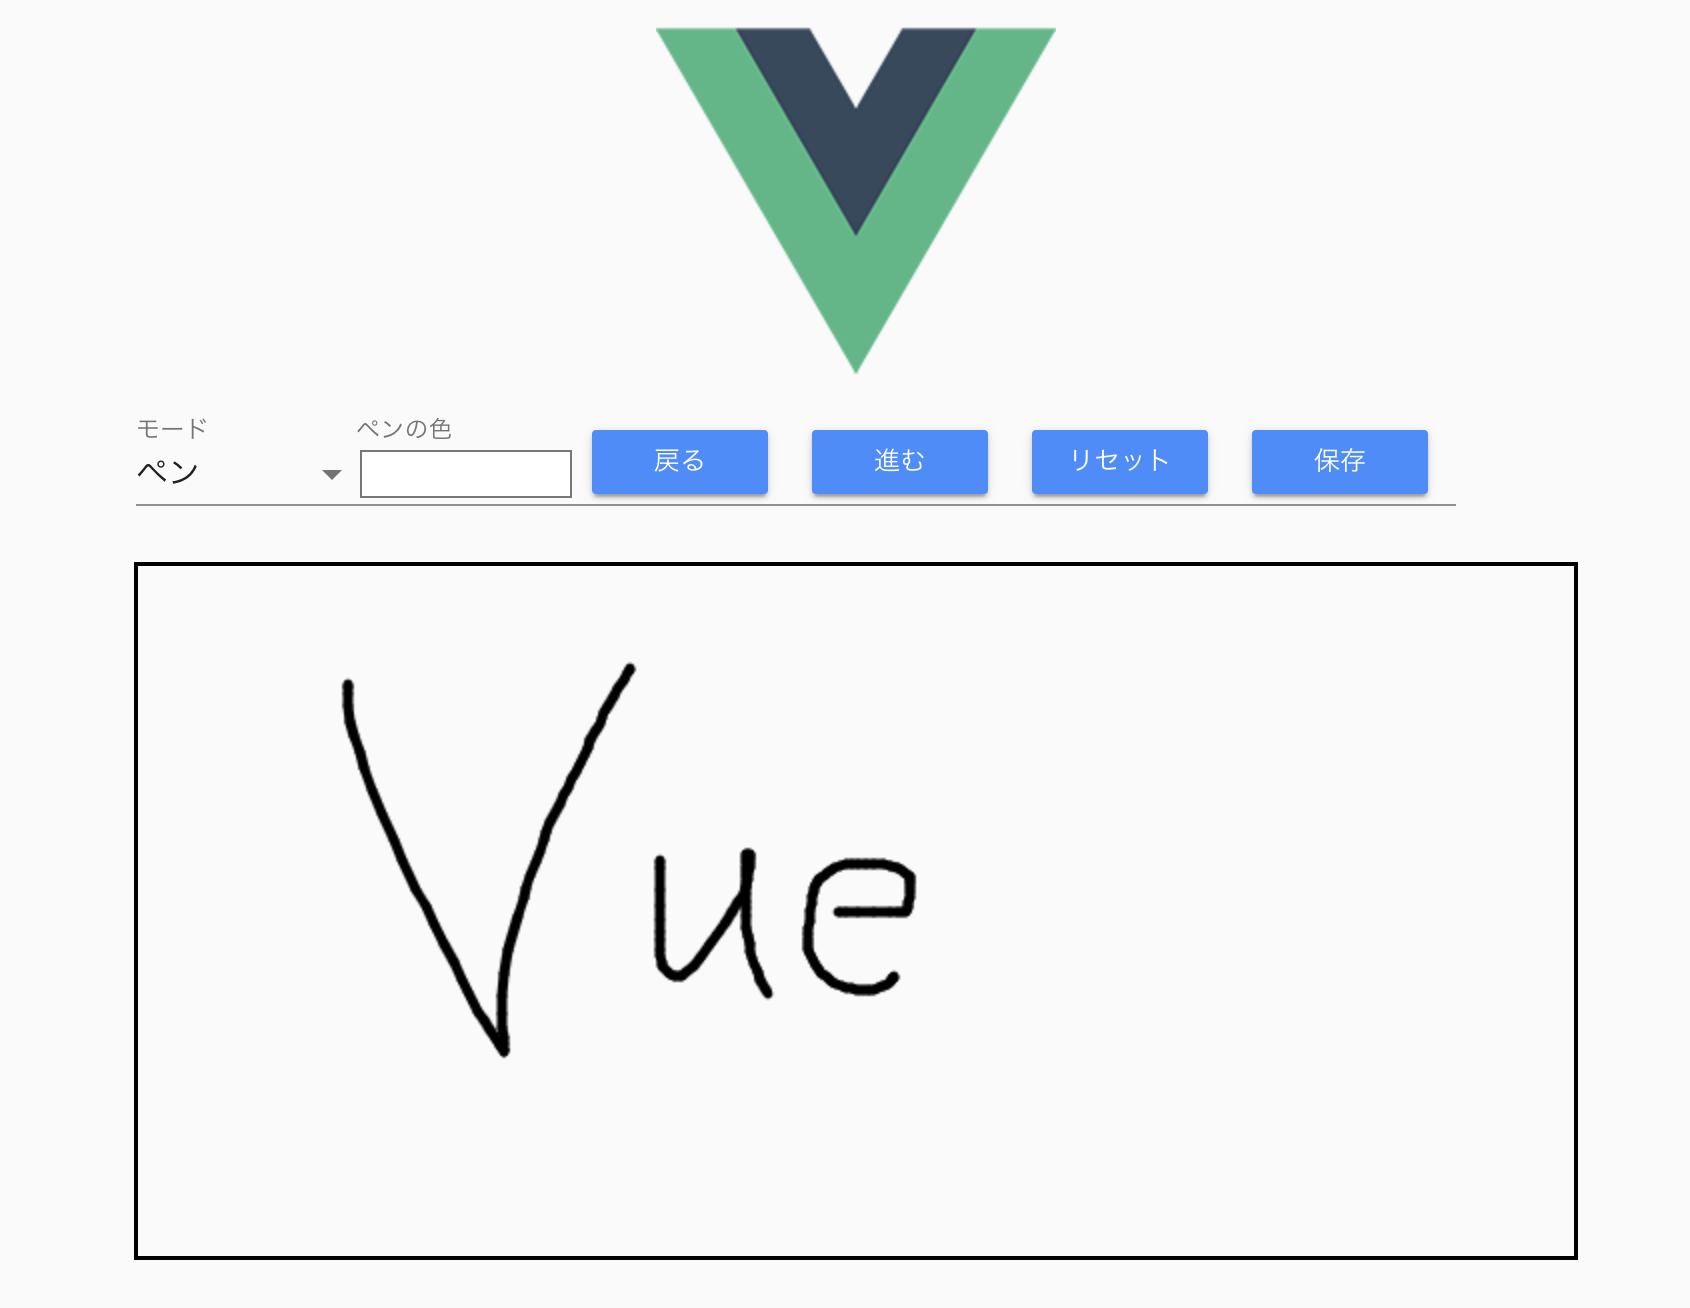
サーバー起動してみます。
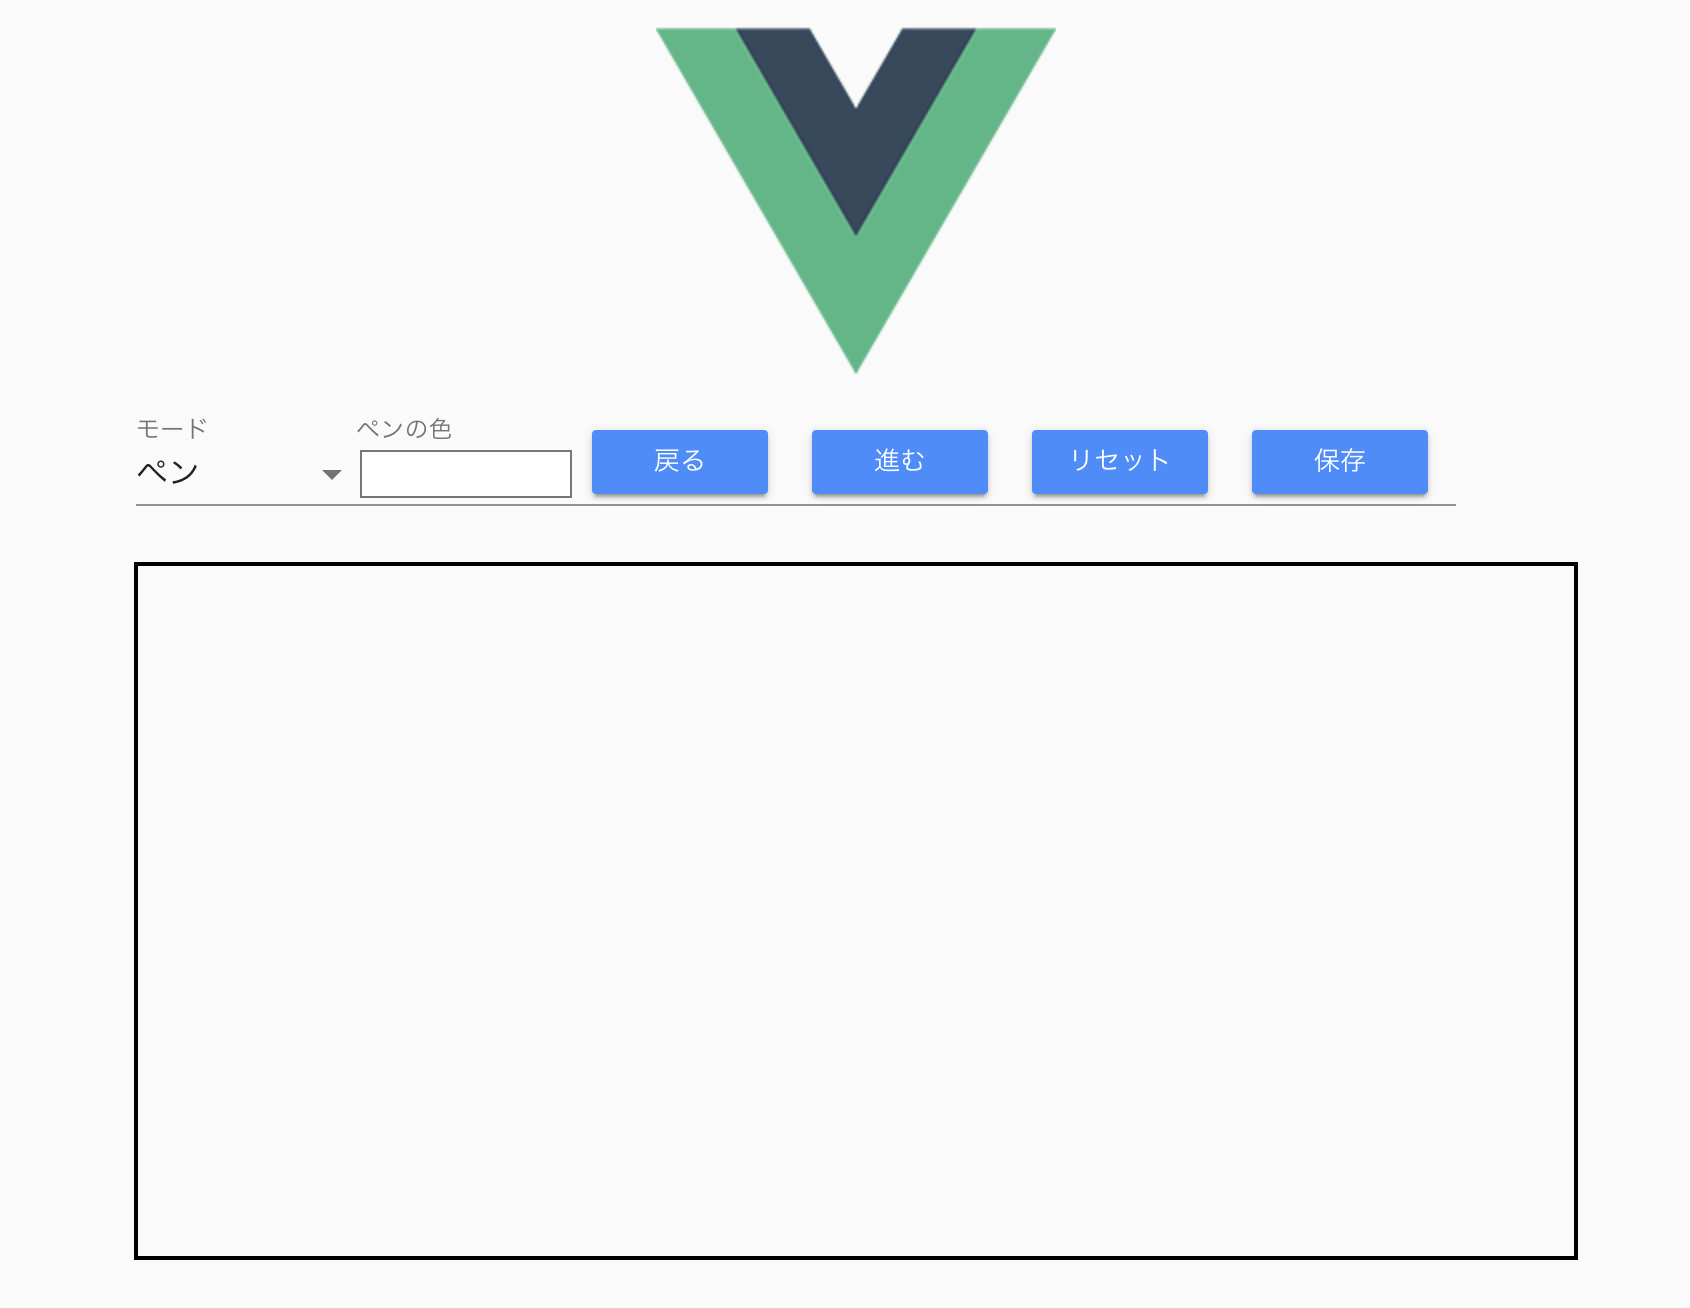
キャンバスが表示されて、描画もできます。
その2ではキャンバスに画像を表示して、その画像に落書きできるようにしたいと思います。
(冒頭の完成イメージでいうと、「令和」に落書きできるようにするイメージ)
その2:キャンバスに画像表示および落書き